1:250 Scale Paper Model: Flower Class Corvette "Agassiz"
Discussion


Picked this up while in Hamburg last week, it's one of the latest HMV paper model ship releases, a Flower Class Corvette. It can be built as the "Agassiz", "Wetaskiwin", "Battleford" or "Levis" (named after Canadian towns).
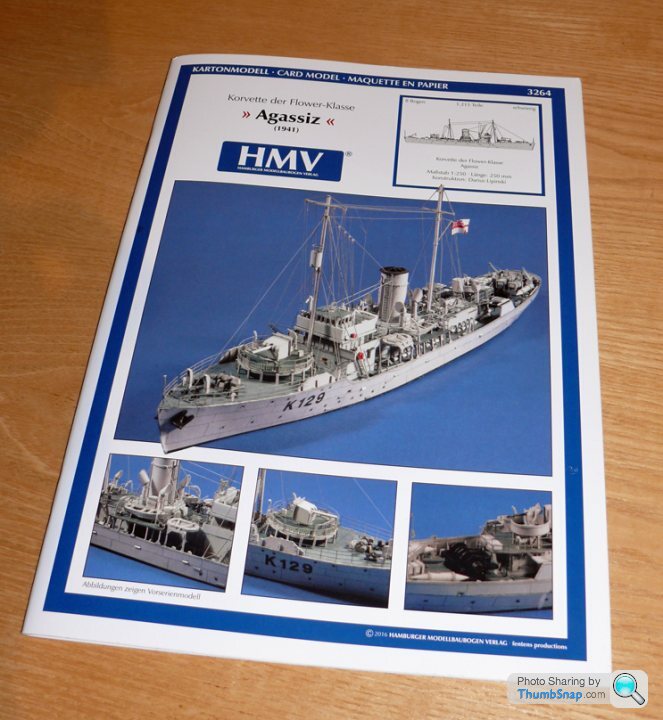
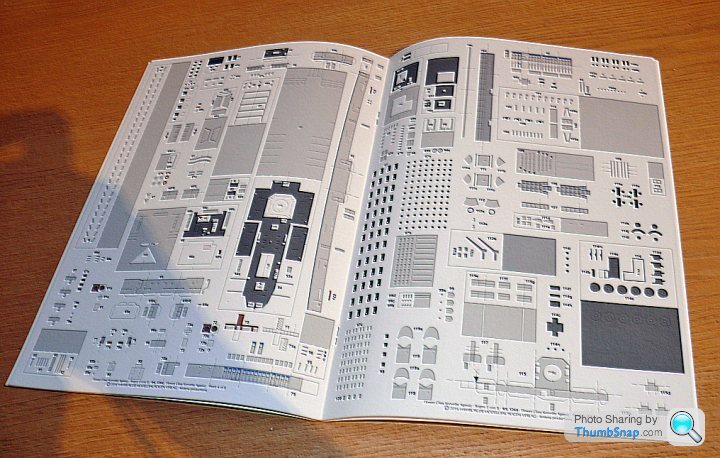
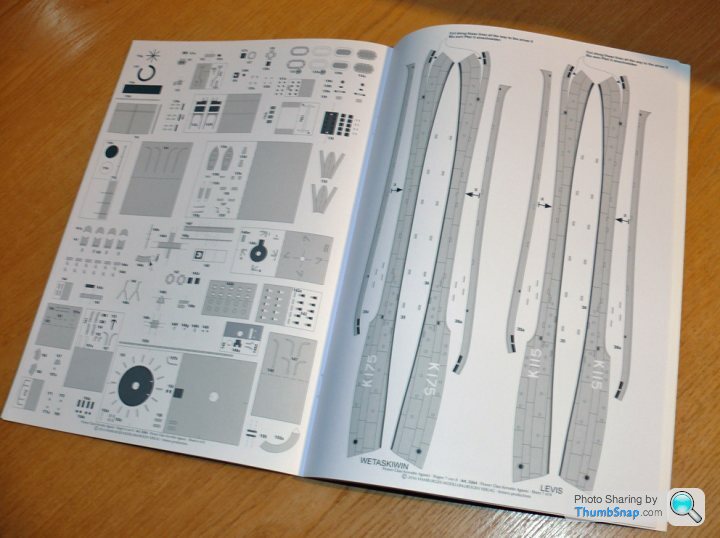
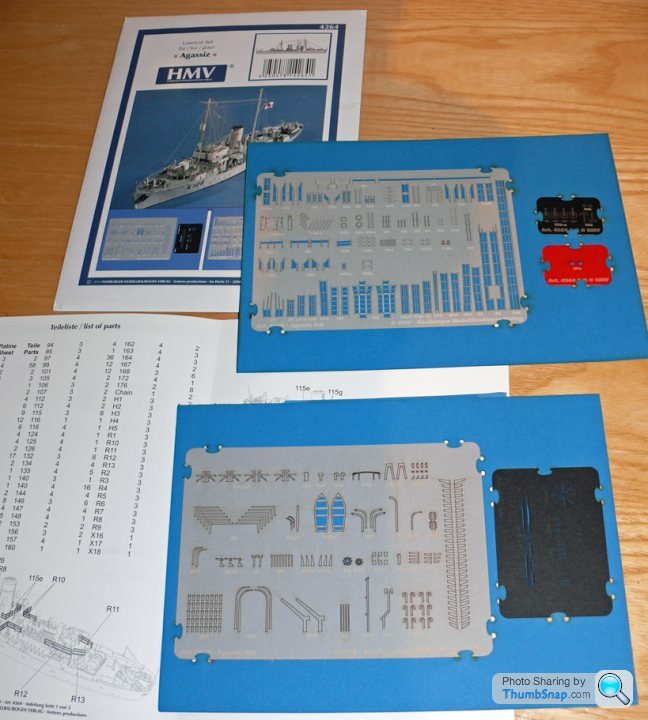
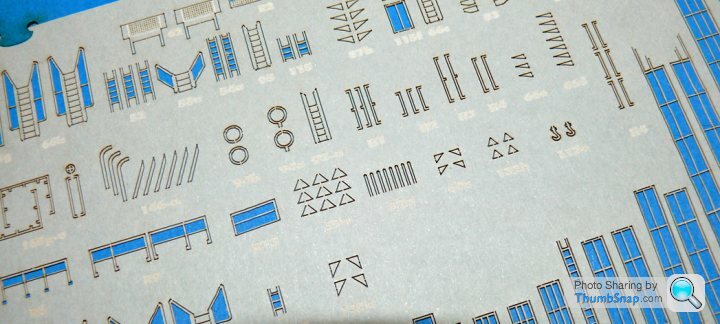
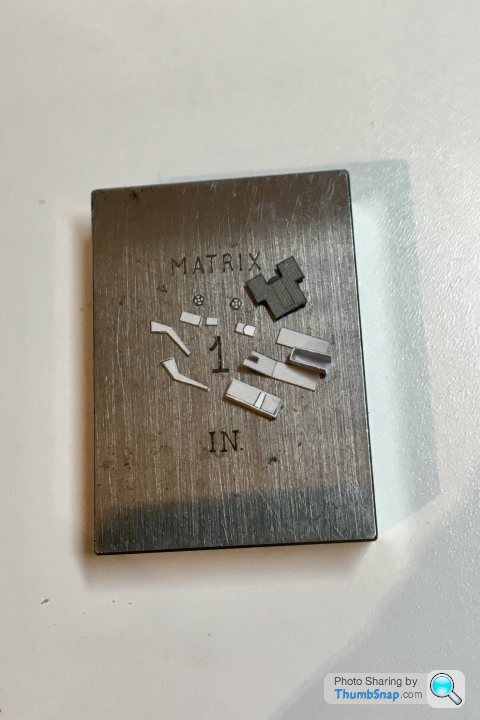
This one has 1,215 parts, and a laser-cut detail set which I have on order:
Looking forwared to making a start on it when the <<Mellum>> is finished. I always liked the look of the old Matchbox Corvette, but never built one. This one is obviously much smaller, and is slightly different in design.
More info here:
http://h-m-v.de/agassiz.0.html?&L=1
Zad said:
I have the Revell / Matchbox kit sat here looking at me accusingly. Every time I look at it, I decide I need to do it justice buy getting some upgrade parts. An hour or two later, when the list of parts approaches £1K, I put it back again! Using the Anatomy of the Ship book, I started work on some 3D computer models with the aim of 3D printing a 1:48 version (when print prices drop sufficiently).
I keep looking at the Airfix RAF rescue launch, then look at some online builds by the experts and always think twice. I always hesitate before replacing the box on the shelf though.shortar53 said:
Doc, what do you use as adhesive for these? I've done some papercraft in the past using pva but it is a bit messy and takes a while to grab, some longer parts have had a tendency to warp with long glue surfaces?
The reason I ask is I've just noticed the Hermes tug... I was bought an RC bugsier for my first birthday (Don't ask. Grandma was a skipper) and the Hermes is very close to that.
I'd want to do it justice
The HMV guys at the Telford show told me to use UHU glue, which made no sense to me since it's so stringy and difficult to place accurately. As expected I tried it and found it hopeless even on the larger parts. UHU is petroleum based, so doesn't distort the paper too much, but the disadvantages outweigh this.The reason I ask is I've just noticed the Hermes tug... I was bought an RC bugsier for my first birthday (Don't ask. Grandma was a skipper) and the Hermes is very close to that.
I'd want to do it justice
I use Formula 560 model canopy glue. I believe this is PVA with a plasticiser. It can distort the parts of you use a lot, but there you go. It shouldn't be messy - where possible tape the parts together with de-tacked tape and apply the glue to the inner joint edges with a cocktail stick. It sets clear. A Matt spray clear coat will give everything a consistent sheen (if required).
The Hermes is listed as "einfach", so won't be as detailed as some of the other models, but should be a good introduction to paper ships. I'd definitely try to get the laser cut detail parts for it - they make a huge difference. Also, do a search for previous builds on the various paper ship forums, you might find some good tips there.
robemcdonald said:
You are mental. Remember to do a test before clear coat this time. Mind you that won't be a consideration for a yea or two.
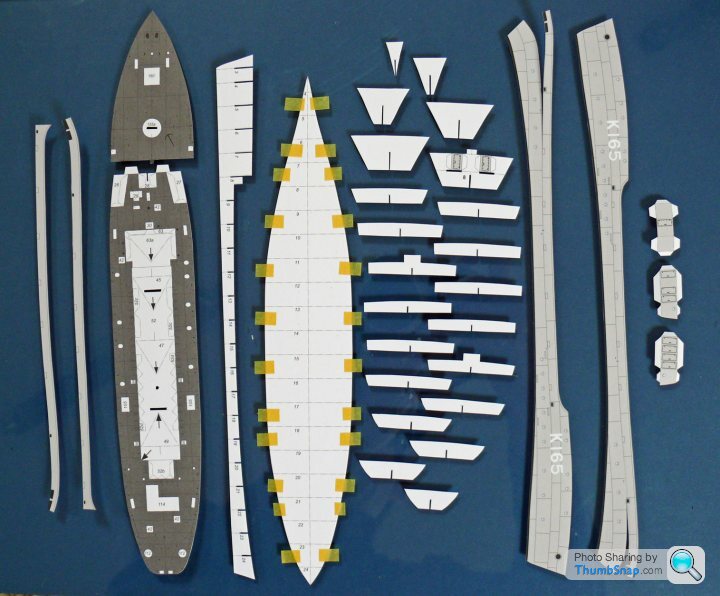
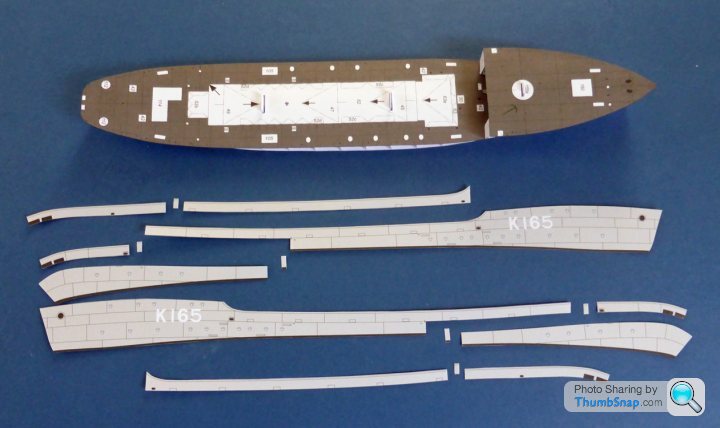
Yup. I often repeat mistakes becasue I can't remember what happened - one reason I like to post build logs is to jog my memory about what to avoid if I do run into issues. This one seems a lot simpler than the Mellum.Got the hull framing done, and the main deck on. There were a few bits and pieces that fit under the foredeck to add too:
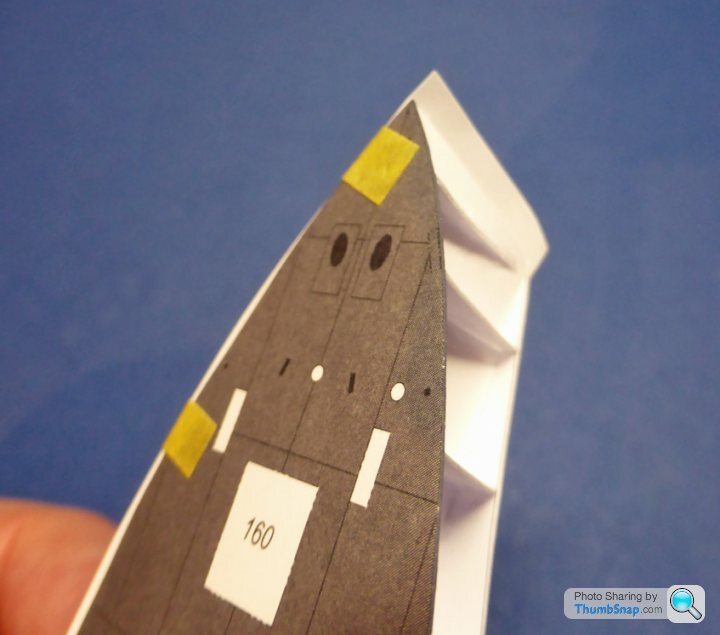
Foredeck on and taped down:
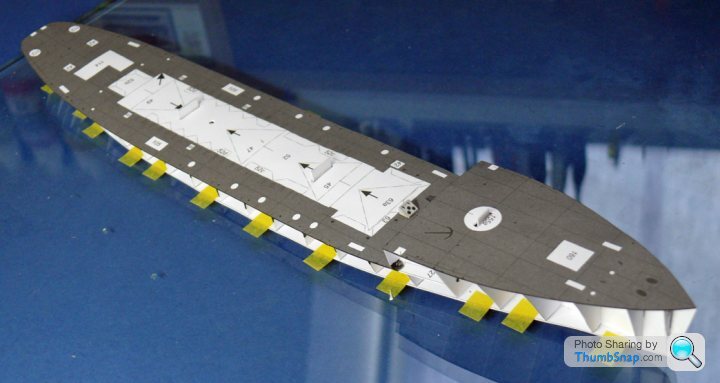
Current state of play:
A quick test-fit of the hull sides shows....that they dont fit! Too deep it seems. I'll remove the hull from the glass plate and try again - hopefully it's just the thickness of the tape that's raising the sides too much.
Foredeck on and taped down:
Current state of play:
A quick test-fit of the hull sides shows....that they dont fit! Too deep it seems. I'll remove the hull from the glass plate and try again - hopefully it's just the thickness of the tape that's raising the sides too much.
So, yes, the hull sides are too long. I fitted them the best I could, but they were never going to look right:
Also, too deep. If the split line is taped flush with the deck:
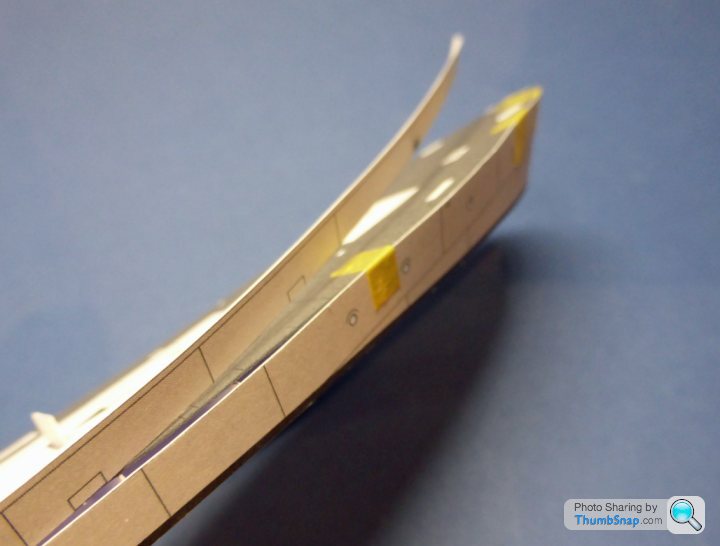
...the lower edges are all over the place - they fit OK in the middle, but extend to far down at the bow and stern:
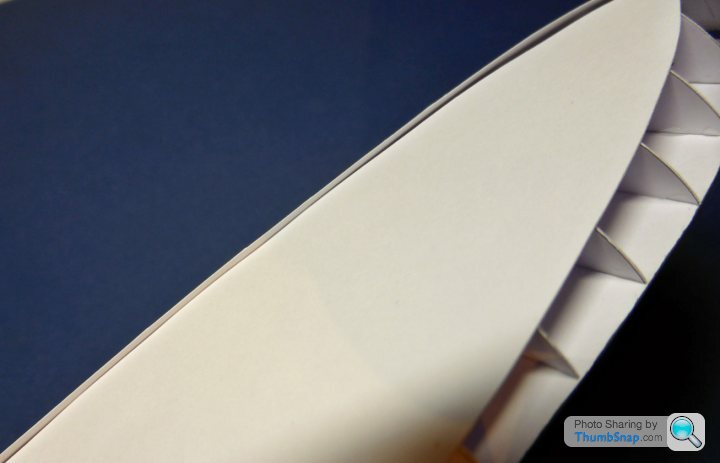
So after much head scratching, and yet again starting over with a new kit, I opted to cut 2mm sections out of the hull, and stagger them for strength and so they lined up as best they could with the printed hull panel lines:
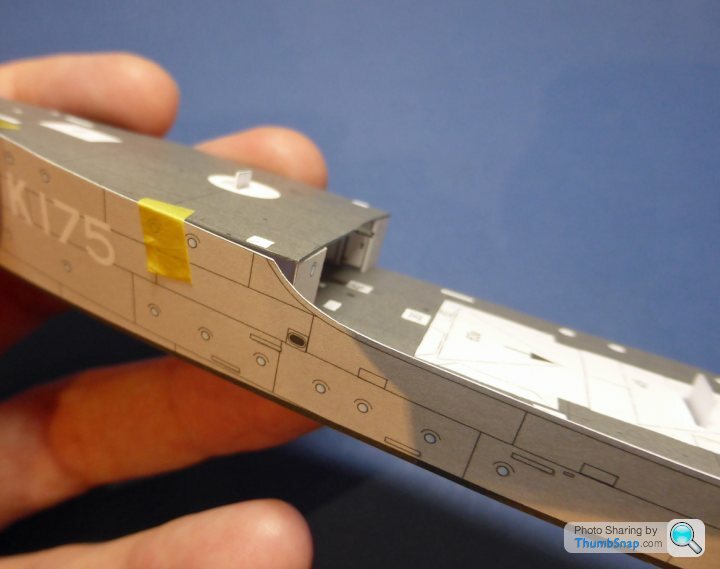
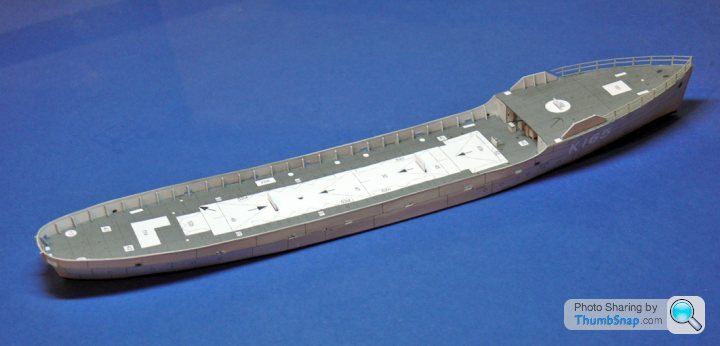
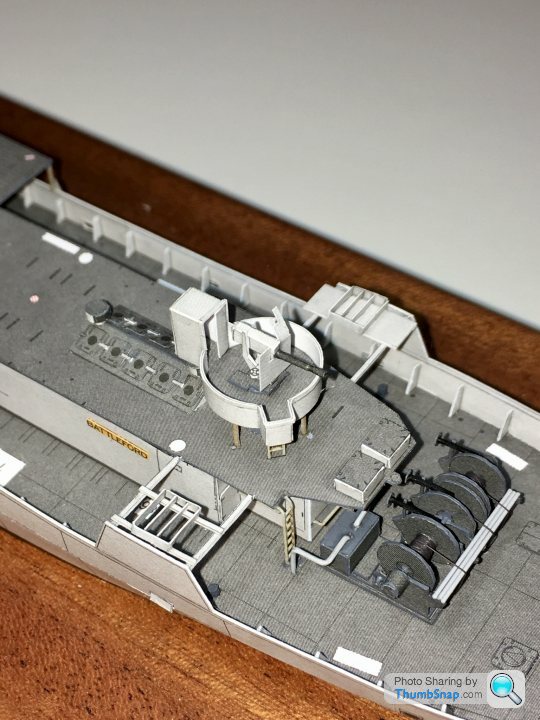
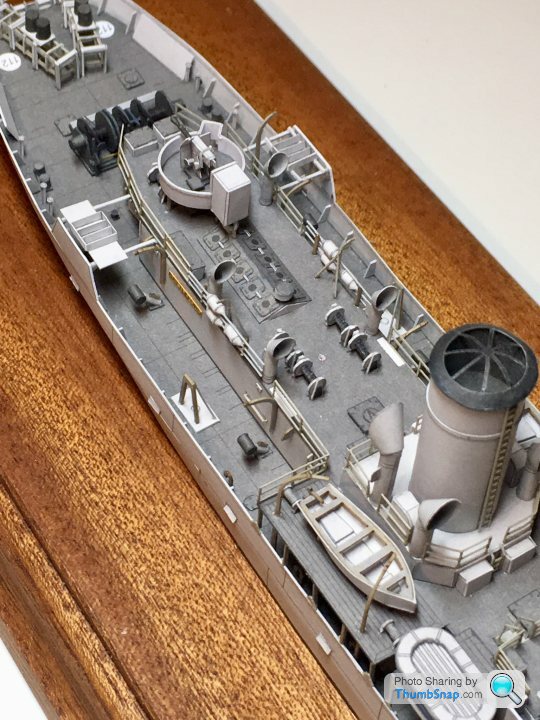
Not prticularly impressive for a 2016 release IMO, but there you go. Current situation with the deck side stiffeners and some front railings fitted:
Also, too deep. If the split line is taped flush with the deck:
...the lower edges are all over the place - they fit OK in the middle, but extend to far down at the bow and stern:
So after much head scratching, and yet again starting over with a new kit, I opted to cut 2mm sections out of the hull, and stagger them for strength and so they lined up as best they could with the printed hull panel lines:
Not prticularly impressive for a 2016 release IMO, but there you go. Current situation with the deck side stiffeners and some front railings fitted:
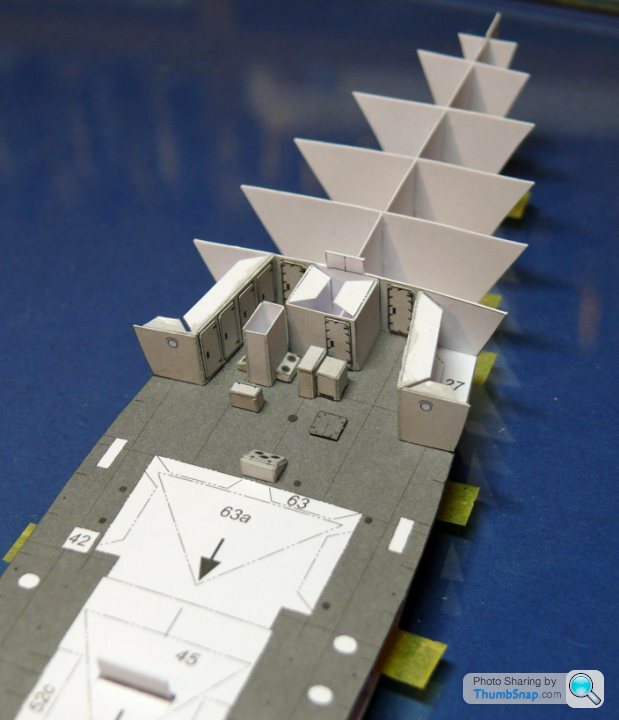
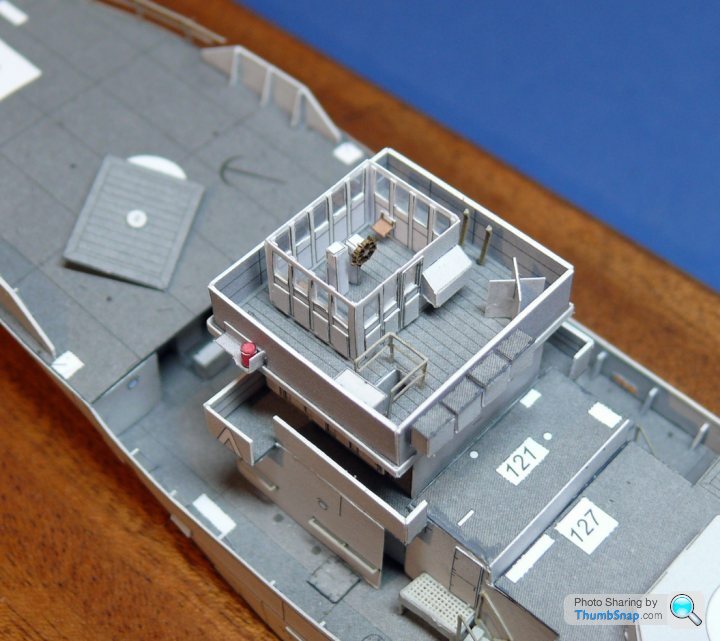
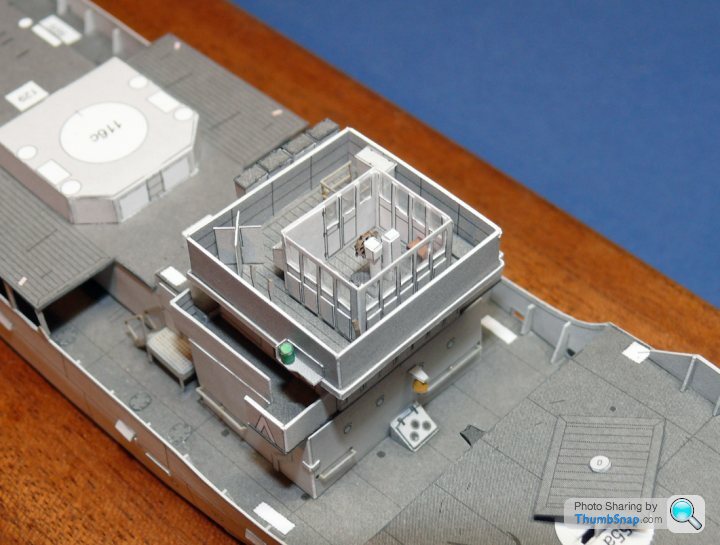
Built up the interior parts for the bridge, including the laser-cut wheel, and what appears to be a Chesterfield sofa...
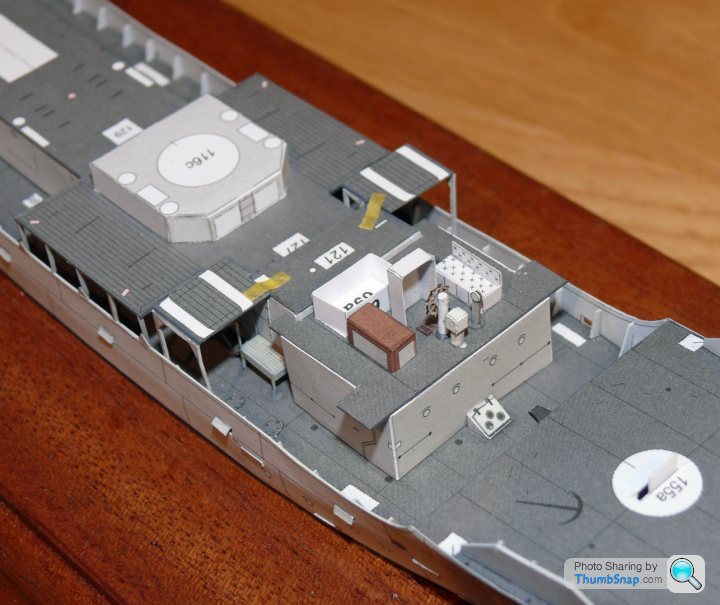
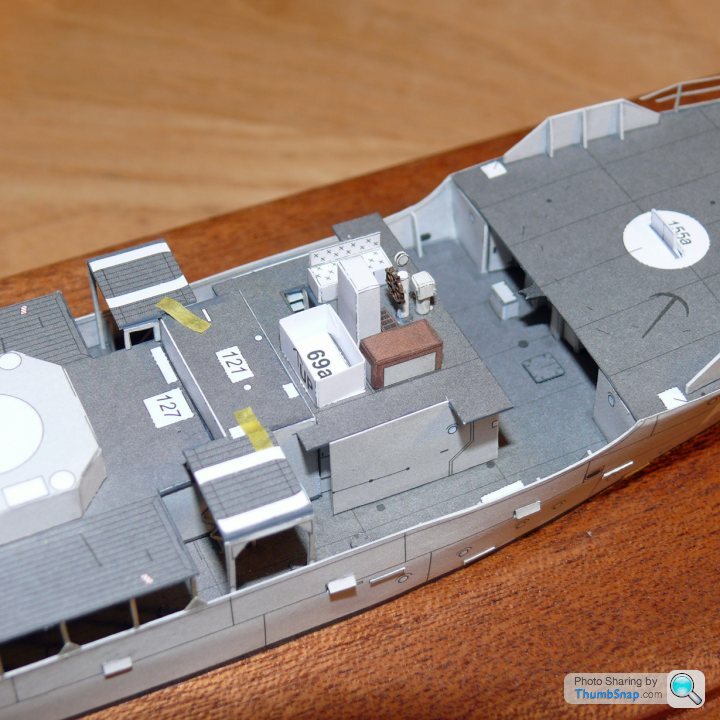
All will be pretty much hidden when the walls are fitted. As with the "Mellum", I used some thin acetate for the glazing. There's anther wheelhouse to fit above the first. Also built the basic structure of the funnel.
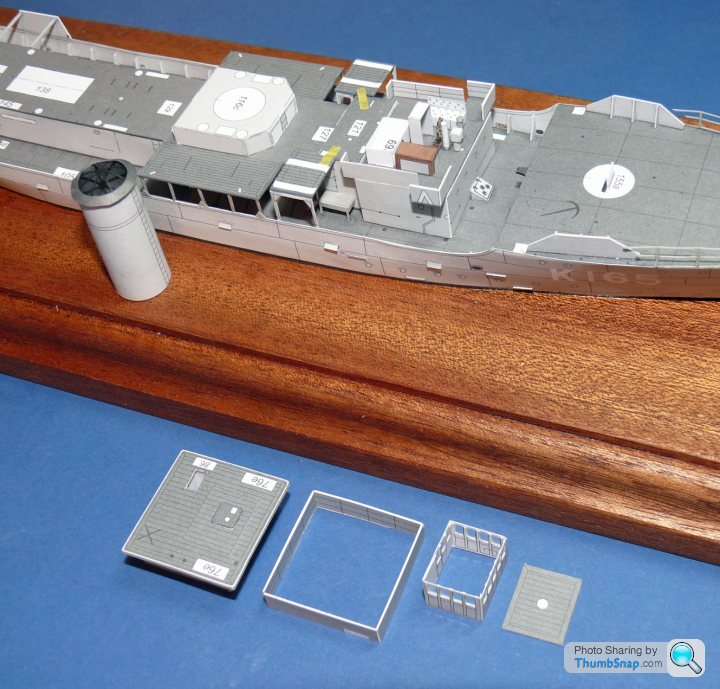
All will be pretty much hidden when the walls are fitted. As with the "Mellum", I used some thin acetate for the glazing. There's anther wheelhouse to fit above the first. Also built the basic structure of the funnel.


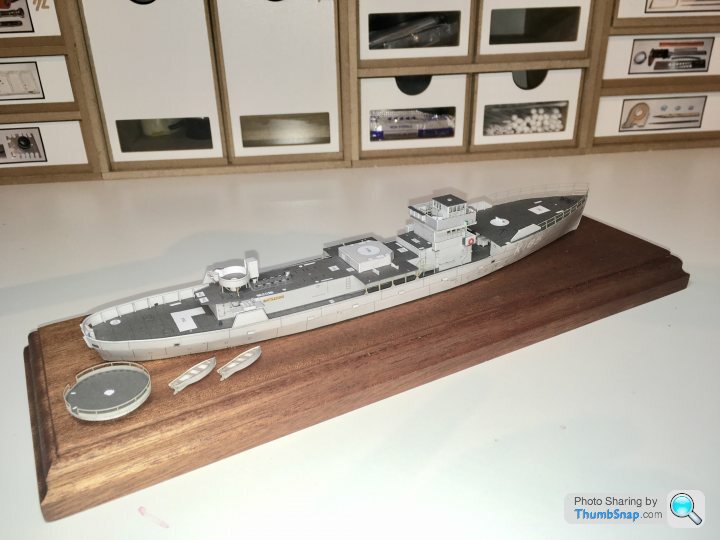

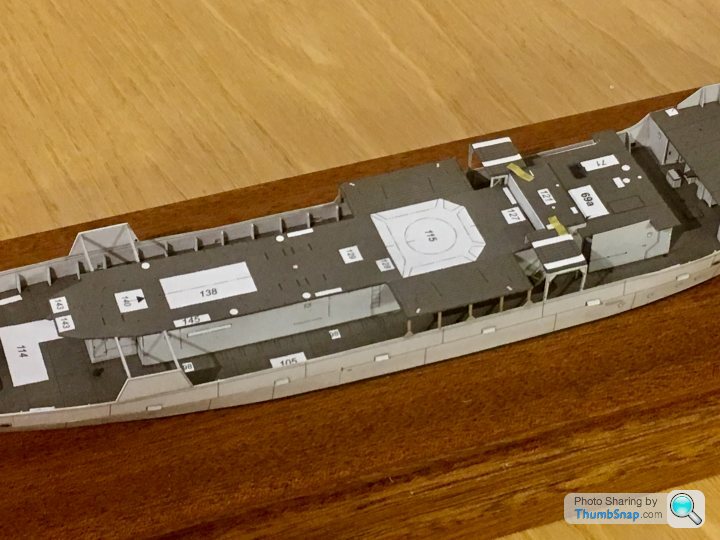
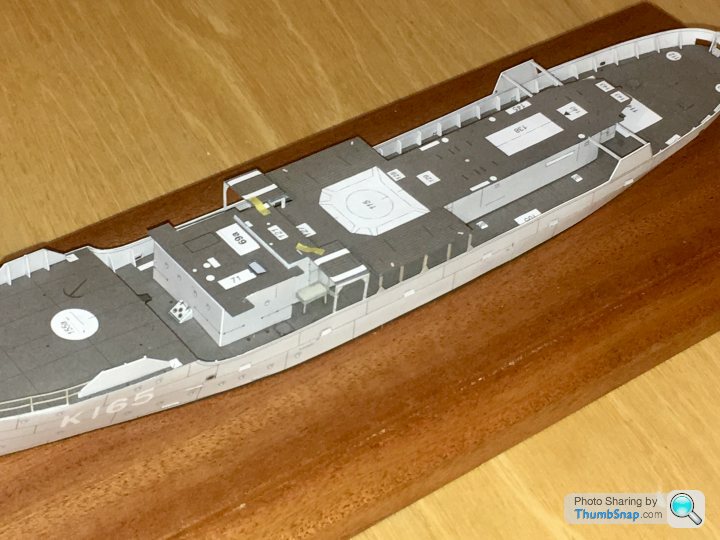
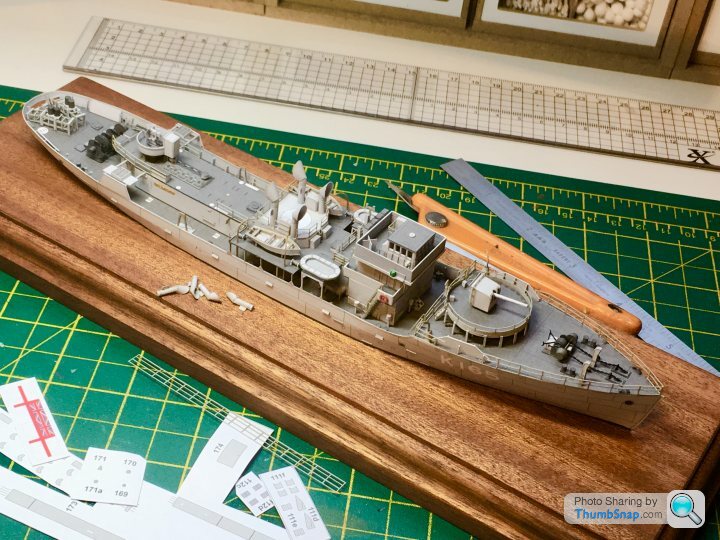
Progress - nice to have some hours just for modelling this holiday:
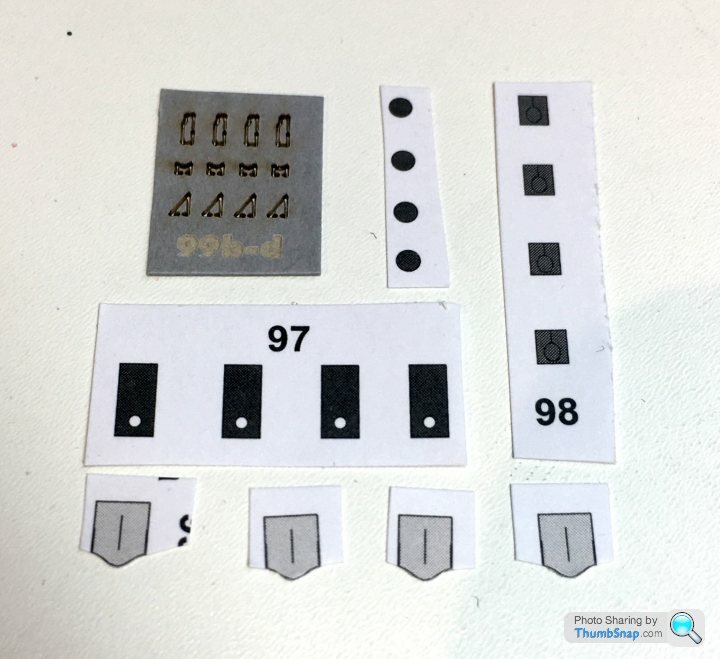
Life rafts laminated from 6 layers:
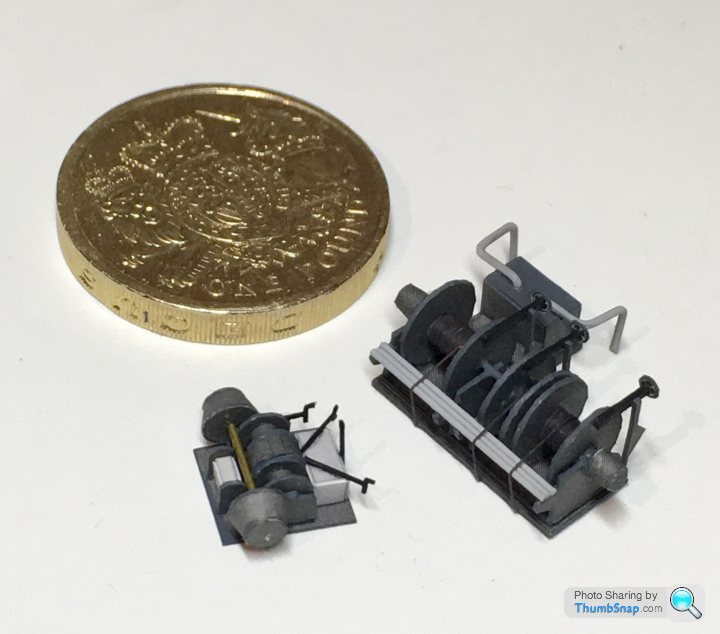
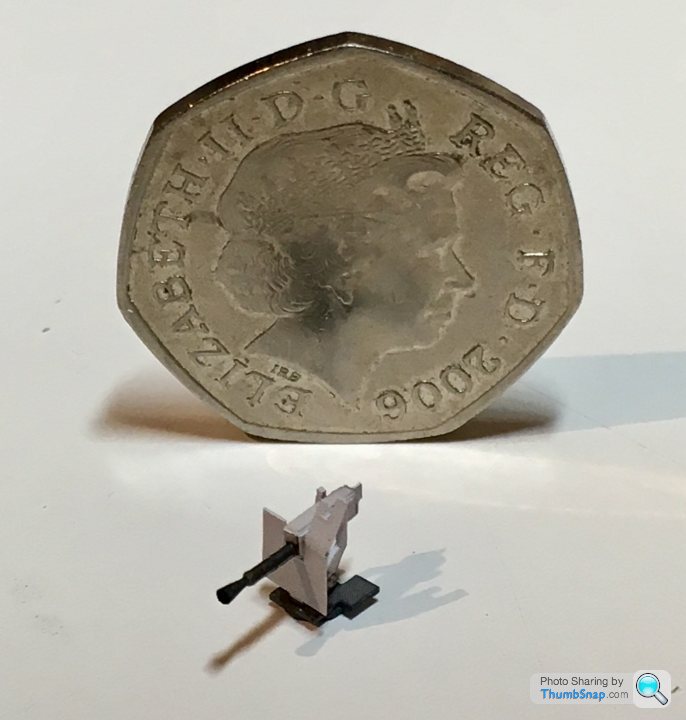
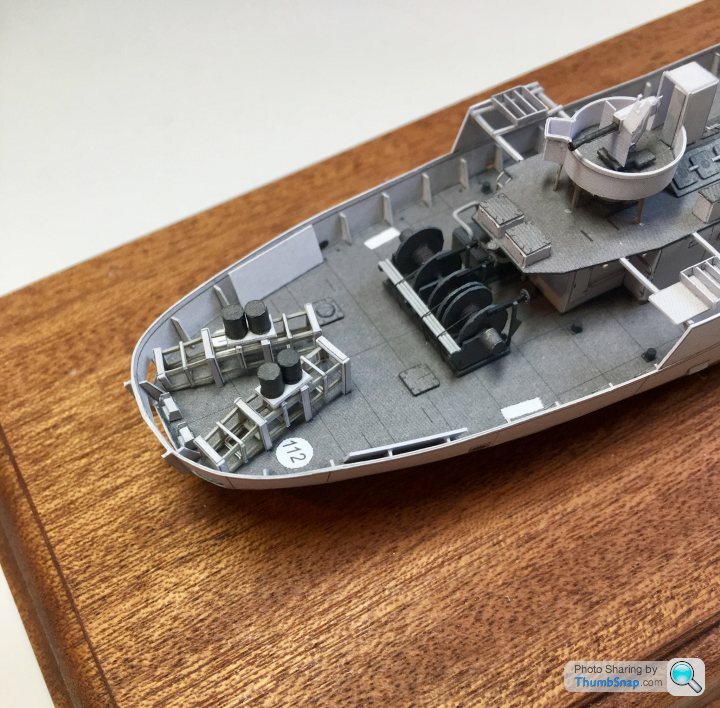
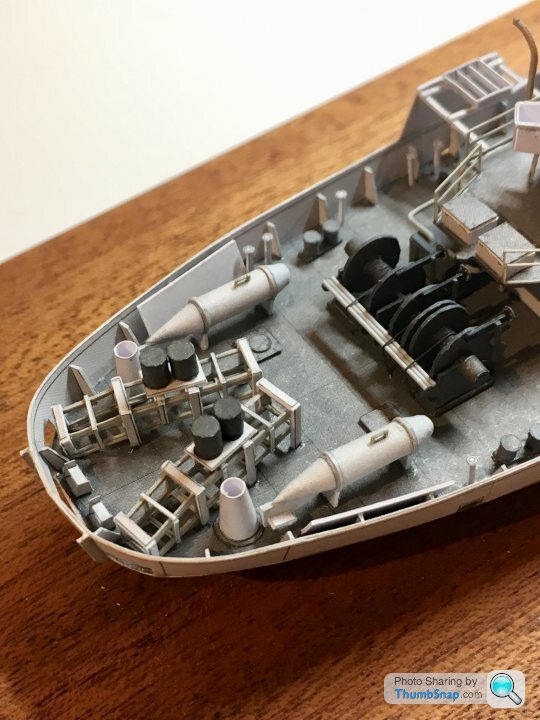
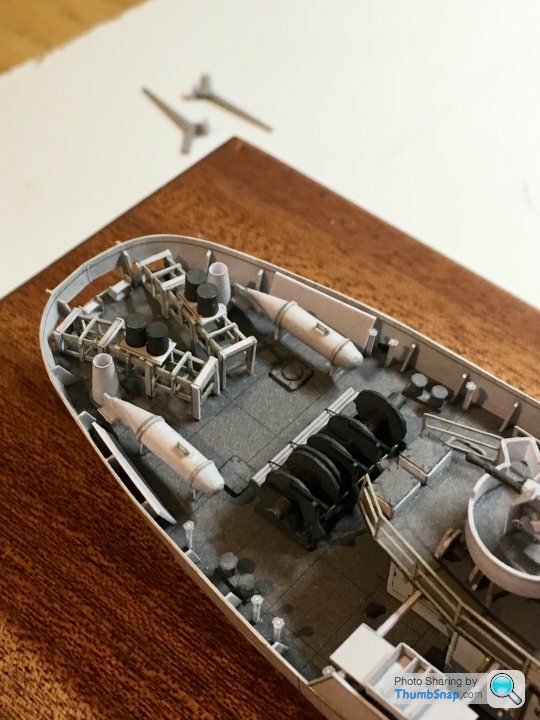
Rear deck winches:


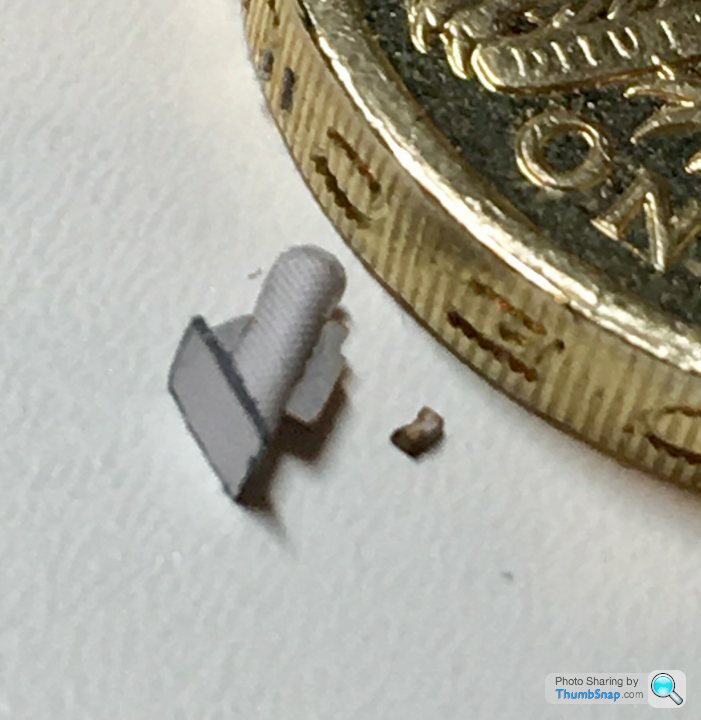
Lifeboat winches under construction:
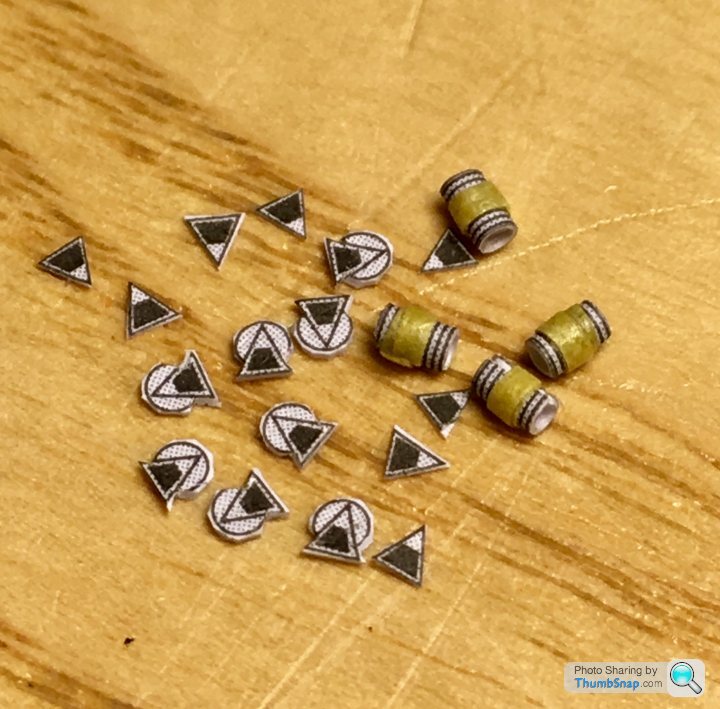
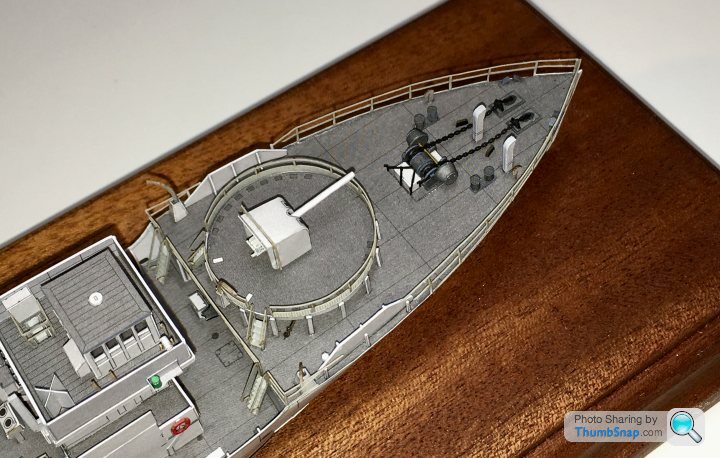
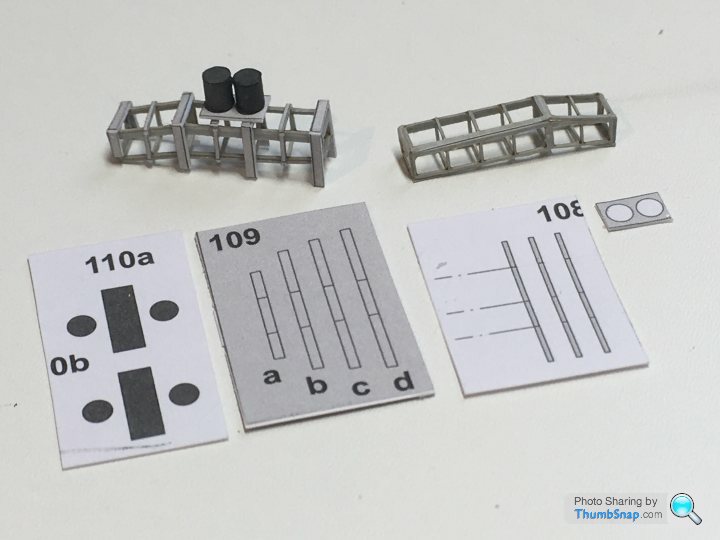
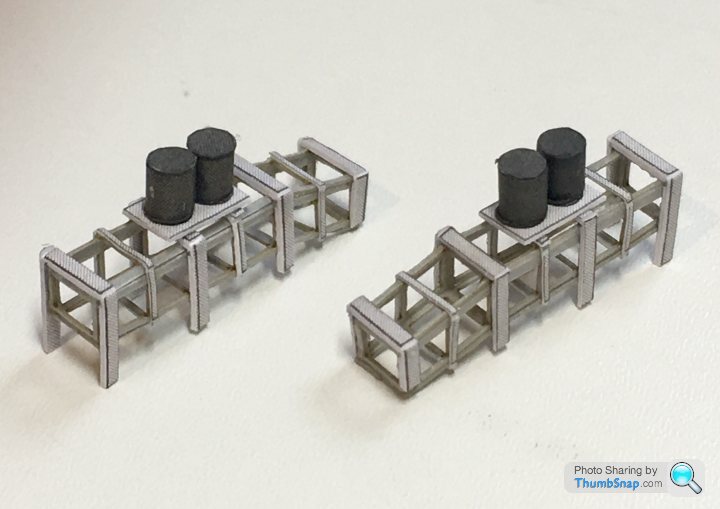
And some things I’m not sure what they are. They might be floats for minesweeping or something; 3 per side, mounted on what looks like a rack, and with a Derrick above each set:

Life rafts laminated from 6 layers:
Rear deck winches:
Lifeboat winches under construction:
And some things I’m not sure what they are. They might be floats for minesweeping or something; 3 per side, mounted on what looks like a rack, and with a Derrick above each set:

Gassing Station | Scale Models | Top of Page | What's New | My Stuff