Macross Destroid Phalanx (1:00)
Discussion


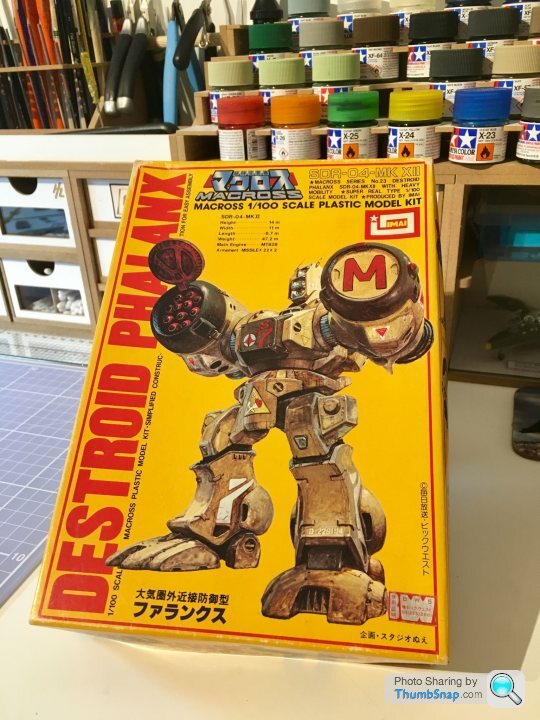
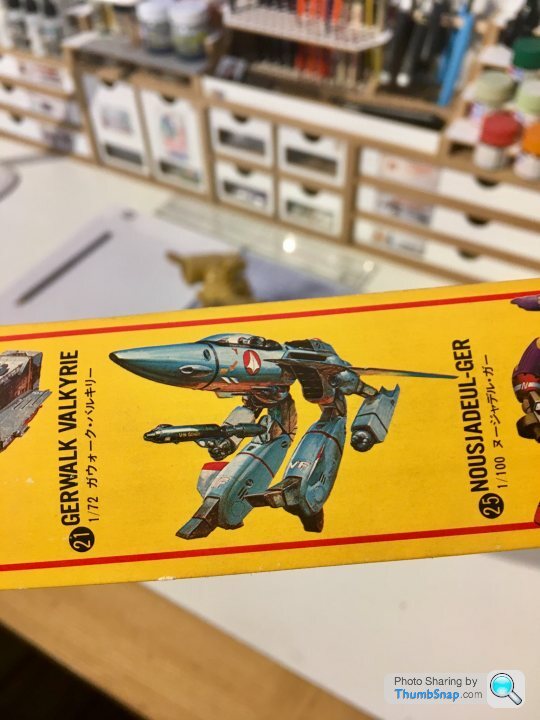
Now for something completely different...1984, towards the end of term, a teacher brought some of these unwanted Macros robot kits in, and asked if anyone wanted them. I wasn’t into robot stuff, so didn’t bother, but my pal got this Destroid Phalanx. The next week he brought it in built and painted and I thought it looked awesome. Thirty-odd years later I finally figured out what the name of the kit was, and found this one for sale on EBay, from Italy:
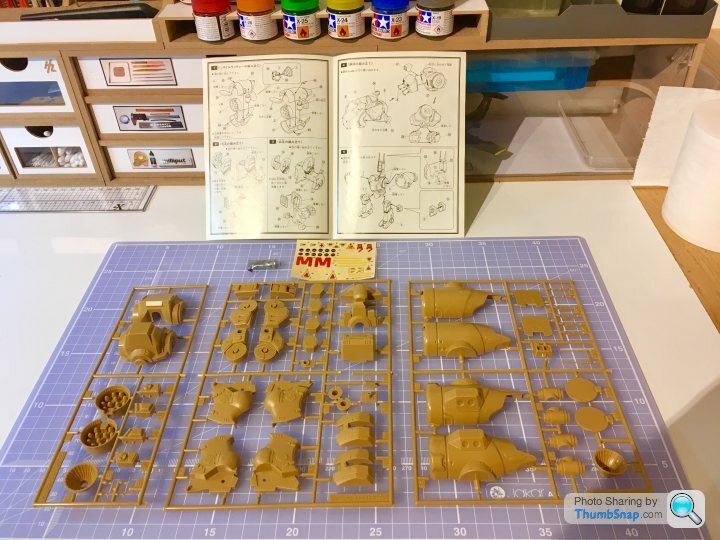
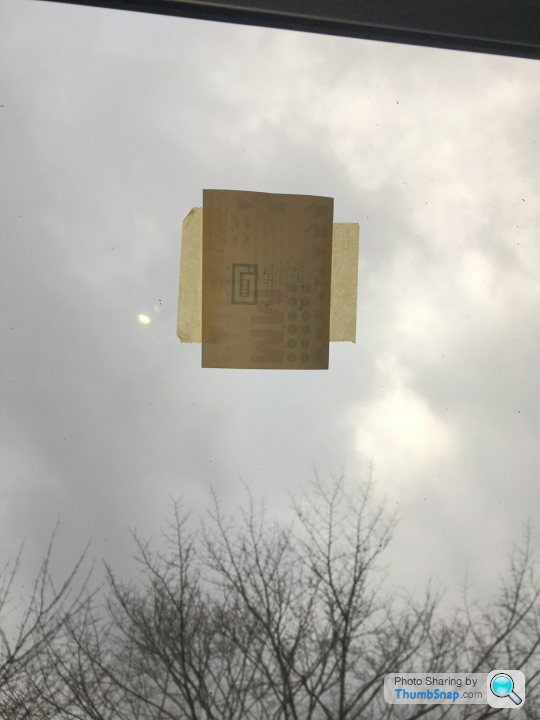
Intention is to try some new techniques by finishing it heavily weathered, including paint chipping and rust staining. The decals are badly yellowed, and no doubt pretty brittle. They’re currently taped to a south facing window to let uv light do it’s job.
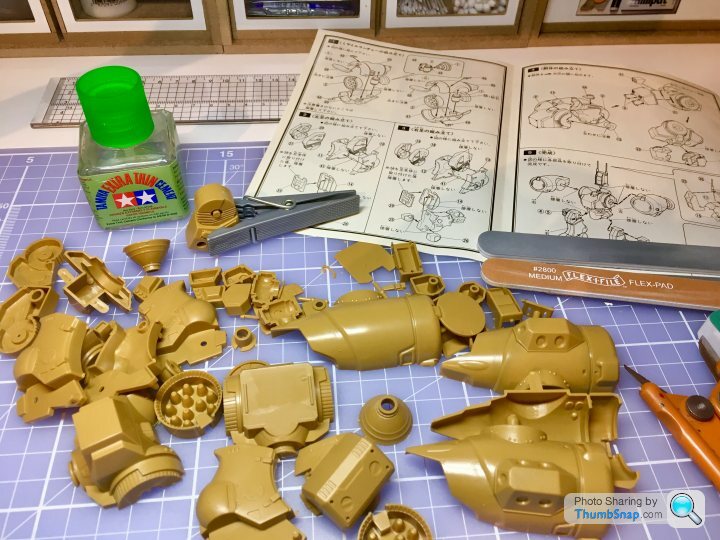
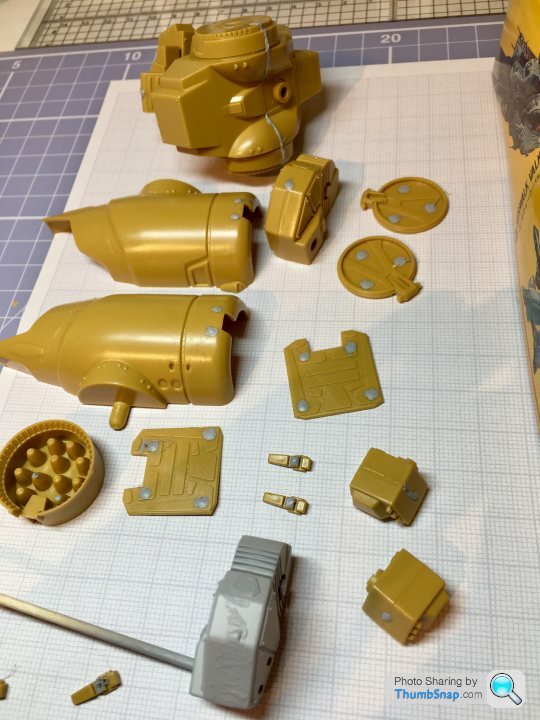
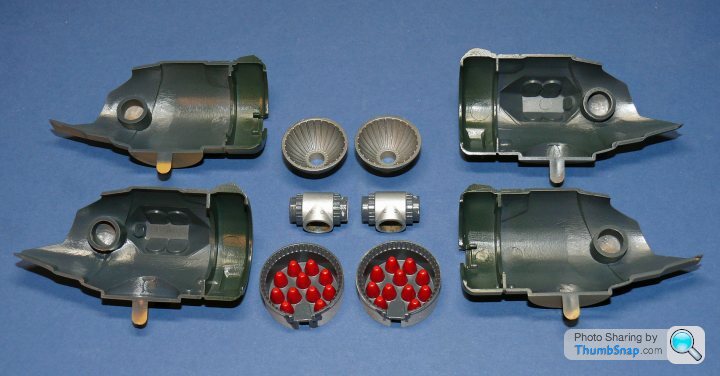
Part count is fairly low; it’s half toy, half scale model I guess:
Intention is to try some new techniques by finishing it heavily weathered, including paint chipping and rust staining. The decals are badly yellowed, and no doubt pretty brittle. They’re currently taped to a south facing window to let uv light do it’s job.
Part count is fairly low; it’s half toy, half scale model I guess:
defblade said:
I remember these kind of kits from many many years ago!
Sadly, when what was in the box met my significant lack of artistic skill, the end result missed a certain something compared to the picture on the box...
It’s certainly a blank canvas, that’s for sure!Sadly, when what was in the box met my significant lack of artistic skill, the end result missed a certain something compared to the picture on the box...
The plastic is very brittle - I don’t think I’ll be making use of the articulated joints...
I love the tiny tube of glue that was included in the kit, very reminiscent of kits from a bygone era.
AshVX220 said:
I'll be watching this thread with huge interest! I only built one robot model as a kid, it was really small and I only got it as it was a robot based on an F-14.
This one on the side of the box looks F-14 ish, but I guesss it’ll be a similar size to the Phalax, so not too small:Edited by AshVX220 on Friday 16th February 15:55
Right; paint chipping. Not something that is easy to get looking right, so I tend to avoid it apart from maybe a few speckles of silver/grey pencil on my aircraft occasionally.
There are two main methods - apply whatever base colour you want the chips to be, overcoat with main colour and then selectively remove the top coat. Or apply the main colour and add the chips on top. The former method requires either an interface medium to be applied between coats to temporarily de-bond the top coat, or speckled masking which is removed after the top coat has set. The latter just needs a good way of applying random spots of paint.
For a starter for 10 I experimented with both, firstly a silver undercoat with a layer of MIG chipping medium (some people use hair lacquer, but the process is the same):

Over coated with yellow:
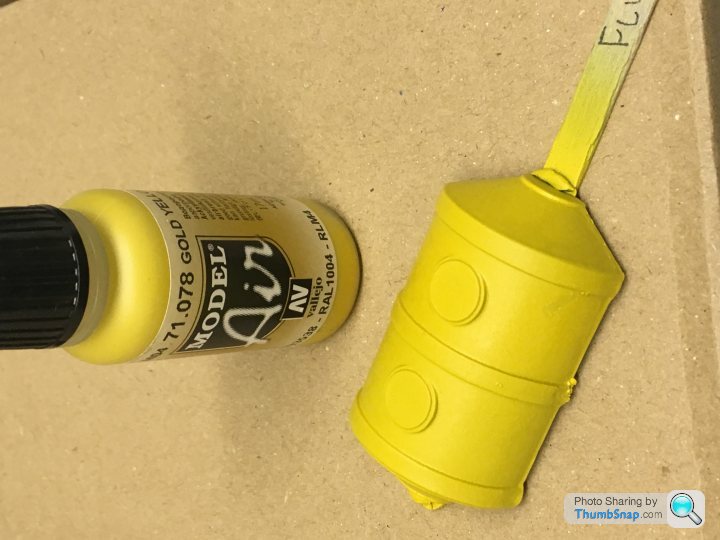
The other piece was just sprayed yellow.
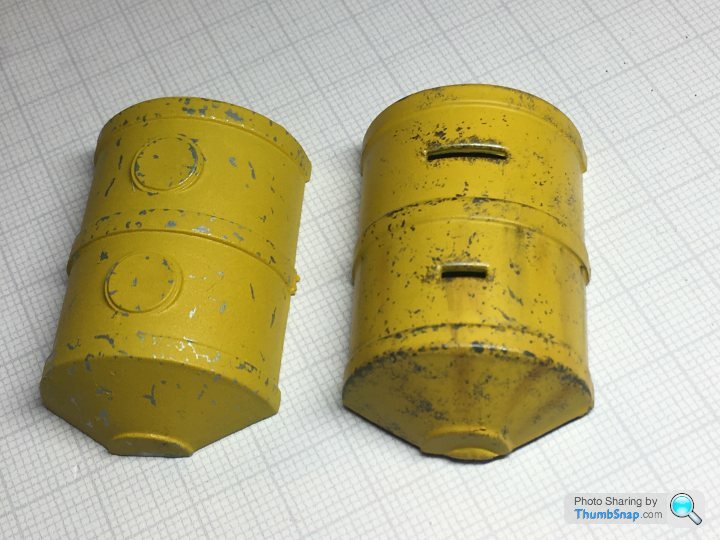
The left image below shows the piece after soaking in water (to soften the top coat) and picking paint away with a cocktail stick. If you ignore the bright undercoat, the effect is good, but the chipping medium does tend to bulk up the surface, losing sharp details. The yellow is also slightly crazed.
Discounting the fluid due to those drawbacks, I then selectively applied dark grey paint (with a sponge) to the other (right side) sample. I also added some rust streaks with powder and thick dark wash:
I think if this method was more subtle, it would look fine. I’ve now stripped and repainted both samples and have added preshading to them, then I’ll add the chips once more and see how that looks before noting it down and getting on with the build.
Meanwhile, what little sunlight we get up here is doing a great job of clearing the yellowed decals:
There are two main methods - apply whatever base colour you want the chips to be, overcoat with main colour and then selectively remove the top coat. Or apply the main colour and add the chips on top. The former method requires either an interface medium to be applied between coats to temporarily de-bond the top coat, or speckled masking which is removed after the top coat has set. The latter just needs a good way of applying random spots of paint.
For a starter for 10 I experimented with both, firstly a silver undercoat with a layer of MIG chipping medium (some people use hair lacquer, but the process is the same):
Over coated with yellow:
The other piece was just sprayed yellow.
The left image below shows the piece after soaking in water (to soften the top coat) and picking paint away with a cocktail stick. If you ignore the bright undercoat, the effect is good, but the chipping medium does tend to bulk up the surface, losing sharp details. The yellow is also slightly crazed.
Discounting the fluid due to those drawbacks, I then selectively applied dark grey paint (with a sponge) to the other (right side) sample. I also added some rust streaks with powder and thick dark wash:
I think if this method was more subtle, it would look fine. I’ve now stripped and repainted both samples and have added preshading to them, then I’ll add the chips once more and see how that looks before noting it down and getting on with the build.
Meanwhile, what little sunlight we get up here is doing a great job of clearing the yellowed decals:
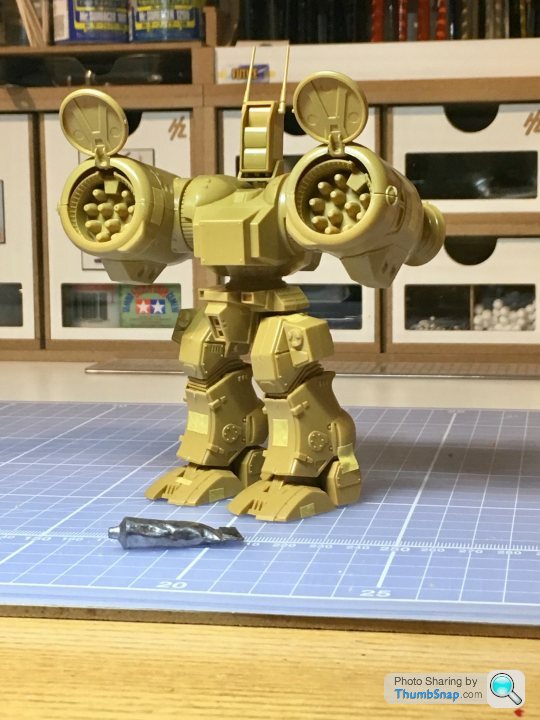
So there's a lot of filling and flatting to do on this one...It's an old kit after all.
I've been working on the legs, the upper bits were assembled, filled, flatted and primed, then the knee joints painted and masked before closing the lower legs around them. I've been through the process of filling and flatting twice now, and I'm still getting some witness marks along the joins:
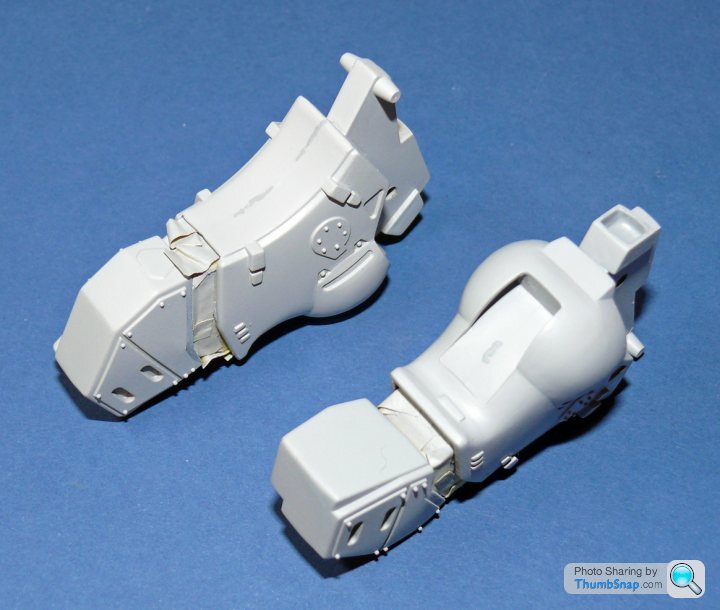
The backs are quite intricate, and a bit crude. The internals of the small square box are very hard to get to with a chisel or whatever, so I've been dripping Mr.Surfacer 1000 into it to level the joints. Hopefully this will be the last iteration - every coat of primer dulls the surface detail, and this then makes an effective wash difficult to achieve.
The main torso is pretty much there:
I usually airbrush even the smallest details, but on this occasion I've brush painted the grey with Vallejo Model Colour (mixed with retarder and thinned slightly). My son uses this method and can pretty much match an airbrush finish these days. Takes me back to when I used to build a kit in an evening...
The decals have been cooking in the sun for a while, and the yellowed carrier film is almost gone. The next issue with old decals is that they tend to disintegrate when put in water. To reduce this effect, I use Microscale Liquid Decal Film, which basically forms a thin film over the sheet and holds it all together long enough to place them on the model. It's best to cut each decal as close to the ink as possible with this method though.
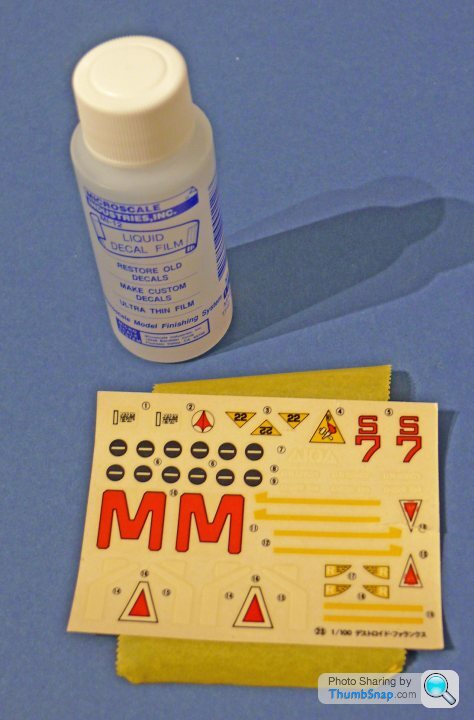
If all this fails, the last resort is to scan them, edit them on photoshop and re-print on decal paper. I hope it wont come to this though, since the model is after all yellow to start with...
I've been working on the legs, the upper bits were assembled, filled, flatted and primed, then the knee joints painted and masked before closing the lower legs around them. I've been through the process of filling and flatting twice now, and I'm still getting some witness marks along the joins:
The backs are quite intricate, and a bit crude. The internals of the small square box are very hard to get to with a chisel or whatever, so I've been dripping Mr.Surfacer 1000 into it to level the joints. Hopefully this will be the last iteration - every coat of primer dulls the surface detail, and this then makes an effective wash difficult to achieve.
The main torso is pretty much there:
I usually airbrush even the smallest details, but on this occasion I've brush painted the grey with Vallejo Model Colour (mixed with retarder and thinned slightly). My son uses this method and can pretty much match an airbrush finish these days. Takes me back to when I used to build a kit in an evening...
The decals have been cooking in the sun for a while, and the yellowed carrier film is almost gone. The next issue with old decals is that they tend to disintegrate when put in water. To reduce this effect, I use Microscale Liquid Decal Film, which basically forms a thin film over the sheet and holds it all together long enough to place them on the model. It's best to cut each decal as close to the ink as possible with this method though.
If all this fails, the last resort is to scan them, edit them on photoshop and re-print on decal paper. I hope it wont come to this though, since the model is after all yellow to start with...
jpringle819 said:
dr_gn said:
http://www.hobbyzone.pl/en/wsm/
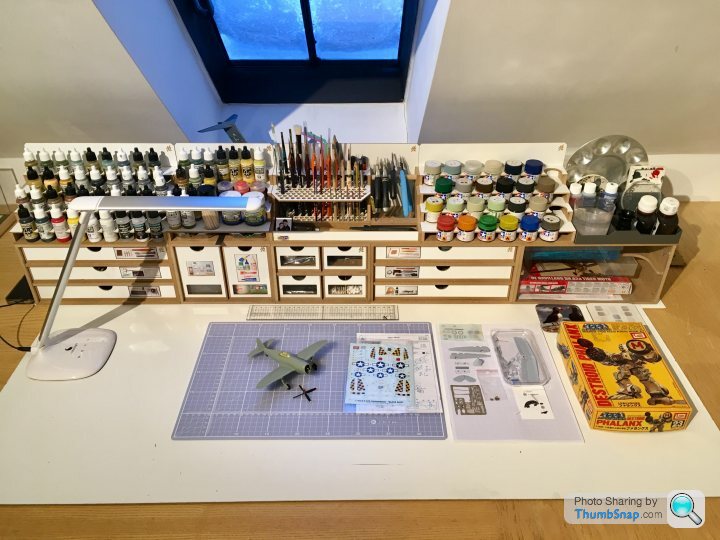
The lamp has daylight corrected LEDs, you can vary the brightness, but I have it on full all the time.
I’ve still got boxes of spare parts, materials, decals and paints in a cupboard underneath, but what I use most often is within those units.
Rumblestripe said:
dr_gn said:
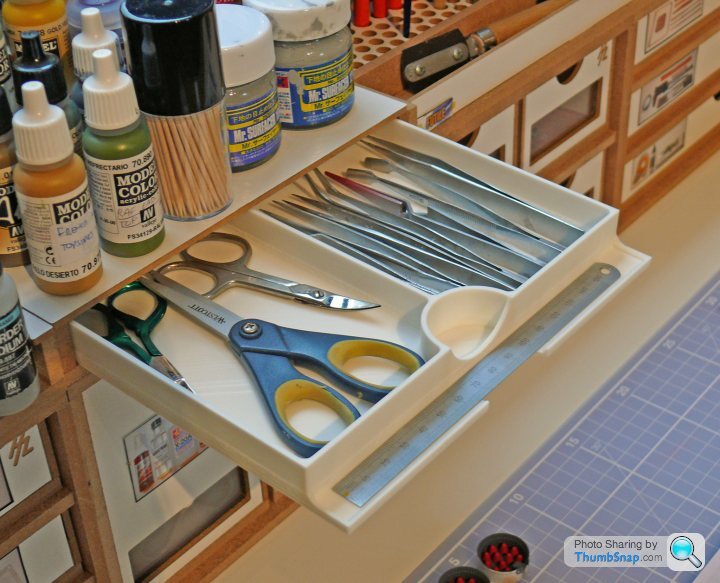
They are indeed Hobbyzone units, supplemented by some 3D printed items I designed for the things that didn’t fit within the standard units (I’m printing another drawer at the moment). I stuck photos of the drawer contents on the fronts - that’s probably saved me hours! I put everything on a white mdf sheet which can easily be repainted when it gets too dirty.
The lamp has daylight corrected LEDs, you can vary the brightness, but I have it on full all the time.
I’ve still got boxes of spare parts, materials, decals and paints in a cupboard underneath, but what I use most often is within those units.
I've got "Workzone Envy" and I didn't even that was a thinig!The lamp has daylight corrected LEDs, you can vary the brightness, but I have it on full all the time.
I’ve still got boxes of spare parts, materials, decals and paints in a cupboard underneath, but what I use most often is within those units.
My work area looks almost exactly NOT like that, there are tools and paints in little clusters, bits of plastic and dust from filing and sanding in the very middle there is a half built model of a 1/48th Sherman II
I salute your discipline sir!
AshVX220 said:
dr_gn said:
Done a bit of painting - the missile insert pieces were brush painted - I was going to airbrush them and use cut down straws to mask them, but I couldn't find the right sized straws. They look fine though, and will look better after a dark wash around the bases and some lilght weathering.
The insides of the missile pods were airbrushed dark grey, and the thrusters gunmetal and steel. Everything has a coat of Klear to protect the paint during assembly:
I need to finish the pod doors, then I can get everything assembled.
The insides of the missile pods were airbrushed dark grey, and the thrusters gunmetal and steel. Everything has a coat of Klear to protect the paint during assembly:
I need to finish the pod doors, then I can get everything assembled.
I’ve found it’s pot luck whether you can cleanly remove Tamiya spray paint - particularly their primers. I think some are lacquers rather than acrylics.
Can’t you overspray the marking with base colour? If that doesn’t work you’ve got about three options: soak in brake fluid, Modelstrip paste or Mr.Muscle aerosol oven cleaner. Put the coated parts in a sealed plastic bag in a warm place and hope for the best. Clean it off with a toothbrush, hot water and detergent. And wear gloves and eye protection - it’s not worth your eyesight.
Using either one or all of the above methods, I’ve had parts back to bare plastic in a couple of hours, or parts which have patches (or indeed entire primer coats) that simply won’t strip.
Good luck!
Jader1973 said:
dr_gn said:
I’ve found it’s pot luck whether you can cleanly remove Tamiya spray paint - particularly their primers. I think some are lacquers rather than acrylics.
Can’t you overspray the marking with base colour? If that doesn’t work you’ve got about three options: soak in brake fluid, Modelstrip paste or Mr.Muscle aerosol oven cleaner. Put the coated parts in a sealed plastic bag in a warm place and hope for the best. Clean it off with a toothbrush, hot water and detergent. And wear gloves and eye protection - it’s not worth your eyesight.
Using either one or all of the above methods, I’ve had parts back to bare plastic in a couple of hours, or parts which have patches (or indeed entire primer coats) that simply won’t strip.
Good luck!
Thanks. I’ll give one of those a try. Just getting the poorly done acrylic marking off would be enough.Can’t you overspray the marking with base colour? If that doesn’t work you’ve got about three options: soak in brake fluid, Modelstrip paste or Mr.Muscle aerosol oven cleaner. Put the coated parts in a sealed plastic bag in a warm place and hope for the best. Clean it off with a toothbrush, hot water and detergent. And wear gloves and eye protection - it’s not worth your eyesight.
Using either one or all of the above methods, I’ve had parts back to bare plastic in a couple of hours, or parts which have patches (or indeed entire primer coats) that simply won’t strip.
Good luck!
I’ve weathered the missiles, painted the doors and glued them into one half of each pod. Fit is crap - the inserts had to be packed with paper shims before flooding around with pva. I’ve test -assembled it (takes about 30 seconds):


Next job is to permanently close the pod halves, flat the joins and mask ready for painting.
Next job is to permanently close the pod halves, flat the joins and mask ready for painting.
AshVX220 said:
dr_gn said:
kenny.R400 said:
Weathering at its finest!
I may yet chicken out of paint chipping and stick to my boring old tried and tested methods.
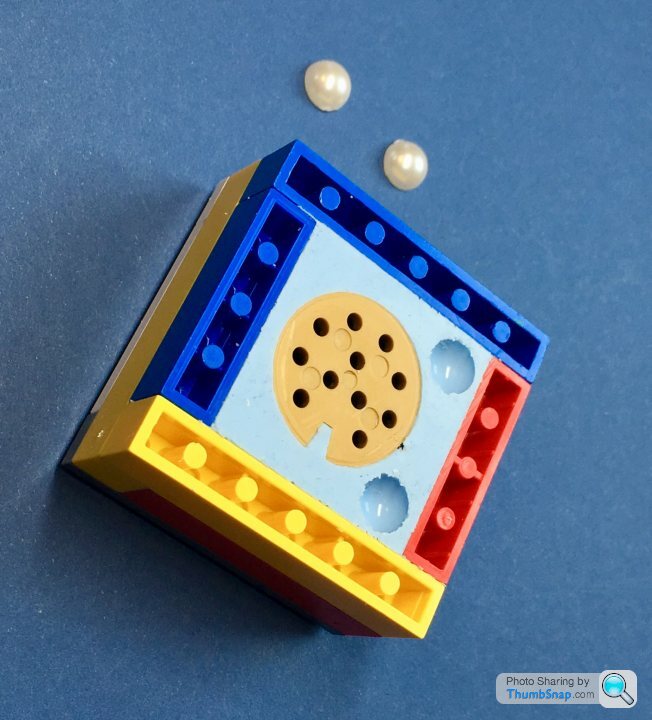
The moulded-in missile heads bothered me. It was impossible to paint them properly, while still weathering the back plates.
So Ive decided to take a resin cast of the whole thing, and separate the heads, then I’ll 3D print a recessed backplate and fit the assembly to the original surrounds. At least that’s the plan!
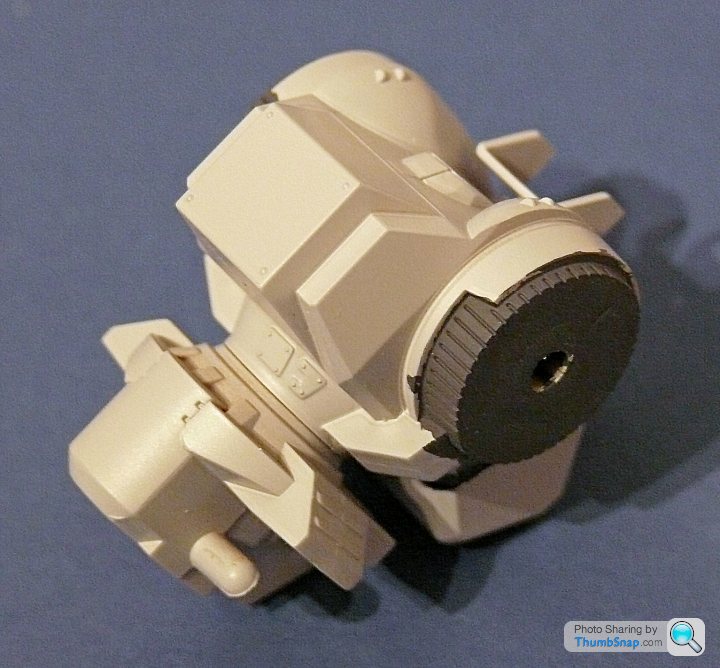
Here is an original part, Blu-Tacked into its moulding box:

So Ive decided to take a resin cast of the whole thing, and separate the heads, then I’ll 3D print a recessed backplate and fit the assembly to the original surrounds. At least that’s the plan!
Here is an original part, Blu-Tacked into its moulding box:
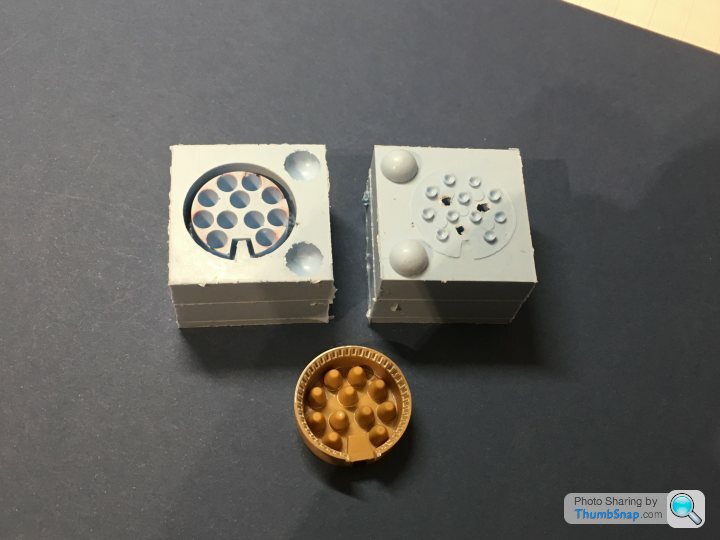
The mould set OK, so I removed the base plate to reveal the original part embedded in the rubber:
I added a couple of self-adhesive half beads from Hobbycraft to the plate before pouring, to give locations for the pattern halves once complete. It’s probably not really necessary in this case because it’s a flat feature on the split line, but whatever.
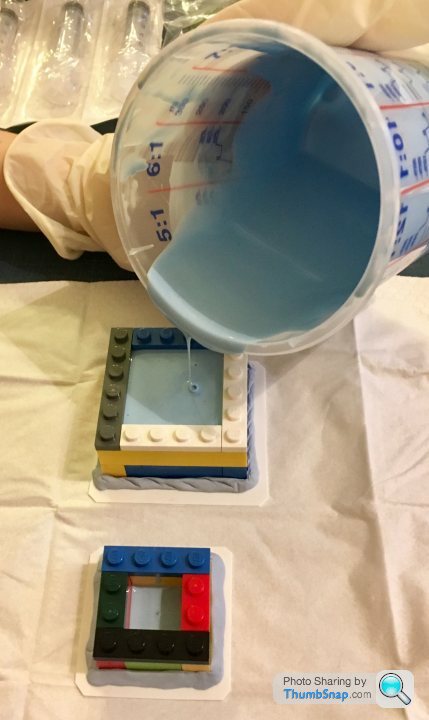
Next, built up the second half of the mould box, and added some feed tubes through which I’ll inject the resin. Finally, brushed some silicone release agent on the mould face:

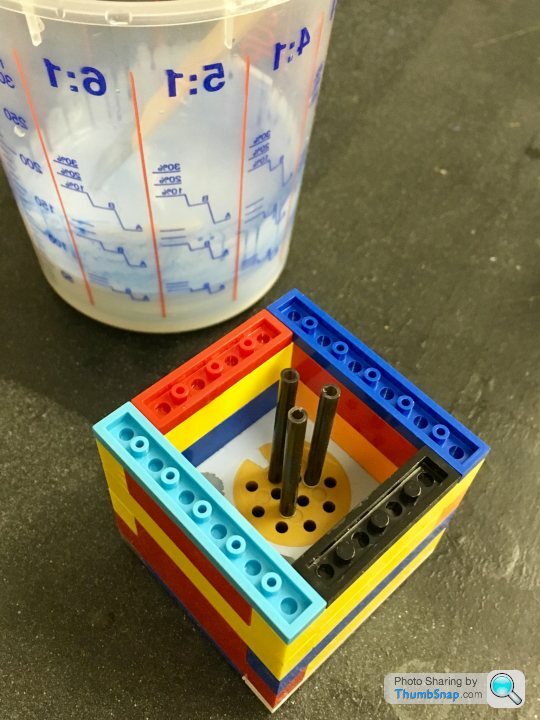
Mixed and poured the rubber, and currently waiting for it to set - probably over night:
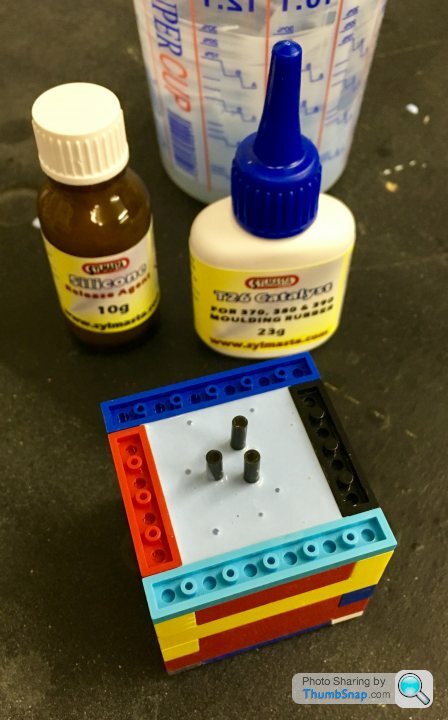
I added a couple of self-adhesive half beads from Hobbycraft to the plate before pouring, to give locations for the pattern halves once complete. It’s probably not really necessary in this case because it’s a flat feature on the split line, but whatever.
Next, built up the second half of the mould box, and added some feed tubes through which I’ll inject the resin. Finally, brushed some silicone release agent on the mould face:
Mixed and poured the rubber, and currently waiting for it to set - probably over night:
Gassing Station | Scale Models | Top of Page | What's New | My Stuff