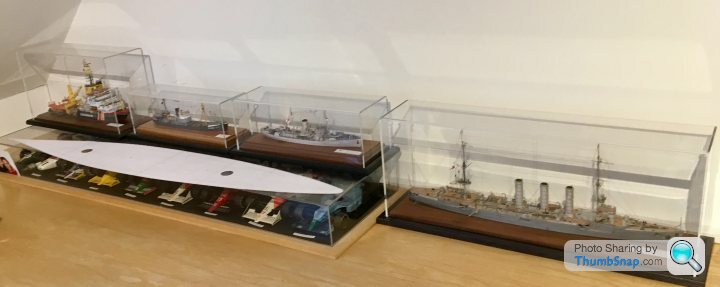
Paper Ship: Bismarck, HMV, 1:250
Discussion


I never intended to build this one, but in the end I couldn’t resist the challenge:
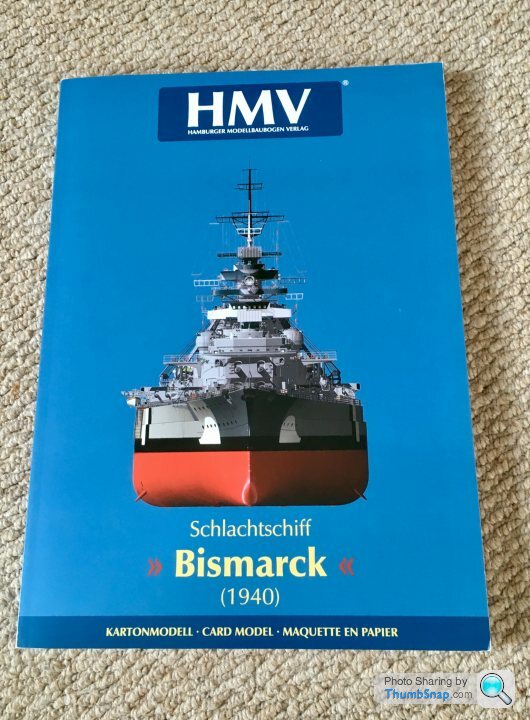
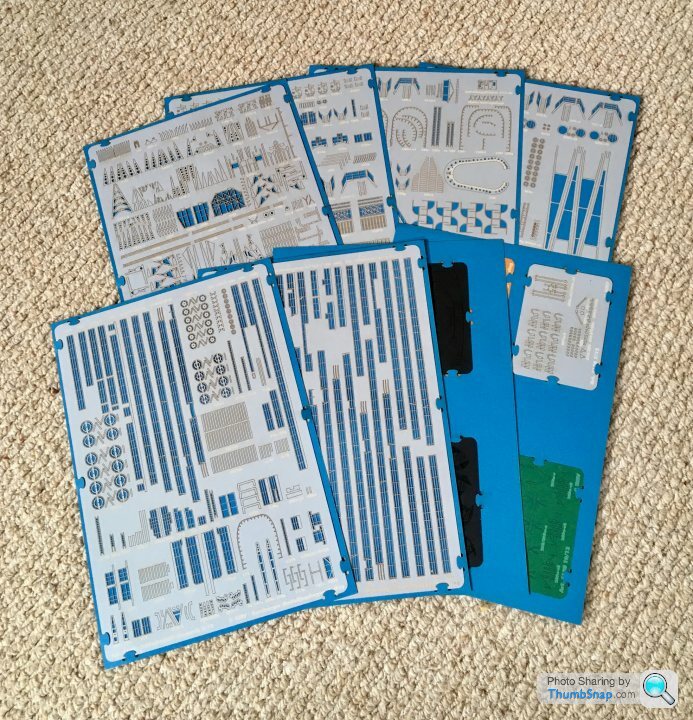
Couldn’t really build it without the laser-cut set (which cost as much as the kit):
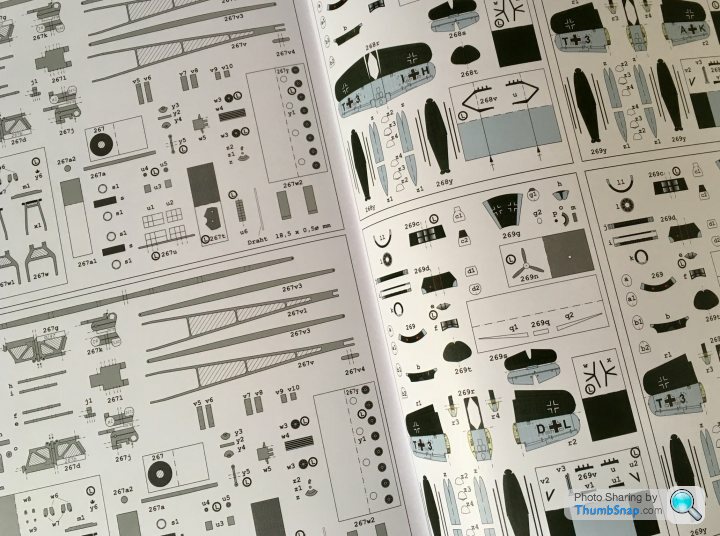
It’s a big one - over a metre long and 7545 parts:

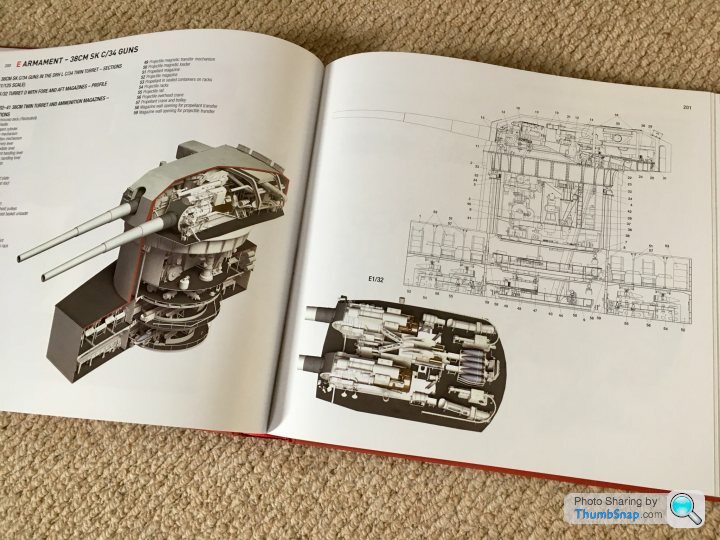
Also got this awesome book as a reference:

Two years minimum for this one I think.
Couldn’t really build it without the laser-cut set (which cost as much as the kit):
It’s a big one - over a metre long and 7545 parts:
Also got this awesome book as a reference:
Two years minimum for this one I think.
Fast and Spurious said:
Seven thousand, five hundred and forty five!
When it says 'parts' what it actually means is bits of paper you have to cut out and make into parts...I just looked, and the largest paper ship I built so far was the Mellum,
https://www.pistonheads.com/gassing/topic.asp?h=0&...
and that was 1179 parts, and it took me about a year. So it might be more than a 2 year build.
El stovey said:
dr_gn said:
When it says 'parts' what it actually means is bits of paper you have to cut out and make into parts...
I just looked, and the largest paper ship I built so far was the Mellum,
https://www.pistonheads.com/gassing/topic.asp?h=0&...
and that was 1179 parts, and it took me about a year. So it might be more than a 2 year build.
Can you stop posting and get on with it. We’re keen to see some progress. I just looked, and the largest paper ship I built so far was the Mellum,
https://www.pistonheads.com/gassing/topic.asp?h=0&...
and that was 1179 parts, and it took me about a year. So it might be more than a 2 year build.

That other thread about the Mellon is great, I’m just getting stuck into that now enjoying a coffee sitting in the sun.
ETA just seen THAT thread links to another ship build.
Edited by El stovey on Friday 23 August 10:04
I’m planning to make a start on the Bismarck this weekend, I need a very large flat surface to build the waterline hull, so I’ll use the granite worktop in the kitchen. Rest of the family are away, so it wont get damaged.
El stovey said:
dr_gn said:
I’ve built four so far: Wuppertal, Mellum, Battleford and Emden. They’re all on this forum somewhere.
I’m planning to make a start on the Bismarck this weekend, I need a very large flat surface to build the waterline hull, so I’ll use the granite worktop in the kitchen. Rest of the family are away, so it wont get damaged.
Will it stay there for 2 years? I’m planning to make a start on the Bismarck this weekend, I need a very large flat surface to build the waterline hull, so I’ll use the granite worktop in the kitchen. Rest of the family are away, so it wont get damaged.

Heartworm said:
Daft question, what are the laser cut parts you mention if it still requires you to cut the pieces?
You substitute the laser-cut parts for paper ones (indicated by a circled “L” on the sheets). Small details like brackets and railings or other items that are very difficult to cut out from paper. The alternative is to leave the paper railings with a grey background, but it doesn’t look great.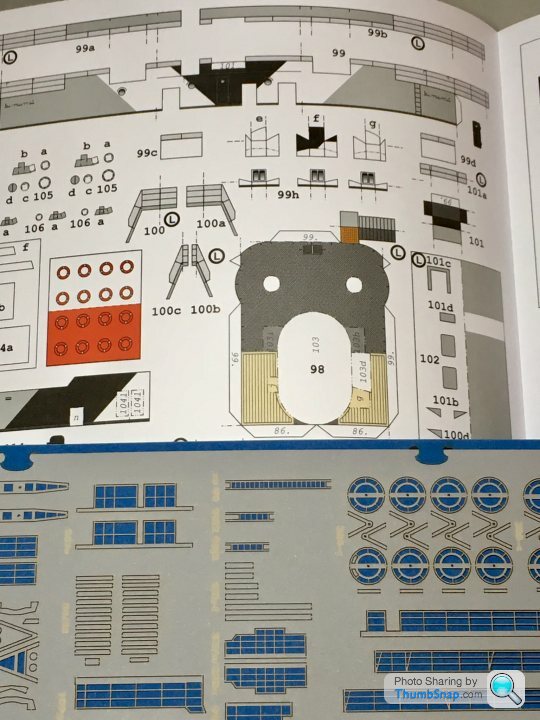
ETA: The laser-cut parts are held on their sheets by a few small nibs that you just cut with a scalpel. You don’t need to cut them out.
Edited by dr_gn on Monday 26th August 01:09
robemcdonald said:
dr_gn said:
Yes I’m wondering if it’s one project too far.
I’ve heard of the cutters, but not sure how they’d help with this model?
As I understand it you scan the page of parts and it cuts them out for you.I’ve heard of the cutters, but not sure how they’d help with this model?
You can preview and adjust the cuts before “pulling the trigger” to use the common vernacular.


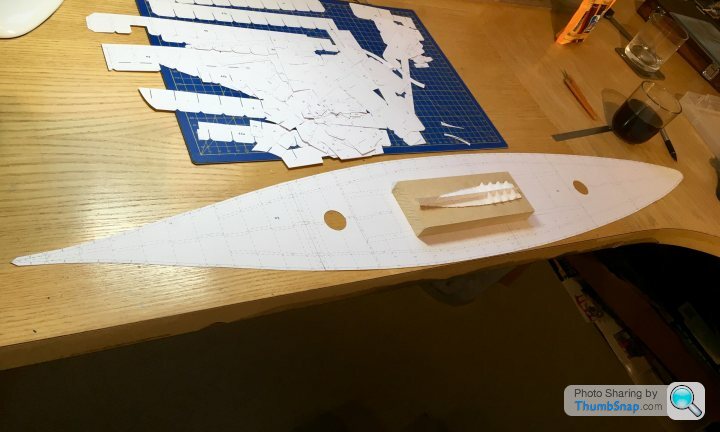
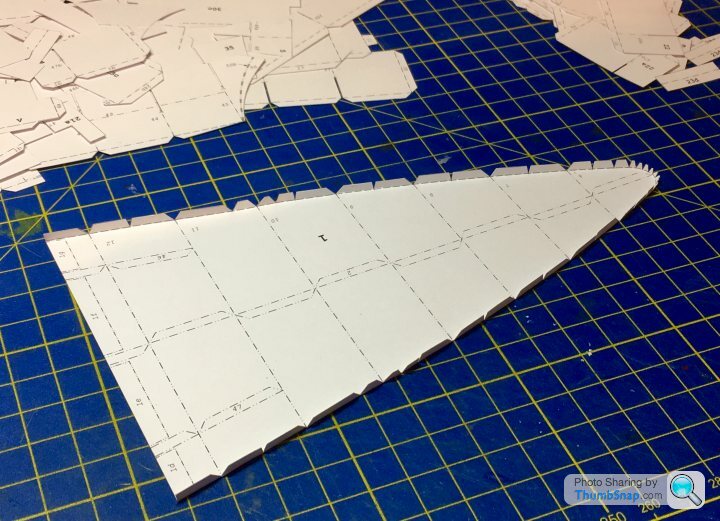
Finally got all the upper hull substructure parts cut out. There’s a lot. Here’s a Jaguar Class torpedo boat hull of the same scale for a size comparison:
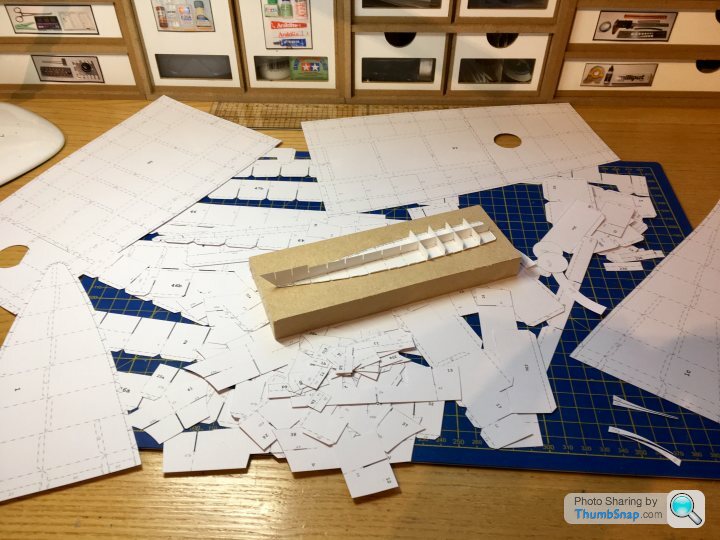
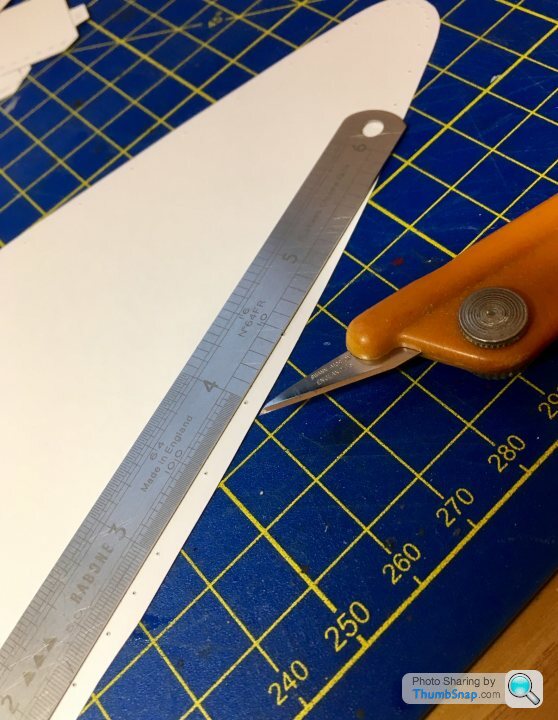
A lot of the parts need scoring on the opposite side of the printed paper. I usually mark the ends of these lines with a pin hole:
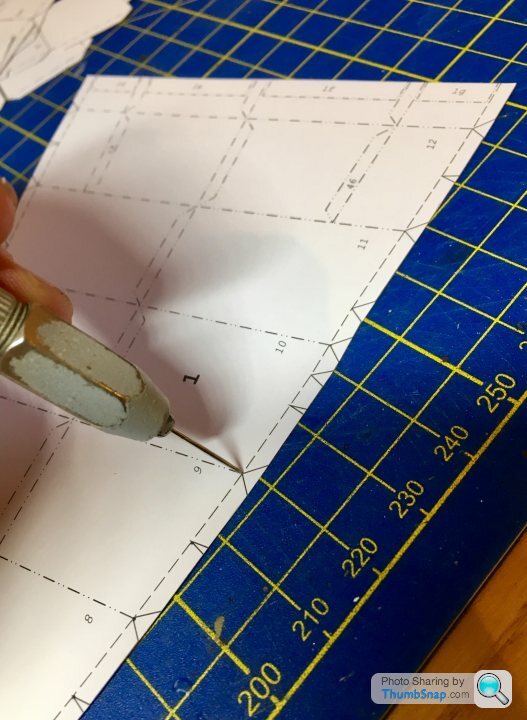
Then score the lines between the holes:
A lot of the parts need scoring on the opposite side of the printed paper. I usually mark the ends of these lines with a pin hole:
Then score the lines between the holes:
robemcdonald said:
Impressive stuff as usual.
Do you have a method for storing the parts so;
1. They remain flat until needed
2. You can easily find the part you need?
It seems a bit of a logistical nightmare.
Thanks, I usually cut and assemble the parts as and when needed, or keep them in a Hobbycraft A4 storage box. Sub-assemblies I keep in a small plastic storage case.Do you have a method for storing the parts so;
1. They remain flat until needed
2. You can easily find the part you need?
It seems a bit of a logistical nightmare.
Luckily all the parts so far have numbers printed on them, so there's no issue with losing track.
This one will indeed be a bit of a nightmare. The MDF building base will be quite large and heavy. I'll probably store it at the back of my work bench during the build.
El stovey said:
That hull shape looks distinctive and beautiful.
Great work as usual, I can’t wait to see more but it’s obviously a slow process.
Thanks, I often go in phases of enthusiasm for a particular kit. I've just completed a Kittyhawk Mk1a for a magazine review, and have just started a Curtiss Helldiver for the same publication. It's only fair to concentrate on the kits I've committed to for that.Great work as usual, I can’t wait to see more but it’s obviously a slow process.
Still thinking about a basebord for building the hull. I need something light, but stiff, 1000 mm x 190 mm.
I'm thinking of using a cardboard honeycomb between two thin bits of laminate (like the cheap IKEA furninture), maybe about 30 mm overall depth, or a piece of carbon fibre.
Any other ideas welcome.
I'm thinking of using a cardboard honeycomb between two thin bits of laminate (like the cheap IKEA furninture), maybe about 30 mm overall depth, or a piece of carbon fibre.
Any other ideas welcome.
wolfracesonic said:
Is the base board just for building the model on, what about a piece of multiwall polycarbonate if so? If your looking for ideas for a final display base,how about a piece of Corten steel set into a piece of hardwood?
It's just for building. I'll transfer it when it's complete. Polycarbonate might be a good call, I'll see how heavy it is. Thanks.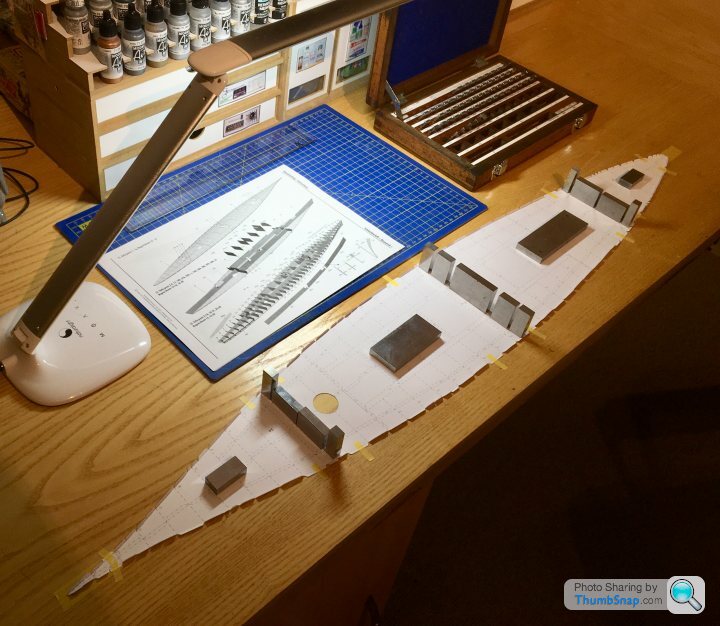

Toma500 said:
Expanding foam might be of use to keep things together and taught ?
I think it might get a bit messy. The model isn’t too heavy, and will have some inherent stiffness, so thick card or thin laminate over some kind of honeycomb would be ok. It’s just where to get it from.Gassing Station | Scale Models | Top of Page | What's New | My Stuff