Pocher 1/4 scale Ducati
Discussion


Time to preview my next big build

The box is massive and barely fits on my dining room table.
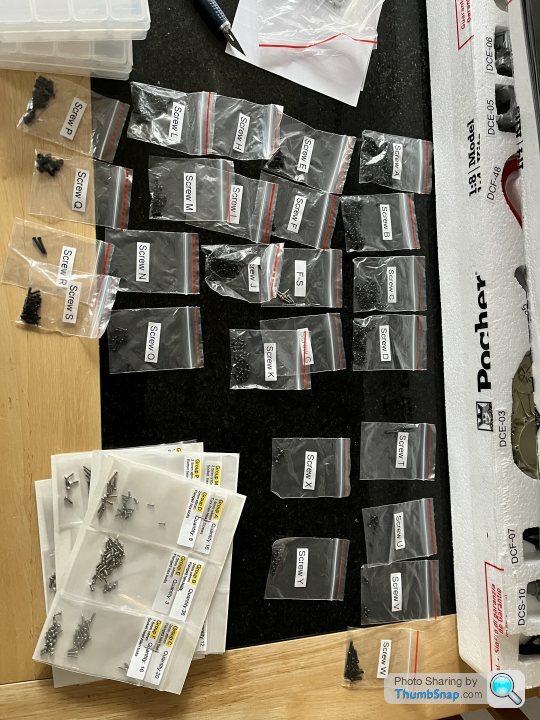
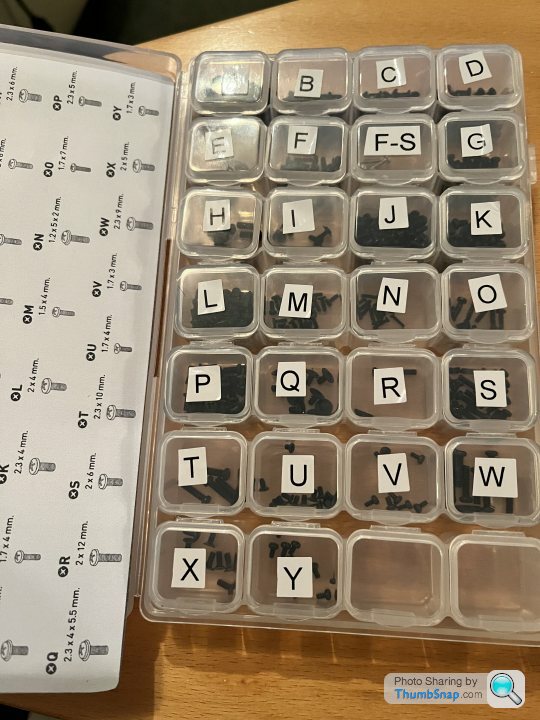
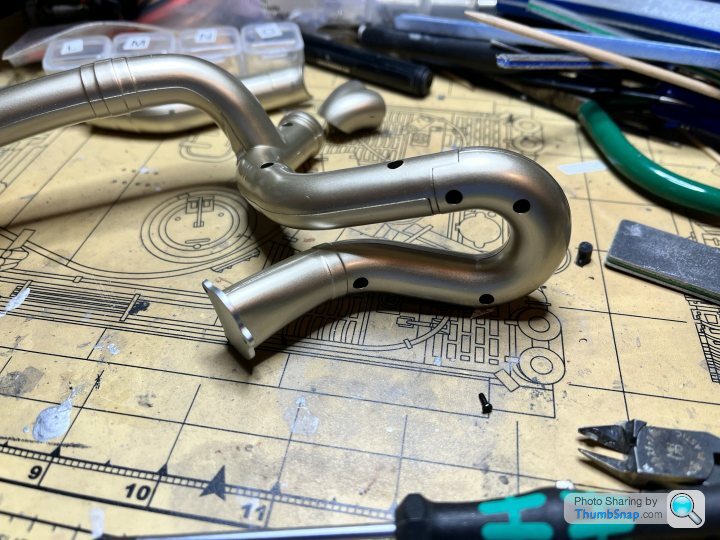
Got the scale hardware set and improved decals, the latter mainly so I can get rid of a noticeable seam line on the exhaust cans as some of the decals are for US spec bikes.
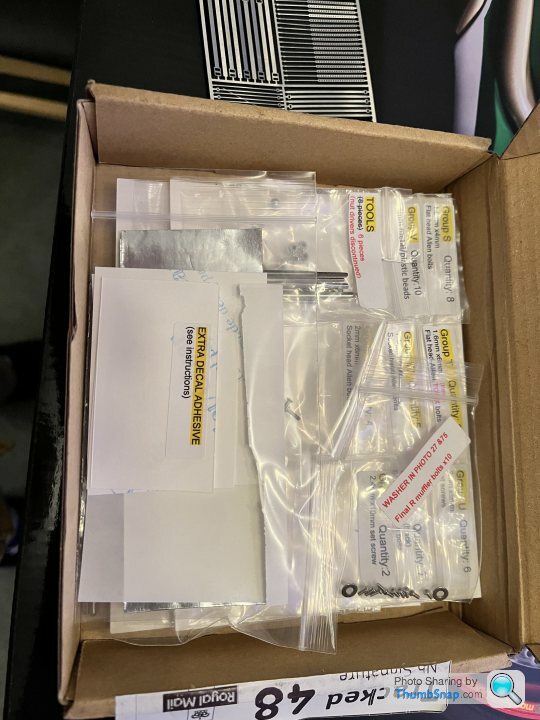
So who’s interested in a build thread, or shall I just update in a few months with the completed model?
The box is massive and barely fits on my dining room table.
Got the scale hardware set and improved decals, the latter mainly so I can get rid of a noticeable seam line on the exhaust cans as some of the decals are for US spec bikes.
So who’s interested in a build thread, or shall I just update in a few months with the completed model?
rodericb said:
When you own a Ducati you must start on the inevitable "upgrades"
https://shop.autographmodel.com/Autograph-Transkit...
https://shop.autographmodel.com/Paul-Koo-Hardware-...
Best and cheapest “upgrade” is the Paul Koo DVD, also available as a digital downloadhttps://shop.autographmodel.com/Autograph-Transkit...
https://shop.autographmodel.com/Paul-Koo-Hardware-...
https://www.ebay.co.uk/itm/222238410506?hash=item3...
I’ve got the hardware kit, so will be covering it once I get started.
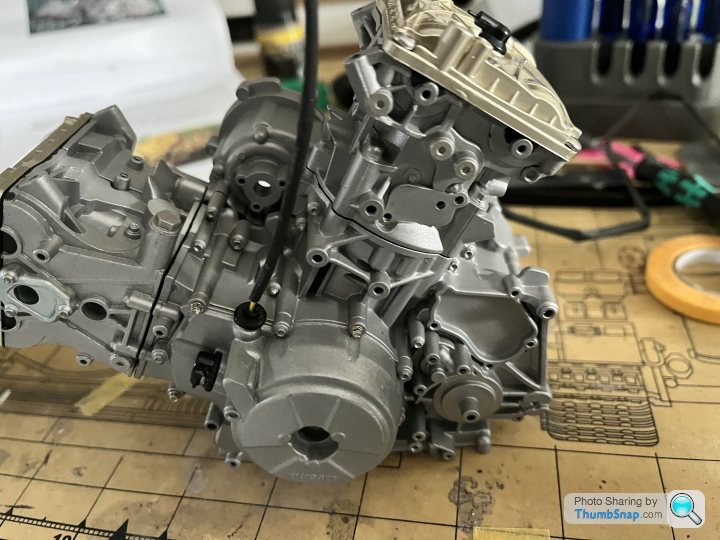
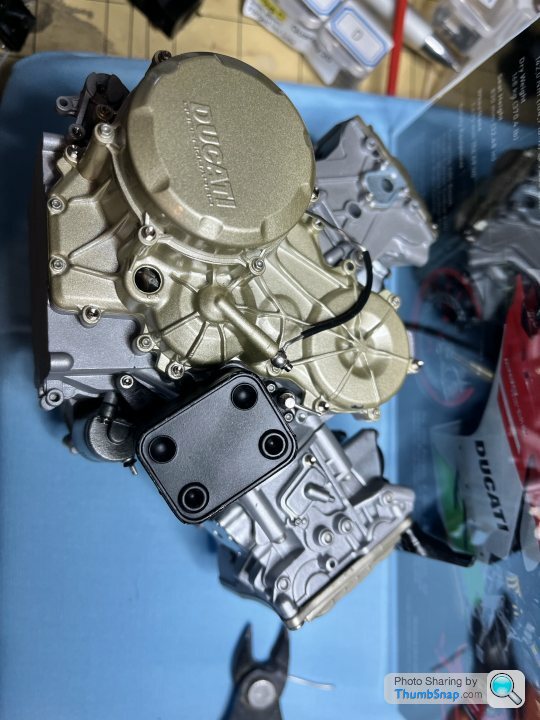
Made a start with the cylinders, bodies and engine block are metal, heads are plastic
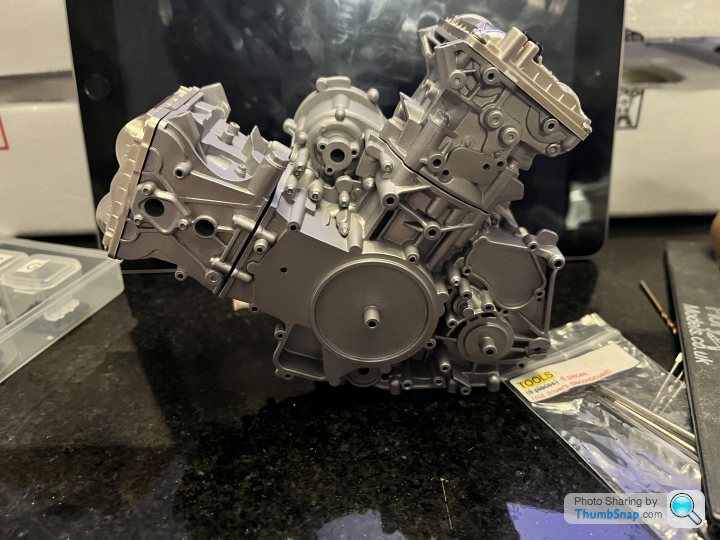
Scale hardware used to fix the heads. The block halves aren’t attached yet, hence the gaps. Some touch ups and detail painting to do, but as everything is screwed together it’s easy to take apart.
Next decision- to weather or keep clean.
Scale hardware used to fix the heads. The block halves aren’t attached yet, hence the gaps. Some touch ups and detail painting to do, but as everything is screwed together it’s easy to take apart.
Next decision- to weather or keep clean.

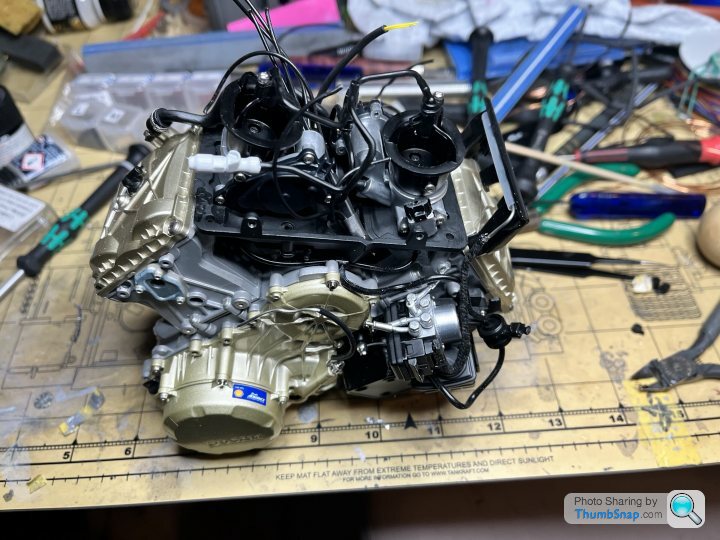
The saga continues, this time with added painting
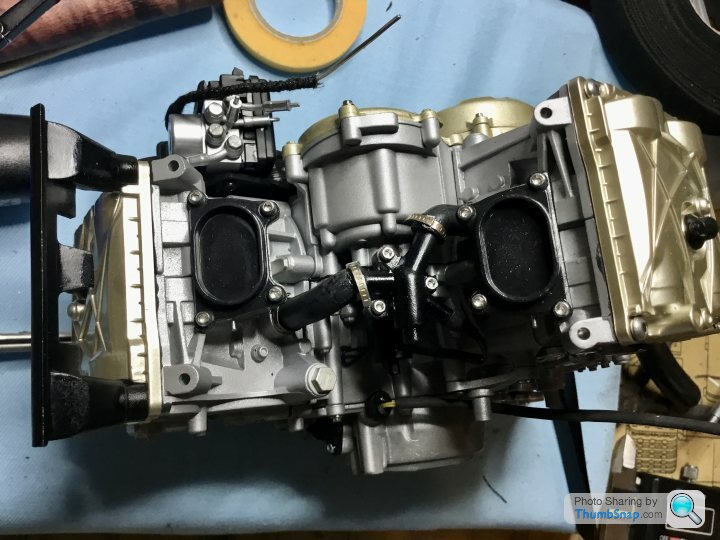
Various covers and details added to the block, again using the scale hardware, including the air intakes.
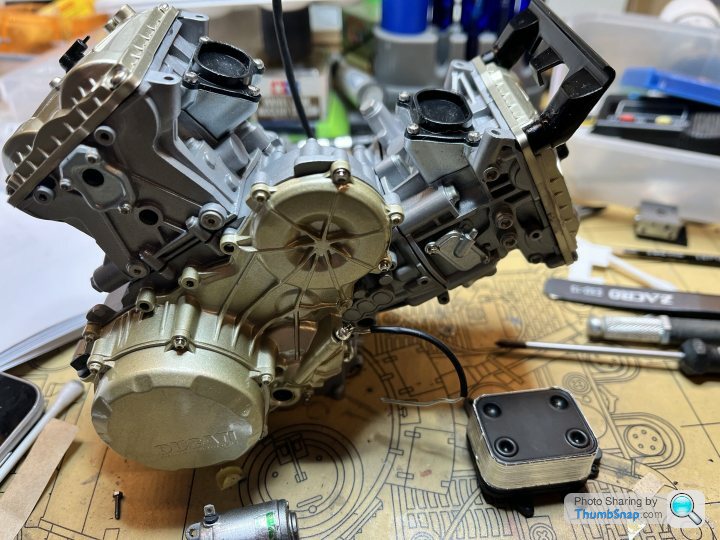
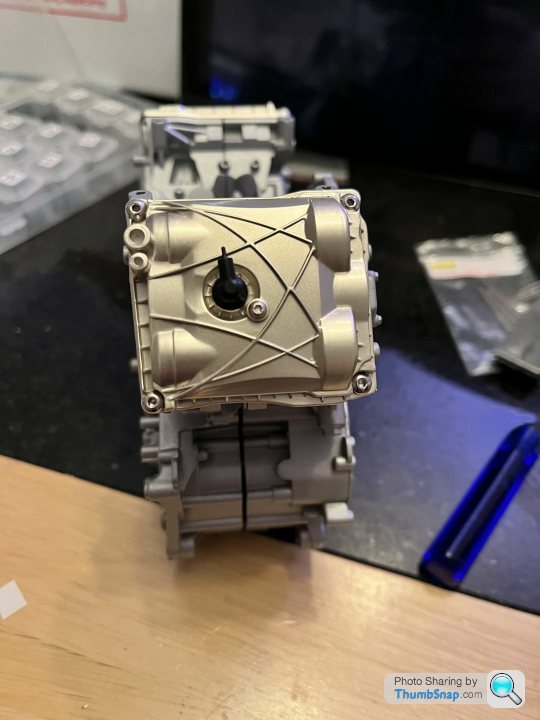
Gearbox cover and chain sprocket added to the other side. Added the missing ribbing to the oil cooler, this has subsequently been painted X-18.
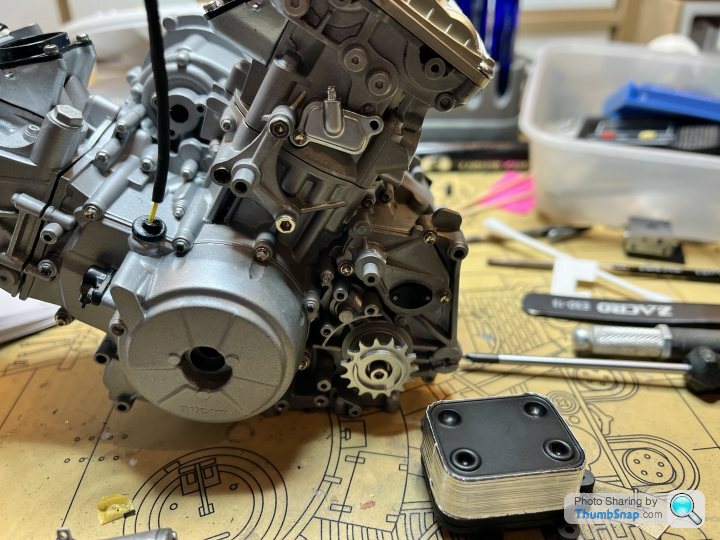
Starter motor repainted to better represent the original. Aftermarket decal used, it was a bit thin and didn’t go down too easily. Scale hardware used to attach.
One advantage of the kit being largely screw together is that the pieces can be painted separately and then assembled without worrying about clearing paint off the surfaces to be glued.
Various covers and details added to the block, again using the scale hardware, including the air intakes.
Gearbox cover and chain sprocket added to the other side. Added the missing ribbing to the oil cooler, this has subsequently been painted X-18.
Starter motor repainted to better represent the original. Aftermarket decal used, it was a bit thin and didn’t go down too easily. Scale hardware used to attach.
One advantage of the kit being largely screw together is that the pieces can be painted separately and then assembled without worrying about clearing paint off the surfaces to be glued.
Had the day off, so got a bit more done.
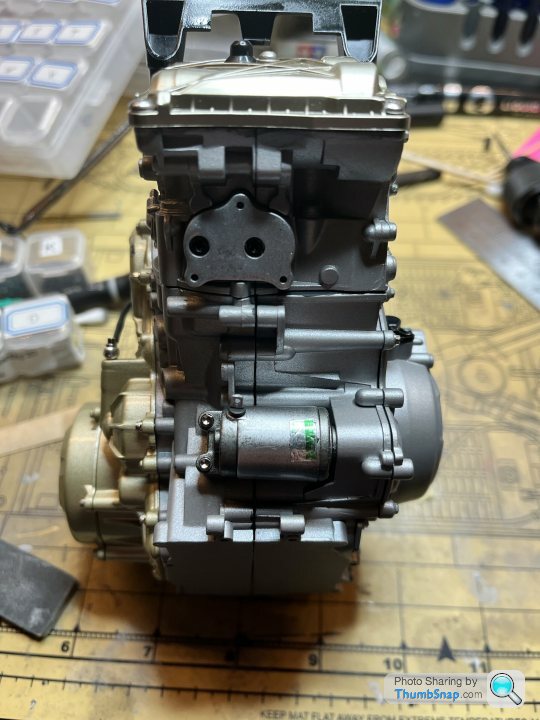
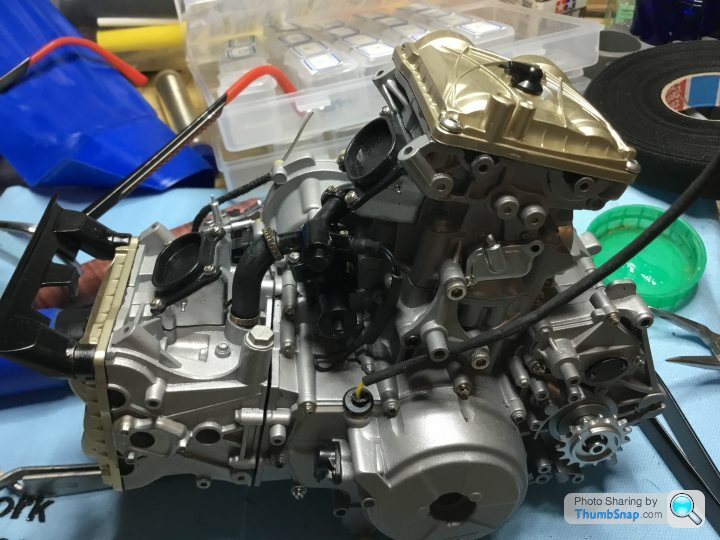
Oil cooler painted and mounted
Did a bit more detail painting and assembled the ABS control unit. Put some Mr Surfacer 500 on a couple of ejector pin marks on the mounting bracket, need to sand flat and repaint Matt black.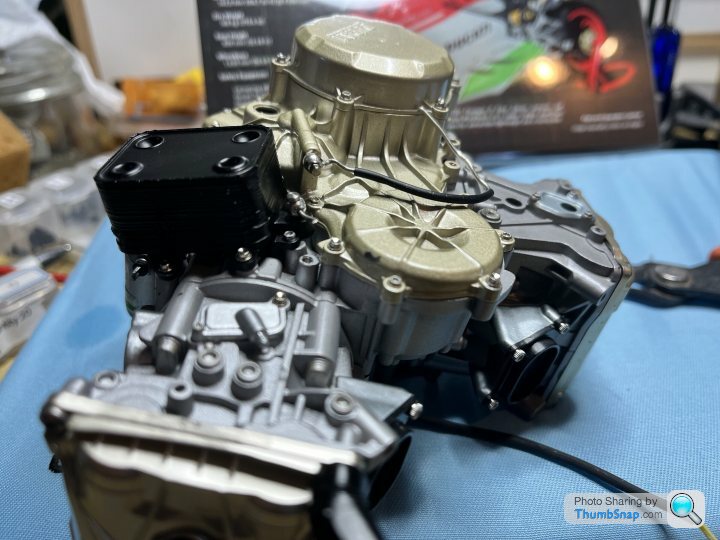
Also got a padded mat to avoid scratching the paint.
Oil cooler painted and mounted
Did a bit more detail painting and assembled the ABS control unit. Put some Mr Surfacer 500 on a couple of ejector pin marks on the mounting bracket, need to sand flat and repaint Matt black.
Also got a padded mat to avoid scratching the paint.
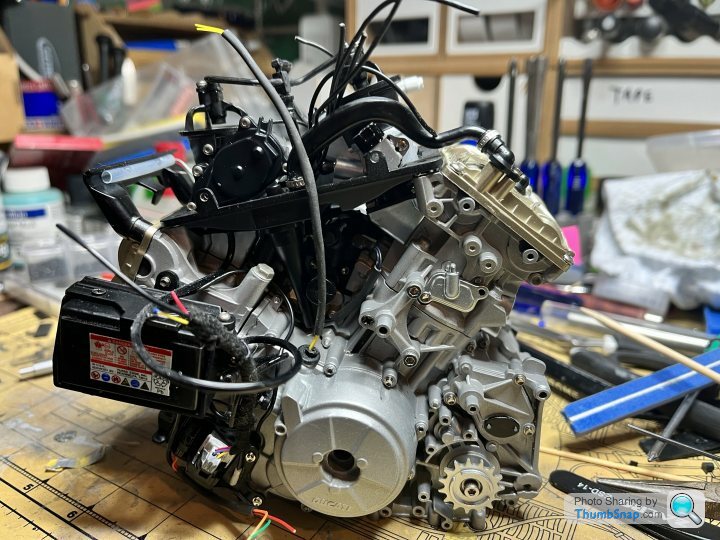
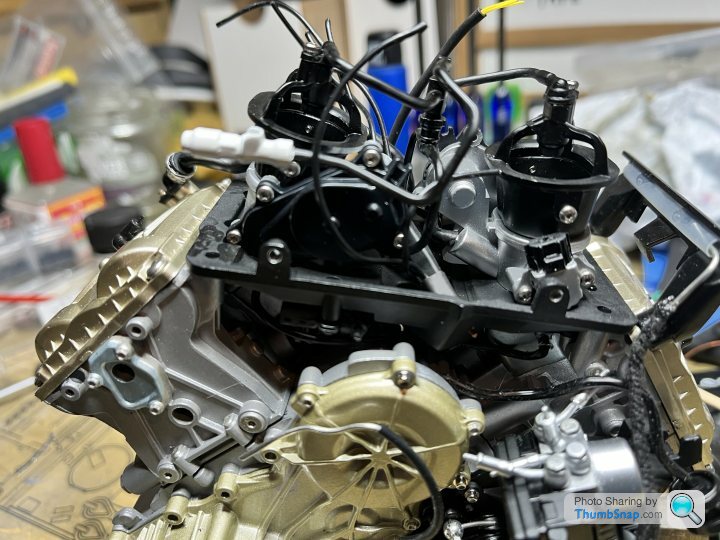
Replying to my own posts, but then I’m trying to document the build for the lurkers
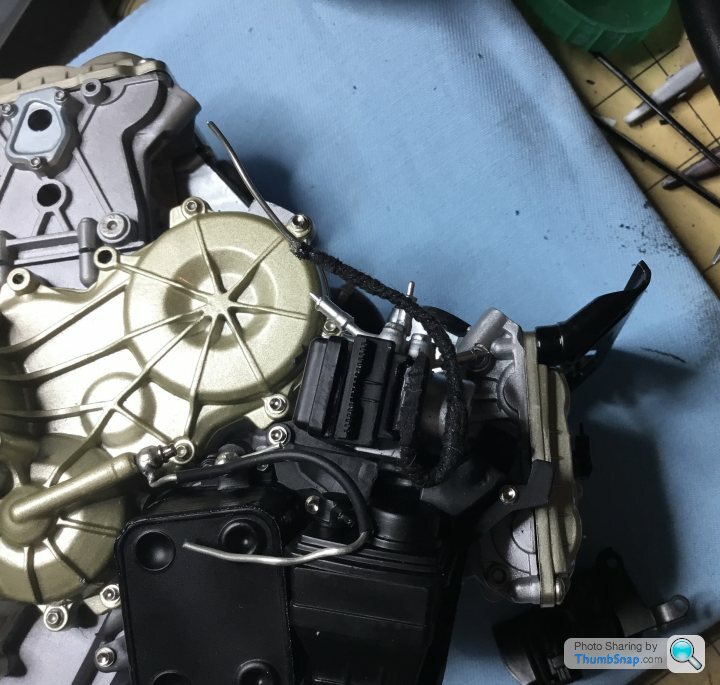
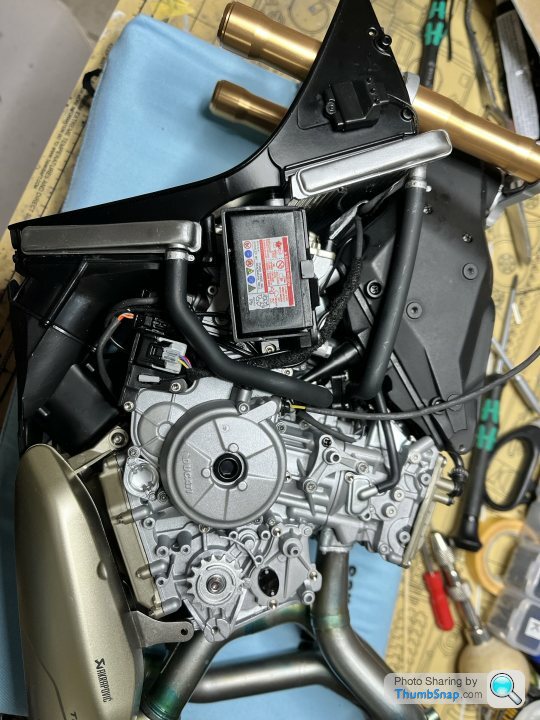
Starter relay and battery detailed up and installed. Not 100% sure the wrapping on the loom is tight enough so may dismantle and redo.
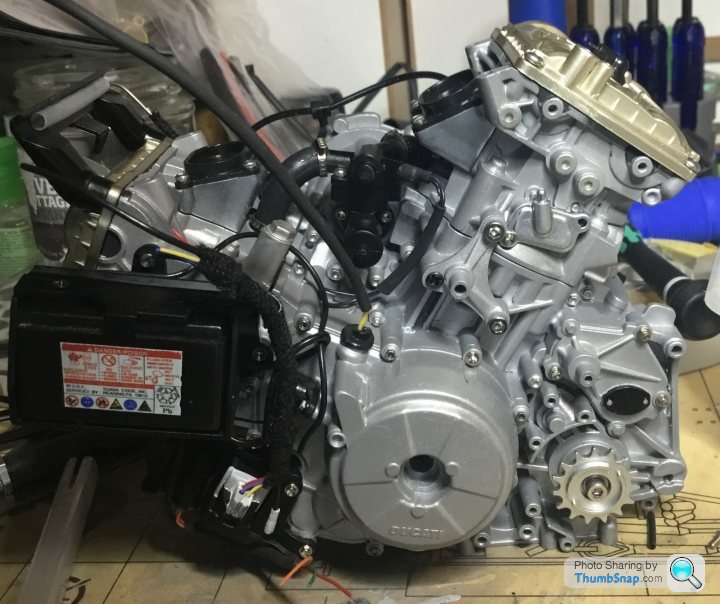
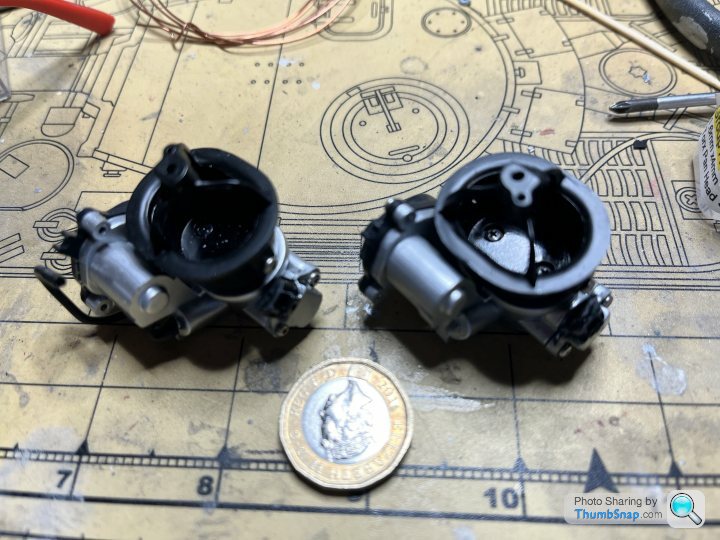
Next up is the throttle bodies, and some repainting required. Only trouble is I seem to have run out of X-18, so need to order some paint.
Starter relay and battery detailed up and installed. Not 100% sure the wrapping on the loom is tight enough so may dismantle and redo.
Next up is the throttle bodies, and some repainting required. Only trouble is I seem to have run out of X-18, so need to order some paint.
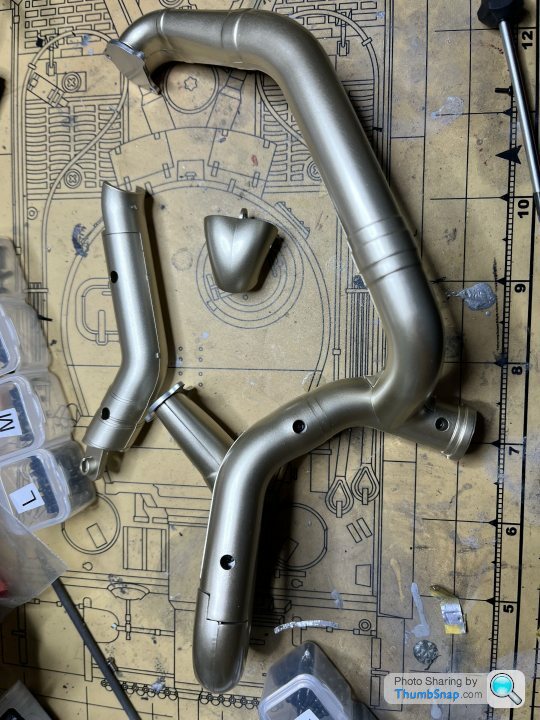
TGCOTF-dewey said:
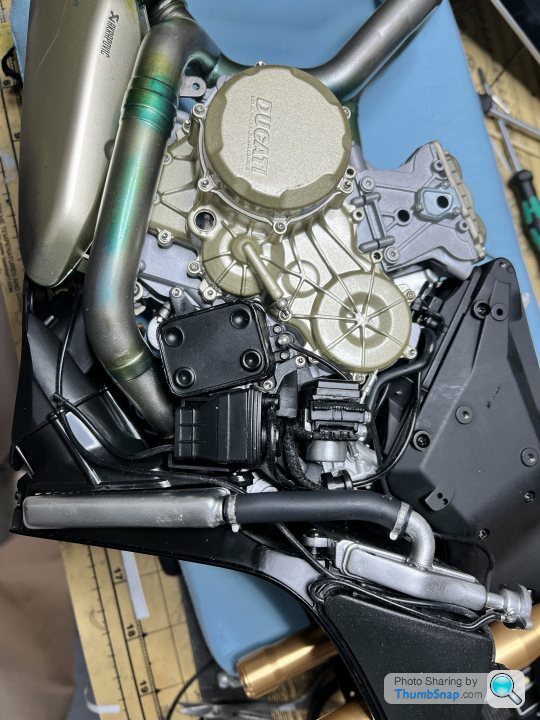
Looks so real.
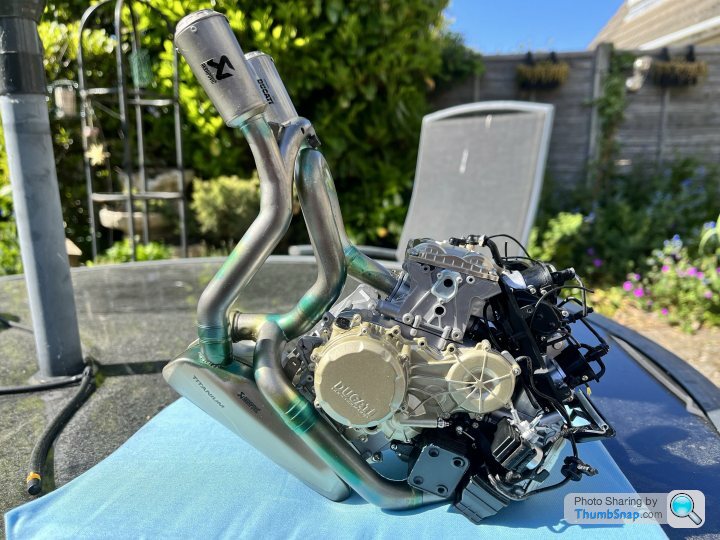
My only thought is, is the colouring in the pipe correct? Both stainless and Ti tend to go from bronze > blue > purple during heat cycles.
Not having a real bike to compare with I’ve had to go off pictures, and there is a lot of variation, so went with what looks good to me and my airbrushing skills are capable of achieving.My only thought is, is the colouring in the pipe correct? Both stainless and Ti tend to go from bronze > blue > purple during heat cycles.
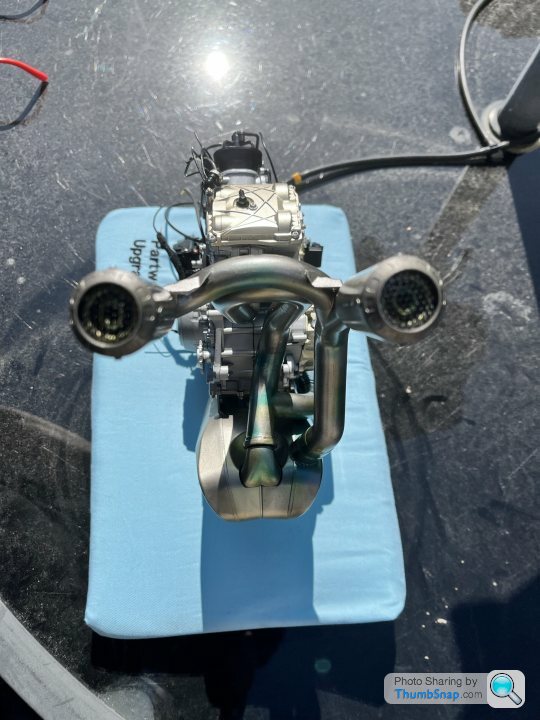
If there is anyone on PH with the real thing could they do me a favour and take some measurements of the Lambda sensors on the exhausts, another missing detail.
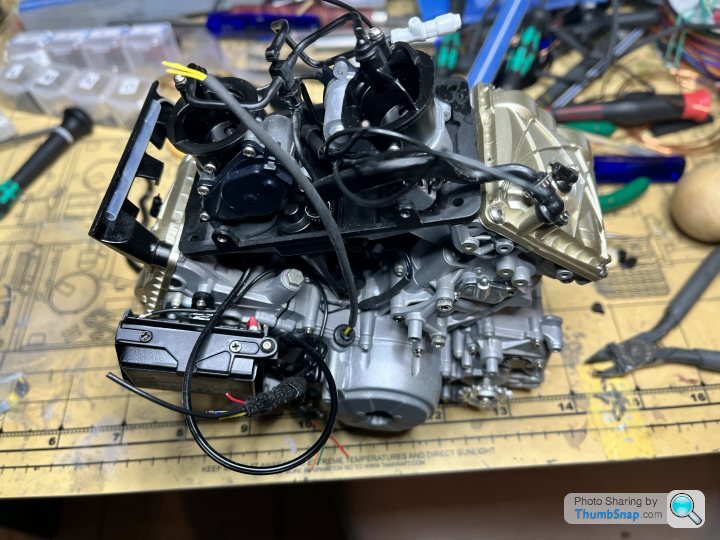
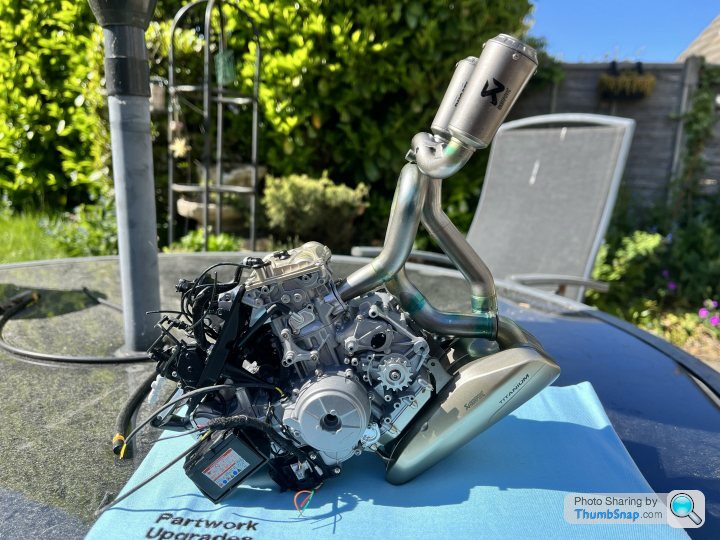
Now the engines complete its onto the air box.
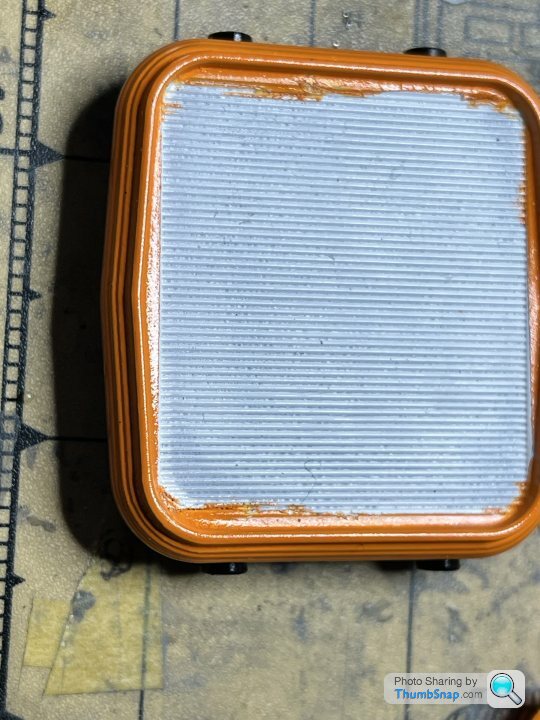
First step, repaint the air filter from silver to better represent the real thing, even though it will be barely visible on the completed model. The filter is white with an orange surround, and from pictures I’ve seen the orange bleeds into the white on the real thing, so deliberately not precise with the marking. A little bit of Tamiya grey panel liner brought out the folds nicely.
The support is black, and supposed to have a mesh infill, all this will be hidden by the air intakes, so just painted the solid parts.
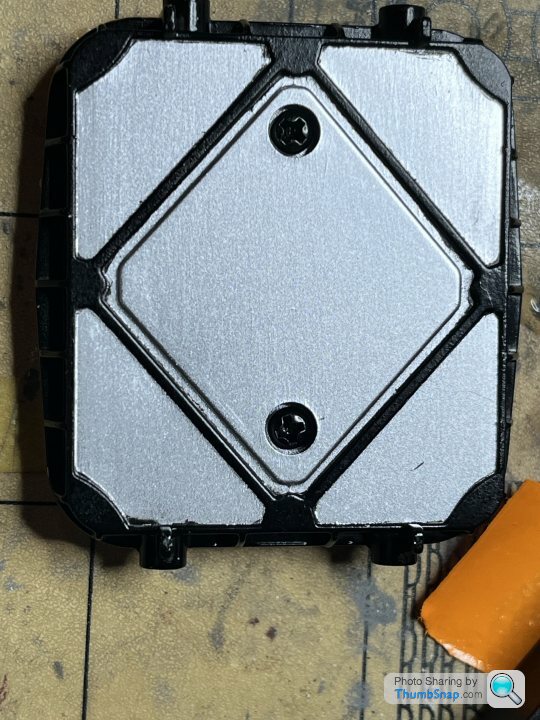
Then it was a case of assembling the 4 part air box, sandwiching the steering axle and air filter in between. A bit of filing was required to get a good fit, and all screw holes have been tapped.
The air filter is in there, honest.
First step, repaint the air filter from silver to better represent the real thing, even though it will be barely visible on the completed model. The filter is white with an orange surround, and from pictures I’ve seen the orange bleeds into the white on the real thing, so deliberately not precise with the marking. A little bit of Tamiya grey panel liner brought out the folds nicely.
The support is black, and supposed to have a mesh infill, all this will be hidden by the air intakes, so just painted the solid parts.
Then it was a case of assembling the 4 part air box, sandwiching the steering axle and air filter in between. A bit of filing was required to get a good fit, and all screw holes have been tapped.
The air filter is in there, honest.
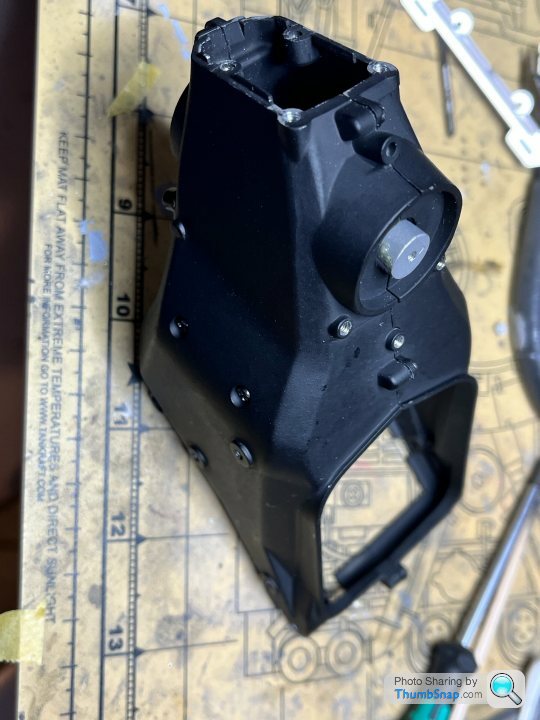
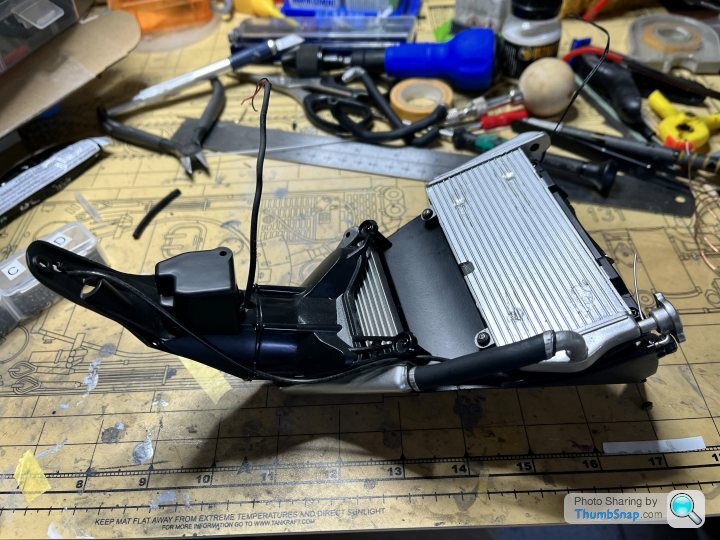
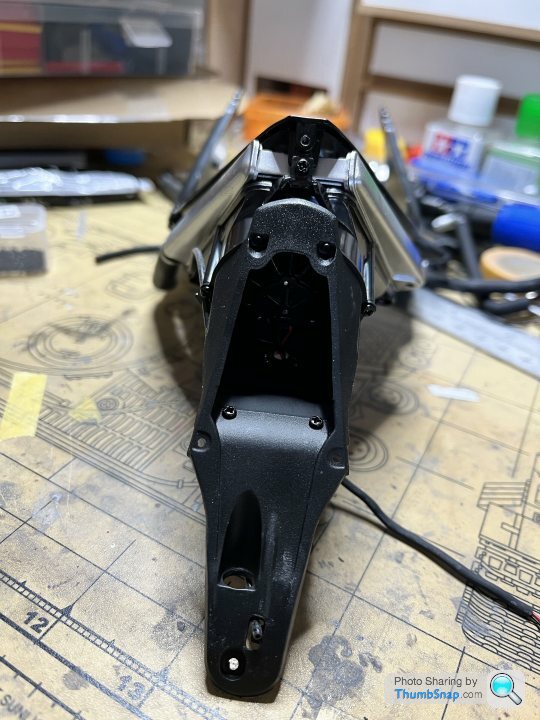
Airbox finished, deviated from the instructions and fitted the top of the front forks at this stage.
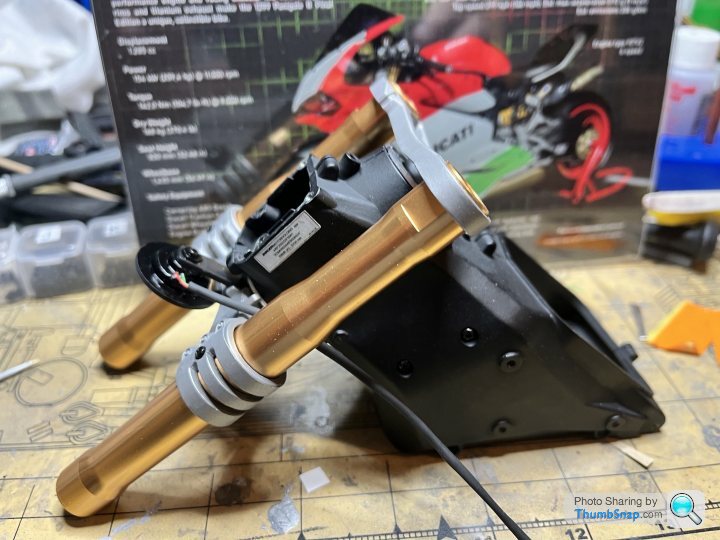
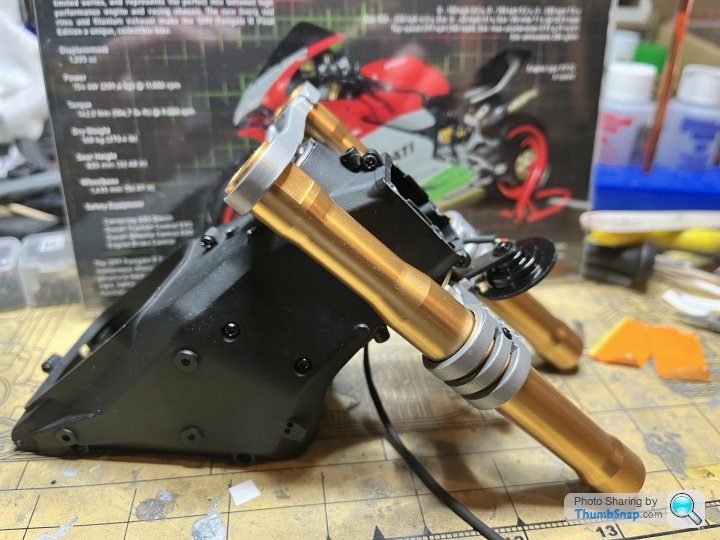
Fitted to the engine.
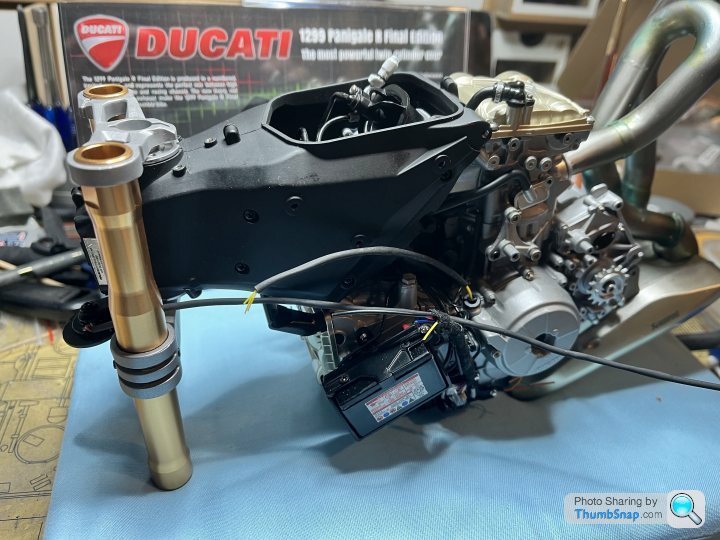
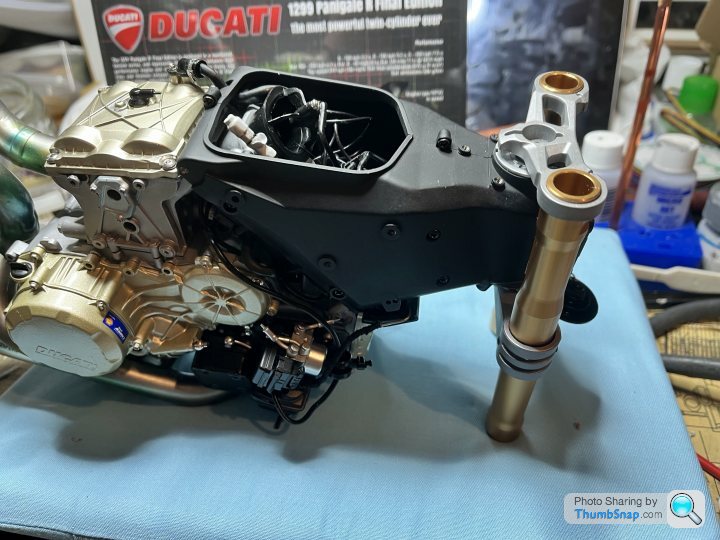
The air filter is barely visible, and this whole area will be covered by the fuel tank later, but at least I know it’s there.
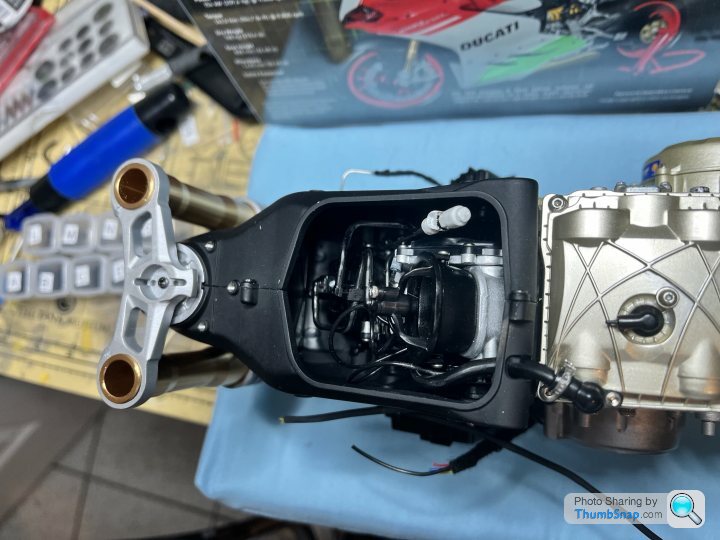
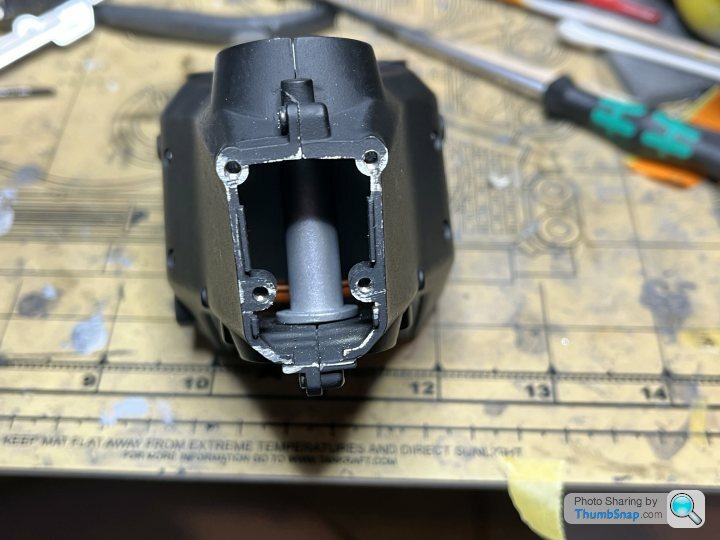
The gasket around the top opening still to be fitted, I repainted Tamiya rubber black and the paint was still drying when I took the pictures.
Next up the radiators, more obvious screw holes to fill.
Fitted to the engine.
The air filter is barely visible, and this whole area will be covered by the fuel tank later, but at least I know it’s there.
The gasket around the top opening still to be fitted, I repainted Tamiya rubber black and the paint was still drying when I took the pictures.
Next up the radiators, more obvious screw holes to fill.
Radiator time, being on the front they are quite visible, so exactly why to Pocher/Hornby design them decided they needed to have big black screws poking out the side I will never know. The detail on the radiator is also lacking, without even attempt to show the fins.
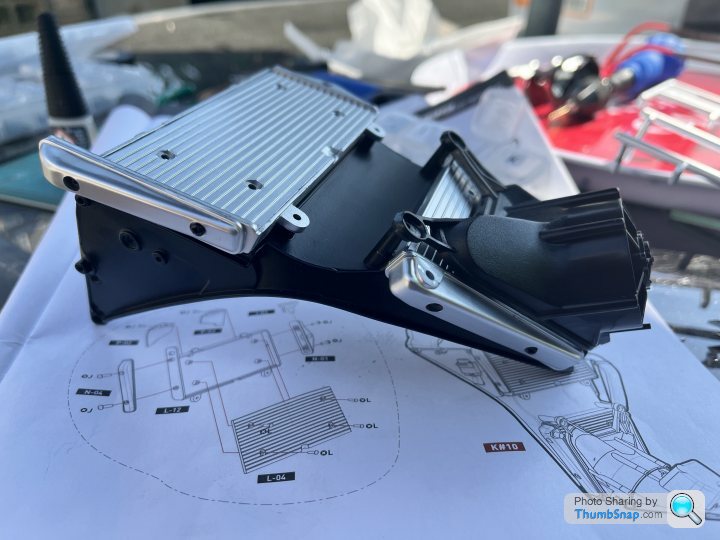
Just for contrast I dug a Tamiya car kit out of the stash which 1) is 1/24 scale and 2) dates from 1985.
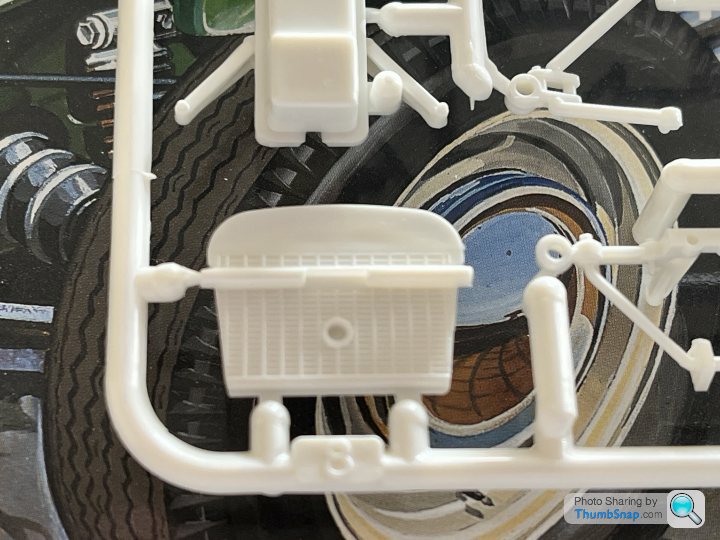
Yet more filling, sanding and repainting to come
Just for contrast I dug a Tamiya car kit out of the stash which 1) is 1/24 scale and 2) dates from 1985.
Yet more filling, sanding and repainting to come
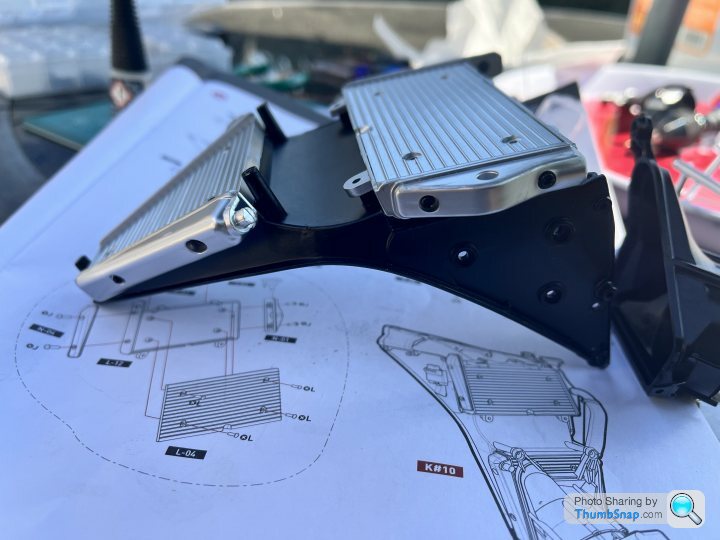
Radiators have had their screw holes filled, followed by repainting. Radiator hose repainted aluminium and rubber black, fan motor wiring added.
Yes the back of the main radiator is a bit of a mess, but it’s hardly visible once put on the rest of the bike.
Looking up to the fan, it’s in there honest.
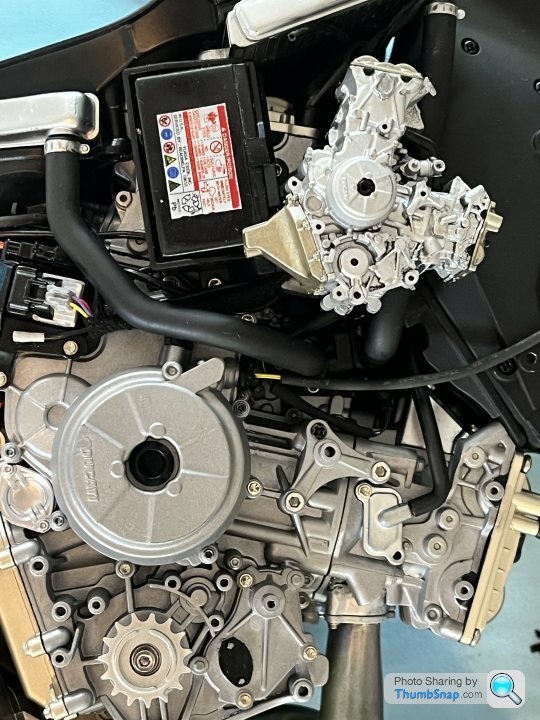
Assembled the radiator to the engine, tidied up the wiring, added a couple of missing hoses, been a productive Saturday.
Yes the back of the main radiator is a bit of a mess, but it’s hardly visible once put on the rest of the bike.
Looking up to the fan, it’s in there honest.
Assembled the radiator to the engine, tidied up the wiring, added a couple of missing hoses, been a productive Saturday.
It’s Saturday and raining so got a bit more done.
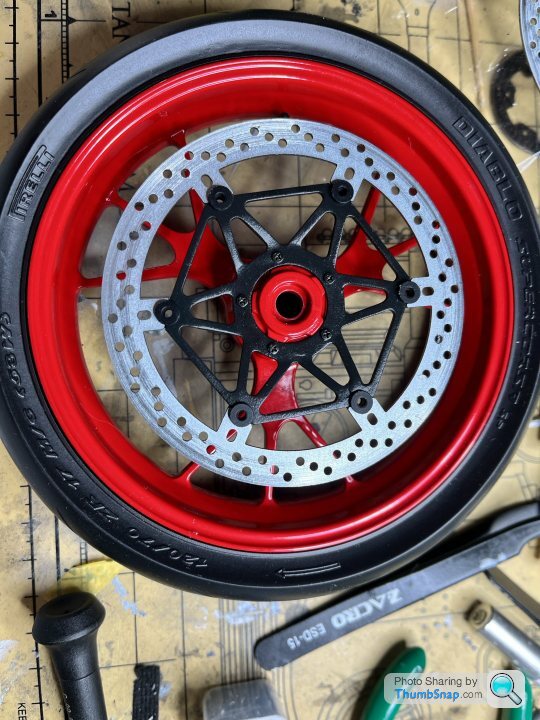
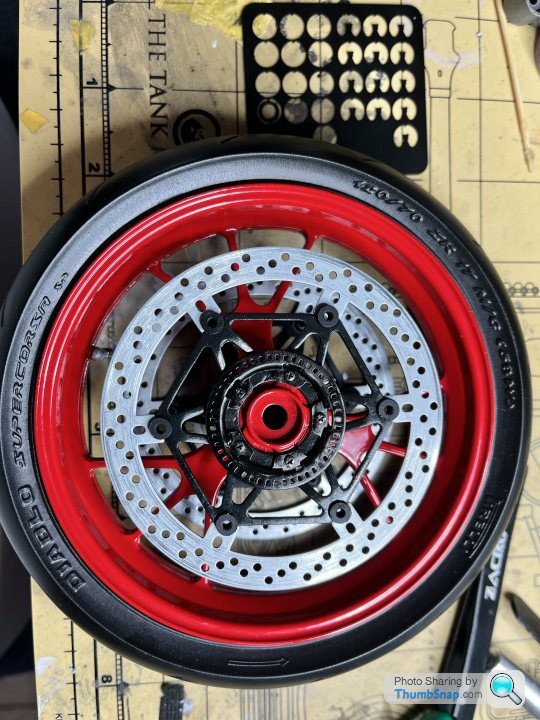
I’ve been slowly filling in the ejector pin marks in the front break disk supports, repainted Tamiya NATO black followed by a couple of gloss coats, these were then attached to the disk by a metal pin and PE washer and circle clip. A bit fiddly, but only lost one clip, luckily Pocher provide a spare.
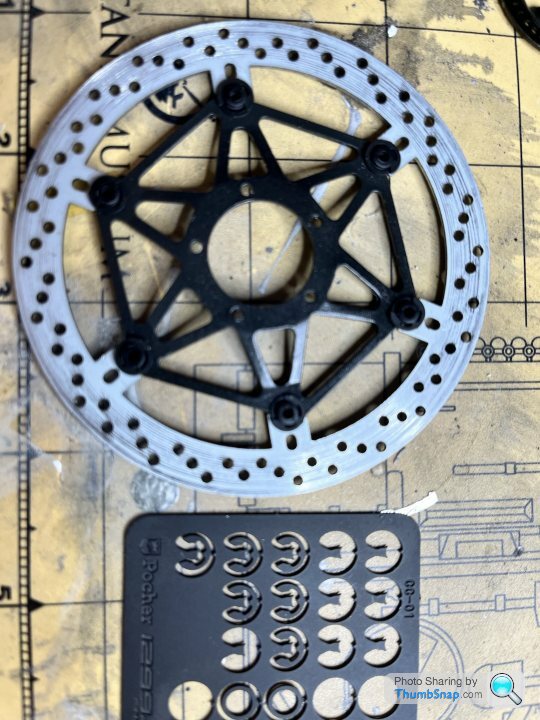
These were then screwed to the previously assembled wheel and tyre, together with the ABS ring, repainted black.
Somehow the engine seems to have shrunk
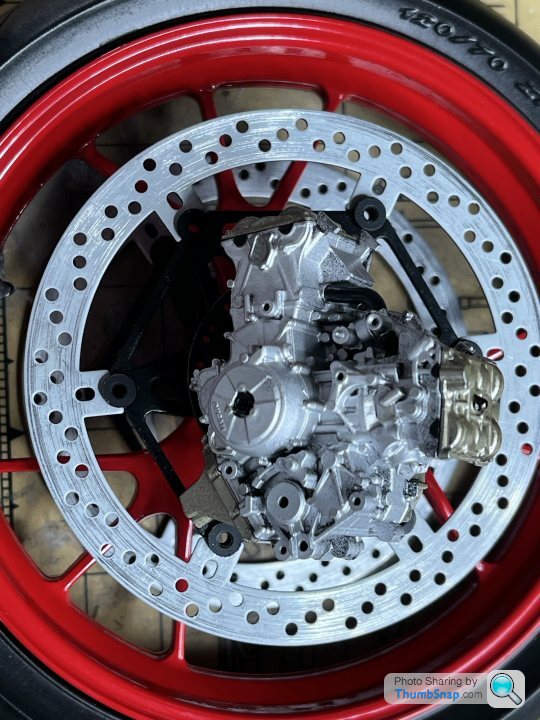
Joking, I’ve started the Tamiya 1/12 scale version.
Difference between 1/12 and 1/4 scale
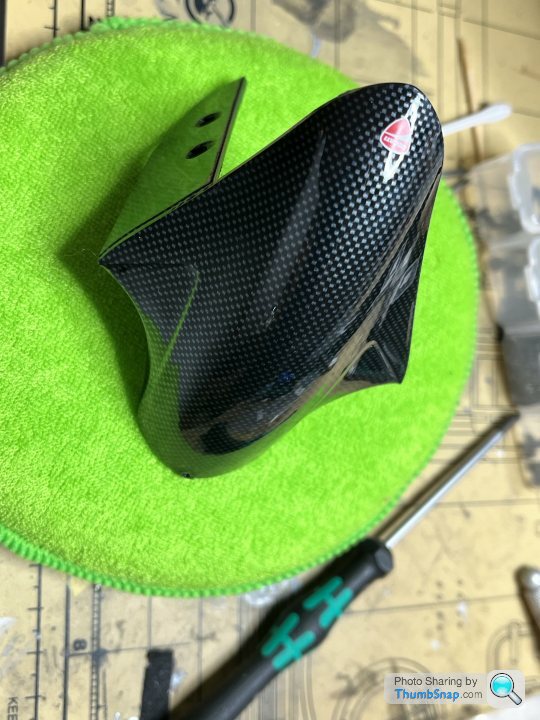
Last thing was assembling the front mudguard, nicely painted to look like carbon fibre by Pocher
I’ve been slowly filling in the ejector pin marks in the front break disk supports, repainted Tamiya NATO black followed by a couple of gloss coats, these were then attached to the disk by a metal pin and PE washer and circle clip. A bit fiddly, but only lost one clip, luckily Pocher provide a spare.
These were then screwed to the previously assembled wheel and tyre, together with the ABS ring, repainted black.
Somehow the engine seems to have shrunk
Joking, I’ve started the Tamiya 1/12 scale version.
Difference between 1/12 and 1/4 scale
Last thing was assembling the front mudguard, nicely painted to look like carbon fibre by Pocher
Gassing Station | Scale Models | Top of Page | What's New | My Stuff