Pics of 27 litre Rolls Royce Meteor engine installation
Discussion


This weekend, we put the big lump into the Rover. If anyone’s interested, here are a few pics for those who might enjoy them. Sorry if they all take some time to load up.
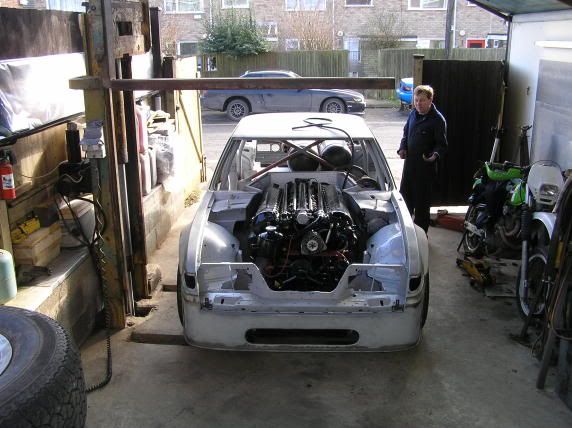
Putting the engine in was a doddle (as you might expect with a custom made chassis and bulkhead), so not your standard Rover then.. just a few mods.

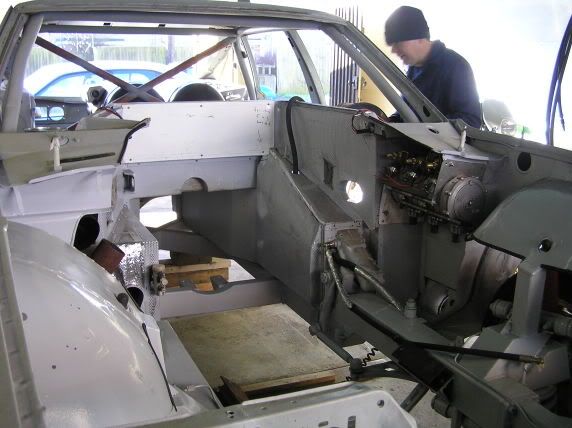
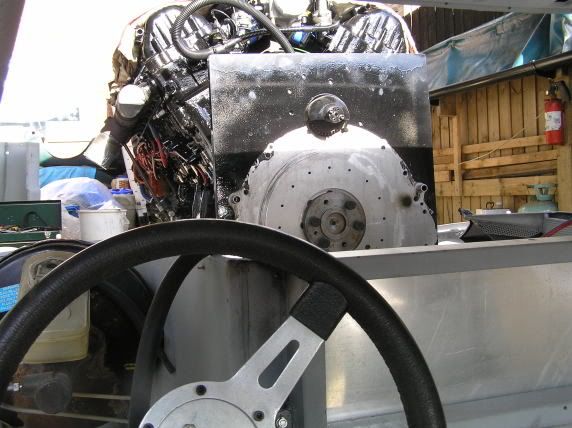
Well, the gear box has to go somewhere you know.
At long last..
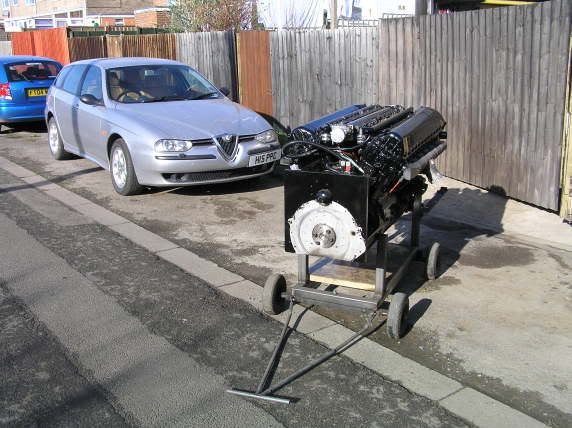
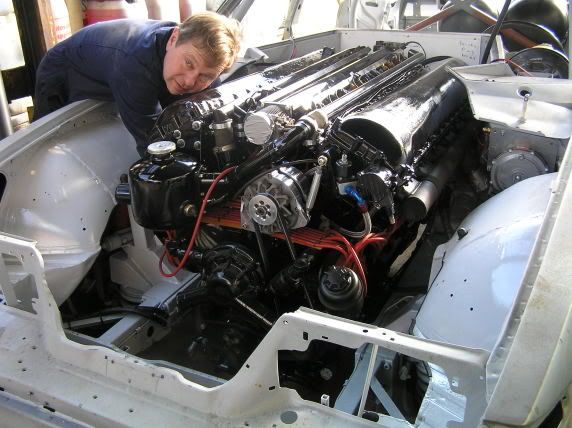
.. the Meteor blinks in the sunlight..
Rover says hello ..
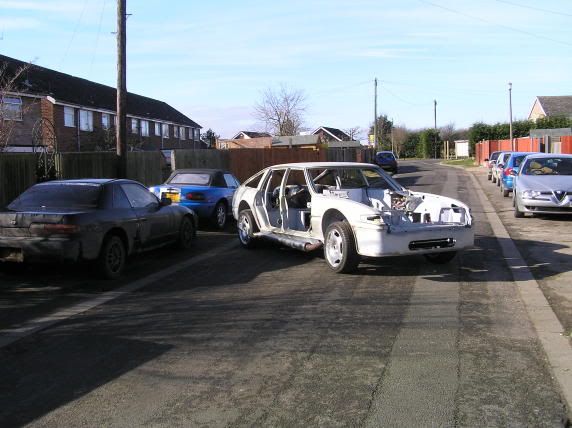

.. to some other staff cars. Meets the drift king.
Err,
.. big, innit?
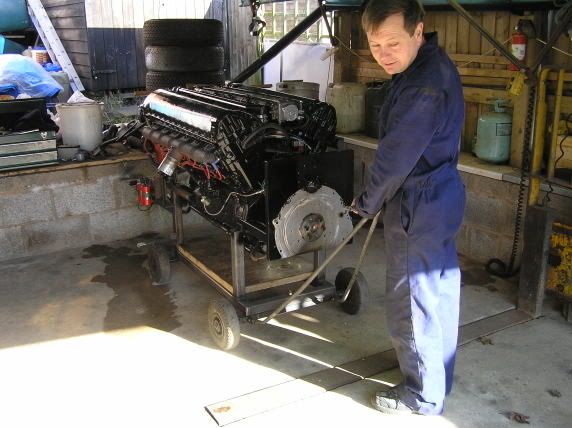
Charley puts his domestic hat on..
and gives the engine a dust off.
This is..
.. no ordinary lift (I feel a Sade song comin' on). Embedded set of forks is good for 4 tons.
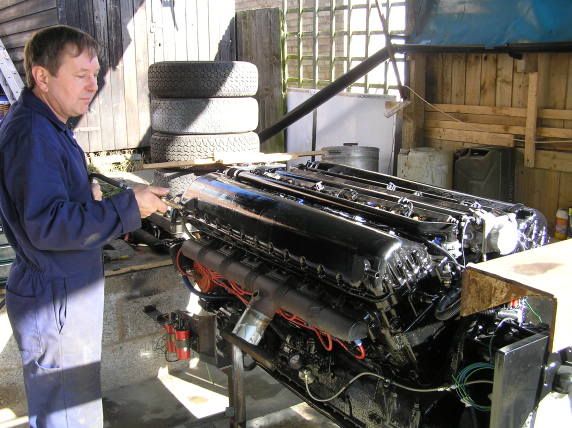
Are you sure its not supposed to be a tranverse? This suspension might get in the way you know.

it may not be 100% identical to a Merlin, but imagine flying with that infront of you..

Charley can do this in his sleep you know.
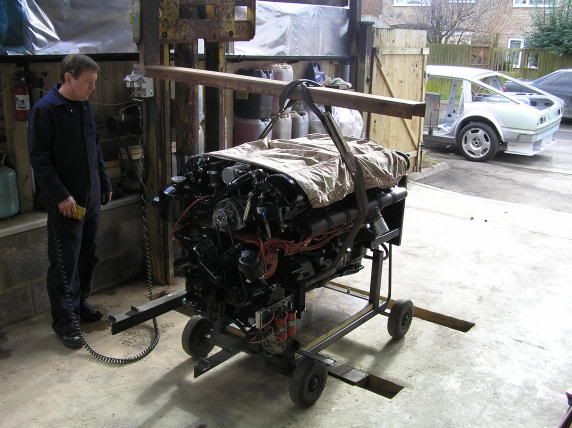
Aha! At last, some sparks.
Err, Al. You know when you thought that engine mount on this side felt a bit squidgy?
Almost there.
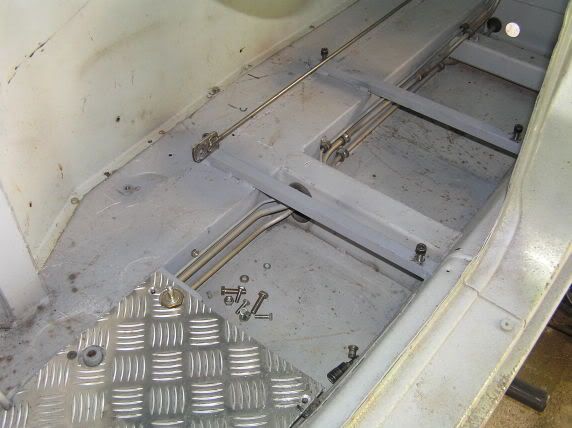
The tray.
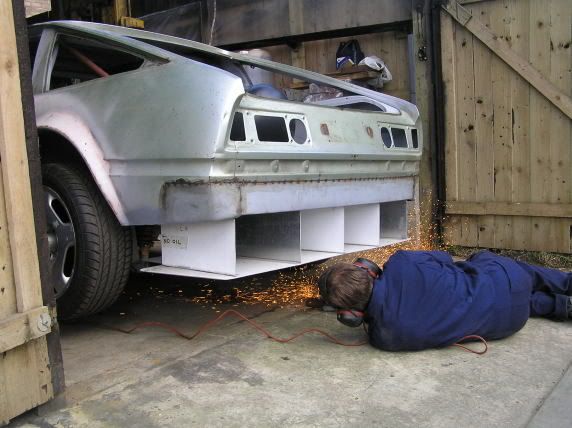
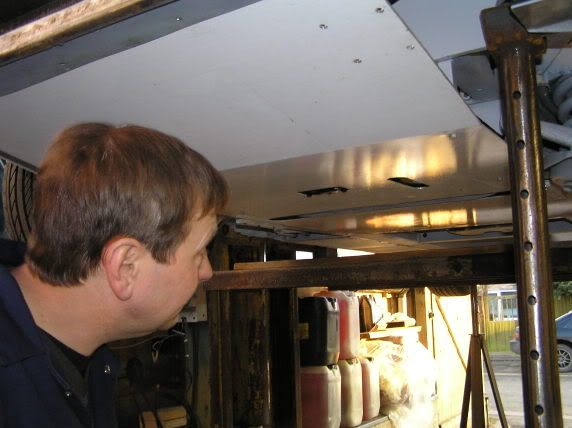
Exposed engine needs some protection though.
Charley scrounged a factory sign, made of 3mm ally, from a local village. Because the entire underside of the car has to be aerodynamically sound, its just as well it was a big sign. The engine bay was the first part to be sorted, and the template for the tray was made up. There are loads of points to drill into for the self tappers, so that was easy. We held it up, and sized it.
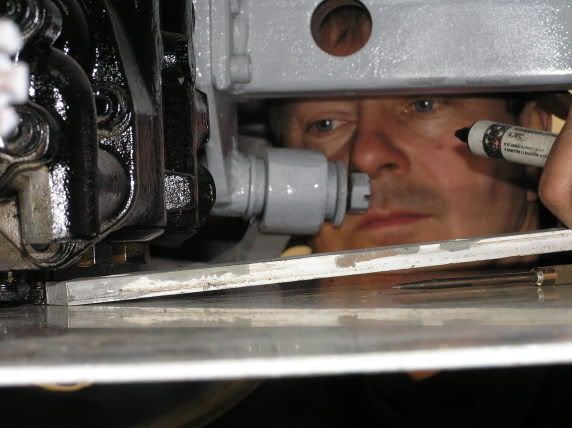
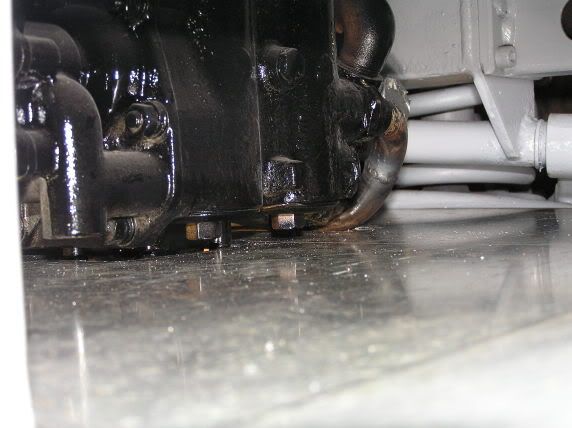
When it came to screwing it in, we noticed 2 problem areas. A scavenge oil line and a union for the oil return were slightly proud of the bottom of the chassis, and were causing the tray to not fit properly. It was only a tiny amount, and by that, I mean by only a few mm, but evidence of scraping on the pipe already compelled us to consider a few changes. We would either have to cut out a part of the tray or alter the course of the pipe work. The union’s position seemed set in stone, so we’d have to cut the tray around that, but the pipe could easily be raised by a nifty cut and shut. We cut out a small hole for the union and focused on the slightly more involved task of doing the pipe.
It came off easily, by simply standing underneath it and unscrewing (Charley, you said the engine had no oil in it, cheers.. ). Once removed, Charley scraped off the paint making it easier to weld later. The trusty angle grinder came out and an inch or so was removed and both faces were filed smooth. Both lengths were replaced under the engine, mated up and then temporarily tacked together. The length was once again removed, and welded together properly. Parrafin was flushed through to remove swarf and contamination and the item was replaced. Easy, just 10 minutes work for a god like Charles.
The tray was once again offered up, and using a pen and straight edge, we guesstimated where we would have to cut out the tray to receive the union. That hole was quickly drilled out, filed off, and the tray was put back on again. Sods law, the pipe we had welded earlier was still a fraction too low, if we had cut a few more mm out of its length in the first place, we would have been fine, so anyway.. off came the bloody tray again.
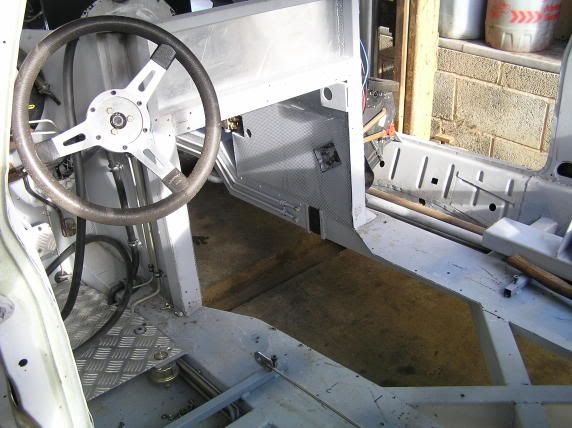
A slot was cut out for the pipe, and the tray was replaced. The margin we were out with the pipe by, was so small, that even with a groove cut out of the tray to accommodate it, the pipe still didn’t protrude. But at least there’d be no contact and no vibration. With that sorted, we fitted the aircon pump. With the interior of the car getting unbearably hot in summer, a decent pump is a must. This one is made up of separate pieces from a Ford F150 pickup (got from a scrappy in the States), a Galaxy and a Focus. In winter, the air temperature inside is bearable, but the footwells make it seem like you’re sitting in a bath of scalding water, so decent insulation was placed throughout.
Offering the tray up..

.. and fitting.

Flip ([:I]) er, read: not fitting.
Time to size the hole needed.
.. mark out the shape..


.. cut, and file off. There.
The oil pipe.
Now then, the oil pipe. Time to unscrew that. Er, Al.. will you finish off here? I need a dump. I think there’s no oil..
Sand off the paint.
Good, some more sparks. Cutting an inch or so out..
.. and refitting it..

.. prior to tacking it, taking it off again..

.. to weld it.
.. and finally flush out with paraffin. Time to put it back on..
.. by george, you know something, it still doesn't fit!!


.. a new groove was cut, to accept the pipe. And..

Hey Presto, job's a good 'un.
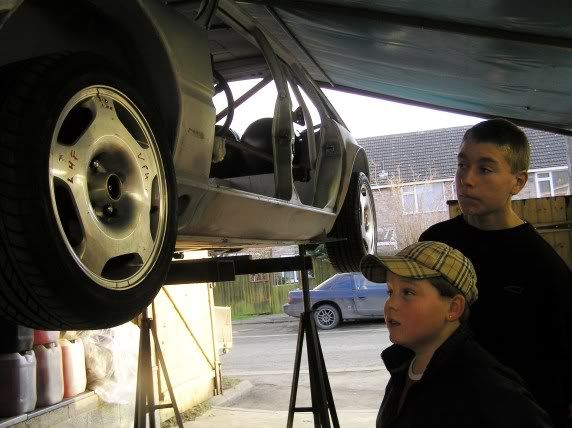
".. cor, what'll it do Mister?"
200 mph, later this year hopefully.
Putting the engine in was a doddle (as you might expect with a custom made chassis and bulkhead), so not your standard Rover then.. just a few mods.
Well, the gear box has to go somewhere you know.
At long last..
.. the Meteor blinks in the sunlight..
Rover says hello ..
.. to some other staff cars. Meets the drift king.
Err,
.. big, innit?
Charley puts his domestic hat on..
and gives the engine a dust off.
This is..
.. no ordinary lift (I feel a Sade song comin' on). Embedded set of forks is good for 4 tons.
Are you sure its not supposed to be a tranverse? This suspension might get in the way you know.
it may not be 100% identical to a Merlin, but imagine flying with that infront of you..
Charley can do this in his sleep you know.
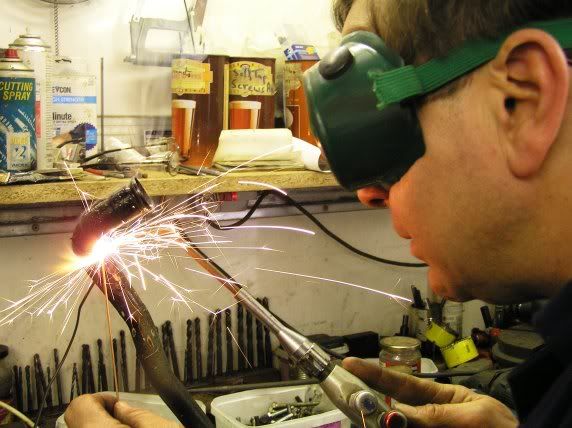
Aha! At last, some sparks.
Err, Al. You know when you thought that engine mount on this side felt a bit squidgy?
Almost there.
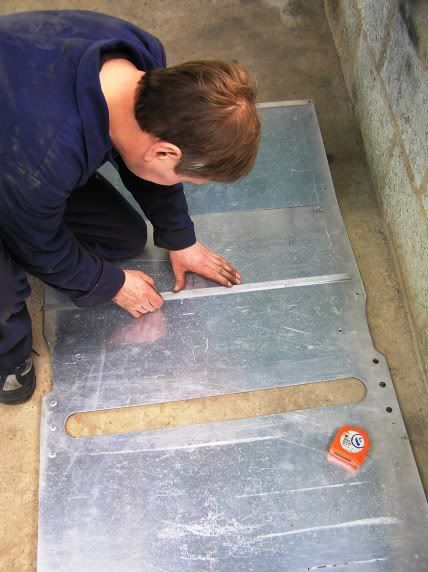
The tray.
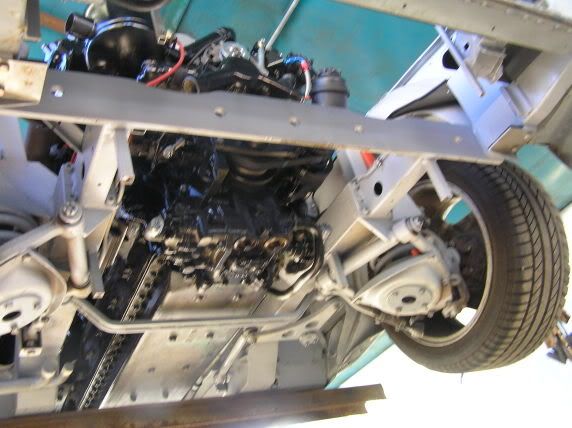
Exposed engine needs some protection though.
Charley scrounged a factory sign, made of 3mm ally, from a local village. Because the entire underside of the car has to be aerodynamically sound, its just as well it was a big sign. The engine bay was the first part to be sorted, and the template for the tray was made up. There are loads of points to drill into for the self tappers, so that was easy. We held it up, and sized it.
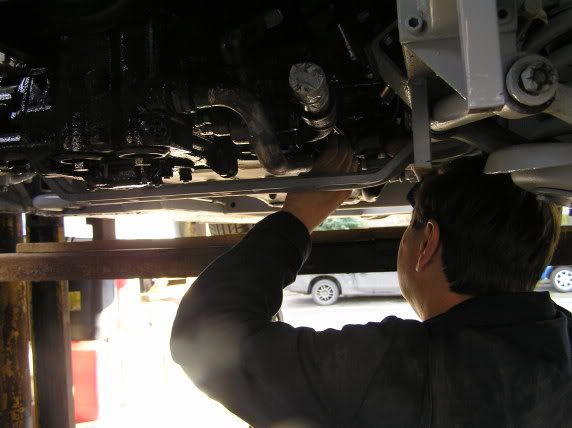
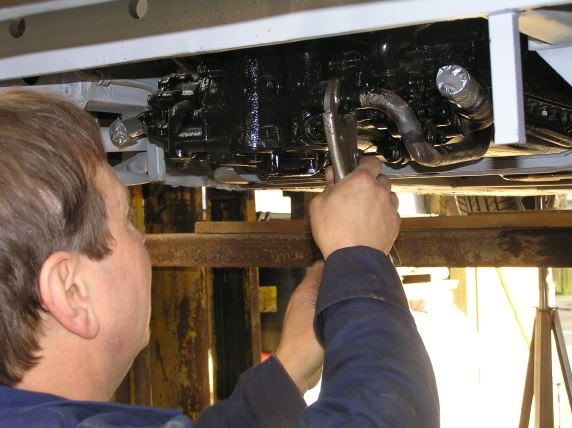
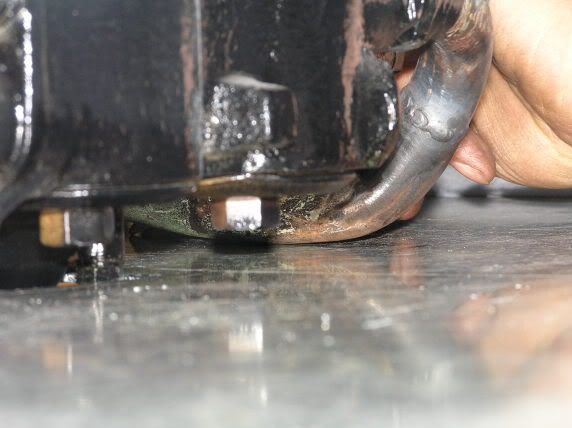
When it came to screwing it in, we noticed 2 problem areas. A scavenge oil line and a union for the oil return were slightly proud of the bottom of the chassis, and were causing the tray to not fit properly. It was only a tiny amount, and by that, I mean by only a few mm, but evidence of scraping on the pipe already compelled us to consider a few changes. We would either have to cut out a part of the tray or alter the course of the pipe work. The union’s position seemed set in stone, so we’d have to cut the tray around that, but the pipe could easily be raised by a nifty cut and shut. We cut out a small hole for the union and focused on the slightly more involved task of doing the pipe.
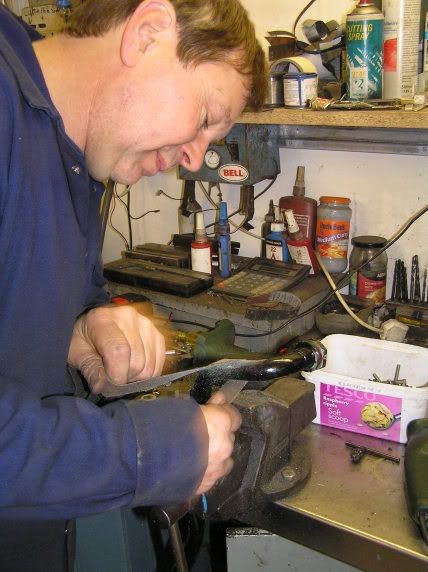
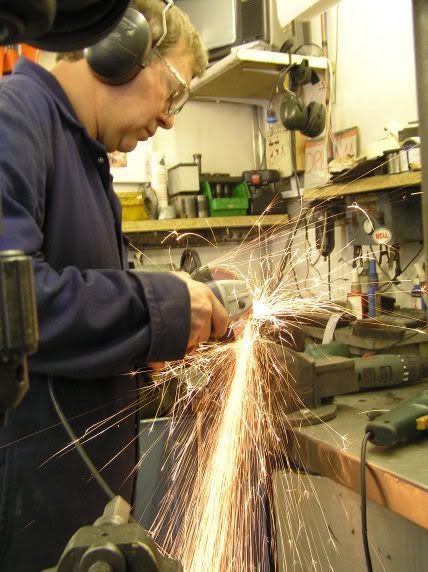
It came off easily, by simply standing underneath it and unscrewing (Charley, you said the engine had no oil in it, cheers.. ). Once removed, Charley scraped off the paint making it easier to weld later. The trusty angle grinder came out and an inch or so was removed and both faces were filed smooth. Both lengths were replaced under the engine, mated up and then temporarily tacked together. The length was once again removed, and welded together properly. Parrafin was flushed through to remove swarf and contamination and the item was replaced. Easy, just 10 minutes work for a god like Charles.
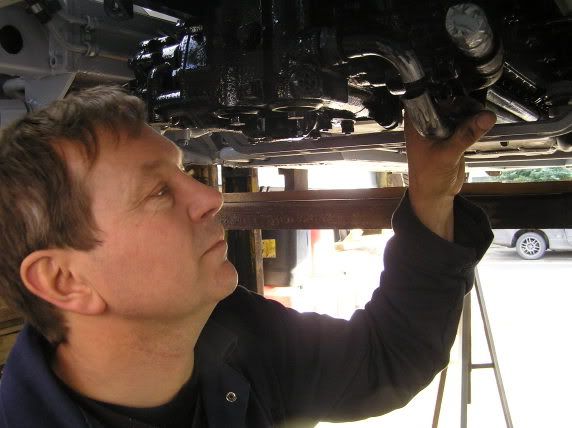
The tray was once again offered up, and using a pen and straight edge, we guesstimated where we would have to cut out the tray to receive the union. That hole was quickly drilled out, filed off, and the tray was put back on again. Sods law, the pipe we had welded earlier was still a fraction too low, if we had cut a few more mm out of its length in the first place, we would have been fine, so anyway.. off came the bloody tray again.
A slot was cut out for the pipe, and the tray was replaced. The margin we were out with the pipe by, was so small, that even with a groove cut out of the tray to accommodate it, the pipe still didn’t protrude. But at least there’d be no contact and no vibration. With that sorted, we fitted the aircon pump. With the interior of the car getting unbearably hot in summer, a decent pump is a must. This one is made up of separate pieces from a Ford F150 pickup (got from a scrappy in the States), a Galaxy and a Focus. In winter, the air temperature inside is bearable, but the footwells make it seem like you’re sitting in a bath of scalding water, so decent insulation was placed throughout.
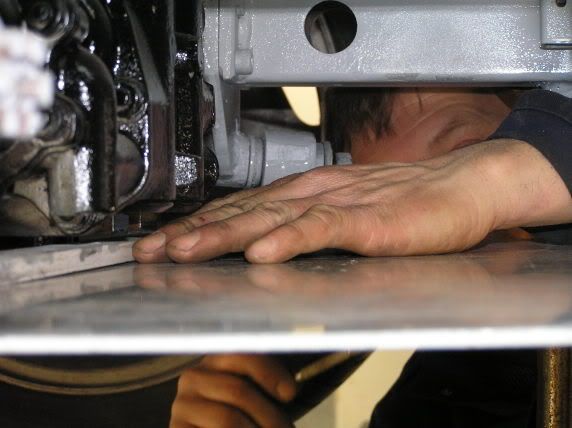
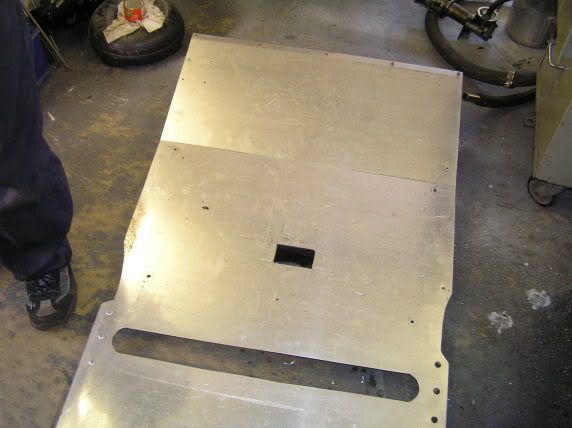
Offering the tray up..
.. and fitting.
Flip ([:I]) er, read: not fitting.
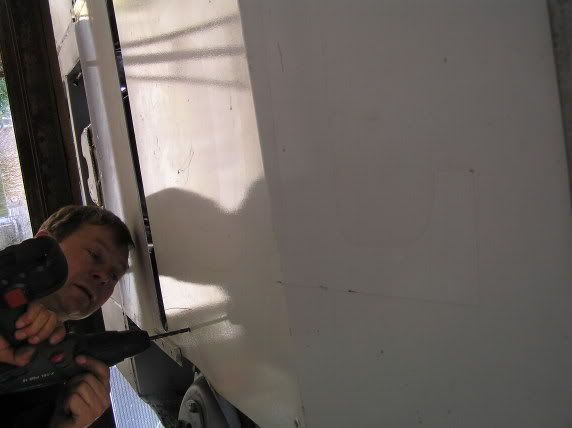
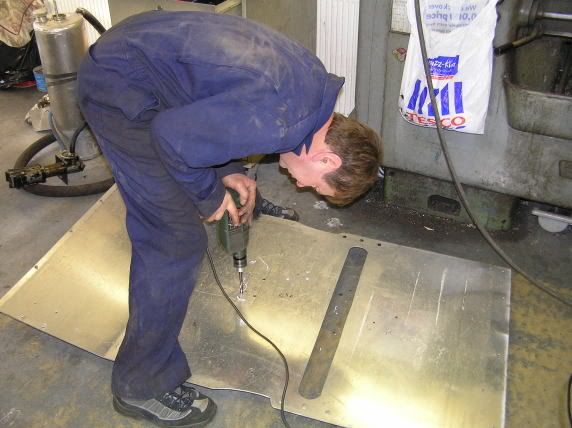
Time to size the hole needed.
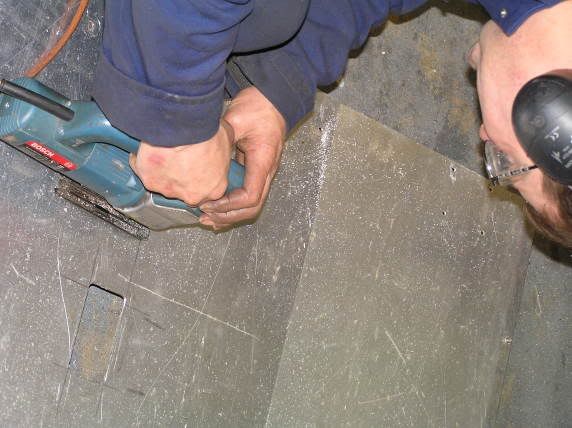
.. mark out the shape..
.. cut, and file off. There.
The oil pipe.
Now then, the oil pipe. Time to unscrew that. Er, Al.. will you finish off here? I need a dump. I think there’s no oil..
Sand off the paint.
Good, some more sparks. Cutting an inch or so out..
.. and refitting it..
.. prior to tacking it, taking it off again..
.. to weld it.
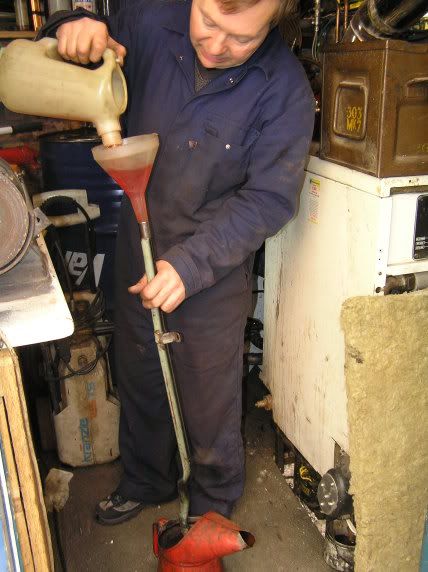
.. and finally flush out with paraffin. Time to put it back on..
.. by george, you know something, it still doesn't fit!!
.. a new groove was cut, to accept the pipe. And..
Hey Presto, job's a good 'un.
".. cor, what'll it do Mister?"
200 mph, later this year hopefully.
Bigtone said:
Fantastic stuff! How far from completion is it, and where can we go to see it running when it's done?

Its at the Stoneleigh show this weekend, and we want to take it to Bruntingthorpe. It'll be running anytime soon I guess. The big issue at the moment is getting brakes which will make it stop.

Dakkon said:
Fantastic stuff! How far from completion is it, and where can we go to see it running when it's done?
Its at the Stoneleigh show this weekend, and we want to take it to Bruntingthorpe. It'll be running anytime soon I guess. The big issue at the moment is getting brakes which will make it stop.
Use a parachute?

We can laugh..
kingb said:
that is top what do you think it will be worth once you have finished it. i assume you intend to make it road legal?
I'm not sure Matt, cars like this only come along once in a age. There was a similar Jag of 1970's vintage auctioned off at the NEC a couple of years ago, and it was hard to estimate that as I recall.
It has been roadlegal already, last running a couple of years ago and it will be again. Because it has the chassis plate in the same place, he never had a problem with the DVLA (insert suitable hand motion smilie here) apart from the fact they they kept putting 2.7 litres on the V5. Charley built it a few years ago, to size things up, make notes and to snag things. Once he had had the measure of things in his mind, it was dissmantled again and has been put back together over the last couple of years or so. Charley is a genius, just to watch him work is an experience in its own right.
Mr Whippy said:
Hehehe, that car is just mental!
I imagine it's not too good on the old petrol then.
Do you actually need more than one gear? I bet it's got some torque!
Dave
Torque isn't the word. Being ex RAF, I managed to introduce Charley to the Battle of Britain Memorial Flight. He spent the day with them. I don't know who was more impressed with each other, Charley for being allowed to rummage in manuals and see so many running Merlin's in one place, or the old sweat aircraft mechanics there, for appreciating his determination and ability.
Thanks all (Hi Joo),
I know Charley will be chuffed and surprised when I send him the link, he's a bit of an old fashioned gent. We bought a Shadow 1 the other week, and we're going to put 4 turbo's on that and prep it as a track day jobber. Might even go for 8 small ones, instaed of 4. It'd be good to see the two of them together.
Brakes are from an XK-R.. at the moment.
thetruemackie said:
What about retro thrusters or maybe an arrestor hook and cables at the end of the runway :P
Seem appropriate somehow
Seriously that's an awesome project. Out of interest what kind of power and torque does the meteor make and at what RPMs?
What gearbox and final drive are you using?
The box is from an XJ-6, and the drive is from a F150 pick up. The Meteor, in standard tune, it puts out 620 hp, at a lazy 2550 rpm. The ecu is a custom made one.
klassiekerrally said:
We bought a Shadow 1 the other week
As in RR Silver Shadow?
I can't wait to hear some soundbites!
Yup, thats the one. It'll sound good, because the stock items steal sooo much power, so we'll put a couple of straight throughs in. We'll keep the rear bench in, for getting there in style, but the front will have to come out.

Mr E said:
The Meteor, in standard tune, it puts out 620 hp, at a lazy 2550 rpm. The ecu is a custom made one.
I've just worked out how much torque it needs to produce 600+ bhp at 2500 rpm.
Two things;
1) You're going to need *monster* gearing
2) It will pull your house down.
It has a Hi Stall Torque Converter from Summit Racing (USA) at the back, and between that and the engine, lives an epicyclic gear train from a Leyland Leapord bus (doesn't everyone have one?). Because the engine redlines at around 2,500 rpm, the gear train generates more power. It 'accepts' 1 rpm in (from the engine) and pushes 3 rpm out, back towards the torque converter, to ensure that houses stay vertical.
Hi Steve,
Bizarre as it may seem, no there isn't. Its one of our magazine cars, so our readers follow the build in each issue. I was wondering if there would be interest outside the mag and as there certainly seems to be, it looks like I've got me a job.
>> Edited by Al Rush on Monday 20th February 16:20
Bizarre as it may seem, no there isn't. Its one of our magazine cars, so our readers follow the build in each issue. I was wondering if there would be interest outside the mag and as there certainly seems to be, it looks like I've got me a job.
>> Edited by Al Rush on Monday 20th February 16:20
Gassing Station | General Gassing [Archive] | Top of Page | What's New | My Stuff