LED headlight conversion NOT HID. Impressed so far.
Discussion


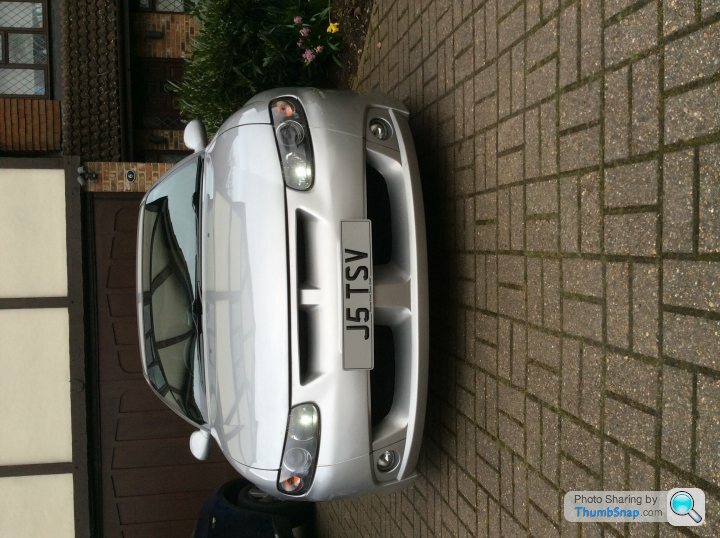
I have had my monaro for 5 months and 5000 miles. Car is great, but headlights are not amazing.
Anyway I felt they were a bit low, but after a top mount replacement that improved matters greatly as the front had dropped an inch, however they were still somewhat candle powered. I have fitted HID xenon lights in the past but you always need to cut the back of the lights. I was not keen to do this.
After a bit of searching I found that you can now buy LED replacement bulbs and that the technology has now moved on to the level that they can be used as headlights and main beam units. So I bought a complete front end kit which included h11 headlight, h9 main beam and w5w sidelight.
The advantage over HID is less power consumption 20w compared to 35w. Immediate start up so suitable for main beam and flashing functions. Direct plugging into existing harness. No need to cut access hole in back of the light for the ballast unit. Longer lifespan.
Negatives are more expensive. The bulb itself is pretty big at the back and so you need space. and not as attractive in an open headlight assembly.
So I fitted this all yesterday. Changing the bulbs on the drivers side was fairly easy in that removing the battery gives plenty of space. On the passengers it is considerable more work. The front skittle panel needs removing as does the airbox assembly which is modified on mine. In order to get the airbox out I need to gain acces under the water header tank. Then the intake pipe needs to come off and to get this off I need to remove the engine cover. To get this off I need to remove the strut brace. So finally I have in interrupted access to the back of the lights. On removing the cover it becomes apparent that space is at a premium and I need to fit around 45mm of bulb behind the light over oem plus the micro processor and associated cables. Fortunately the micro processors and cables fit inside the headlight unit, but getting the covers on is not so easy as they are angled on the inside and catch the back of the bulb slightly. After much fiddling 3 of the 4 covers fit, but one would not go on. So I have had to bodge it with gafa to seal it. I now need to make up some slightly deeper ones.
Photos to follow
Some stats. A normal bulb operates at around 50w and these operate at 20 watts and 3 watts for the w5w
A normal headlight bulb delivers around 1400 lumens and these operate at 2500 lumens
A normal bulb operates at around 3000 kelvins light temperature (yellow) and these are 6000 kelvins which is pure white light at the point where it starts to change to blue. The same colour used by Audi and Mercedes on current cars.
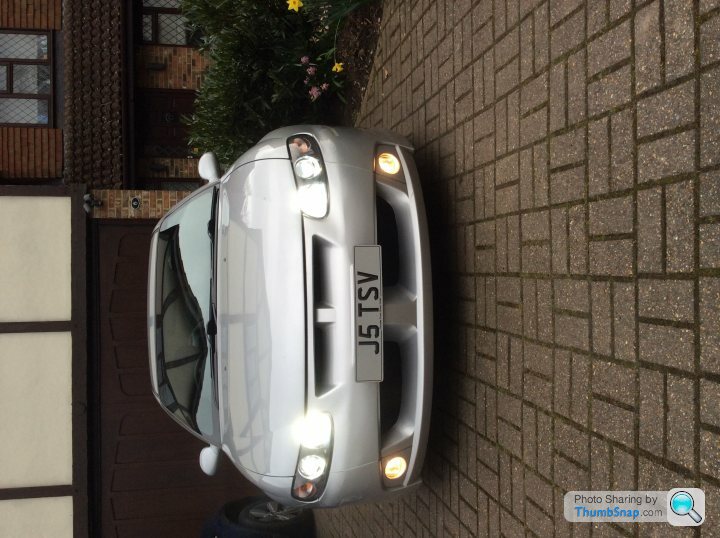
5W5 sidelight also doubles up as day light running light
5w5 sidelight close up
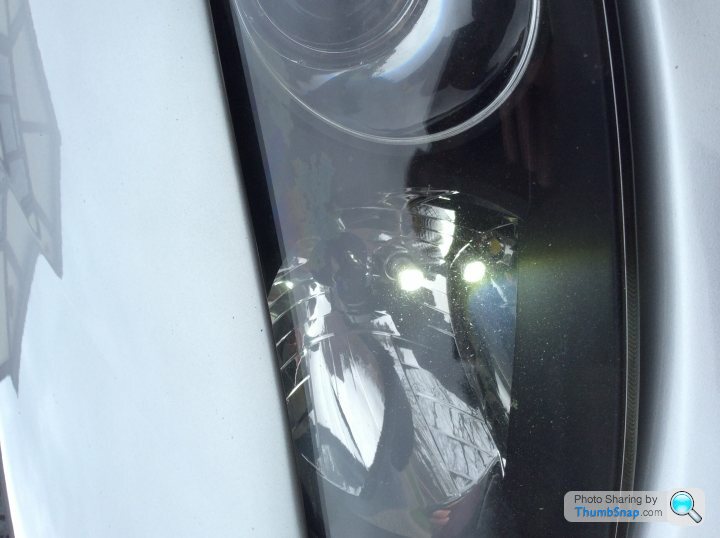
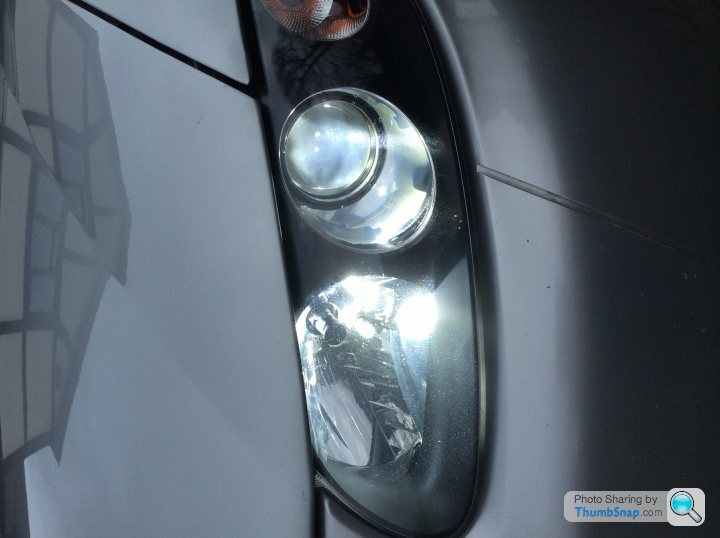
H11 dipped beam
H9 main beam
Dipped and main close up
With standard fogs for comparison
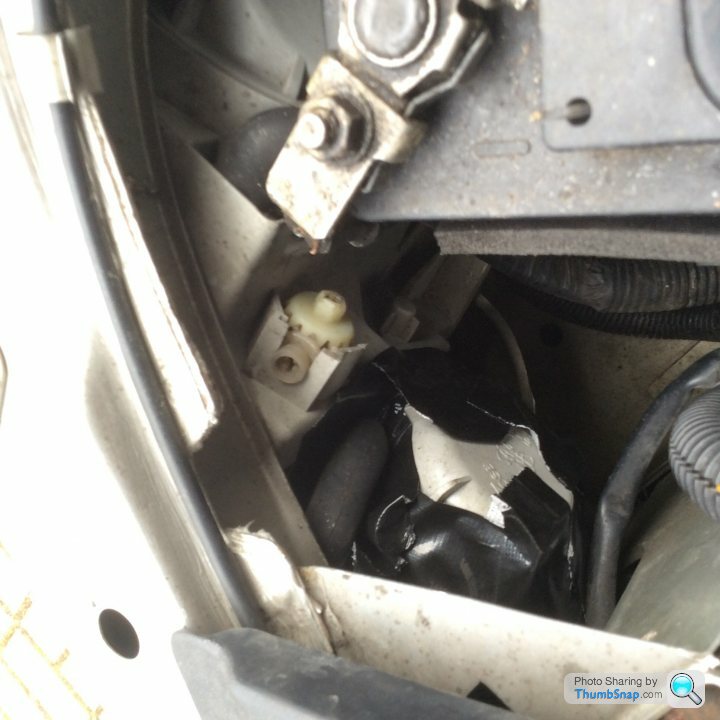
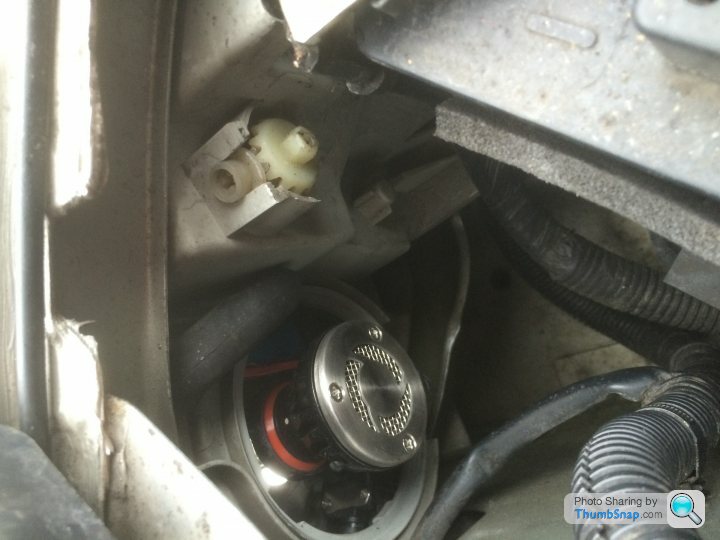
Gaffa tape bodge
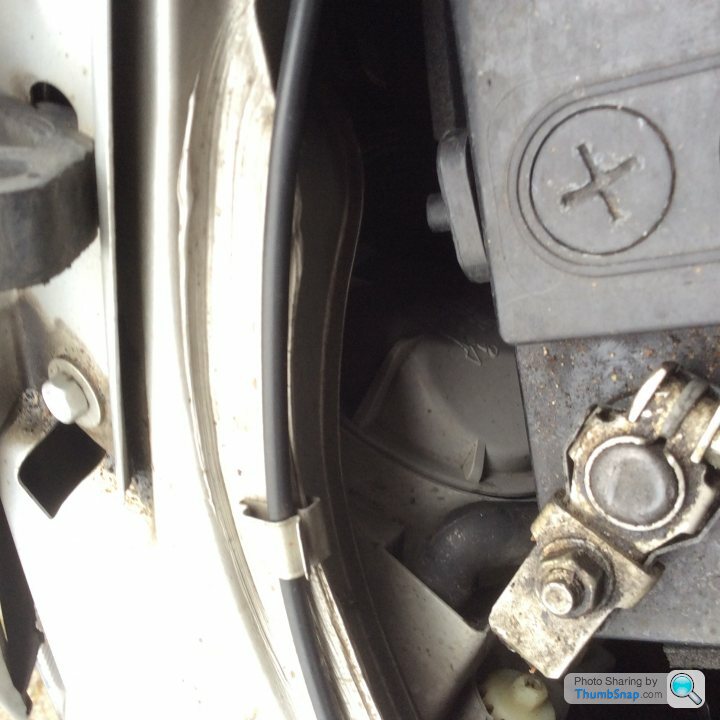
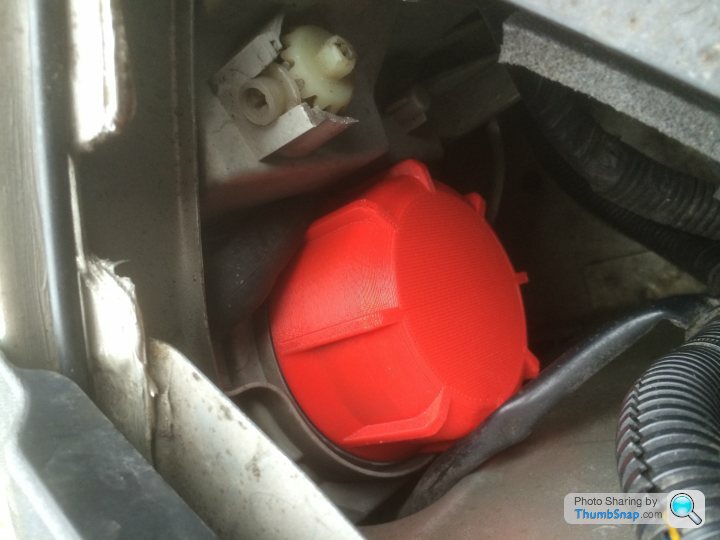
Other 3 covers look like this
A normal headlight bulb delivers around 1400 lumens and these operate at 2500 lumens
A normal bulb operates at around 3000 kelvins light temperature (yellow) and these are 6000 kelvins which is pure white light at the point where it starts to change to blue. The same colour used by Audi and Mercedes on current cars.
5W5 sidelight also doubles up as day light running light
5w5 sidelight close up
H11 dipped beam
H9 main beam
Dipped and main close up
With standard fogs for comparison
Gaffa tape bodge
Other 3 covers look like this
I have a BMW X3 with oem adaptive xenon's my father has a 530d with adaptive xenons which we call lazer beams. My 635csi has HID's for 10 years and now the LED's in the Monaro. I used them last night and they are comparable to the oem system in the 530d all be it they don't turn with the steering wheel. The beam pattern of the projector is very controlled. The full beam is like having a small sun shining out of the front of the car. Most LED's have just the diodes, but the kit I bought has each diode with a projector lens and they claim to exactly mirror a normal lamp. Based on the clarity of beam pattern this claim seems valid.
H11's where £119 and have Philips lumileds chips and a metallic cooling strap.
H9's where £90 and have Cree chips and are fan cooled.
5w5 where £8 with Cree projector chips 3 watts of heat.
I was worried about heat and melting the light surrounds as the space is so tight. so ran them uncovered for 10 mins holding the back of the bulbs with my hands. They got slightly warm, but not hot. I then did a one hour drive and checked and no bad smells, covers are no warmer then with lights off as our big v8's produce a lot of heat. I will keep an eye on this but initially it looks positive.
Re the comments on the other forum I think it applies to earlier technology where LED's have no distance to the light output. Projectors over the diodes deal with this and this is the case with sports floodlighting. I run a sports club and have had a number of meetings with lighting companies and the crew and lumileds chips are the best and are what's used in floodlights for sports facilities. Having projectors over each diode is the key.
The micro processor and cables are around the bulb holder and fit inside the headlight assembled itself. The dust cap only has the back of the LED lamp. An extra 5mm would be ample. If you look at the dust caps they are angled on one side and it's the width of the LED lamp that catches this.
I feel a project with a dremel to cut a piece of pipe and make a male and female end to extend the dust caps is in order.
I feel a project with a dremel to cut a piece of pipe and make a male and female end to extend the dust caps is in order.
Wow those look amazing. I take it you have a 3d printer. I would be very happy to trial and buy a set of 4 from you if that was possible. Where are you based?
The philips bulbs have the straps and these can bend in any direction so are a little less deep. They get warm to touch and have to be packed in pretty tight but the caps go on. The cree's have a fan and are deeper and foul on the angled bit.
I went with the philips as they are better in tight spaces for the h11's, but I am worried about the straps melting what they touch. The cree's don't give me this concern and where my only option. Once you have the bulbs in your hand and the car apart it all looks a lot tighter. You also need to test for the polarity of the wiring as the connector is marked positive and negative.
After 10 mins of use you can hear the fans kick in on the cree's.
Bristol is a bit far for me on Wednesday. Do you want to PM me and I will pass on my details. Plus I would be keen to make a contribution to the plastic/postal fund 3d printer fund.
Moving back to the lights I now have blood on my hands.
I removed the drivers side cover to check on how hot the insides where on the Philips bendy bits after an hours drive. The amount of space between the cover and battery is tight thus the blood on my hands. I am happy to find that Luke warm is all they where which is good.
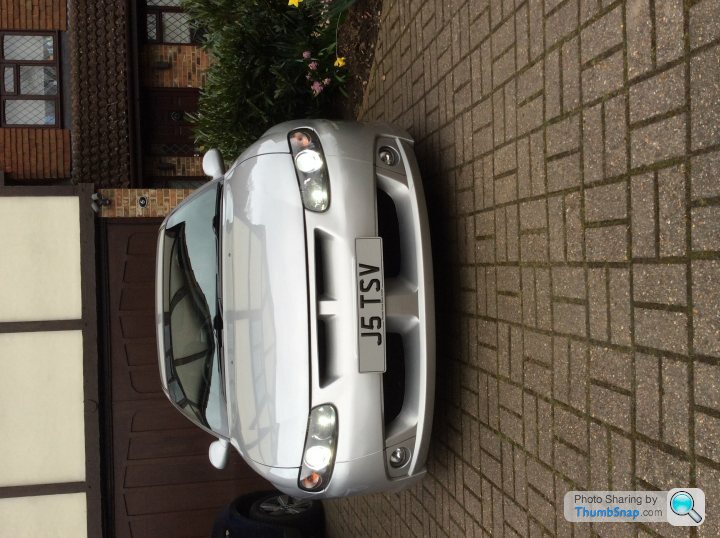
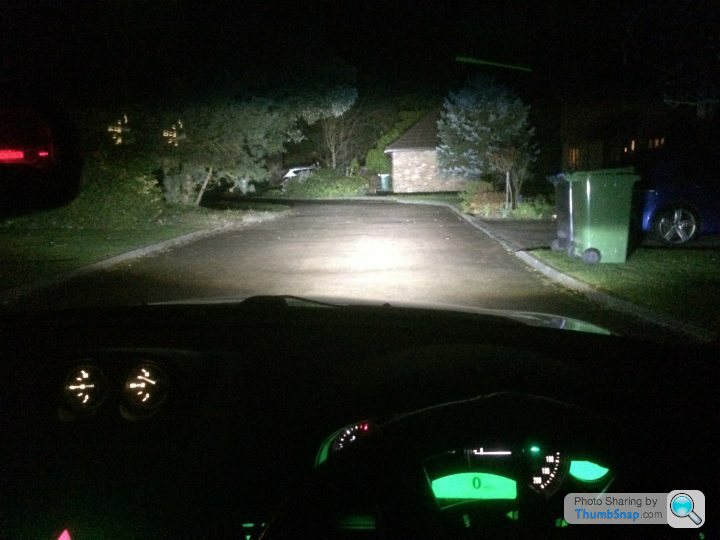
I have also taken a couple of photos on my road this evening in the dark this time.
Dipped beam
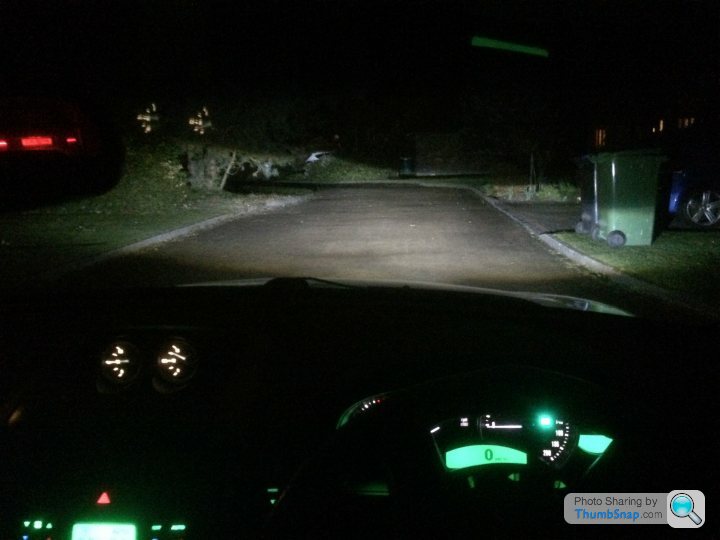
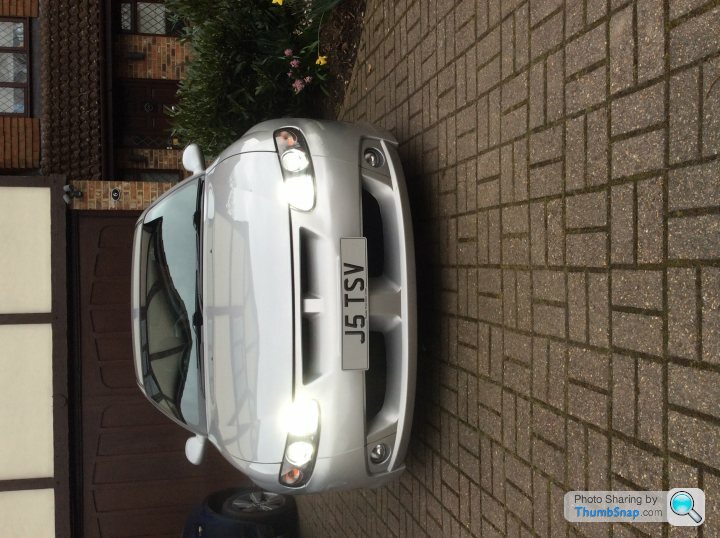
Full beam
Moving back to the lights I now have blood on my hands.
I removed the drivers side cover to check on how hot the insides where on the Philips bendy bits after an hours drive. The amount of space between the cover and battery is tight thus the blood on my hands. I am happy to find that Luke warm is all they where which is good.
I have also taken a couple of photos on my road this evening in the dark this time.
Dipped beam
Full beam
I am truly amazed by this 3d printing it's so interesting. Been visiting YouTube.
Re the seals I am sure you could buy from a plumbers merchant if the diameter is known. They may be available from Vauxhall, GM. I can't believe something like that is expensive.
Thanks so much for your time and effort on this little project. Whatever happens I owe you a beer or two.
When HID's came out I bought one of the first kits which cost me over £300 and fitted to my 635csi. I wrote it all up and caused a bit of a revolution. Many owners have done the same. It took me 8 hours to fit and I lost a lot of blood, but the results where great. 12 years later it failed and was replaced last year. The ballasts halved in size and price was a third. However this LED kit is far smaller again.
Been at monkfish all day today peering at the back of headlights.
The late facelift 6.0 vxr cars require the angled covers on both dipped beam due to battery on drivers and the coolant filer on the passenger side. Main beam is not an issue for space. I have seen cars with both 65ah and 72ah batteries. With a 65 there is some space, but the 72ah is fag paper sized gaps.
The late facelift 6.0 vxr cars require the angled covers on both dipped beam due to battery on drivers and the coolant filer on the passenger side. Main beam is not an issue for space. I have seen cars with both 65ah and 72ah batteries. With a 65 there is some space, but the 72ah is fag paper sized gaps.
Kmud I have now made a donation to your plastic refresh fund. If you can let me know its arrived safe.
It's a tight fit for the cables, but clearance was fairly good for the bulb itself although closer on the drivers side.
The heat should be ok as its only 20w and with the fan it pushes it forwards towards the light. I ran the mains for 10 mins and while the fans came on, they where cool to the touch. I have never had the mains on for 10 mins, but I can't believe they will get any hotter than this. Time will tell
Personally I am more worried about the strap system on my dips, but again after 1 hour on they were Luke warm.
By way of an update I have now been running these lights for 4-5 months now.
Performance is at the same level as when first fitted so no drop off in light output which is good.
Have now fitted the covers on the other side when I installed my cold air intake last week and no signs of any damage or stress on the plastic from the straps so it runs cool enough to not pose problems which again is good news.
Though this might be beneficial for those thinking about this option.
Gassing Station | HSV & Monaro | Top of Page | What's New | My Stuff