Nickel plated interior knobs
Discussion


I never liked the anodized finish on the alloy bits inside my DBS. I decided to acquire a complete second set of these pieces and then have everything nickel plated and polished and /or brushed finish. This includes all the knobs and bezels as well as the alloy trim surrounds on the air vents.
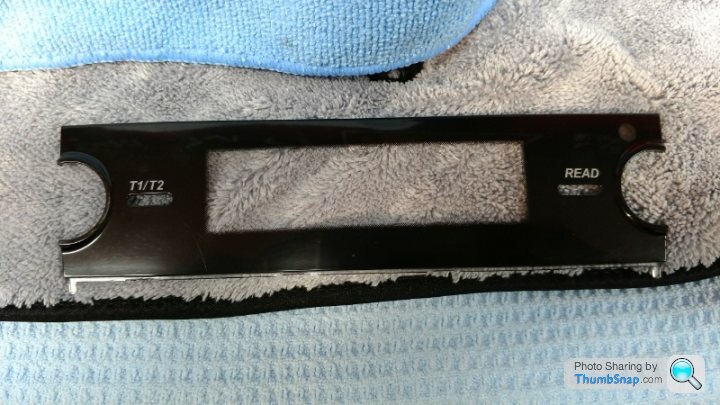
Finally making some progress on this project of mine. I got the interior torn apart and the knobs / bezels installed on the fascia.. I'm not afraid to say this is not a job for the faint of heart. By far the most challenging job I've taken on in regards to any of my Aston Martin's.
Removing the pieces isn't so bad.. It's taking this fascia panel apart that's the challenge. Primarily gaining access to the "joystick" and its surrounding trim piece. I realized it was going to not be easy when I first got going on the planning of this. Aston Martin offers all the other knobs / bezels for sale through parts but not the joystick (as I call it). I knew then that it wasn't really meant to be removed and serviced.
I actually picked up a scrap fascia panel on ebay before starting this to take apart to not only acquire a donor joystick but to also gain some practice and familiarity before tackling my own parts. This proved to be a good decision as all of this has become much more than I bargained for. I hope the end result is worth it. Took this opportunity to install the glass switches as well.
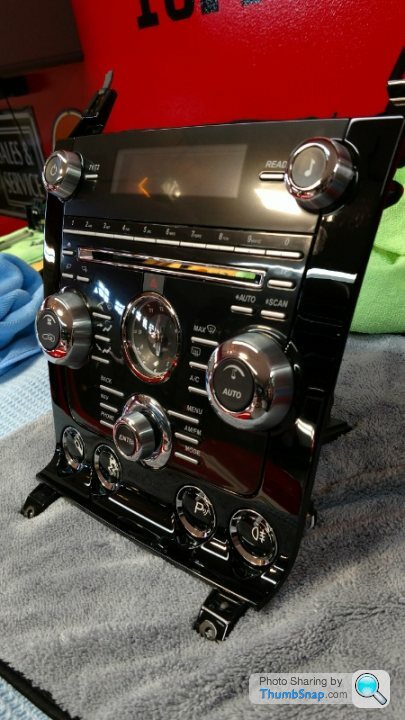
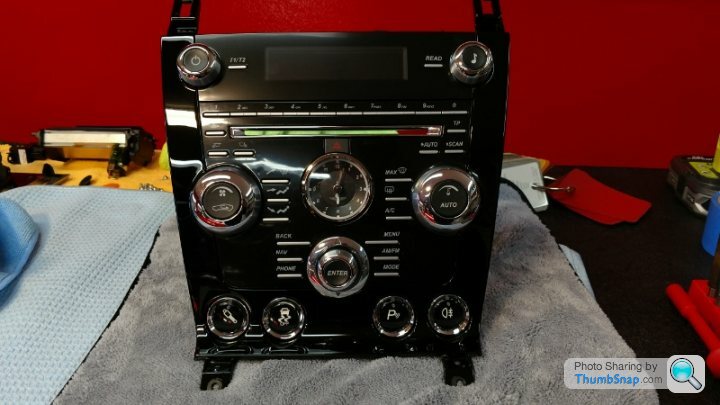
Just a few pictures of what I've got done so far..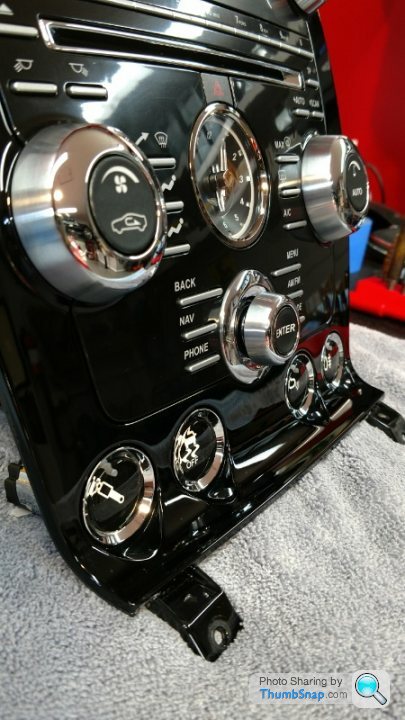
Finally making some progress on this project of mine. I got the interior torn apart and the knobs / bezels installed on the fascia.. I'm not afraid to say this is not a job for the faint of heart. By far the most challenging job I've taken on in regards to any of my Aston Martin's.
Removing the pieces isn't so bad.. It's taking this fascia panel apart that's the challenge. Primarily gaining access to the "joystick" and its surrounding trim piece. I realized it was going to not be easy when I first got going on the planning of this. Aston Martin offers all the other knobs / bezels for sale through parts but not the joystick (as I call it). I knew then that it wasn't really meant to be removed and serviced.
I actually picked up a scrap fascia panel on ebay before starting this to take apart to not only acquire a donor joystick but to also gain some practice and familiarity before tackling my own parts. This proved to be a good decision as all of this has become much more than I bargained for. I hope the end result is worth it. Took this opportunity to install the glass switches as well.
Just a few pictures of what I've got done so far..
Thank you all for the kind words.
With the exception of the joystick, the buttons do pop off. However it requires quite a bit of force to do this and I can't imagine trying to do it without having the fascia out of the car so you can support the module on the back side that accepts the buttons. You need to use a pretty hefty plastic pry tool but they do pop off.. Very hair raising!
With the exception of the joystick, the buttons do pop off. However it requires quite a bit of force to do this and I can't imagine trying to do it without having the fascia out of the car so you can support the module on the back side that accepts the buttons. You need to use a pretty hefty plastic pry tool but they do pop off.. Very hair raising!
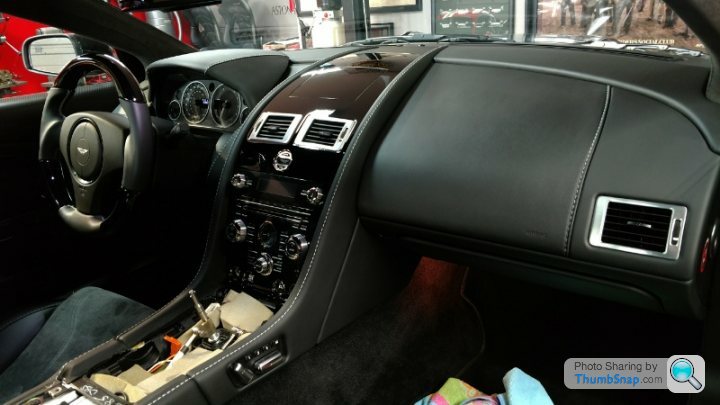
I'll post some more pictures when it's all back together. I had the alloy shift handle polished as well to match the finish.. As well as the shifter surround Trim piece (nickel plated).
My DBS has piano black waterfall and console panels so ive got them with my Detailer for a good polish before reinstalling. Also going to add some paint ceramic coating to the piano black to protect in the future.
My DBS has piano black waterfall and console panels so ive got them with my Detailer for a good polish before reinstalling. Also going to add some paint ceramic coating to the piano black to protect in the future.
shuzzy said:
Wow! That looks fantastic. I have another issue with mine, the display screen is scratched and it is quite noticeable. Always annoys me when I look at it. Top marks for pulling this off.
Quite cheap and easy to replace that screen with the fascia piece removed. I believe a new screen is only about 70gbp. I replaced mine while having everything apart.. They scratch up very easily no doubt. dbs2000 said:
Just out of interest, how did you get the joystick out? I had the same part from my old V12V in pieces, while I didn't have a spare to be a little more exuberant, I couldn't figure out how to remove it 
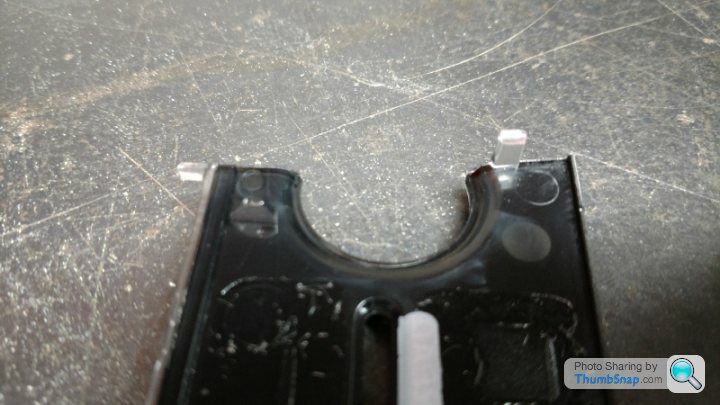
I know exactly what you mean. I could never have figured it out without buying the sacrificial fascia piece I had to bust up to figure it out. Once you get all the modules and other bits that are screwed on to the back of the fascia piece removed you have a little bit of access to the back side of the joystick. There's a couple hidden tabs that are very difficult to access that once released will allow the joystick assembly to be pulled straight out. There's then a roll pin that needs to be pushed out which separates the alloy pieces from the plastic retaining parts. Very difficult to explain.. But if anyone is interested in taking this on in the future I'd be happy to post some pictures etc to help you through it. I also still have my donor fascia which is a great help to have around while doing the job.. Happy to lend it out.
Dobie177 said:
Really? I didn’t realise you could replace Just the non-glare screen. I’ve previously searched the used parts catalogue and only seen an option to replace the whole control fascia at an exorbitant cost. Where did you get the non-glare screen from - presume OEM and sourced via dealer?? Thanks
Here's a couple pictures of the screen as well as a shot of the part number. It just pops out of the fascia but again you really need to have access to the back side of it to get to it properly. Hope this helps! 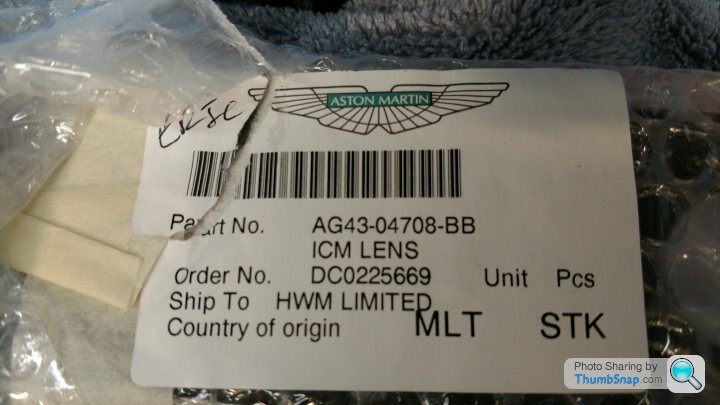
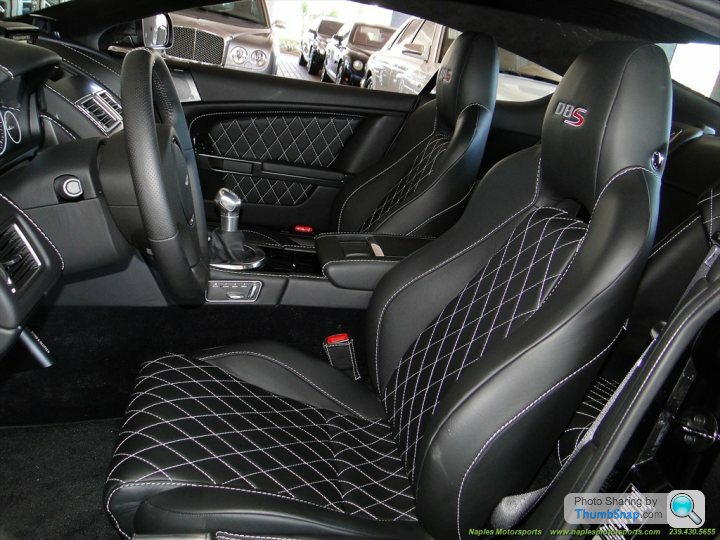
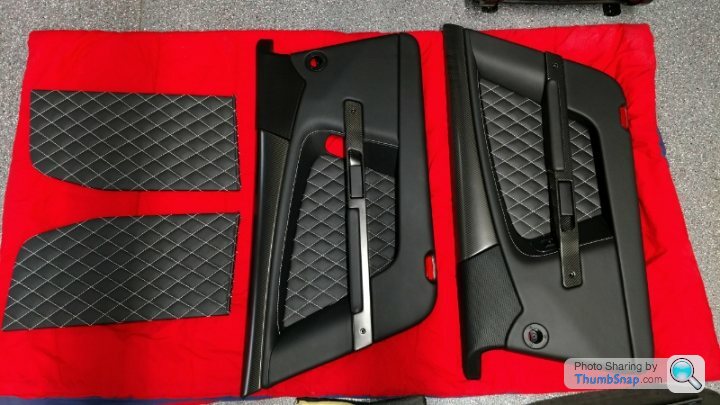
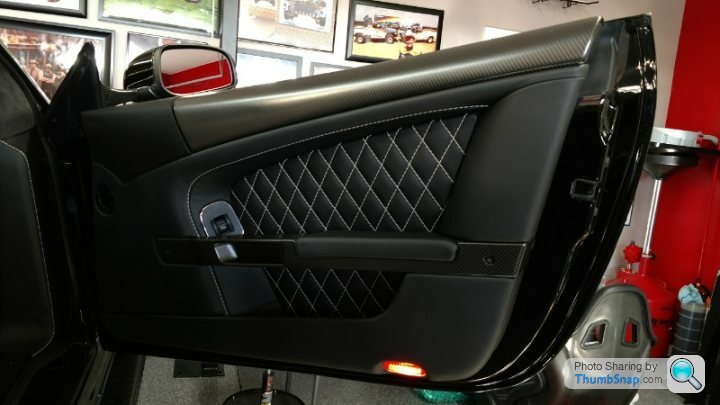
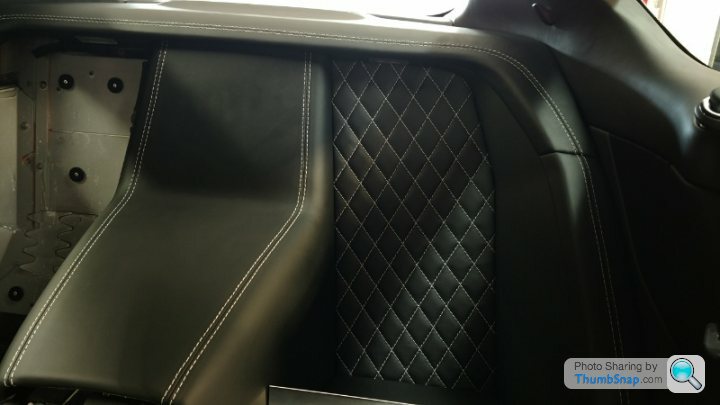
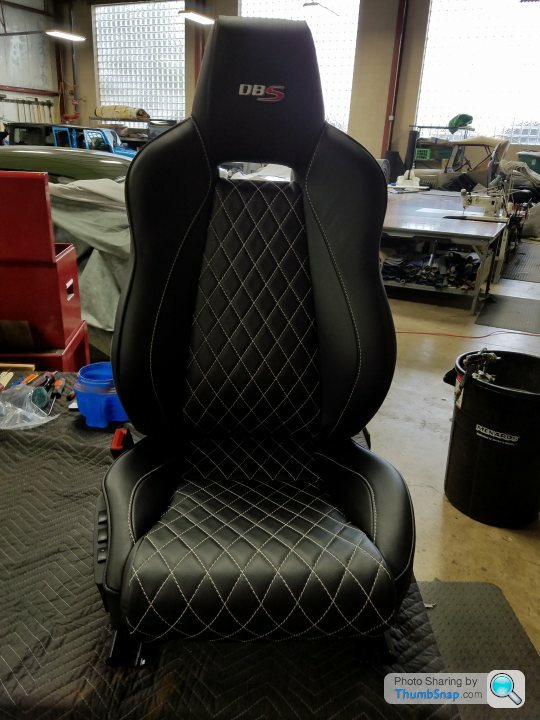
Making some more progress on my interior overhaul. Interior pieces have been sent off to the trim shop. The seats, door panels and rear stowage area panels received a diamond quilted stitching pattern to mimic the "DBS Ultimate Edition". Seats are not quite done but the other pieces are going back together now. I'm pretty happy with the results!
Lots of work to get here but well worth it in my opinion.
dbs2000 said:
Great project
I'll be pulling mine to bits to tone it down once I've sold my DBS in the UK. You've Q'd it without Q
Out if interest, how costly is this in the US? Pulling the interior apart is easy enough which saves a good chunk on labour but I fear new leather and other bits may prove very costly.
Q'd without the Q.. I like it! I'll be pulling mine to bits to tone it down once I've sold my DBS in the UK. You've Q'd it without Q
Out if interest, how costly is this in the US? Pulling the interior apart is easy enough which saves a good chunk on labour but I fear new leather and other bits may prove very costly.
Thank you. I have no problem sharing the cost to do this. Obviously the labor to pull things apart hasn't been an issue.. If you had to pay a shop to do this, it would become pretty steep very quickly. Lots of hours to remove and then properly refit everything.
I purchased the leather hides myself directly from Aston Martin's supplier "Bridge Of Weir". So the trim shop is billing me for labor only essentially to do their work. I'm being charged $3500usd for the labor to retrim the seats, door panels and the pieces that make up the rear storage area.
I didn't think this was too bad based on my experience dealing with upholstery shops. The seats themselves are a considerable amount of work obviously. I should mention also that the shop I chose is recognized as one of the very best in the area and routinely builds show winning interiors.. Their work is absolutely without compromise. I certainly could have gotten this done for less money elsewhere, but I was happy to pay a bit more for these guys.
Edited by speedracer800 on Monday 22 January 16:53
Gassing Station | Aston Martin | Top of Page | What's New | My Stuff