Ducati custom build Mark II
Discussion


Last winter I built a Multistrada special out of an accident damaged 1000DS. I finished it in April and I have ridden the bike all summer… I LOVE it! Been finding excuses to just go for a ride on it!
However, there are aspects of the bike I really don’t like… first, the plastic tank… with the advent of ethanol in fuel, I can only see problems in the future… and also the electronics, already the LCD screen has failed, and some of the warning lights, which is a pain as they are a fortune.
I have been planning to build a bike that would be a “keeper” for years, and this may be it… So I have decided to rebuild it again over this winter into Mark II… this time with a steel tank, a simple Electronic ignition, (Ignitech) and Carbs, yes, I know I am a dinosaur!
If people are interested I will update this thread as I progress with the build, but for now here are a few pictures of last year’s build, and a couple of progress so far…,
Here’s how it started out

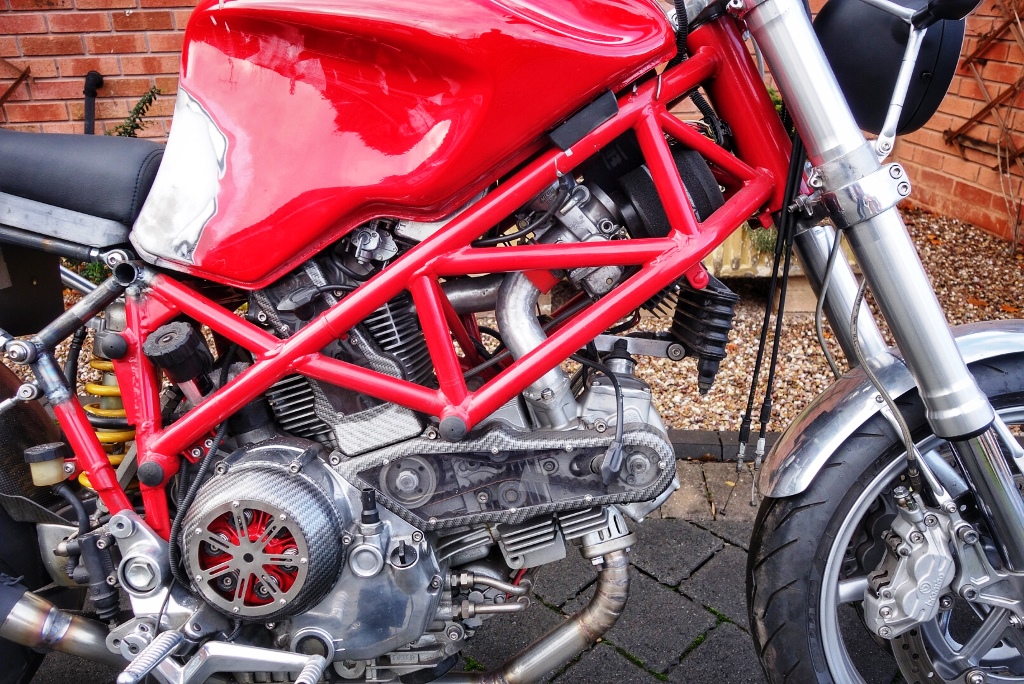
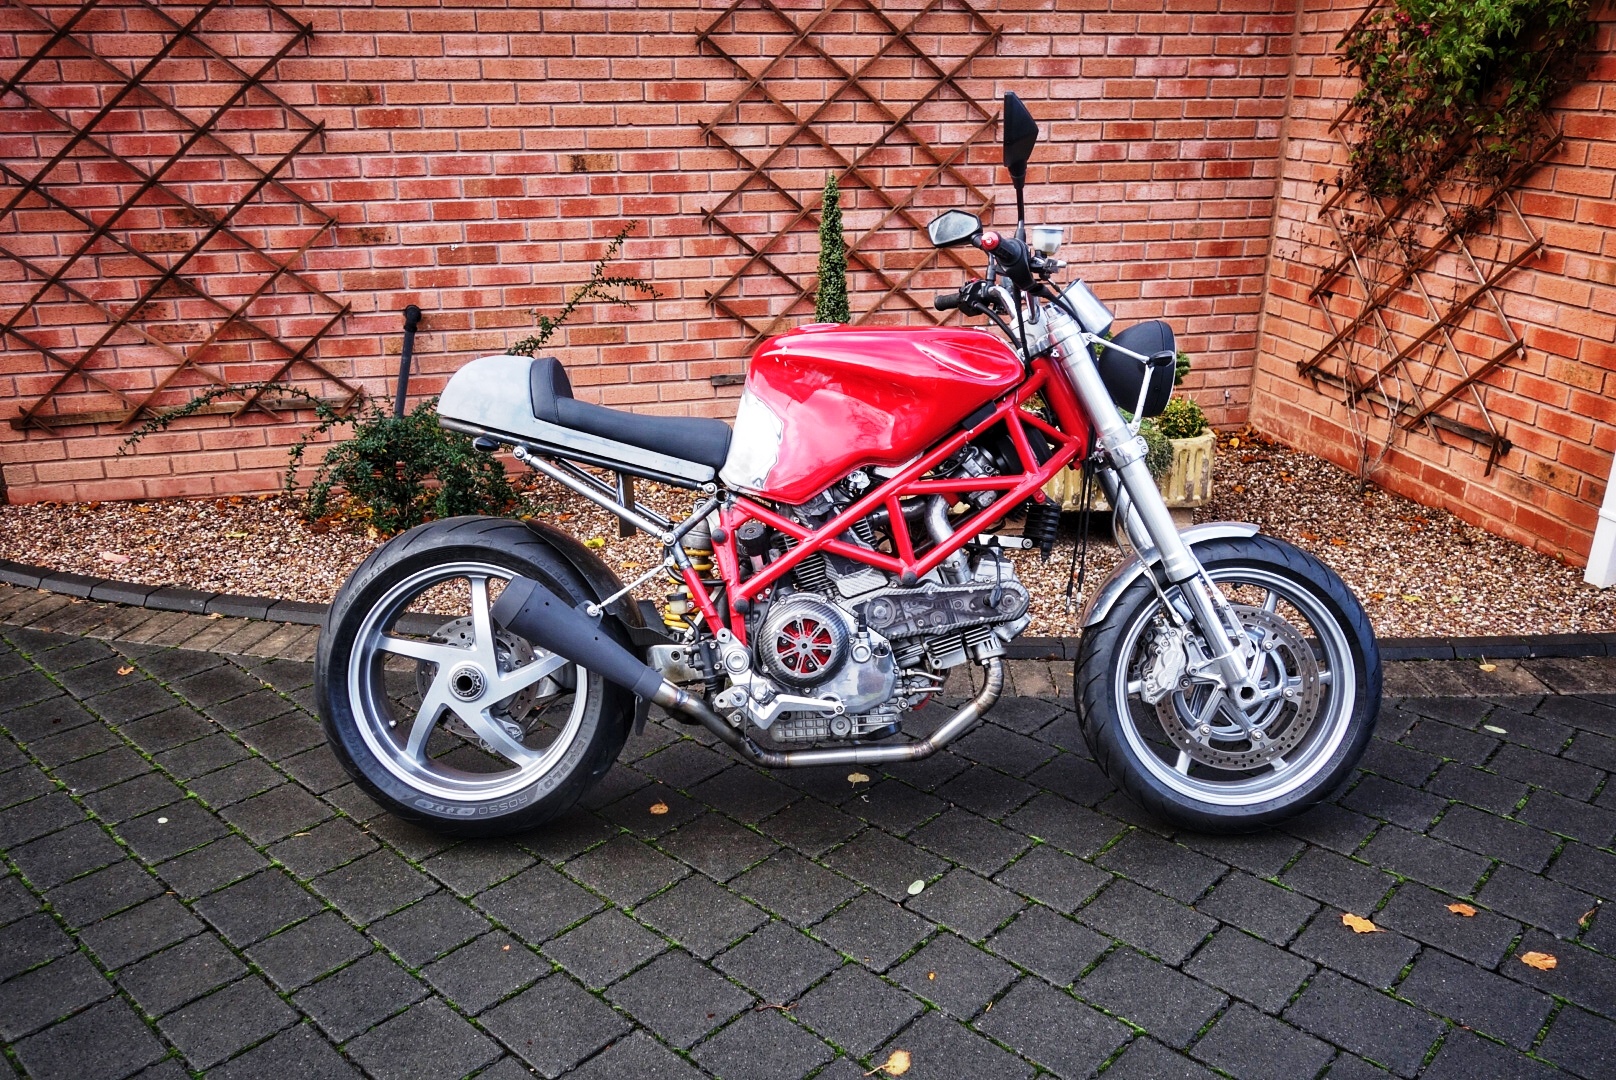
Here it is finished….

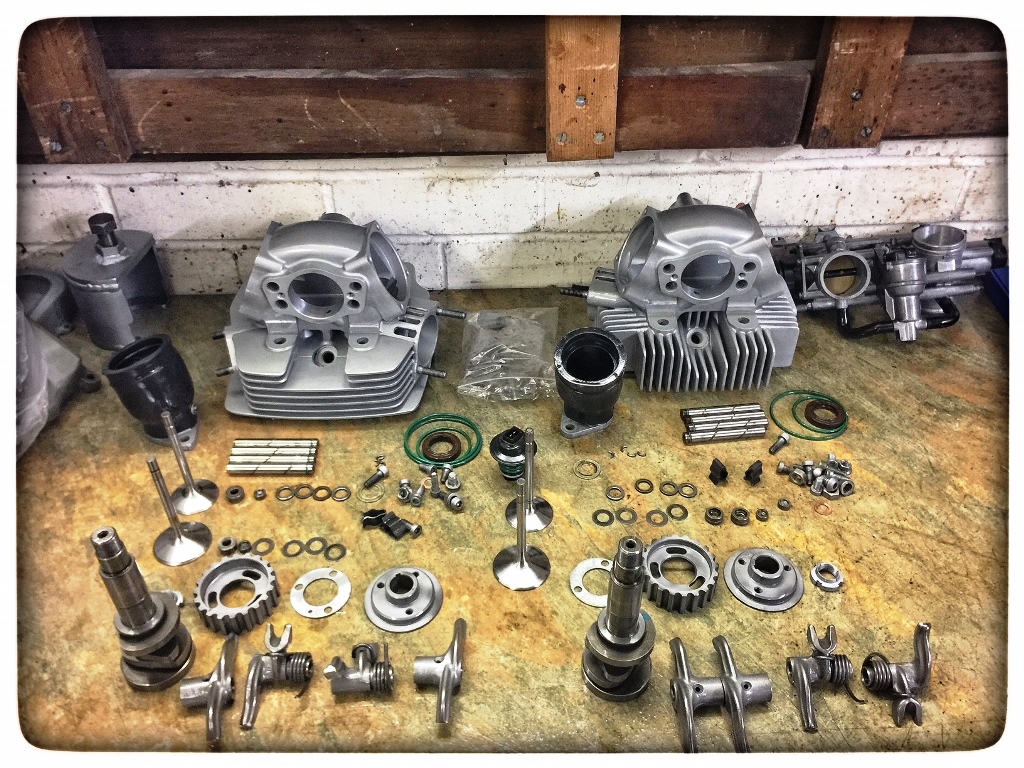
Couple from the engine rebuild…

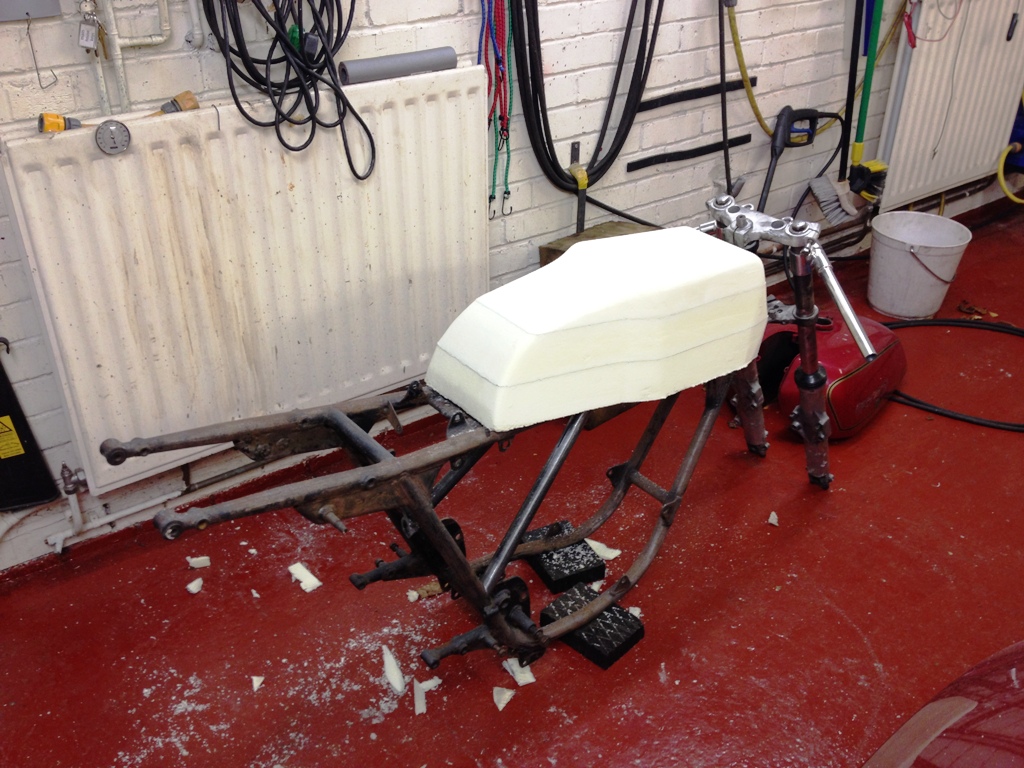
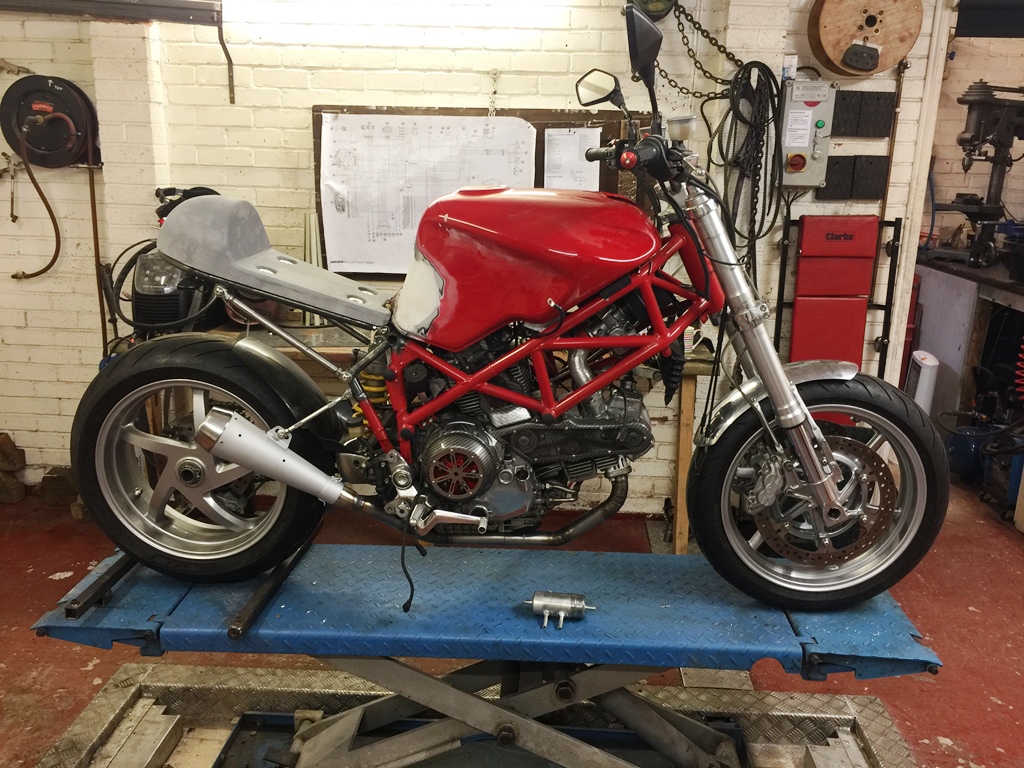
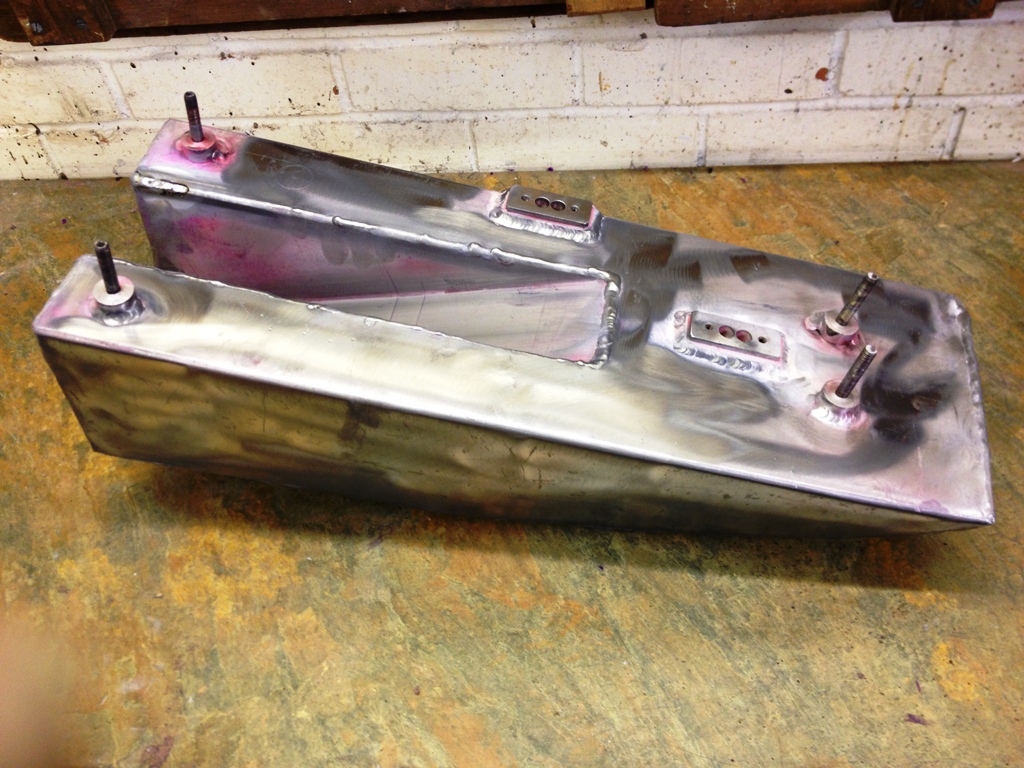
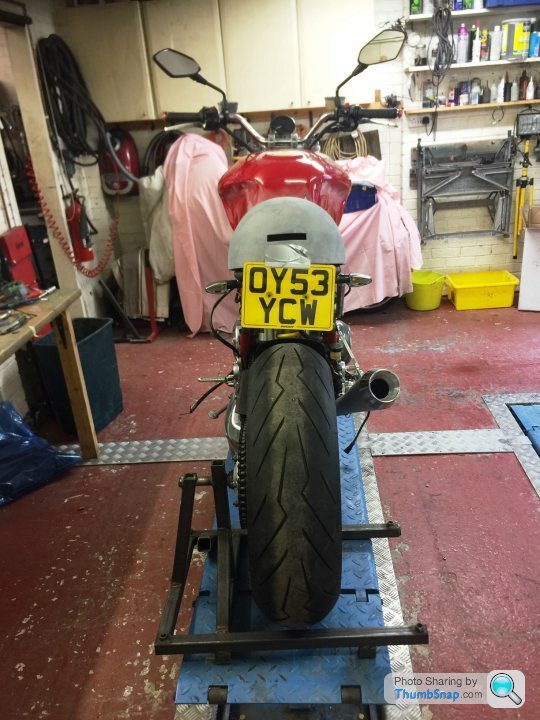
Here it is now… I have cut the back end of the frame and will be making a seat unit. I have also mounted the ST4 tank, and am in the process of making a blanking plate for the big hole where the fuel pump used to sit!


Here are the carbs mounted on the home made manifolds, which need finishing. Carbs are slightly offset to allow use of a throttle position sensor to fit on the end of the spindle. Took hours to make the manifolds from scratch!
Not sure yet if I will make an airbox, or use POD filters…

However, there are aspects of the bike I really don’t like… first, the plastic tank… with the advent of ethanol in fuel, I can only see problems in the future… and also the electronics, already the LCD screen has failed, and some of the warning lights, which is a pain as they are a fortune.
I have been planning to build a bike that would be a “keeper” for years, and this may be it… So I have decided to rebuild it again over this winter into Mark II… this time with a steel tank, a simple Electronic ignition, (Ignitech) and Carbs, yes, I know I am a dinosaur!
If people are interested I will update this thread as I progress with the build, but for now here are a few pictures of last year’s build, and a couple of progress so far…,
Here’s how it started out
Here it is finished….
Couple from the engine rebuild…
Here it is now… I have cut the back end of the frame and will be making a seat unit. I have also mounted the ST4 tank, and am in the process of making a blanking plate for the big hole where the fuel pump used to sit!
Here are the carbs mounted on the home made manifolds, which need finishing. Carbs are slightly offset to allow use of a throttle position sensor to fit on the end of the spindle. Took hours to make the manifolds from scratch!
Not sure yet if I will make an airbox, or use POD filters…
A bit more progress... I have decided to go for pod filters, took the easy option! I have finished the the tank blanking plate, save for putting in a couple of outlets. one will go to a vacuum tap, the other will have an ON/OFF tap. that way I can use the tap as a reserve if the inlet for the vacuum tap is a lot higher. I can do this bu unseeing a filter in the tank. I have started the work on modifying the frame to have a removable rear subframe, this is tacked into place and can be fully welded when its easier to turn the frame. next job is the seat, so the subframe arms are movable at the moment. trying to decided on a side of under seat exhaust at the moment, which will influence the seat.
Also managed to find an alloy front mudguard in a style I like... made out of 3mm alloy, its a work of art, makes me want a wheeling machine!


Also managed to find an alloy front mudguard in a style I like... made out of 3mm alloy, its a work of art, makes me want a wheeling machine!
I have finished tacking up the rear now and finally pleased with the result. Decided on rose joints rather than the home made ones... the frame hoop was quite difficult as I couldn't find any dies the right size for the pipe bender. In the end I resorted to the old method and welded a cap on one end of the pipe and a nut on the other. I then filled it full of sand and compacted it with the bolt. it then bent a treat with no kinks!
next step is to make the seat from scratch


next step is to make the seat from scratch
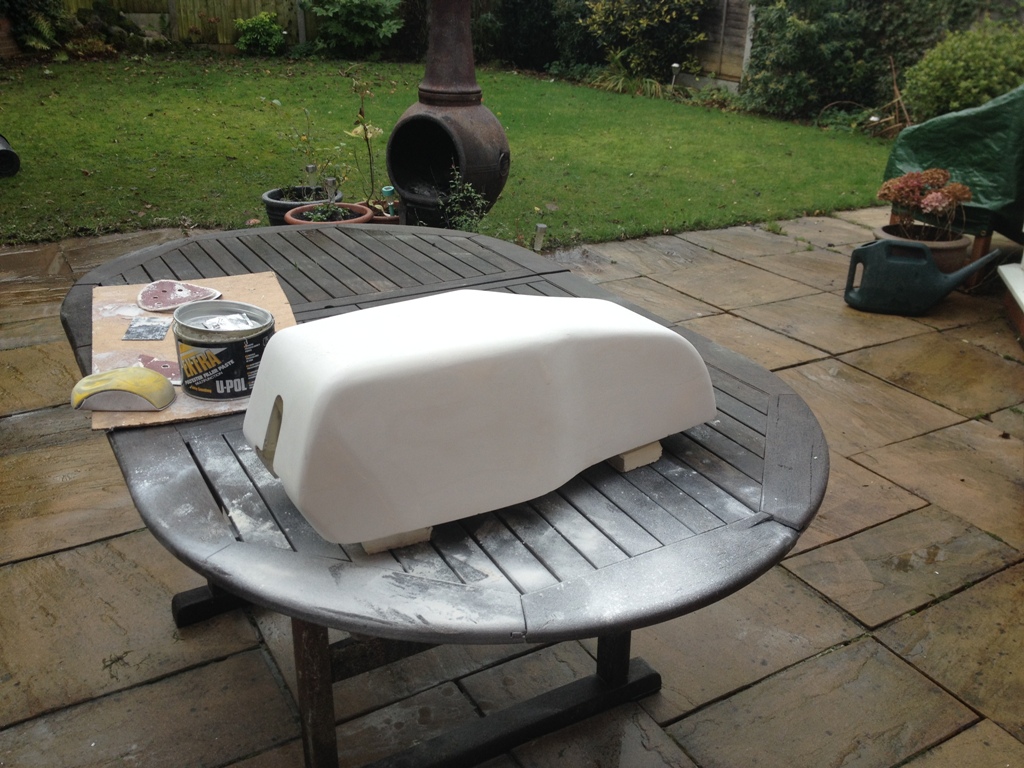
early on while i was thinking about how I wanted the bike to look, I had a vision of a bit “Old Skhool” and decided I wanted a round headlight, and a seat hump like the old cafe racers, I know it wont be to everyone’s taste, but what the hell, this build is for me so I wont sell it on…. here is the seat construction beginning… I have made a few like this in the past… I start with a sheet of insulation, where I peel the foil off to make it easier to work with. I glue the blocks together with contact adhesive, and then shape it roughly with a bread knife. then with a block and some 40 grit sand paper, I sanded it to shape. the whole thing took around an hour to do, it sands VERY easily. Next stage is to skim it with bodyfiller, and then cover it with fibre glass. some people go straight on with the glass, but I prefer a final finish with the filler. its a method I have used before to good effect. In fact I did conciser making a tank as I have done before, but its a complex shape underneath. here is a few pictures of my last effort using this method of construction...


dc2rr07 said:
Interesting read, you can get cheap springs plumbers use for bending pipe
https://www.screwfix.com/p/plumbing-tools-by-rothe...
yep, I have used them before and they work great on the thin wall pipe... this was thick wall plus an odd size inside. on really tight bends they wont come out as well!https://www.screwfix.com/p/plumbing-tools-by-rothe...
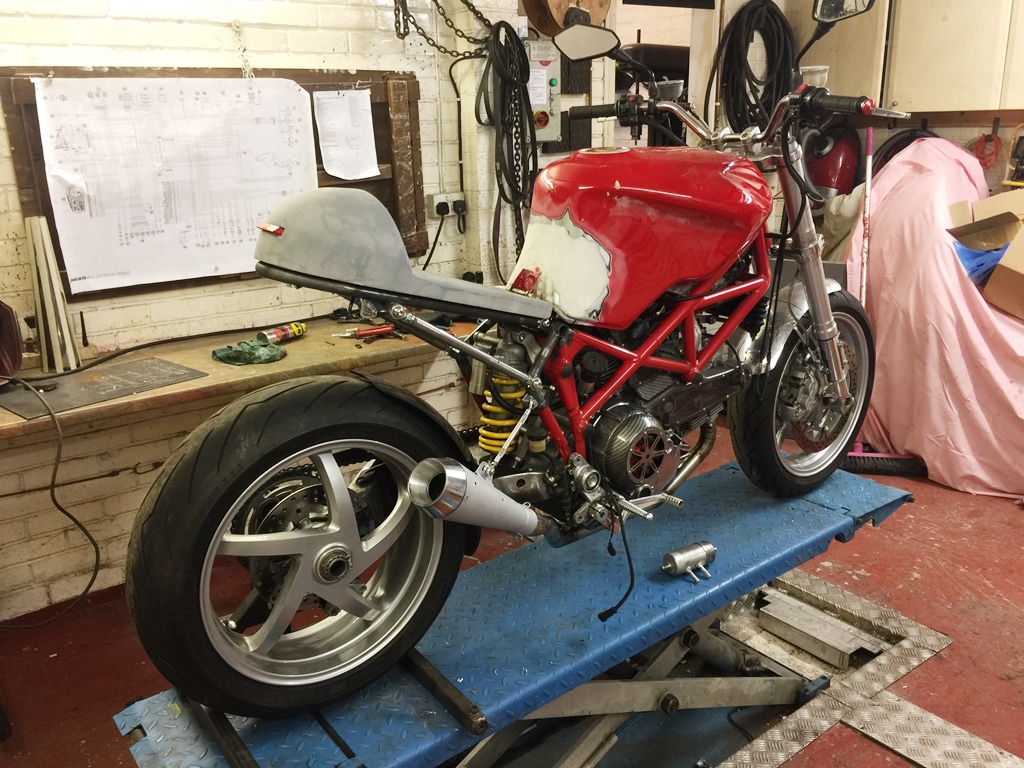
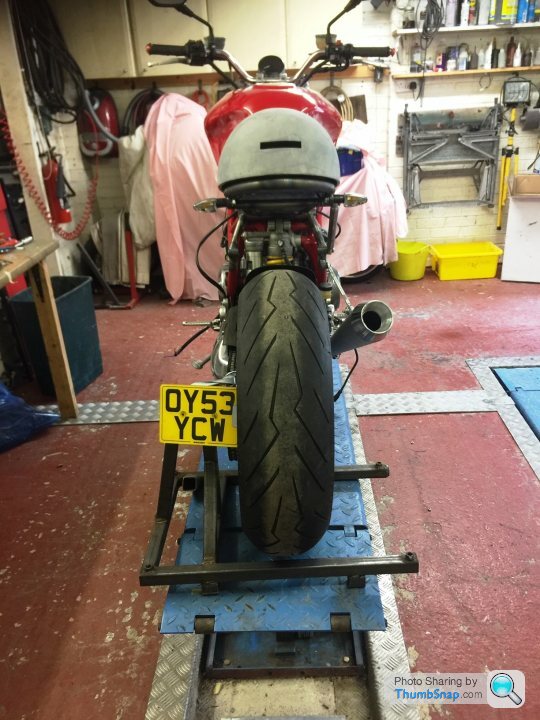
a little bit more progress, been away a few days so not too much! the seat is more or less finished and is placed on the bike. I turned my attention to the exhaust. I initially mocked up and under seat one, but I didn't like it, so in the end went for a nice and simple reverse cone mega... old school.
I wanted to mount the front mudguard and bought some tube to make the stays... but forming the ends in the vice didn't look good, so I made a couple of tools to form rounded ends on. it worked rather well!


I wanted to mount the front mudguard and bought some tube to make the stays... but forming the ends in the vice didn't look good, so I made a couple of tools to form rounded ends on. it worked rather well!
scarble said:
Seems like you only just finished the previous build.
Really impressed by your work though and love reading about the manual way of doing things, wish I had all that knowledge.
No negative mould for the glass fiber then? How do you get the top surface perfectly smooth?
And can you explain the pipe bending trick with diagrams?
last build was finished in late March... rode it all summer, there is something about it I love... hence the new build.Really impressed by your work though and love reading about the manual way of doing things, wish I had all that knowledge.
No negative mould for the glass fiber then? How do you get the top surface perfectly smooth?
And can you explain the pipe bending trick with diagrams?
to be honest I did think about a negative mould.. but that's a lot more work and this is a one off. the positive mould method works well providing you get the shape of the former quite close, and are even with your layers of mat. I finish off with a couple of layers of cloth. then a sand to shape, followed by a scim of body filler.
the sand fill method is old as the hills, and pretty simple. you get the pipe, weld a plug in the end and fill it full of sand... then block the other end with either another welded plug, or in my case a nut welded on with a bolt in. then you make a former to the shape you want. I used some 1" thick plank I had lying around. then you just bend it around the former! it needs a good pull though so leave a long length of pipe!
I have used this method in the past to make a curve on exhaust pipe. but in this case you heat the pipe to achieve a nice smooth bend. the sand helps maintain the heat in the pipe as you bend it... you have to be fairly quick though or the wood former sets alight!
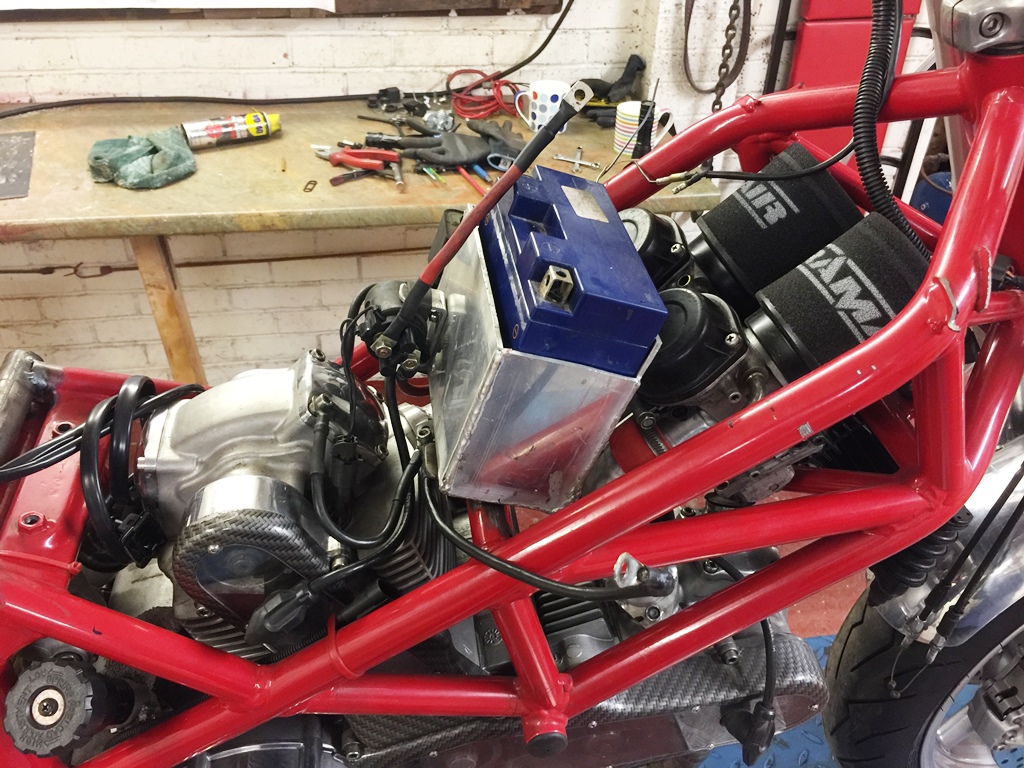
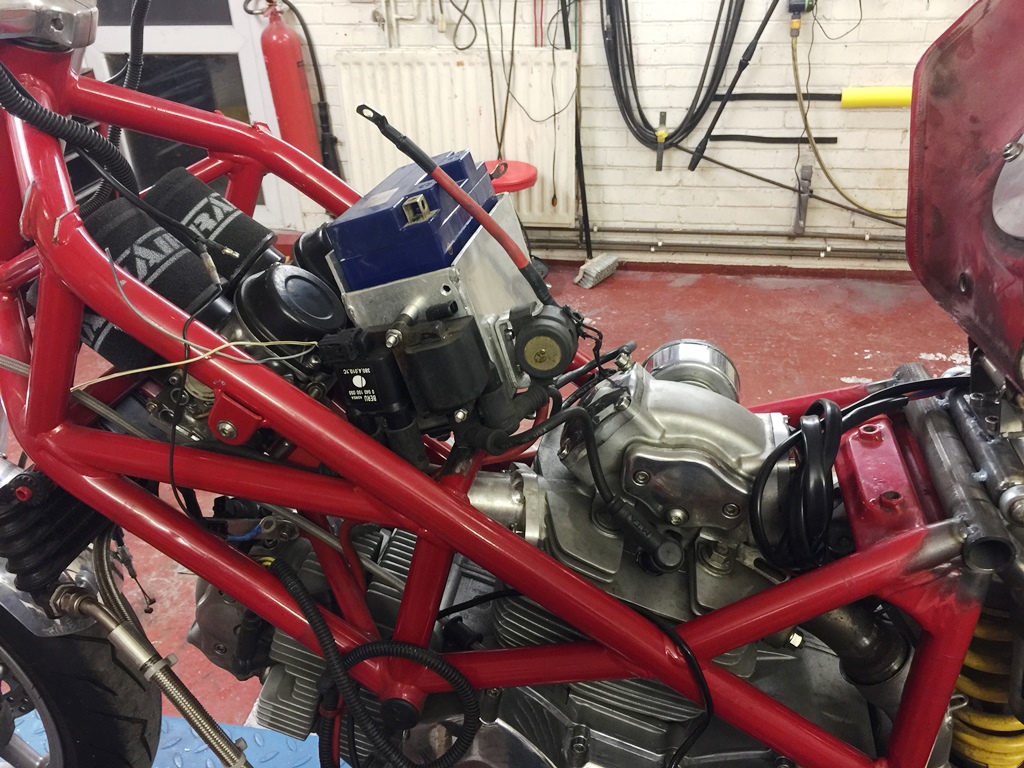
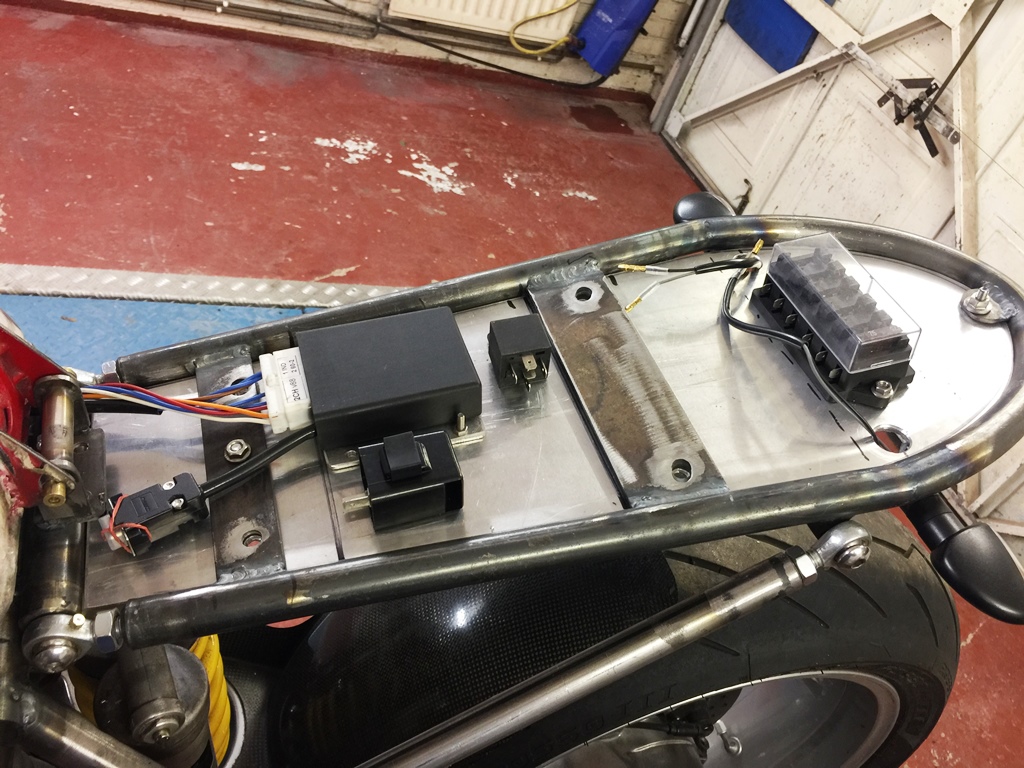
there has been a bit more progress over the last few days...I have mounted the battery under the tank, and put the coils and solenoid on the battery box, which is rubber mounted on four grommets to insulate it from vibration. I have finished off the mudguard mountings, and also the mounting to support the exhaust.
the silencer has been a pain.. I bought it off Ebay new, the seller described it as stainless steel. when it came, it looked good, so I stripped it apart and chucked the cone into some thinners... this stripped all the paint off. a this point I suspected it was mild steel, turns out it is! so for now, I have painted it with silver VHT paint and it looks OK. I may decide to have it chrome, or even black. the seller was very understanding and refunded my £21! thought it was cheap!
I was going to mount the fuel tap which I have bought (its fitted to a Suzuki 1000 Bandit) nut there is not enough room for it, so I will have to think again... I want a tap with a reserve if I can...
I have now started mounting the electrical components and will soon start the the wiring, a job which I quite enjoy. just got to mount the headlight first...
Dibble said:
Have you fabricated the battery box yourself? What’s it made from?
(Apologies for the Idiot questions, as I’ve said, I have zero mechanical skills whatsoever, but I’ve spent hours watching YouTube videos of welding/forging/CNC milling/lathe work).
yes, I made it out of alloy sheet. it was actually my first attempt at welding with my new AC/DC TIG welder! In the past I have had to visit my best mates factory to weld aluminium, but decided to buy my own. its bloody amazing piece of kit! I have been using it to make the exhausts and the inlet manifolds from scratch.(Apologies for the Idiot questions, as I’ve said, I have zero mechanical skills whatsoever, but I’ve spent hours watching YouTube videos of welding/forging/CNC milling/lathe work).
I will probably re make the battery box a little better and incorporate a few folds to make it neater. A lot of the build at the moment is mock up...
tvrolet said:
Fantastic job - but just one query. Why the rose joints on the sub-frame that mounts the seat? I know they'll remove any possibility of bending moments in the tubes. but is that really a problem? Why not just weld-up the tubes in the seat mount as a single frame, or it is to give some degree of adjustability? Just curious...
to be honest it was just I liked the look of them. as you will see in some early pictures I i did make some, and then someone on another forum suggested using rose joints... I dont think they add any structural advantage, probably the opposite really. they did make it easier to line everything up though... I do intend the replace the bracing struts with alloy soon as I get the tube...Dibble said:
Cheers buzzer
I had it in my head somewhere that it was “more difficult” to weld aluminium, but I could have made that up and I don’t know why it would be! I’m really enjoying this thread, so keep it coming. As I’ve said, to me, most of this stuff is witchcraft!
its MUCH more difficult to weld Aluminium... for lots of reasons. I will say though that my new TIG set is fantastic, and goes some way to make it easier... it has high frequency start, the amps ramp up, and down, so you don't end up with craters at the end of a run, it has pulse welding... fantastic!I had it in my head somewhere that it was “more difficult” to weld aluminium, but I could have made that up and I don’t know why it would be! I’m really enjoying this thread, so keep it coming. As I’ve said, to me, most of this stuff is witchcraft!
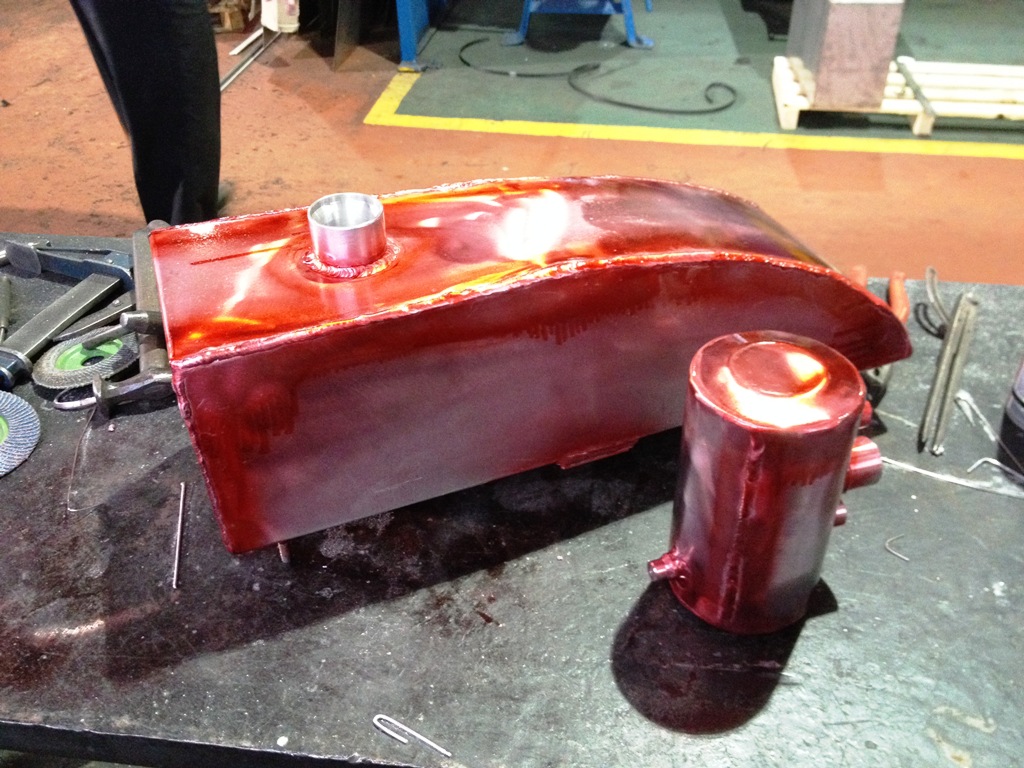
Up to now I have had to go to my mates factory for AC TIG... On the last build I made a fuel and oil tank from scratch, that was my first real play with TIG for many years. here are a couple of pictures. the red stuff is dye penatrant, I was in the process of looking for leaks in the welds, which there were a few....
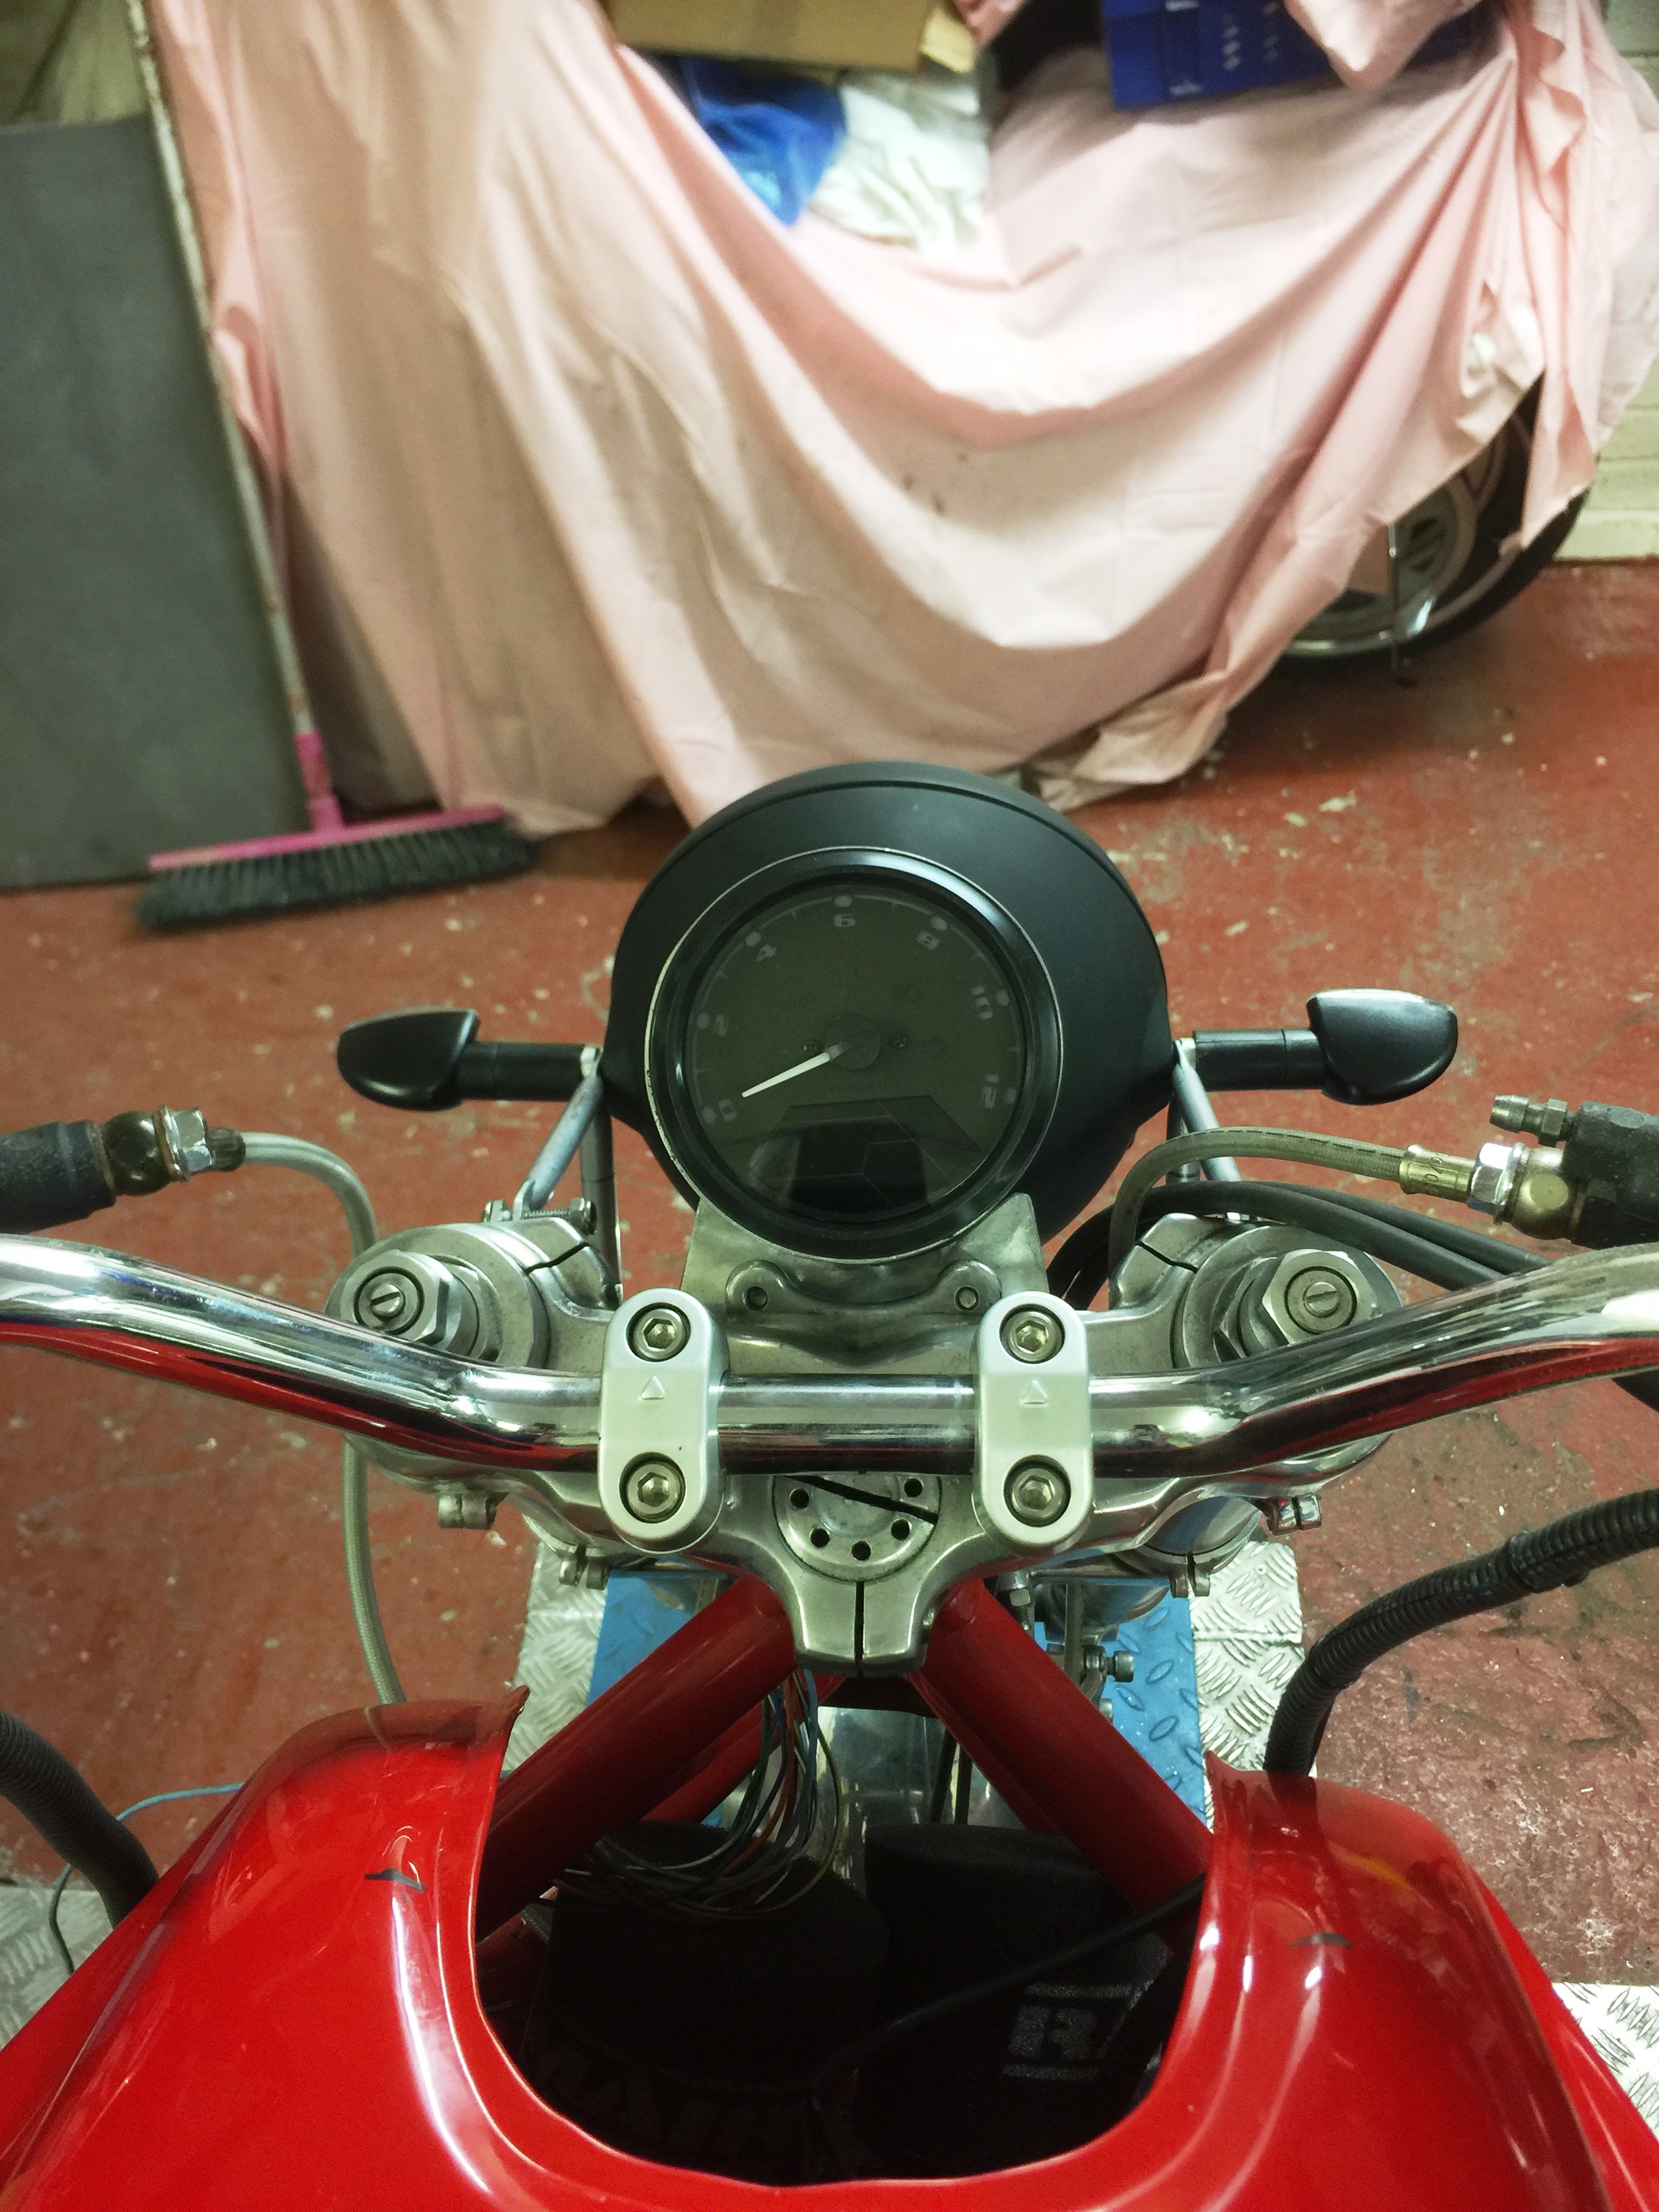
been busy the last few days making the speedo housing and mounting the headlight. I am using one of the digital rev counter and speedo's. this single unit contains all the functions I need and is fully configurable too... and quite cheap at £25. it didn't look that good though, so I made a housing to fit it in and keep the wires tidy.
to make the housing I rolled some sheet alloy (couldn't get the right size tube...) and welded the joint. I then spun an end in the lathe using the same material. this is an interesting process (and old as the hills!) where you form the metal by spinning it and applying force as its turning. I used an old bearing on a tube to save marking the alloy. it came out rather well.
I really am loving my new welder!
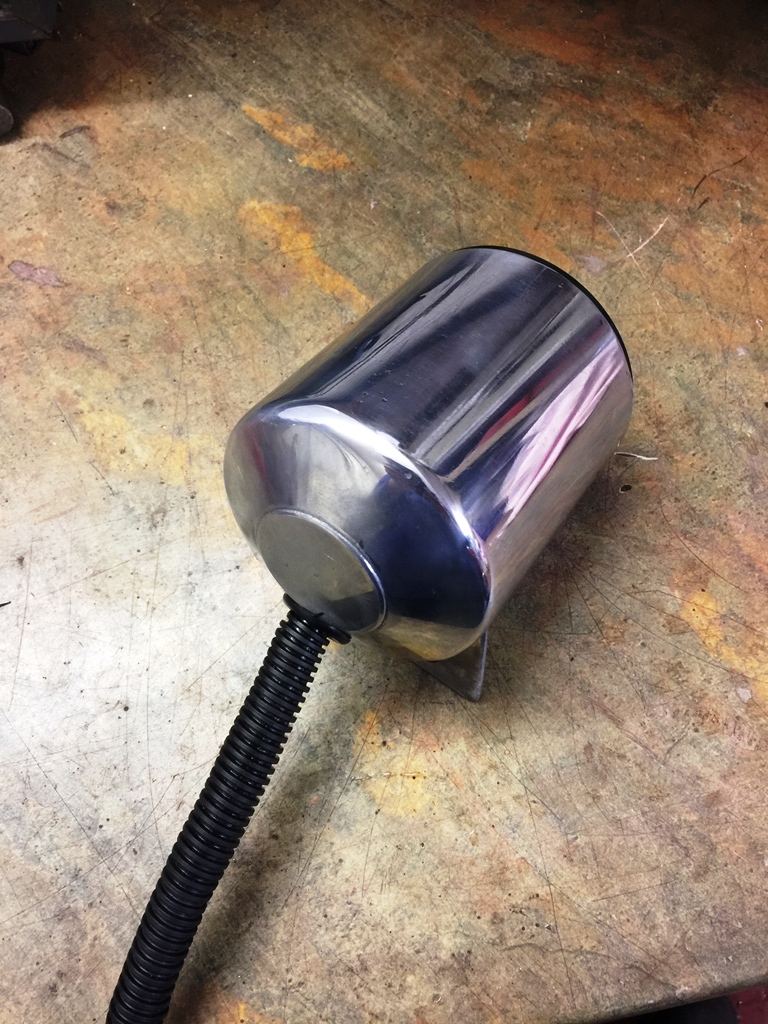
I was pleased with it... I am new to TIG welding, I have only done a few jobs over the last few years with my mates machine which is an old industrial one in his fabrication company. I found it quite difficult... then one of his guys bought his small inverter welder in and showed both me and my mate what it does...
its fantastic! its so configurable, the pre and post gas can be set in 10ths of a second... the pre start amp slope, and importantly the post amp slope can be set which stops that little crater forming when you loose the trigger... its also got pulse welding... different wave forms... so much to play with!
we both bought one!
jobs for today has been to put the seat foam on the aluminium tray and sand it to shape before sending it off to the trimmer. I was able to sit on the bike and get it to the shape that suits me, which is nice. the trimmer will add 15mm of soft foam on top and contour it in, before trimming it in black.
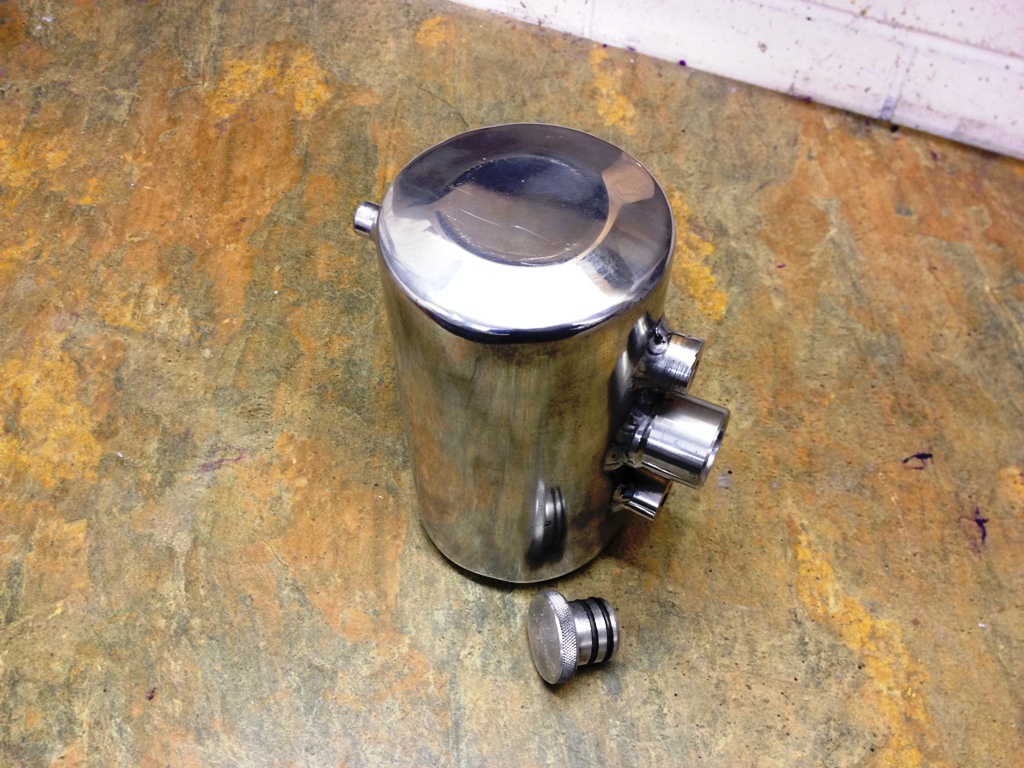
Best laid plans with the fuel tap… it was going to go in the plate that fills the hole where the fuel pump fits, but there is not enough clearance so I resorted to remote mounting it. its actually better as I can get to turn it on and off easier. the two inlets are so I can come off two pipes in the tank to give me a reserve facility.the tap is off a Suzuki Bandit 1000.
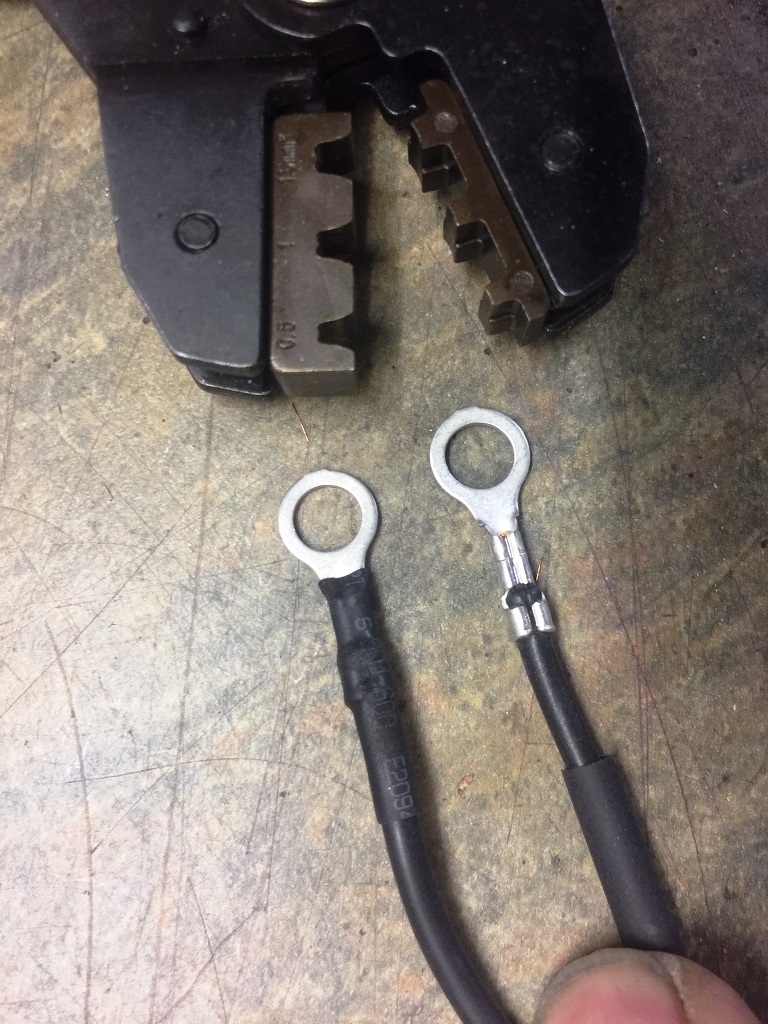
on projects in the past I have always soldered the connections, but this time I have gone for crimped joints, they look neater, and also as my mate always says you never see a soldered joint on aircraft wiring!


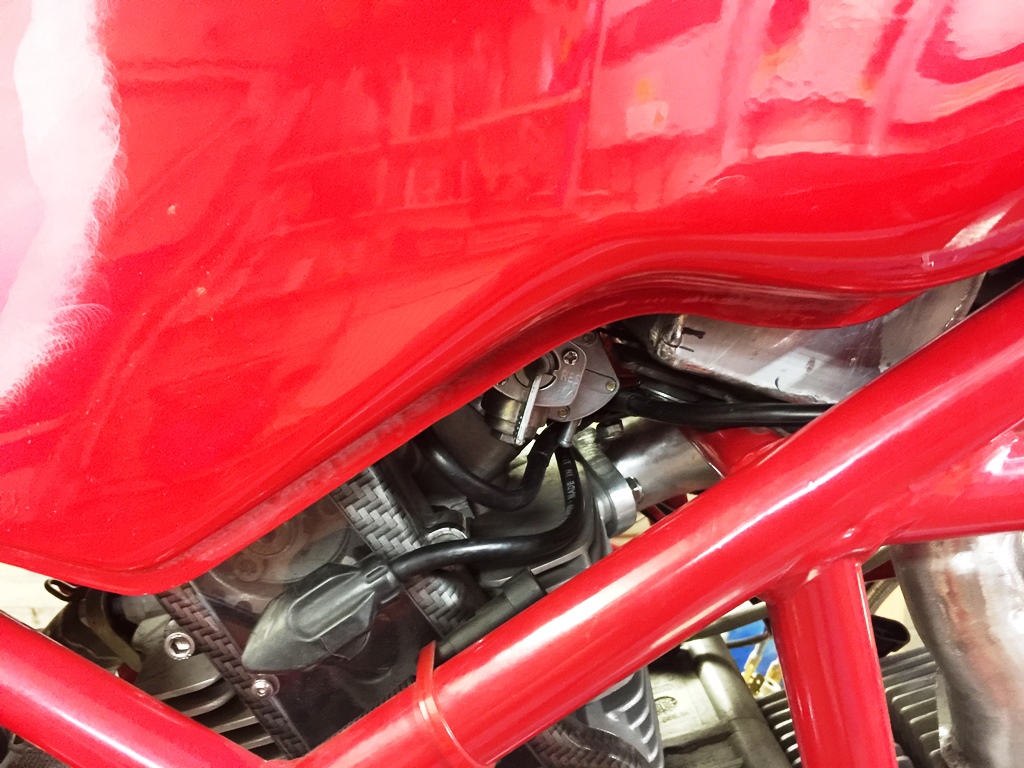
Best laid plans with the fuel tap… it was going to go in the plate that fills the hole where the fuel pump fits, but there is not enough clearance so I resorted to remote mounting it. its actually better as I can get to turn it on and off easier. the two inlets are so I can come off two pipes in the tank to give me a reserve facility.the tap is off a Suzuki Bandit 1000.
on projects in the past I have always soldered the connections, but this time I have gone for crimped joints, they look neater, and also as my mate always says you never see a soldered joint on aircraft wiring!
been a little while as I am having to take a break to do some house DIY… but I managed to sneak in the garage and make a cover for the front of the tank. It took a while to plannish it out of some 2 mm alloy as its a complex compound curve, but i got there.
I was going to use keyless ignition as I have used on the last few builds, they are cheap and work well… however the brief on this build was as simple as I can make it, and it does not come more simple than a key operated switch! when I put it in the cover it didn’t look right, so I made a tool to emboss around the switch, which worked quite well…


I was going to use keyless ignition as I have used on the last few builds, they are cheap and work well… however the brief on this build was as simple as I can make it, and it does not come more simple than a key operated switch! when I put it in the cover it didn’t look right, so I made a tool to emboss around the switch, which worked quite well…
some more pictures... the seat came back from the trimmers, I was very pleased with the results, and its comfortable for me which is the important bit. not as comfortable perhaps as the original though!
I am getting to the stage where it all needs to be stripped down, and the frame, tank and seat painting. just a few more jobs to do...
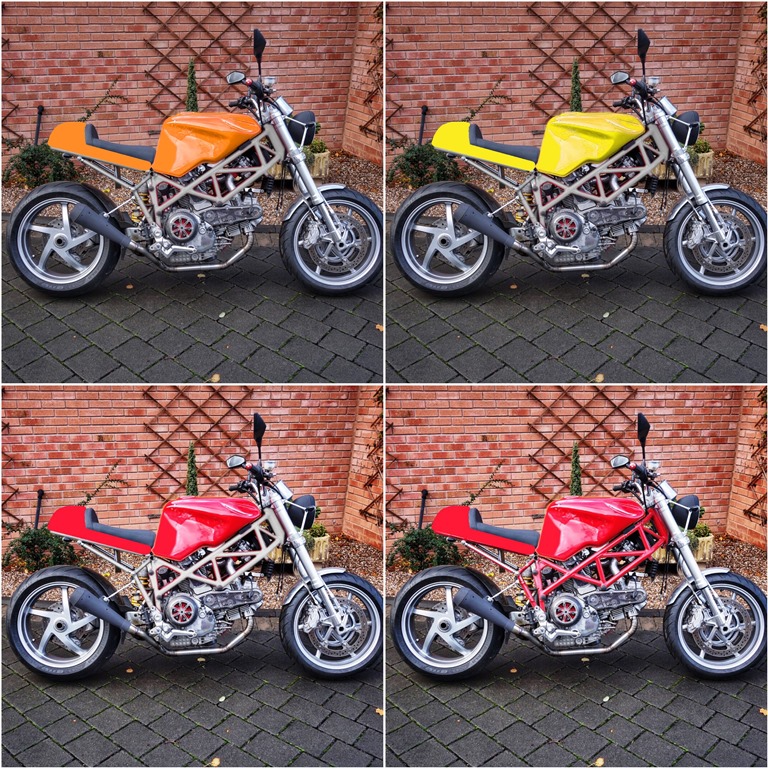
I am very undecided what colour to do the frame and the tank and seat... suggestions welcome!


I am getting to the stage where it all needs to be stripped down, and the frame, tank and seat painting. just a few more jobs to do...
I am very undecided what colour to do the frame and the tank and seat... suggestions welcome!
Gassing Station | Biker Banter | Top of Page | What's New | My Stuff