Chimaera Project
Discussion


Hi,
Well better late than never, I’ve taken the plunge and acquired a Chimaera.
It’s replaced my little Spitfire so mega learning curve which at my age is going to be a challenge.
No special plans for it just to finish the good work the PO started but was unable to finish, and enjoy occasional sunny day motoring.
PO has said he will help with completing the rebuild and I hope you peeps will assist because I didn’t take it to pieces.
More to follow.
Cheers
Lance

Ps: there is a picky in the forum “my Garage”
Well better late than never, I’ve taken the plunge and acquired a Chimaera.
It’s replaced my little Spitfire so mega learning curve which at my age is going to be a challenge.
No special plans for it just to finish the good work the PO started but was unable to finish, and enjoy occasional sunny day motoring.
PO has said he will help with completing the rebuild and I hope you peeps will assist because I didn’t take it to pieces.
More to follow.
Cheers
Lance
Ps: there is a picky in the forum “my Garage”
Cheers,
It was last on the road in 2006 as L40GTR and prior to that as M255FUB (any previous owners on here?). It was VOR to repair a broken exaust stud and blowing manifold an ended up with a full chassis and suspension etc resto plus engine overhaul, gearbox and diff inspections. Plus T350 front lights.
Everything is there to finish the resto plus some tidy modifications. I must make a list because I cant remember all the things that have been done. I'll keep you posted
Only thing is PO was converting it to a Hard top, I prefer the original set up and althought the roof and rear section (frame used as pattern for the profile etc) are there, they have been used in the conversion process. Might be easier to get a used assembley.
Anyway I will push it out of my garage and post up some photos for you in the near future.
OE wheels then?
Happy to be in the Girly400 club at last
All the best.
PS used the DVLA online reg'no' retention/transfer system, very quick V5C back in three days.
When I get some photos up, the work to finish will be clearer.
As well as the big bits, exhaust, steering column, fuel tank, radiator and pedal box with servo there are lots of large storage boxes full of bits that shortly I will unpack and the PO says he will come round and tell me what they are and where they go
There will be a lot of bits left over as well like unused big end and main bearings still in their boxes.
The Bible came with it together with the Owners Handbook, stamped up to 75,100miles and pages and pages of other owners service notes and receipts, as well as records of what the PO has done.
I must get a written list of exactly what has been done because at my age verbals go in one ear and out the other, however I know the engine was run in before the body was refitted.
Regarding photos of where bits go, thanks for the offer and the PO has been suggested I get to some meetings and take as many piccys as I can.
Thinking of starting on connecting the fuel system up, then then finish the hydraulics.
Cheers.
Vehicle Lift.
Have these been discused on PH in the past? Anybody using one? It should just fit under a std car, but would there be anywhere on the chassis that might match up with position of the long pads?
http://tinyurl.com/hpmzrgq
Oh I found another ID for my Chim' when reading the Owners Handbook...1st reg' ACW111V, makes me wonder how many other IDs it has had . I'll be putting my cherished reg' on as well
 .
.
Have these been discused on PH in the past? Anybody using one? It should just fit under a std car, but would there be anywhere on the chassis that might match up with position of the long pads?
http://tinyurl.com/hpmzrgq
Oh I found another ID for my Chim' when reading the Owners Handbook...1st reg' ACW111V, makes me wonder how many other IDs it has had
. I'll be putting my cherished reg' on as well.Some photos of the Chimaera as received.
Plenty to do.
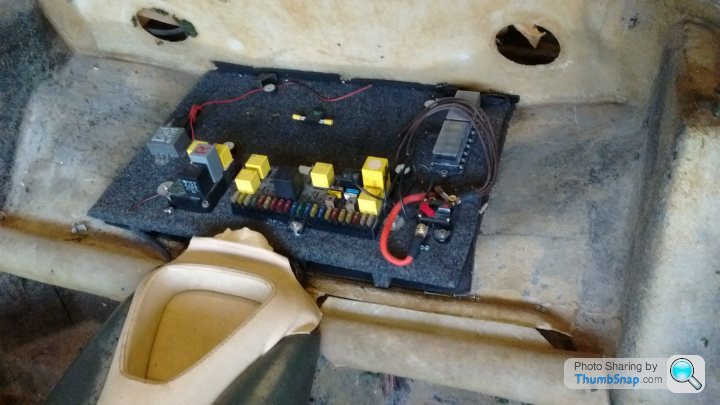
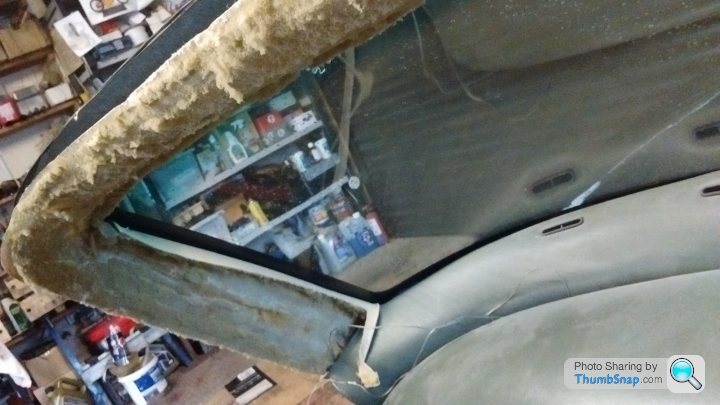
This will probably be relocated behind the seat(s).
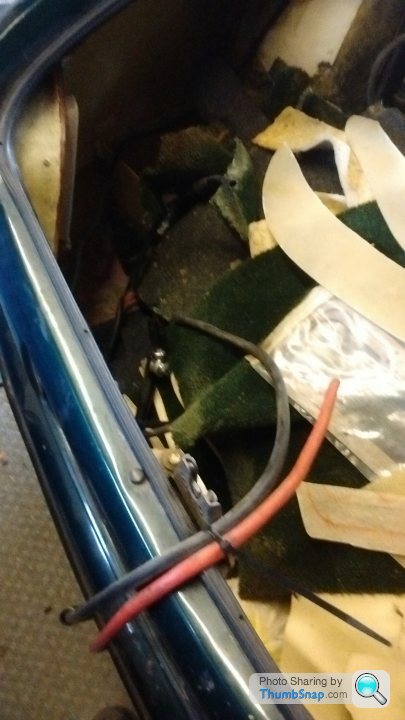
Boot containing all the trim for patterns. PO was going to position the battery behind the wheel arch, Might put it elsewhere if it still works. New HD wiring looped over the boot lip.
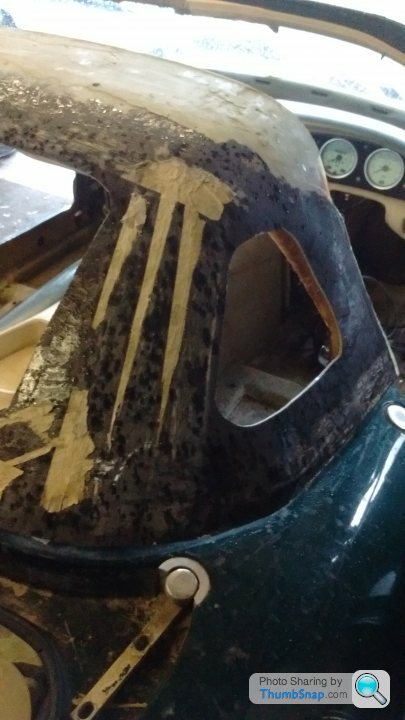
Unfinished hard top, will be going.
Hard top shaped to match the folding hood section.

Hard top fixing.
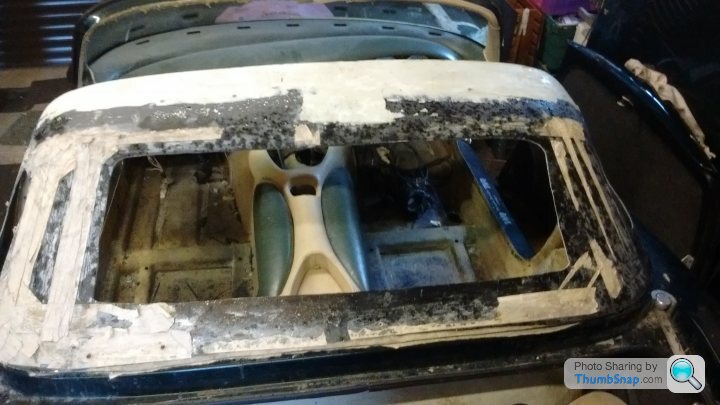
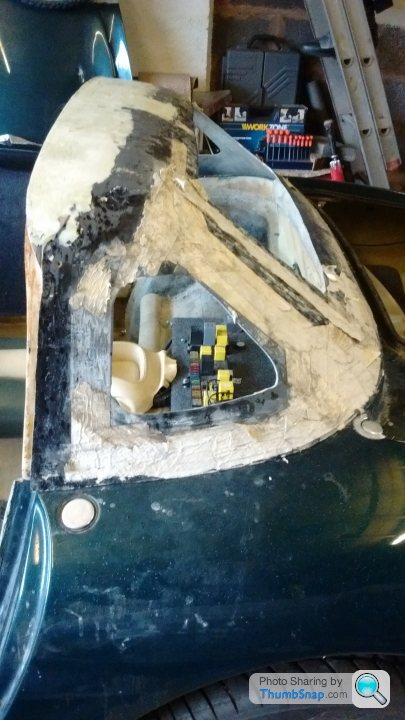
View from rear, Targa top I have but has been stripped and filled to match where it butts the rear section.
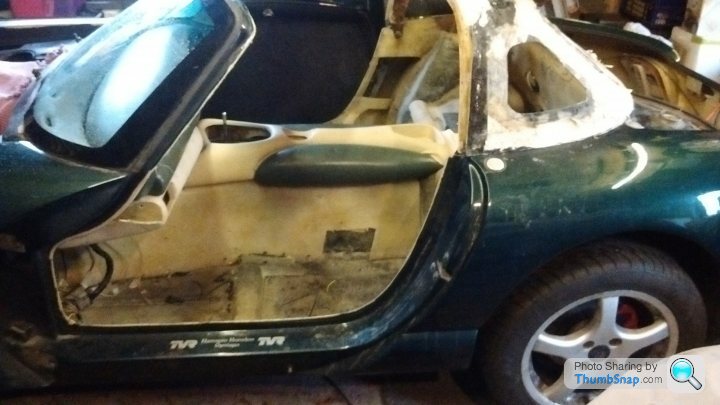
Doors I have complete but dismantled and because the mirrors were damaged PO has cut out the bonded thread so OE ones can't be used.
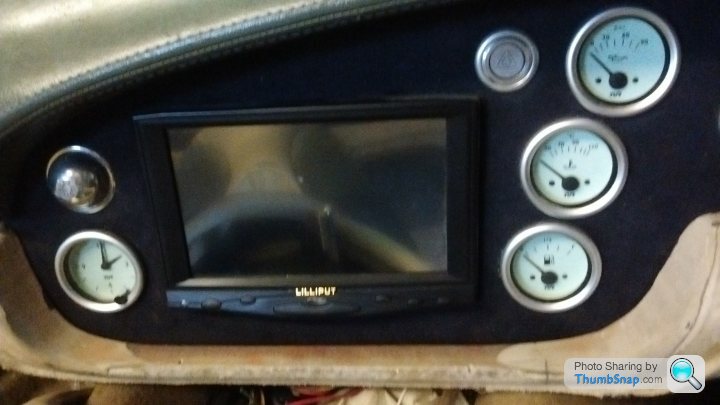
Mid' section of modified dash with 7" touch screen display which will be used to configue the engine management, or so I'm told. (Was also for a entertainment centre, but thats gone).
Good screen, but may have to come out to retrim.
That will do for now, but what a pain removing masking tape that has set rock hard after being inplace for many a year.
Plenty to do.
This will probably be relocated behind the seat(s).
Boot containing all the trim for patterns. PO was going to position the battery behind the wheel arch, Might put it elsewhere if it still works. New HD wiring looped over the boot lip.
Unfinished hard top, will be going.
Hard top shaped to match the folding hood section.
Hard top fixing.
View from rear, Targa top I have but has been stripped and filled to match where it butts the rear section.
Doors I have complete but dismantled and because the mirrors were damaged PO has cut out the bonded thread so OE ones can't be used.
Mid' section of modified dash with 7" touch screen display which will be used to configue the engine management, or so I'm told. (Was also for a entertainment centre, but thats gone).
Good screen, but may have to come out to retrim.
That will do for now, but what a pain removing masking tape that has set rock hard after being inplace for many a year.
Boot lid refitting.
I needed to make some space to work around the Chim so thought I would refit the boot lid.
However as I didn’t take it off I would imagine it is at least a two man job, unless you peeps know better that is.
Can’t find anything on here so any suggestions as how is it best done please? Any links?
Cheers.
Lance
Apart from using vehicle lifts, two post etc, how would you peeps suggest I get my Chim’ in the air.
I don’t need to remove the wheels I just need to get it high enough to finish off some small jobs.
I’ve been considering some adjustable service ramps but even the ones that go down the lowest mean a small incline to push the car up or place under the wheels after jacking the the car off the ground.
Would 400mm under the wheels be a reasonable hight for working on the chassis?
Cheers
Edited by lancepar on Friday 31st March 20:12
Edited by lancepar on Saturday 1st April 09:51
Paul and Kenny,
I'll be happy with 400mm min' then.
Edinburgh is a bit too far but thanks.
New question.
I've tried but cant' find what size blanking plugs I need to fit in my E55997-01 and -02 manifolds, are they M18x1.5?
And what material are the manifolds and "Y" section made from, I'd guess the cat' sections are stainless and the remainder mild steel?
Someone has made a tidy job of removing the catalitic material from the manifolds by the way, remains in the "Y" section which I'm happy with.
Cheers
OK Anthony,
But I just need the size, I dont need the sensors as I have a wide band one waiting to be installed in the boss I have, down stream in the pipe past the "Y" piece, when I get to the refitting the exhaust system that is..
I now think the original threads are M12 x 1.25p.
Lance
But I just need the size, I dont need the sensors as I have a wide band one waiting to be installed in the boss I have, down stream in the pipe past the "Y" piece, when I get to the refitting the exhaust system that is..
I now think the original threads are M12 x 1.25p.
Lance
Edited by lancepar on Friday 28th April 18:05
Cheers Mike,
Yes........ likewise.
It was good to look over your car, I learnt a lot and I was tempted to suggest a swap for a Carby, but resisted.
Now I've got mine up in the air I can concentrate on finishing the fuel lines and getting things moving.
Hope you had a good trip home.
Lance
Yes........ likewise.
It was good to look over your car, I learnt a lot and I was tempted to suggest a swap for a Carby, but resisted.
Now I've got mine up in the air I can concentrate on finishing the fuel lines and getting things moving.
Hope you had a good trip home.
Lance
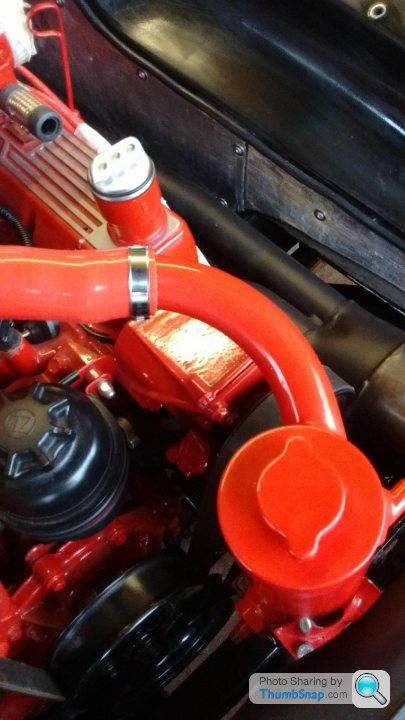
I have a question but first a photo of the edging around the heat reflective mats. Putting this on was suggested by the PO who put the sheeting on double thickness. Finishes it off a treat I think. He also intended all the engine compartment to be black but I'm going to paint the tops of the inner wings green and in front of the rad' to match the cars body colour. Wasn't this how they were standard?
Regarding fuel injection.........I've almost finished installing the fuel lines, long story but PO made a smashing job of plumbing in solid lines before putting the body on only to find he got it wrong in places and had to pull them out, hense me re-doing it in copper pipe but once I started, I quickly realized doing it in flexible hose was the way to go especially with the body in place.
Now i want to do some testing for leaks, so if I put a fuel supply to the inlet of the pump (this is not connected to the tank yet) and 12v to the pump will fuel run around the fuel rail etc and then issue from the return hose (not connected yet to tank) or will the pressure sensor prevent its flow from the f-rail?
Did you guess I'm a Carby man?
Swirl pot fixings.
In the bag of new stanless fixings (4 bolts, 4 nyloc nuts and 8 plain washers) that came with the car there were four used fibre washers. I can't see any reason for using these when attaching the swirl pot to the chassis, does anybody know different and if so where should they be fitted, between the pot and the chassis maybe?
Cheers

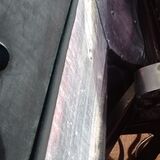
Pads between body and chassis.
This has been discussed before but before my bolts in the floor are done up I've noticed that the front four points have a gap between the body and the chassis plate all the others are flush.
As I didn't take it apart I checked the bible and found this.
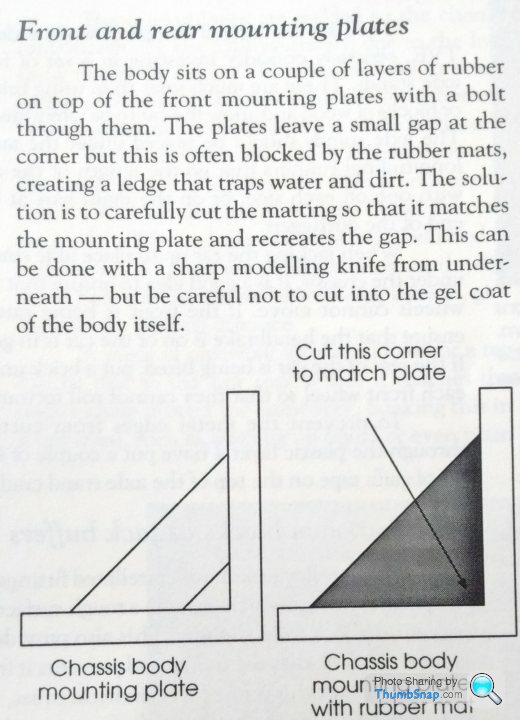
So question is..........what material have those who chose to fit pads gone for........hard rubber, polyurethane or what?
The gap to fill is about 3mm.
Cheers
This has been discussed before but before my bolts in the floor are done up I've noticed that the front four points have a gap between the body and the chassis plate all the others are flush.
As I didn't take it apart I checked the bible and found this.
So question is..........what material have those who chose to fit pads gone for........hard rubber, polyurethane or what?
The gap to fill is about 3mm.
Cheers
Fuel Tank Refitting
Ist things first.
I have assumed that apart from over the wheel arches in the boot, there is no underlay just carpet glued to the GRP?
So from the box of carpet I worked out where all the various pieces of grey supposed to go, the one piece missing is the big piece from the floor centre which the PO has used to cover the base of one of his modifications.
The pieces of carpet that need to go in before the tank have been fitted.
Now the questions.
There is no evidence that the tank had anything between it and the bulkhead, is this the case, I've checked photos and it would seem so? The base of the tank is seated on a small thin rectangular pad.
With the tank in place the strap feet don't make contact with the GRP on the bulkhead or boot floor and unless tilted slightly forward at the top the filler tube and the neck of the tank don't line up. Also tilted forward like this the recess in the tank on the drivers side can be heard fouling the head of the rear body to chassis mounting fixing.
Any body had their tank out and in that is able to comment on my dilemma, please do.
Gassing Station | Chimaera | Top of Page | What's New | My Stuff