Midget Lower Fulcrum Pin
Discussion


Hi.
I'm in the process of refreshing the front suspension of my '78 Midget.
The lower fulcrum pin is starting to give me a bit of a headache.
It's had several soakings in penetrating oil from both ends.
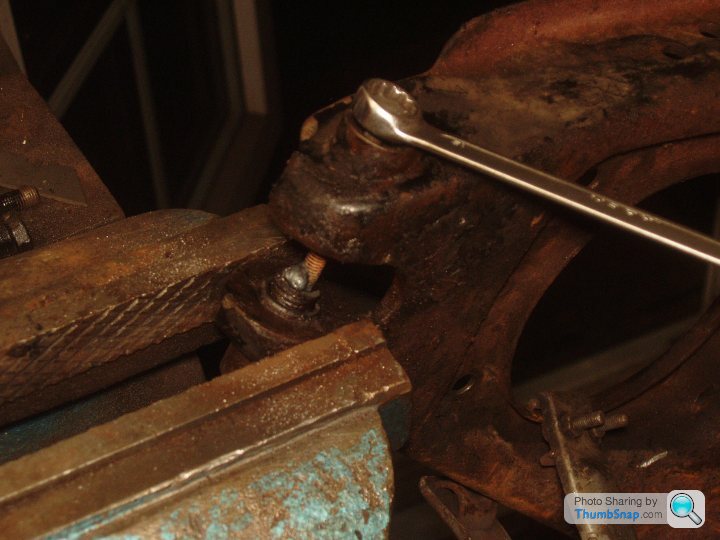
I've tried a big screwdriver, spanners on big screwdrivers (that have a hex just below the handle) and hammer & punch, but it hasn't budged.
Has anyone here come up with a fancy solution?
I have googled it, but it would be nice to get any ideas from others on here who have experience with this.
Thanks!
I'm in the process of refreshing the front suspension of my '78 Midget.
The lower fulcrum pin is starting to give me a bit of a headache.
It's had several soakings in penetrating oil from both ends.
I've tried a big screwdriver, spanners on big screwdrivers (that have a hex just below the handle) and hammer & punch, but it hasn't budged.
Has anyone here come up with a fancy solution?
I have googled it, but it would be nice to get any ideas from others on here who have experience with this.
Thanks!
Edited by Martin350 on Thursday 16th February 01:51
It seems that this pin is made of some super hard steel!
I tried the impact driver, it chipped chunks off the bit.
I tried another impact driver bit with my impact gun, chipped another bit.
Then I removed the cork seals and with a thin cutting disc in the grinder cut through the pin both sides of the kingpin.
I was going to replace the pin anyway so that didn't matter.
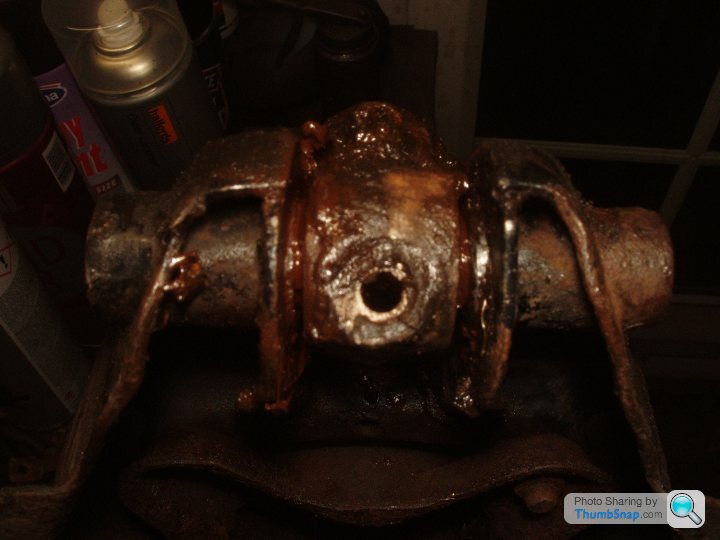
The seized part of the pin, inside the kingpin, was then pressed out. It took around 3 tons at its peak.

The ends of the cut pin left in the suspension arm then have to be removed.
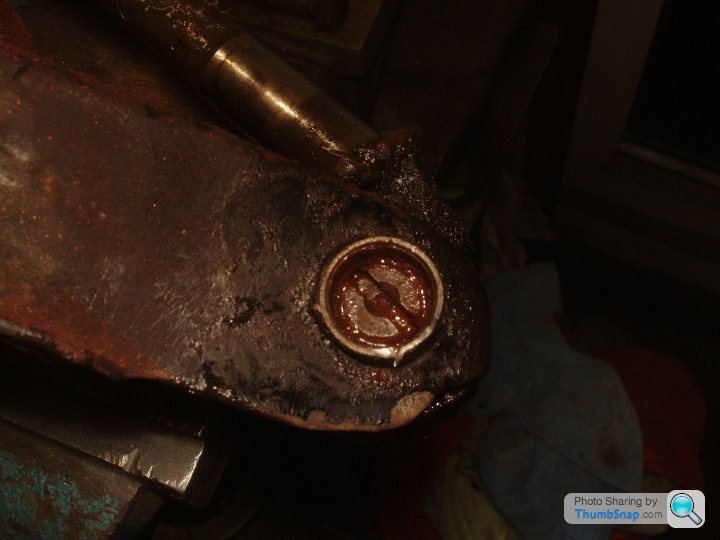
The end with the slot in it unscrewed easily.
But the other end (on the right) has no slot and is more than finger tight, so I'm not sure how this is going to come out yet.
I tried the impact driver, it chipped chunks off the bit.
I tried another impact driver bit with my impact gun, chipped another bit.
Then I removed the cork seals and with a thin cutting disc in the grinder cut through the pin both sides of the kingpin.
I was going to replace the pin anyway so that didn't matter.
The seized part of the pin, inside the kingpin, was then pressed out. It took around 3 tons at its peak.
The ends of the cut pin left in the suspension arm then have to be removed.
The end with the slot in it unscrewed easily.
But the other end (on the right) has no slot and is more than finger tight, so I'm not sure how this is going to come out yet.

I didn't use any heat other than the two small welds, I really must get another blow torch.
The other side has a seized cotter pin which I've not yet managed to shift, and that needs to come out before the fulcrum pin can be removed.
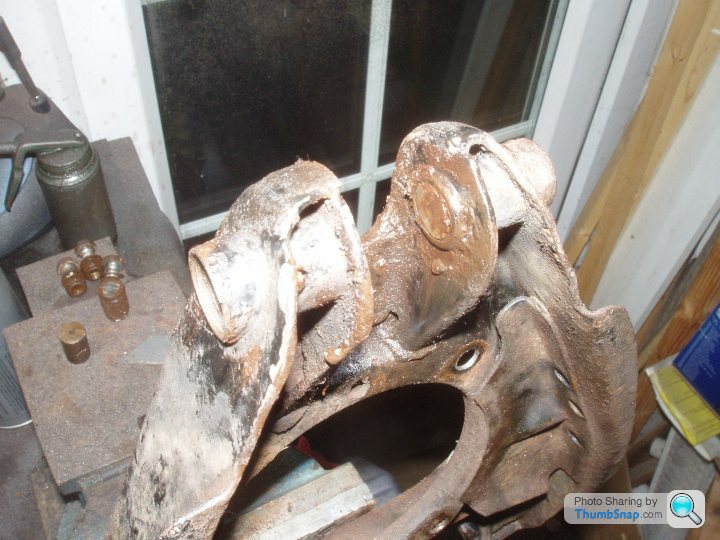
I've read about the lower arms cracking, so yes, they will be thoroughly cleaned and inspected.
The other side has a seized cotter pin which I've not yet managed to shift, and that needs to come out before the fulcrum pin can be removed.
I've read about the lower arms cracking, so yes, they will be thoroughly cleaned and inspected.
Gassing Station | MG | Top of Page | What's New | My Stuff