Saab Viggen - Special Hobby, 1:72
Discussion


Thanks both.
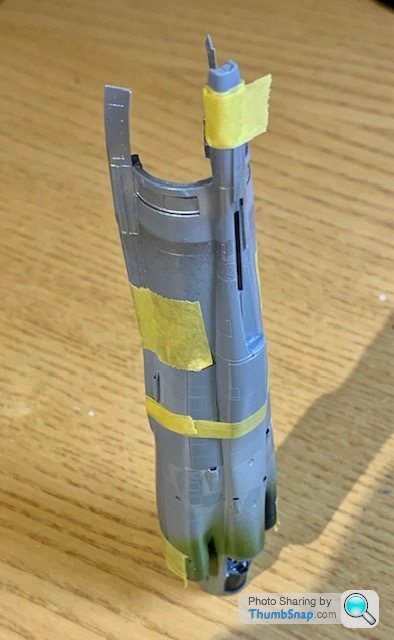
Someone on another fourm asked if the canopy fitted over the resin seat - it looked marginal. The answer is yes, just about, but it's the length of the lower rails (or the "hinge brackets" at the rear) that would prevent it from sitting flat:
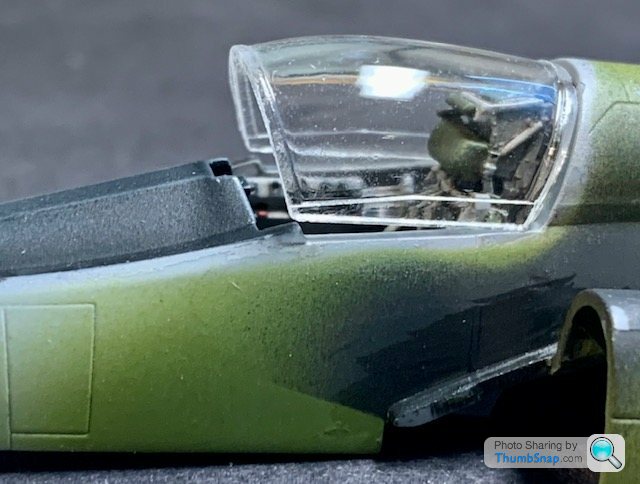
A quick fix, but not too relevant since the canopy will be open:

Looking at this did highlight that the front framing of the canopy needs thinning quite a bit though.
Someone on another fourm asked if the canopy fitted over the resin seat - it looked marginal. The answer is yes, just about, but it's the length of the lower rails (or the "hinge brackets" at the rear) that would prevent it from sitting flat:
A quick fix, but not too relevant since the canopy will be open:
Looking at this did highlight that the front framing of the canopy needs thinning quite a bit though.
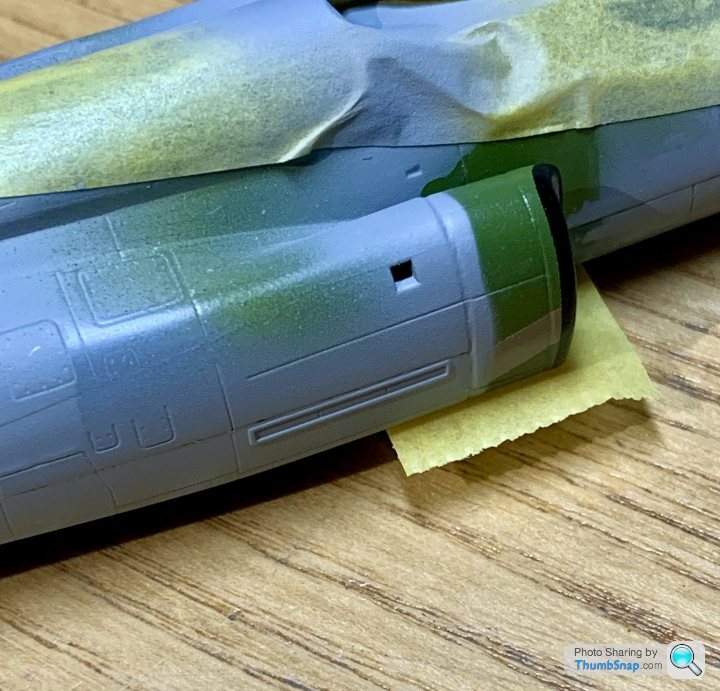
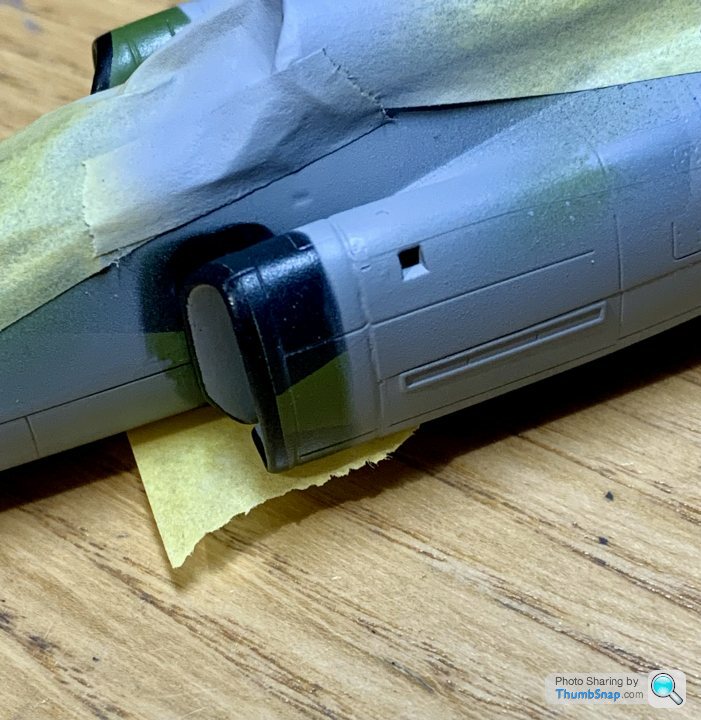
The lower fusleage half needed some plasticard shims around the intakes:
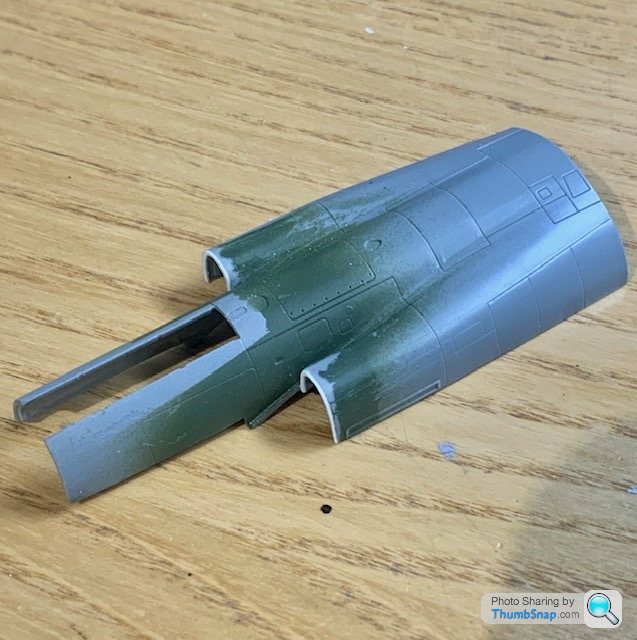
Then continued with painting the inaccesible bits around the intakes:
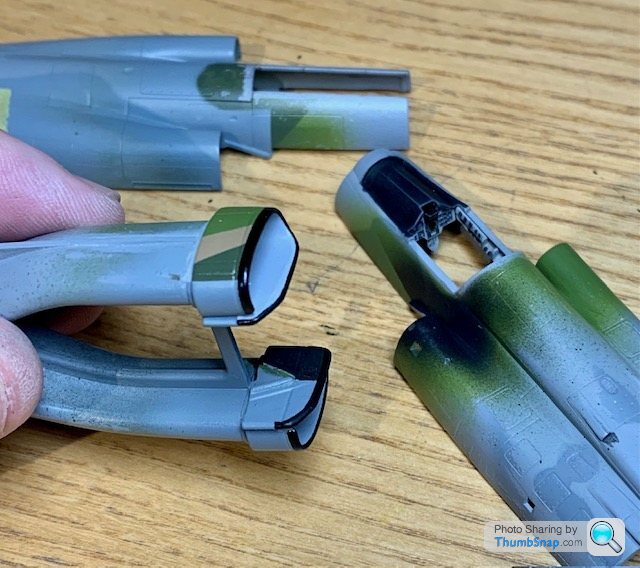
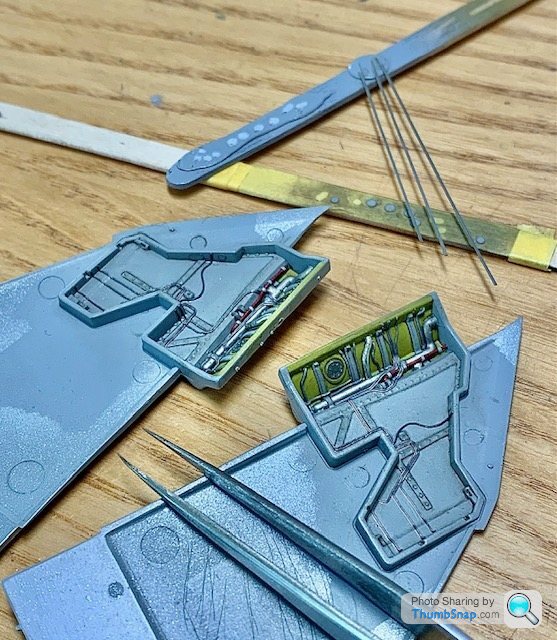
Finished adding some pipework and an accumulator to the nosewheel bay:
Continued adding some detail to the main gear bays too:
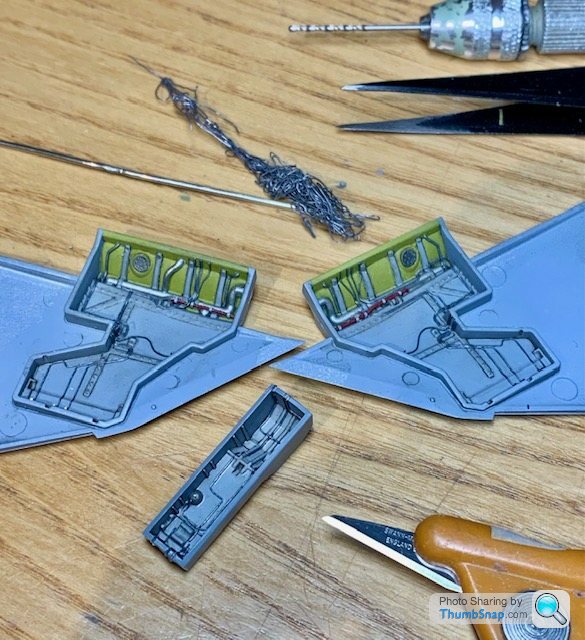
At this rate, I'm in danger of getting the airframe assembled soon.
Then continued with painting the inaccesible bits around the intakes:
Finished adding some pipework and an accumulator to the nosewheel bay:
Continued adding some detail to the main gear bays too:
At this rate, I'm in danger of getting the airframe assembled soon.
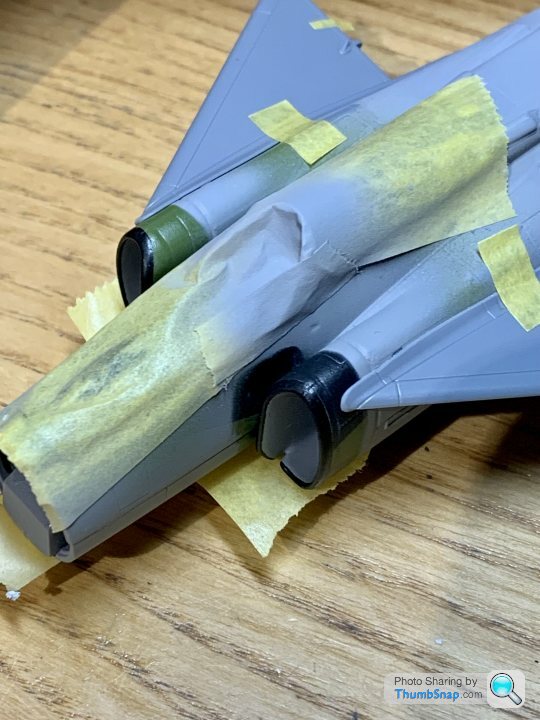
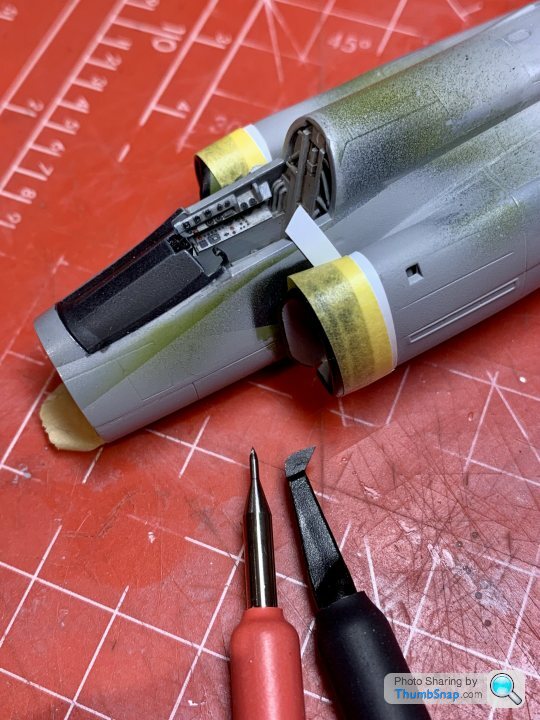
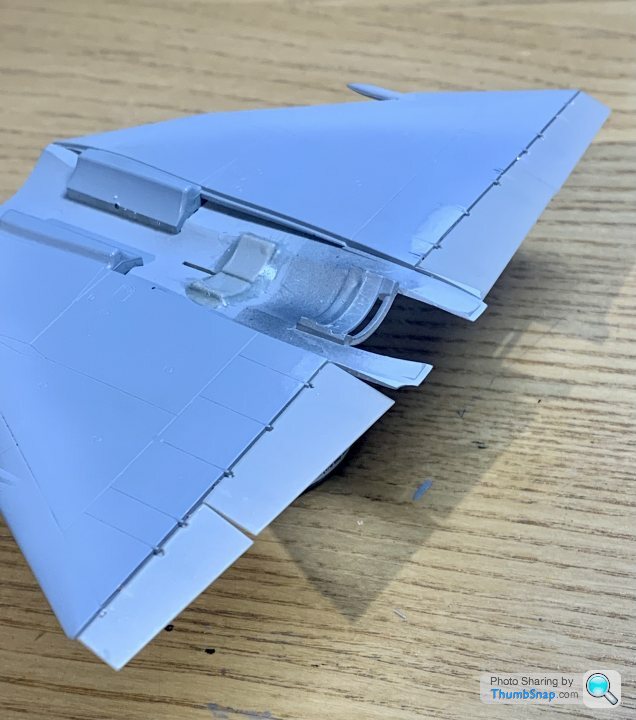
Assembled the intermediate bulkhead and compressor face into the rear of the intakes (unfortunately it's all but invisible when in place):
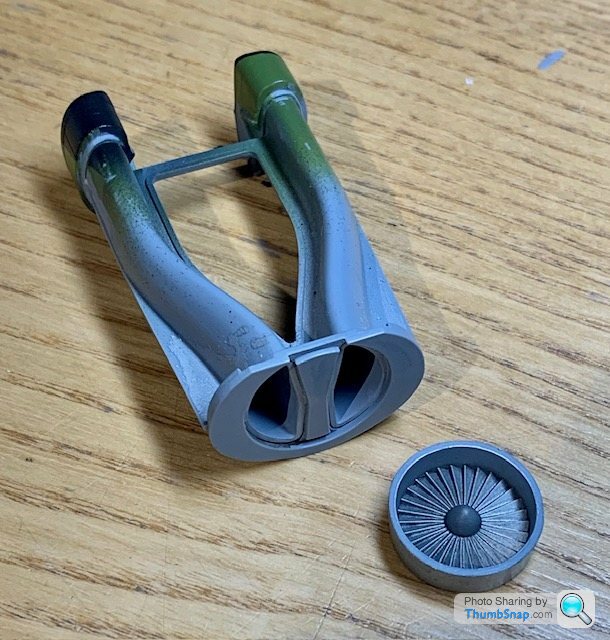
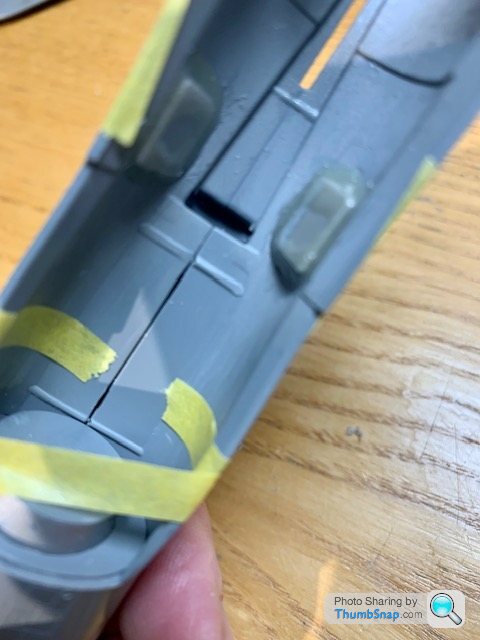
For anyone else who might build this with the resin RAT piece, you need to modify the bulkhead as shown to provide clearance for the insert. I think this may also apply to the standard kit part, but I've not seen it mentioned in the few other builds I can find of this kit:

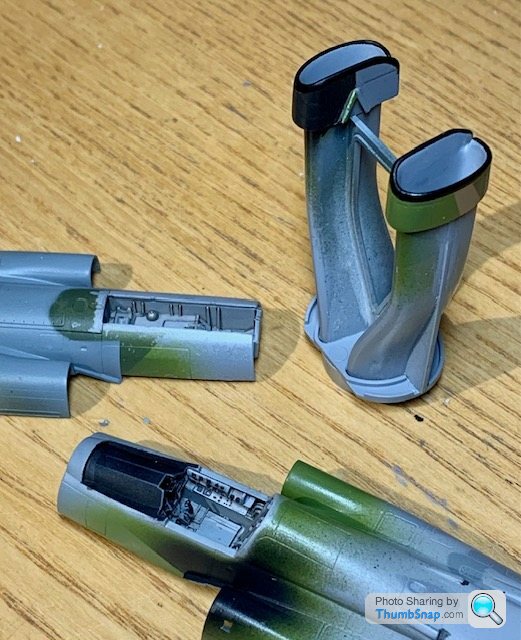
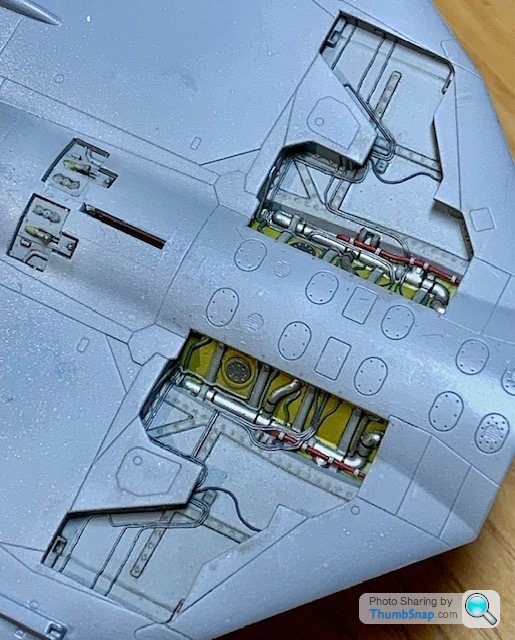
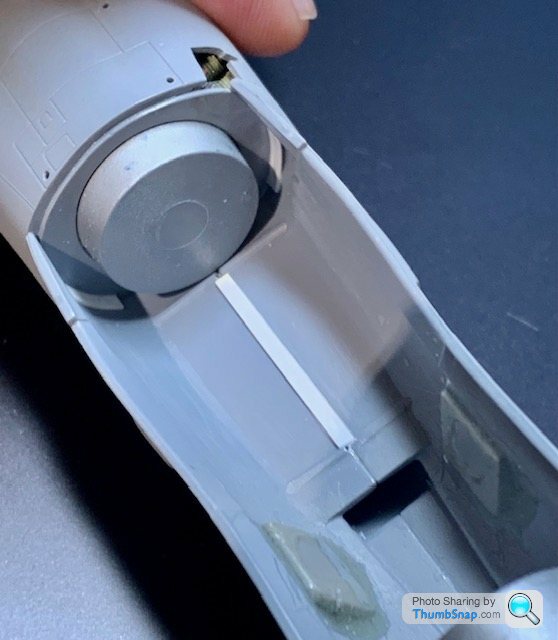
Also Araldited the resin cockpit tub into place, and cemented the nosewheel bay into the lower fuselage:
For anyone else who might build this with the resin RAT piece, you need to modify the bulkhead as shown to provide clearance for the insert. I think this may also apply to the standard kit part, but I've not seen it mentioned in the few other builds I can find of this kit:
Also Araldited the resin cockpit tub into place, and cemented the nosewheel bay into the lower fuselage:
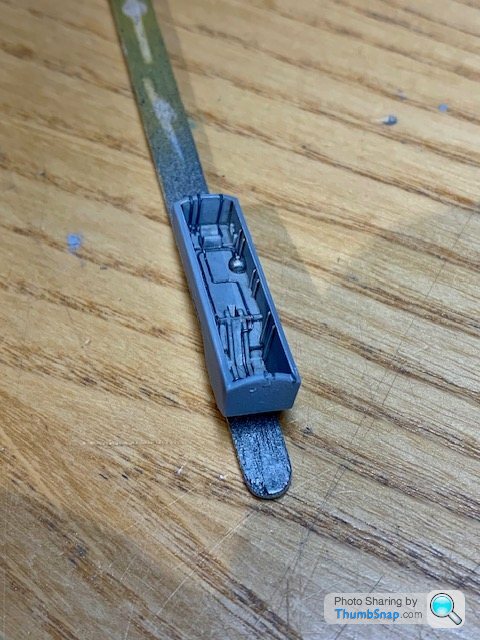
Finished the additional main wheel bay details tonight. Some accurate, most of it just an impression of what's there - hydraulic lines, access panels, ducting and clamps. The original kit items turned out to be pretty inaccurate anyway:
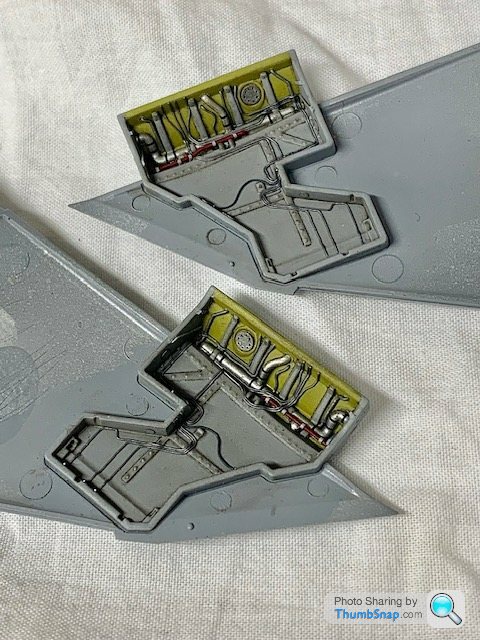
I think once the legs and braces etc. are in place it will look OK.
I think once the legs and braces etc. are in place it will look OK.
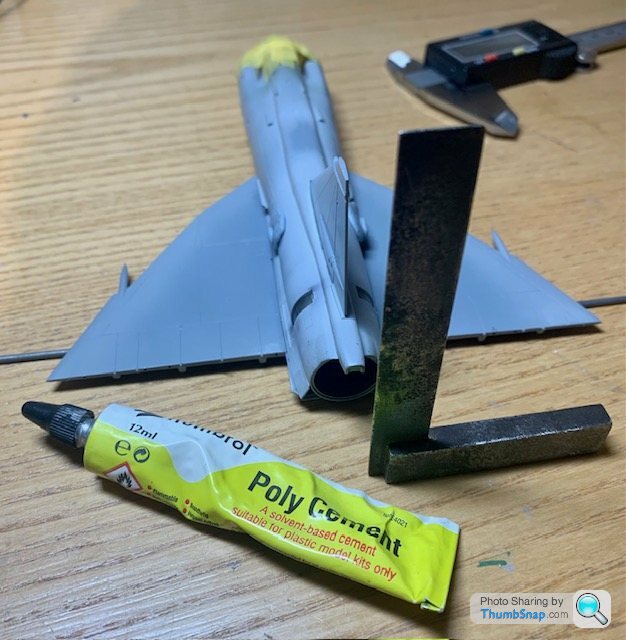
So I've deviated from the build sequence quite a bit so far, particularly with the intakes. When I taped the main airframe parts together earlier in the build, fit seemed good enough to align the complex surfaces by hand, and to rely on the mk.1 eyeball and fingernail to ensure flush fitting.
With that in mind, I fitted one rear fuselage half:
Then the other:
Looking inside, this showed that had I assembled the rear halves first and tried to fit them to the forward fuselage assembly, the rear wouldn't have fitted precisely to the upper spine (judging by the gap inside):
I reinforced this, and the small gaps between the sides and the compressor bulkhead, with plastic strips:
Once set, I sprayed a guide coat over the joints, which showed that hopefully only minimal attention with Milliput will be required:
The wing halves went together without issue, and offering up the wing to the fuselage revealed a similarly good fit, that should require little or no further work once cemented:
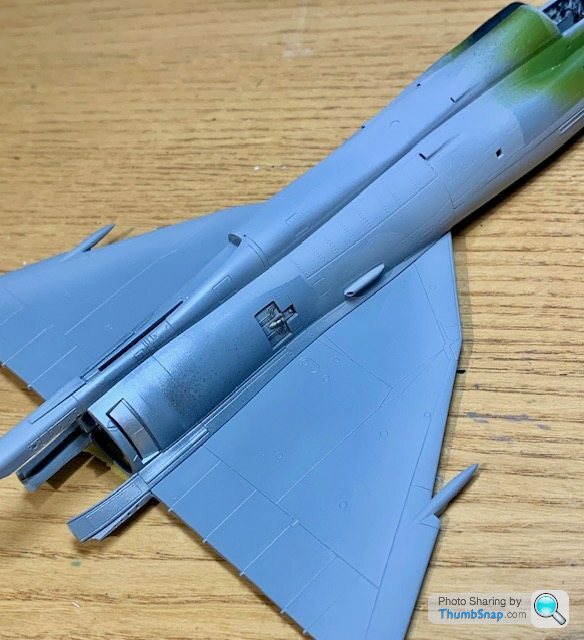
I've ended up with a small overhang on the port forward horizontal joint, but that can be improved, plus it's obscured from above once the canards are in place:
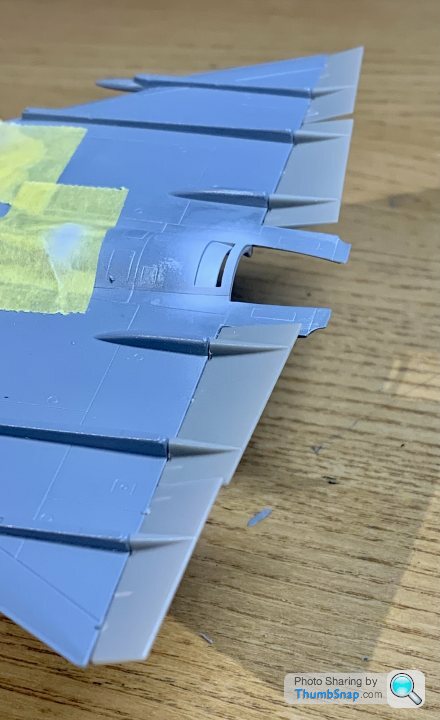
The worst fit was inside the jetpipe, when the three circumfrencial joints are. These needed profiling to avoid steps, and will obviously now need filling and re-painting when assembled:
The fairing above the jetpipe has a vertical joint line with some surrounding small details. This will be tricky to correct:
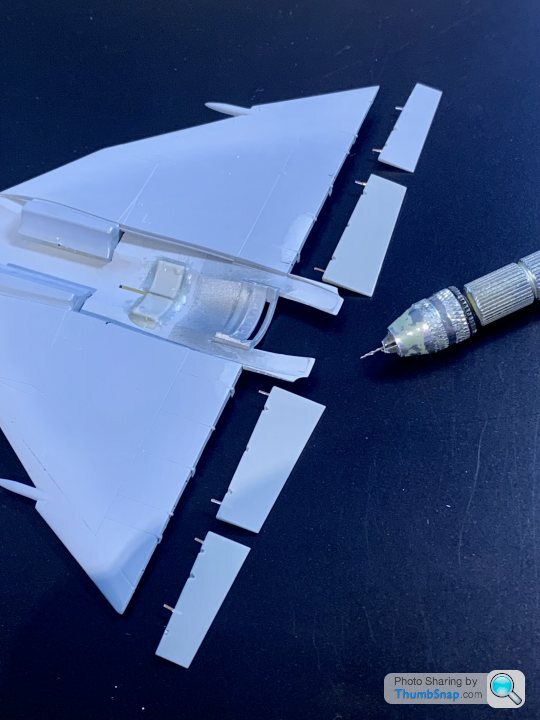
I also drilled some lightening hole dimples adjacent to the elevons (a rough representation of something I noticed at NAM while looking around their Viggen). I dropped some Surfacer in there to soften the edges a bit. Once painted and a light wash added I think they should look ok:
With that in mind, I fitted one rear fuselage half:
Then the other:
Looking inside, this showed that had I assembled the rear halves first and tried to fit them to the forward fuselage assembly, the rear wouldn't have fitted precisely to the upper spine (judging by the gap inside):
I reinforced this, and the small gaps between the sides and the compressor bulkhead, with plastic strips:
Once set, I sprayed a guide coat over the joints, which showed that hopefully only minimal attention with Milliput will be required:
The wing halves went together without issue, and offering up the wing to the fuselage revealed a similarly good fit, that should require little or no further work once cemented:
I've ended up with a small overhang on the port forward horizontal joint, but that can be improved, plus it's obscured from above once the canards are in place:
The worst fit was inside the jetpipe, when the three circumfrencial joints are. These needed profiling to avoid steps, and will obviously now need filling and re-painting when assembled:
The fairing above the jetpipe has a vertical joint line with some surrounding small details. This will be tricky to correct:
I also drilled some lightening hole dimples adjacent to the elevons (a rough representation of something I noticed at NAM while looking around their Viggen). I dropped some Surfacer in there to soften the edges a bit. Once painted and a light wash added I think they should look ok:
dr_gn said:
Did some fuselage filling using Milliput:
Not too bad considering the complexity of the assembly. We will see what it looks like under a guide coat of primer when it's set.
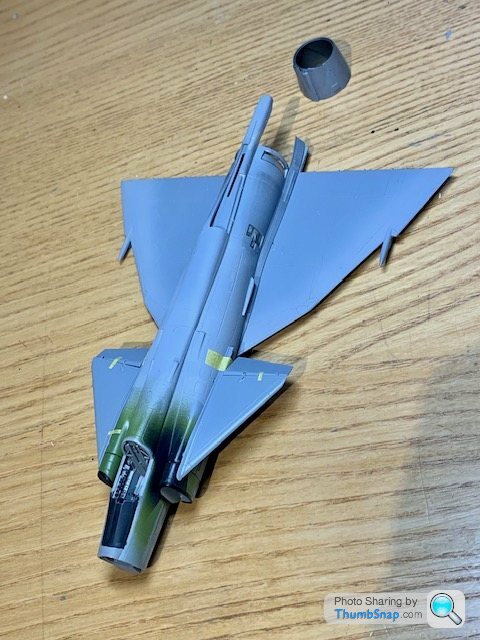
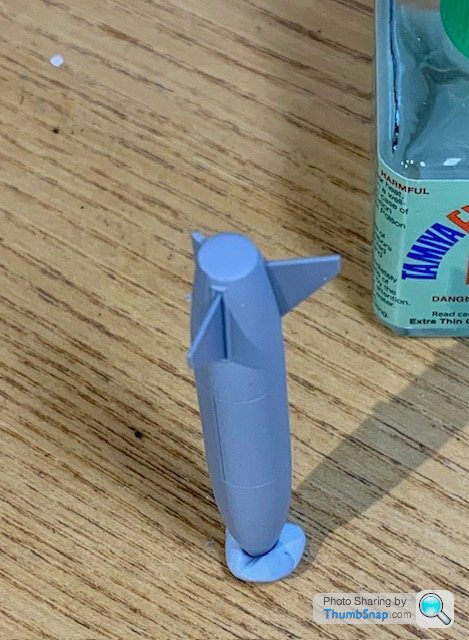
Also added the fins to the ventral fuel tank:
Looking good, but how did you clean up the Milliput overspread? The join looks very clean?Not too bad considering the complexity of the assembly. We will see what it looks like under a guide coat of primer when it's set.
Also added the fins to the ventral fuel tank:
tangerine_sedge said:
dr_gn said:
Looking good, but how did you clean up the Milliput overspread? The join looks very clean?Can't wait to see this model finished - since I was a plane-mad kid I always had a soft spot for Saabs. It was inevitable as my dad drove Saab cars (we both still do) and I have Swedish heritage and family on my mum's side. I also tend to like the quirky option in most things!
I recently rediscovered and had framed this poster from my childhood which now lives on my office wall.

I recently rediscovered and had framed this poster from my childhood which now lives on my office wall.
dr_gn said:
Thanks. Milliput is water soluble, so you can just use a damp glasses cleaning cloth and wipe it smooth. It can be a bit strange to apply until you get used to it, but it’s way better than any other model filler because often it requires no further work in terms of flatting. That means a reduced risk of damaging surrounding surface detail. Takes a while to set though.
Thanks, I've not used it for so long that I'd forgotten it was water soluble - doh!tog said:
Can't wait to see this model finished - since I was a plane-mad kid I always had a soft spot for Saabs. It was inevitable as my dad drove Saab cars (we both still do) and I have Swedish heritage and family on my mum's side. I also tend to like the quirky option in most things!
I recently rediscovered and had framed this poster from my childhood which now lives on my office wall.
Nice! I've always thought Saab aircraft were pretty cool. They were (probably still are) into a surprising amount of stuff, including developing computers for aircraft as well as cars etc. back in the day.I recently rediscovered and had framed this poster from my childhood which now lives on my office wall.
tangerine_sedge said:
dr_gn said:
Thanks. Milliput is water soluble, so you can just use a damp glasses cleaning cloth and wipe it smooth. It can be a bit strange to apply until you get used to it, but it’s way better than any other model filler because often it requires no further work in terms of flatting. That means a reduced risk of damaging surrounding surface detail. Takes a while to set though.
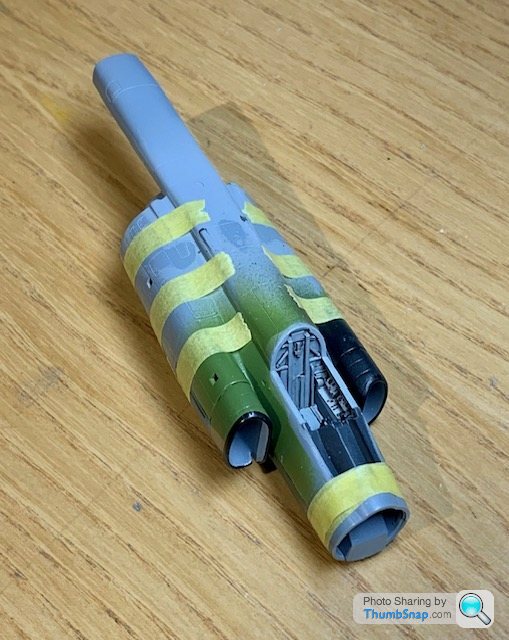
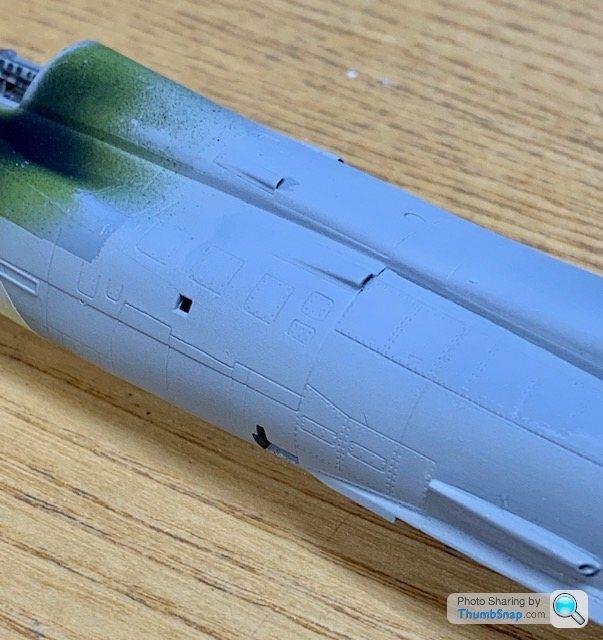
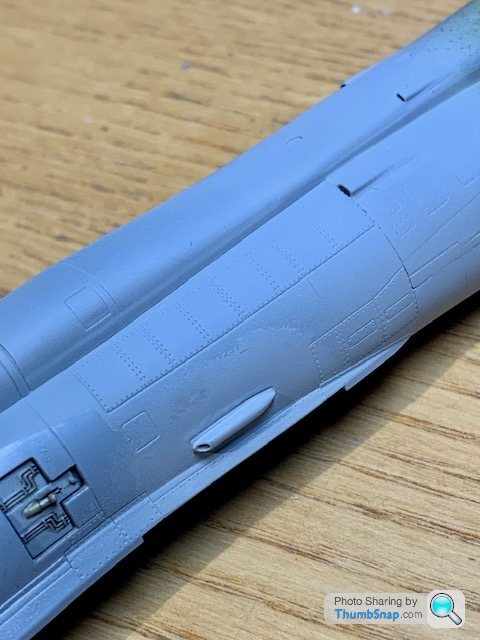
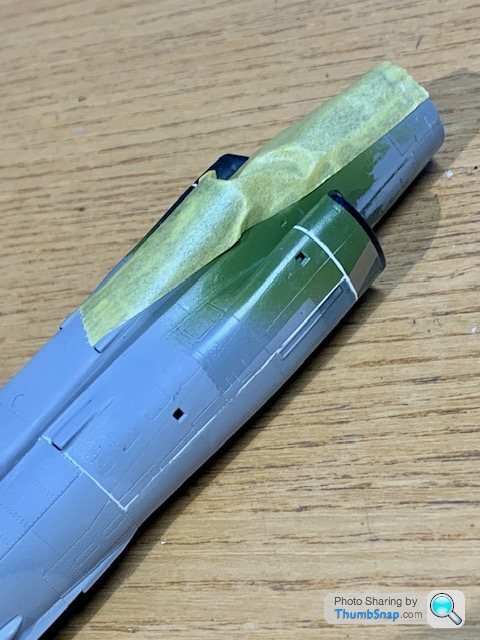
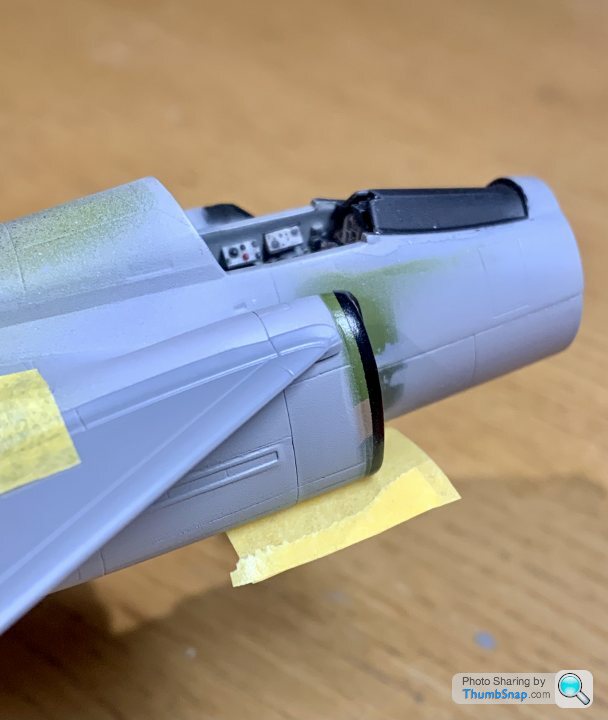
Thanks, I've not used it for so long that I'd forgotten it was water soluble - doh!So the intake-fuselage joints need more work, I might have overdone it with the damp cloth around there because it’s gone a bit too concave:
It’s mainly the upper parts that are seen because when the canards are fitted, they partially overlap the joints:
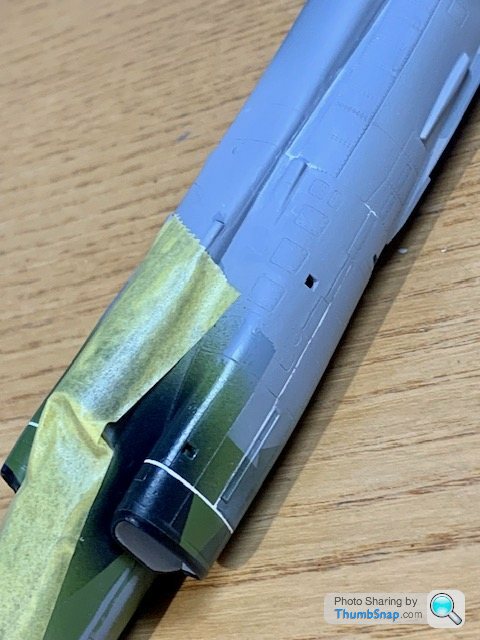
The other fuselage joints are fine without any further work:
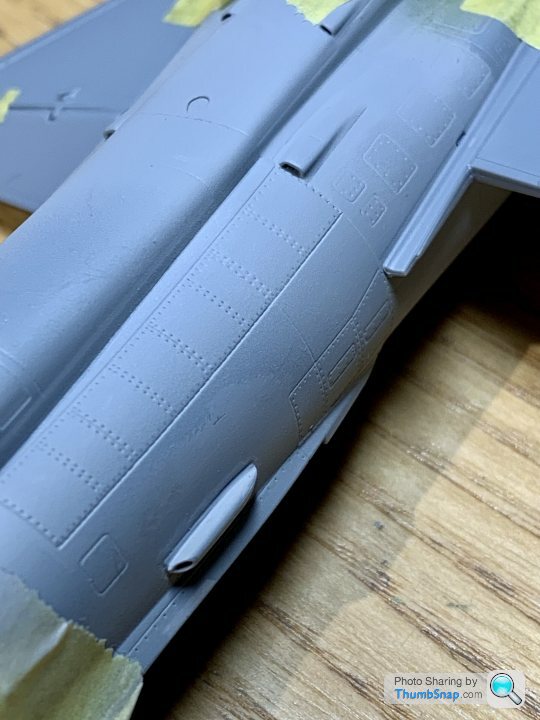
Shame a couple of the lower longitudinal engine access panel lines are a bit deep (looks similar to poorly fitting parts), but they’re moulded in, so I’ll leave them.
It’s mainly the upper parts that are seen because when the canards are fitted, they partially overlap the joints:
The other fuselage joints are fine without any further work:
Shame a couple of the lower longitudinal engine access panel lines are a bit deep (looks similar to poorly fitting parts), but they’re moulded in, so I’ll leave them.

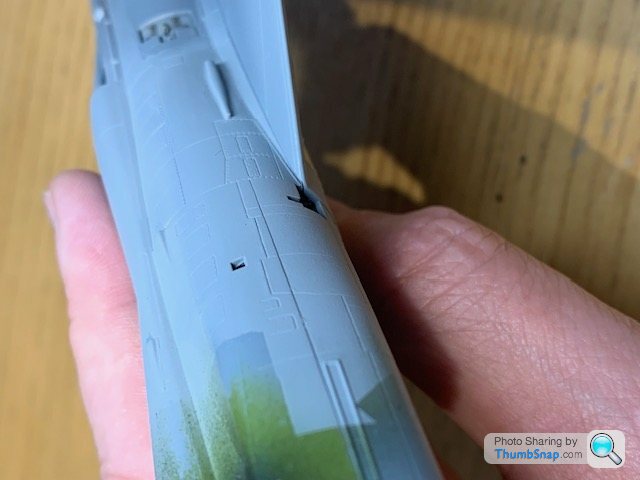
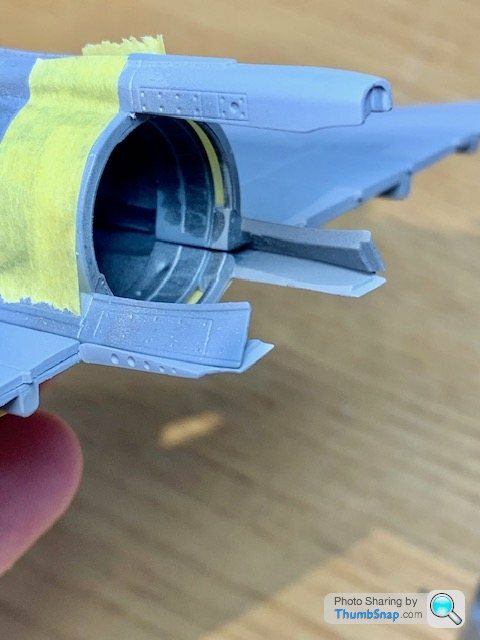
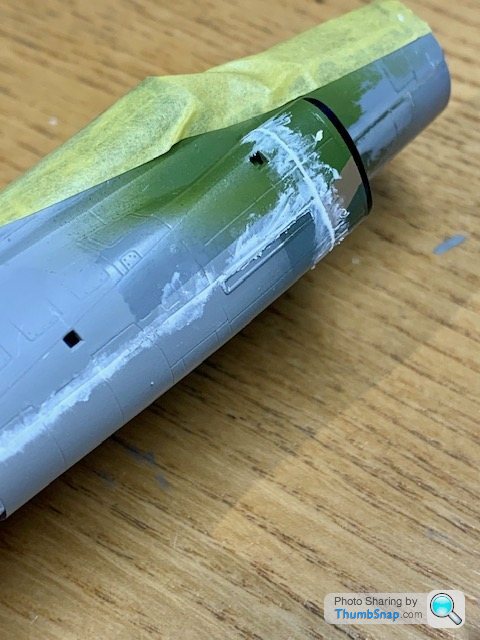
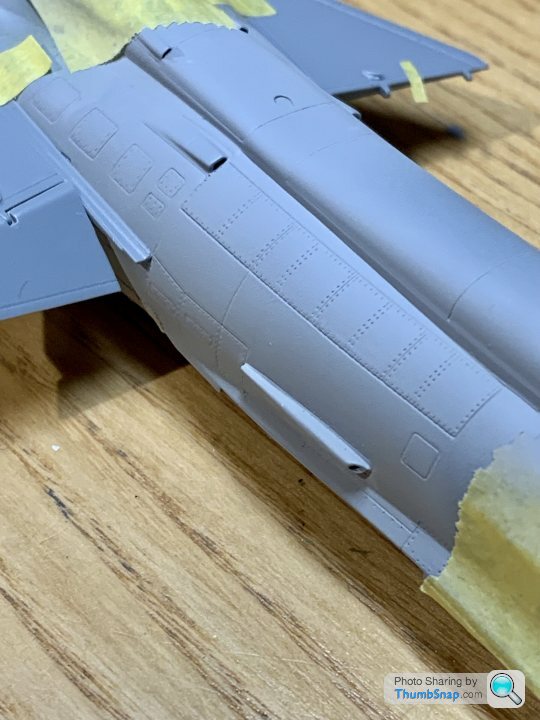
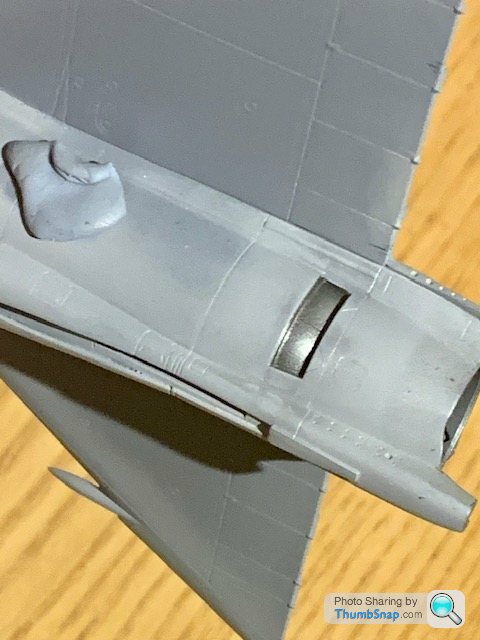
So, at the other end, the rear fuselage needed some work. There are some square raised features on the tailcone, that appeared to have needed some mould design that resulted in depressions in front of them:
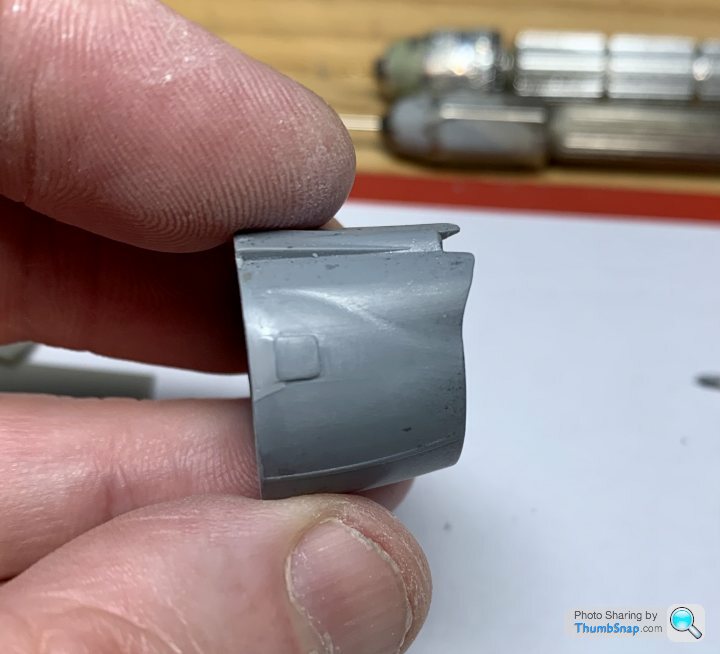
Since there’s going to be a join in front of them that will require filling and flatting, I opted to remove the squares, and fill the moulding features:
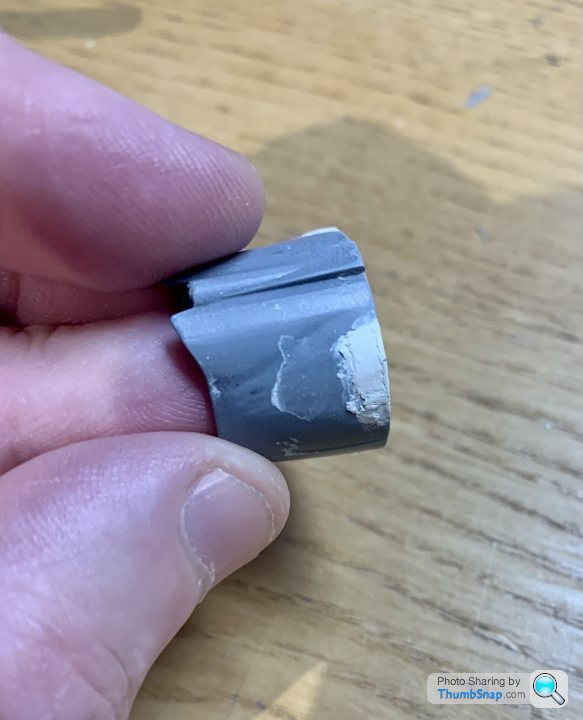
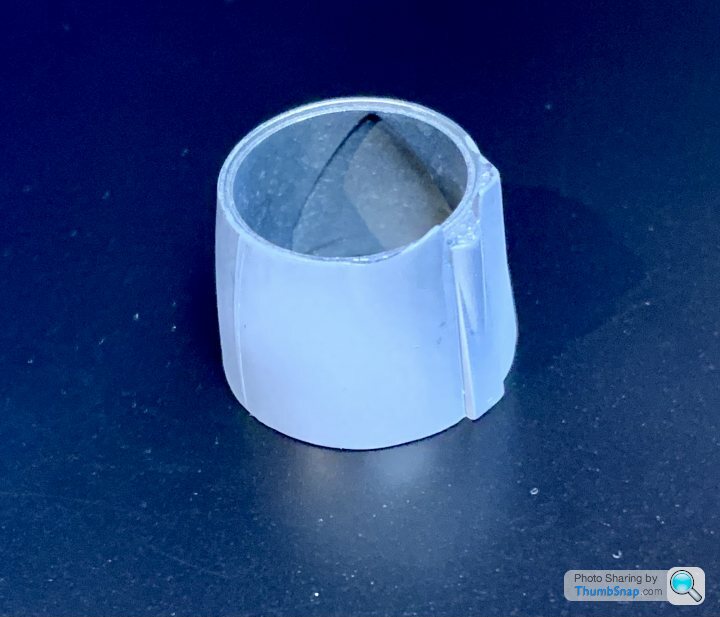
Then wet flat back:
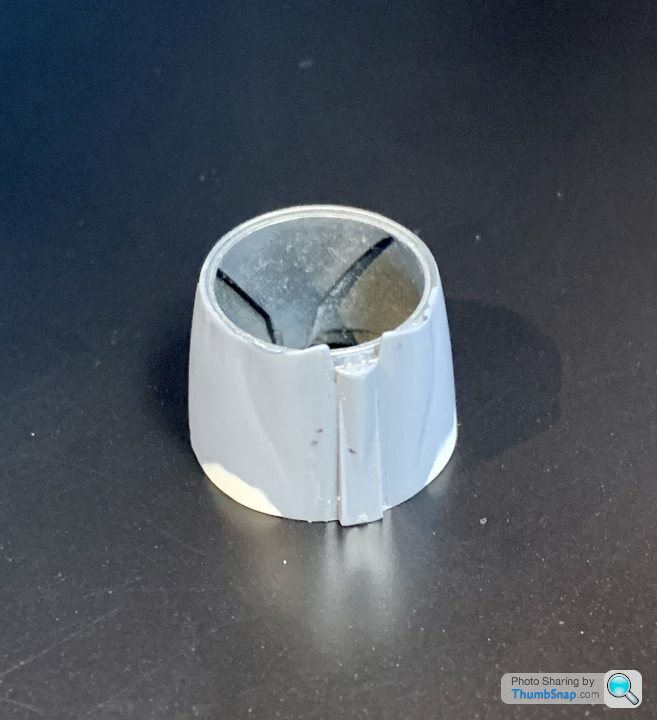
And check it looks ok with a guide coat of primer:
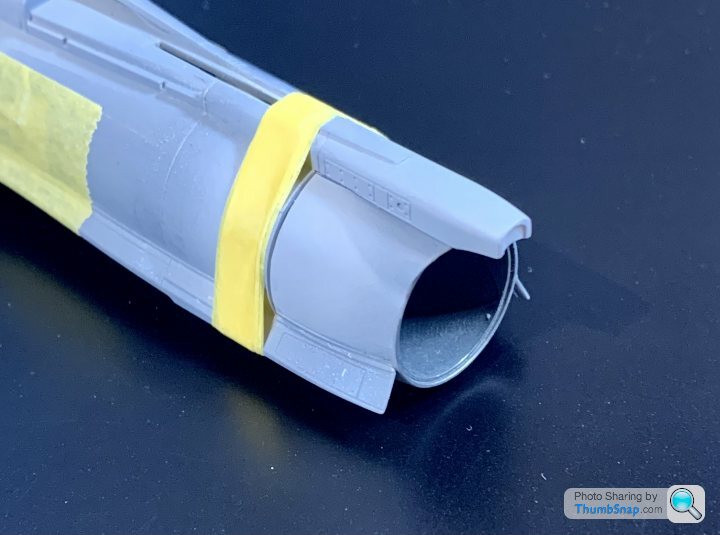
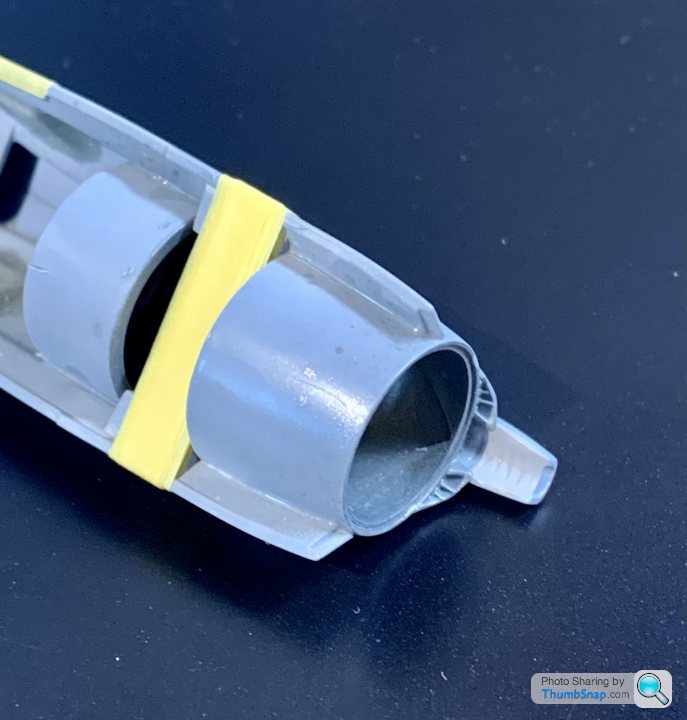
Then, after filling and flatting the tricky rear boom corrugations:
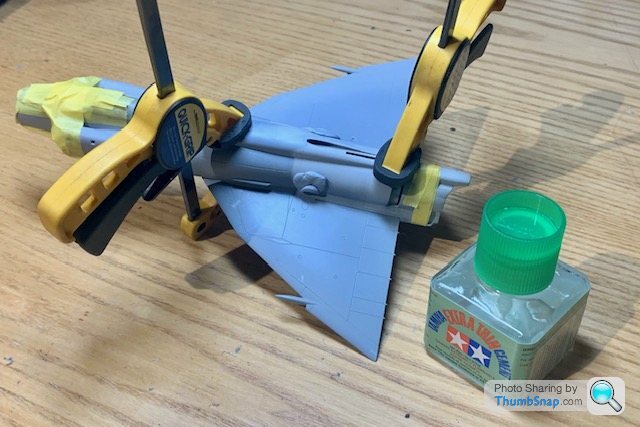
Assembled the tail one and turbine faces, wrapped with Tamiya tape to hold it all together before adding Tamiya extra thin cement:
Once the joint gap is dealt with, I’ll add the square features back with plastic card. No idea what they are, and I can’t see them on any real-life images, but they add a bit of interest to a plain surface.
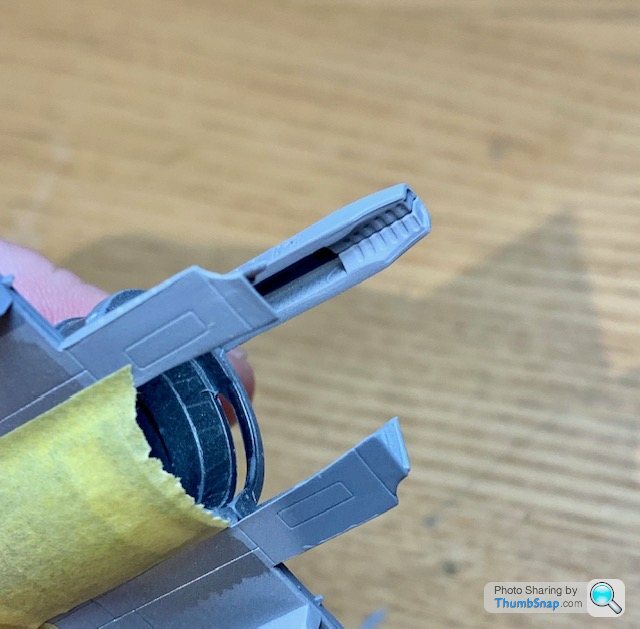
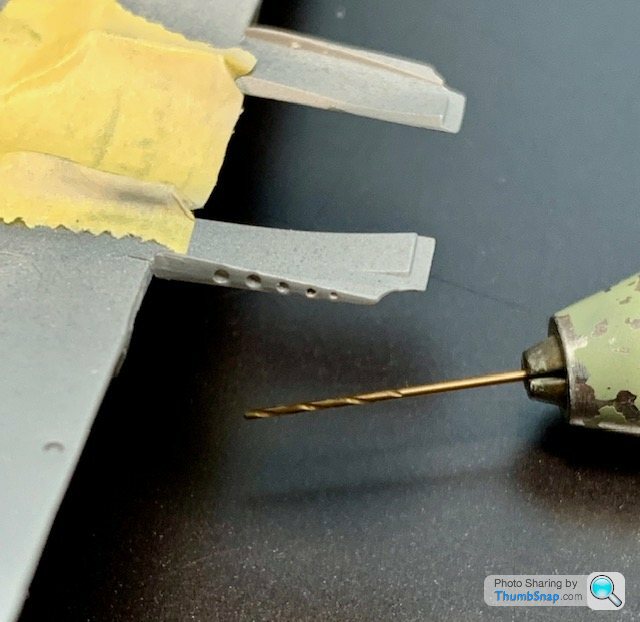
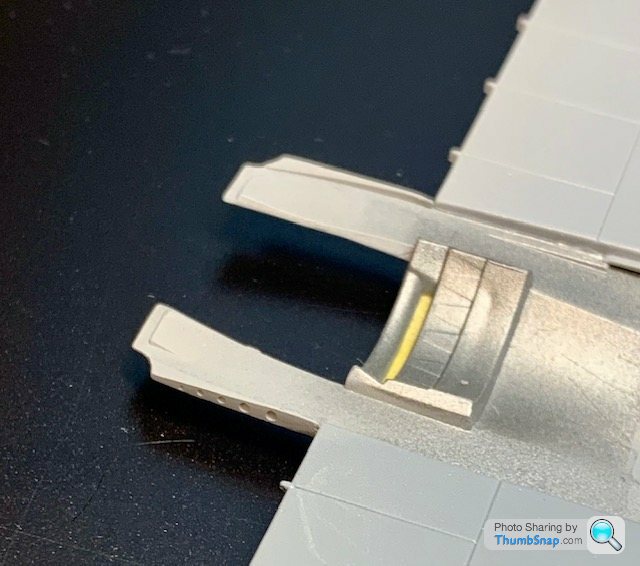
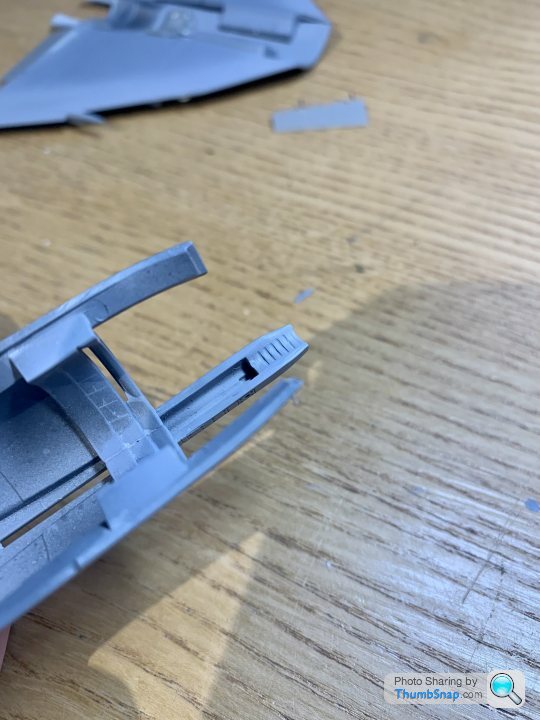
Also did some work on the resin elevons. I’d already separated the existing injection moulded originals. I’ve opted to mount them using malleable copper wire expoxied into the edges, so I can pose them securely, and as precisely as I want, before finally fixing them:
The canard control surfaces have notches and spigots as per the original kit, so they don’t need copper wire. More fettling to do on these before adding any glue.
It’s very tempting with this kit to just assemble the whole airframe to see what it looks like, but I know from experience that trying to accurately fettle all these joints, and paint things like the intake edges post assembly would be way worse than taking the time and pain now. I hope that it all goes to plan…I’ve done this before with kits and screwed something up right at the end…
Since there’s going to be a join in front of them that will require filling and flatting, I opted to remove the squares, and fill the moulding features:
Then wet flat back:
And check it looks ok with a guide coat of primer:
Then, after filling and flatting the tricky rear boom corrugations:
Assembled the tail one and turbine faces, wrapped with Tamiya tape to hold it all together before adding Tamiya extra thin cement:
Once the joint gap is dealt with, I’ll add the square features back with plastic card. No idea what they are, and I can’t see them on any real-life images, but they add a bit of interest to a plain surface.
Also did some work on the resin elevons. I’d already separated the existing injection moulded originals. I’ve opted to mount them using malleable copper wire expoxied into the edges, so I can pose them securely, and as precisely as I want, before finally fixing them:
The canard control surfaces have notches and spigots as per the original kit, so they don’t need copper wire. More fettling to do on these before adding any glue.
It’s very tempting with this kit to just assemble the whole airframe to see what it looks like, but I know from experience that trying to accurately fettle all these joints, and paint things like the intake edges post assembly would be way worse than taking the time and pain now. I hope that it all goes to plan…I’ve done this before with kits and screwed something up right at the end…
Gassing Station | Scale Models | Top of Page | What's New | My Stuff