Revell 1/12 Ford Shelby GT500
Discussion


This week. I will mostly be building a Revell 1/12 scale Ford Shelby GT500.
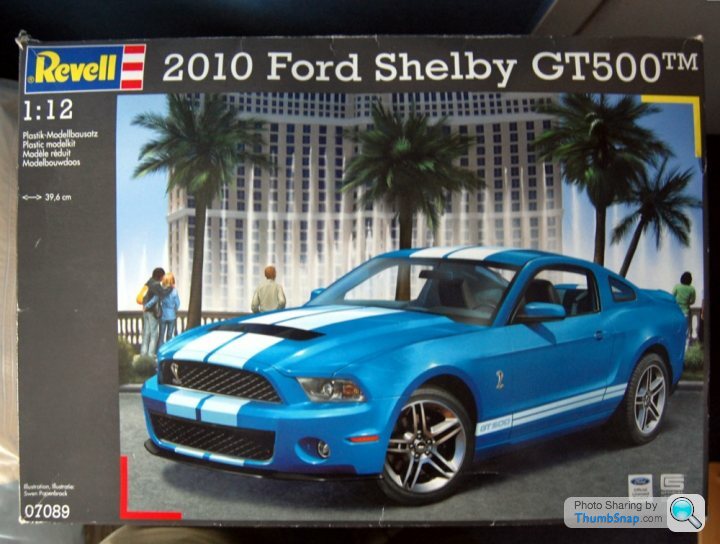
A look at the box artwork. The body colour looks like Tamiya coral blue. I won't be painting it that way. It's customer specifications.
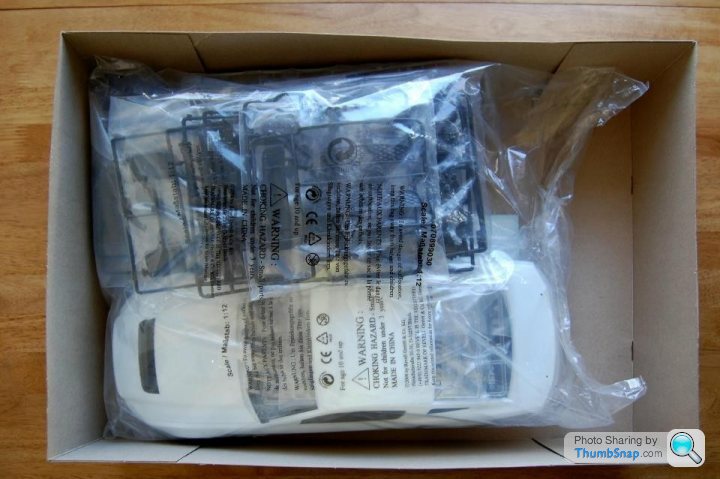
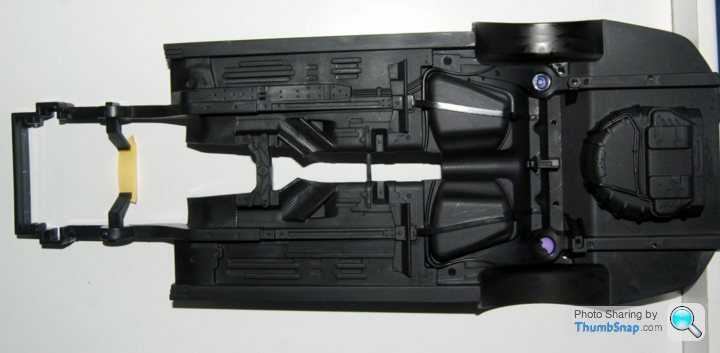
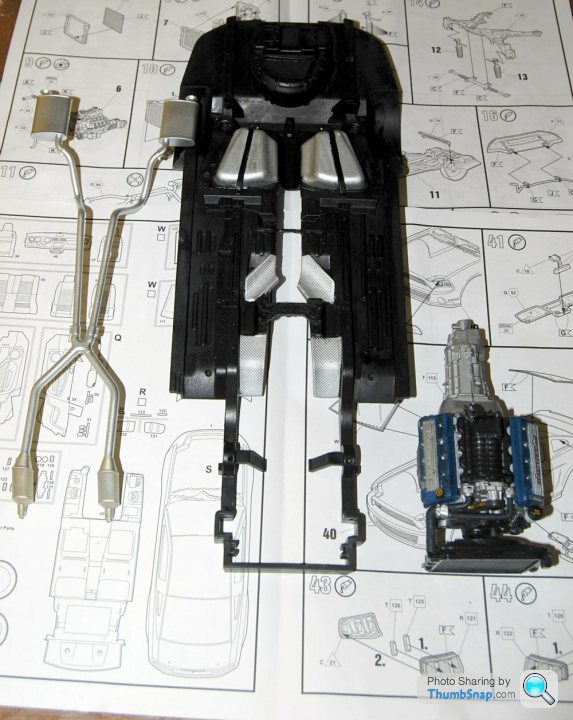
For a 1/12 scale kit, there aren't many parts. Revell took their existing 1/25 Shelby GT500 and scaled it up.

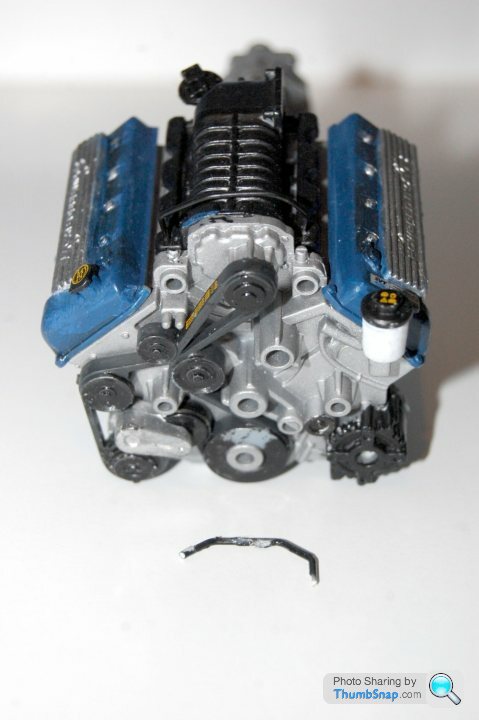
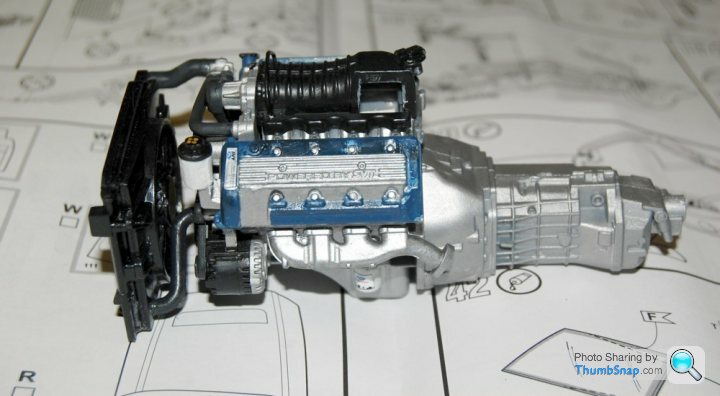
Assembly begun with the engine. Great detail here. I used Humbrol acrylic aluminium spray paint. Revell steel enamel for the exhausts. Also revel satin coal black acrylic, brush painted. The first of many decals applied, with the aid of Revell Decal Soft.
A look at the box artwork. The body colour looks like Tamiya coral blue. I won't be painting it that way. It's customer specifications.
For a 1/12 scale kit, there aren't many parts. Revell took their existing 1/25 Shelby GT500 and scaled it up.
Assembly begun with the engine. Great detail here. I used Humbrol acrylic aluminium spray paint. Revell steel enamel for the exhausts. Also revel satin coal black acrylic, brush painted. The first of many decals applied, with the aid of Revell Decal Soft.
Edited by Langweilig on Monday 22 January 21:04
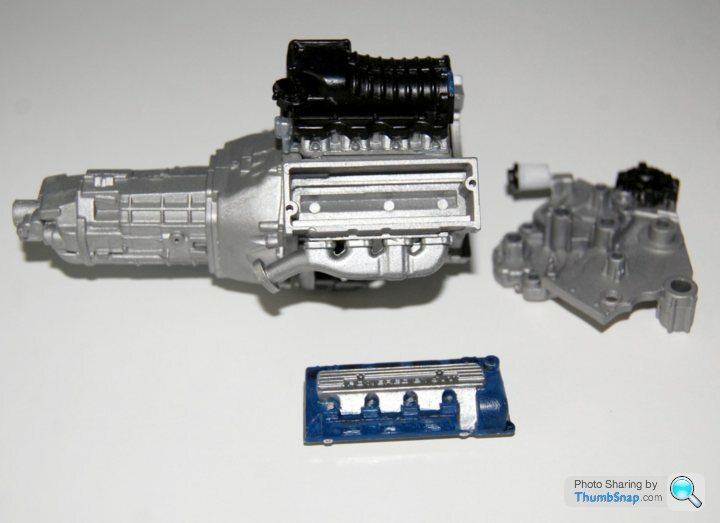
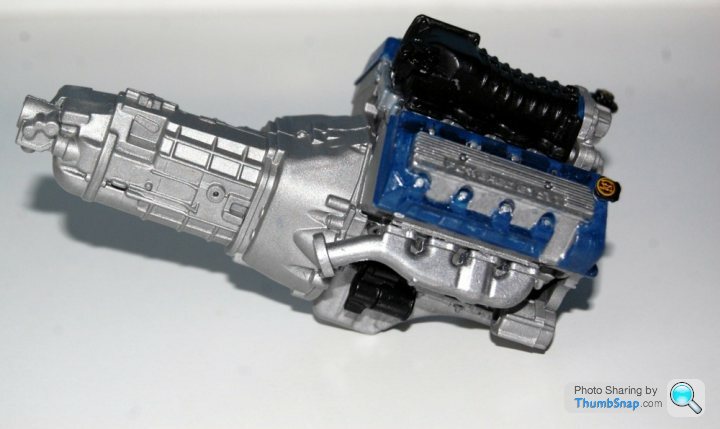
The front of the engine block was fitted temporarily. The next parts are the cylinder heads. Painted with Revell steel enamel. The instructions specify satin coal black for these parts. Again, it's customer specs. I painted them Tamiya X4 as I wanted them to match the intended body colour.

More decals. One for the engine and chassis numbers.
Edited by Langweilig on Tuesday 23 January 11:06
Edited by Langweilig on Tuesday 23 January 11:08

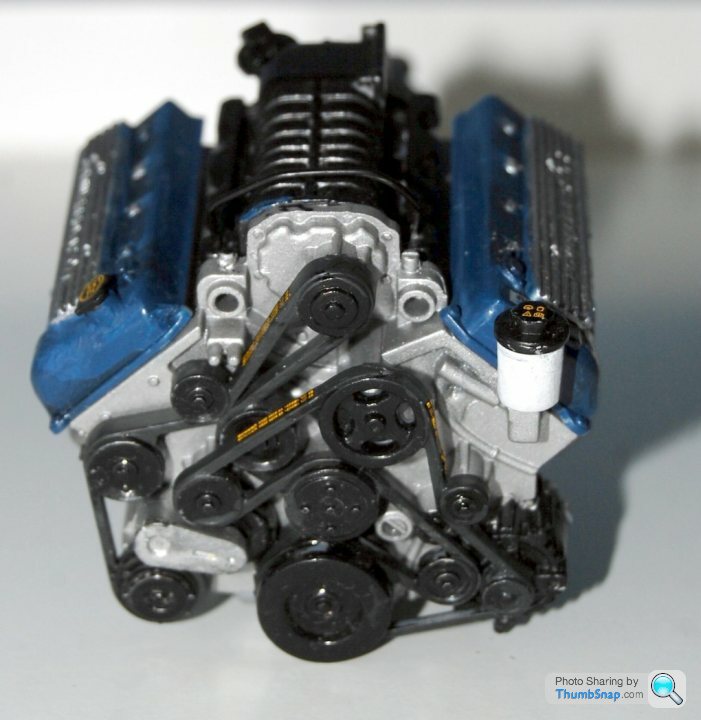
More work on the engine. Belt assemblies in place and painted with Humbrol gloss black 21 and Revell's trademark anthracite acrylic paint.
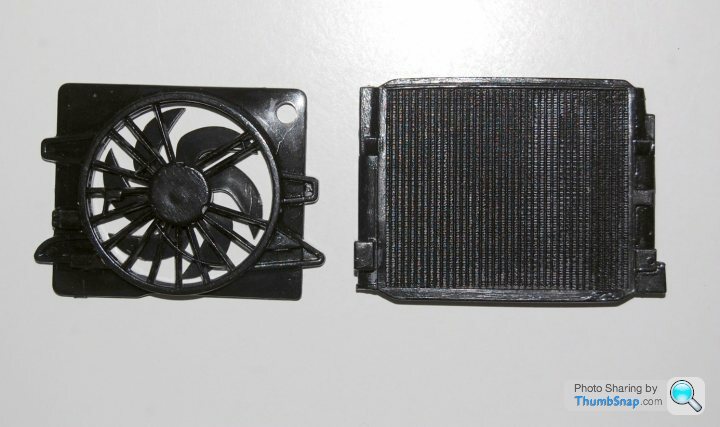
The three-piece radiator assembly, painted with Tamiya X1 gloss black.
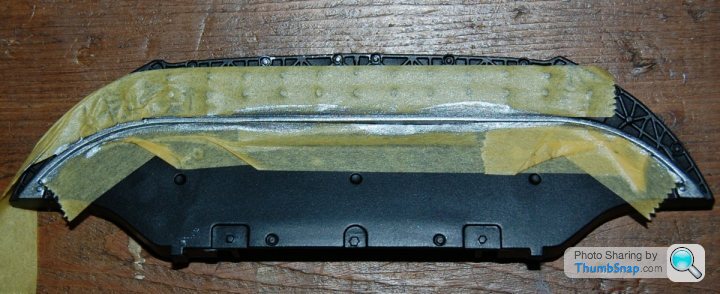
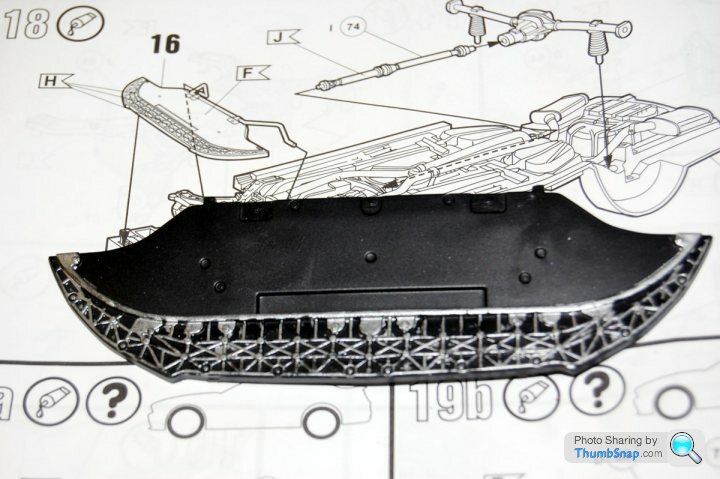
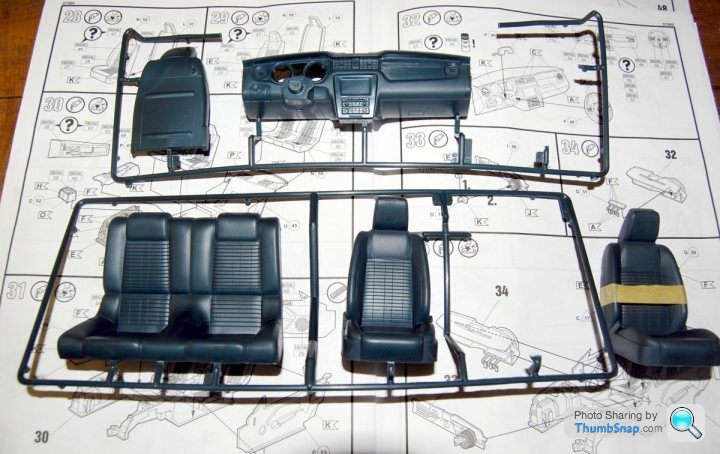
I've made a start on the bodywork. With certain areas masked off, I brush painted this part with Revell satin coal black.
Radiator and hoses fitted. The instructions recommend one of Revell's often seen "sunshine and farts" paint blends. I'm not doing that anywhere on this kit. I painted the hosing with Tamiya rubber black acylic.
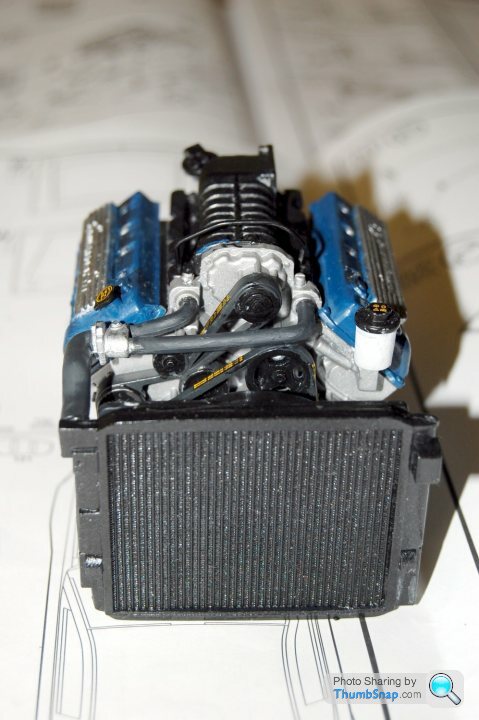
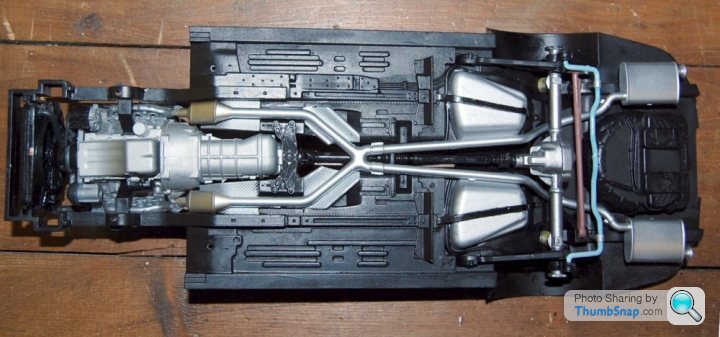
A frontal look at the radiator and engine.

Back to painting the bodywork. The thermal insulation and petrol tank were brush-painted with Humbrol 11 silver.
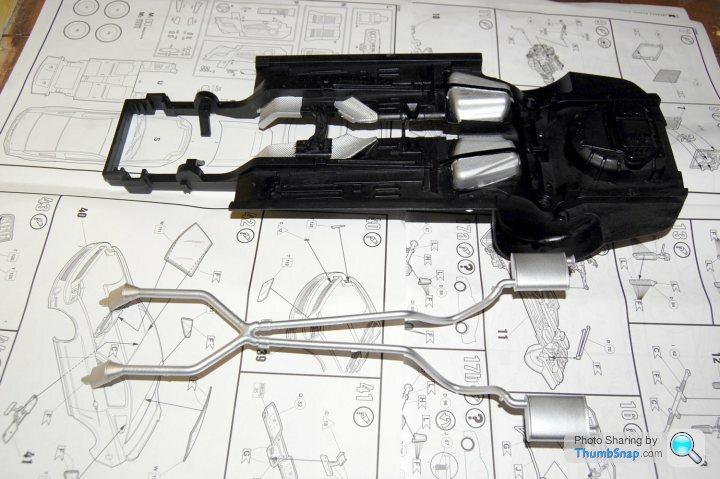
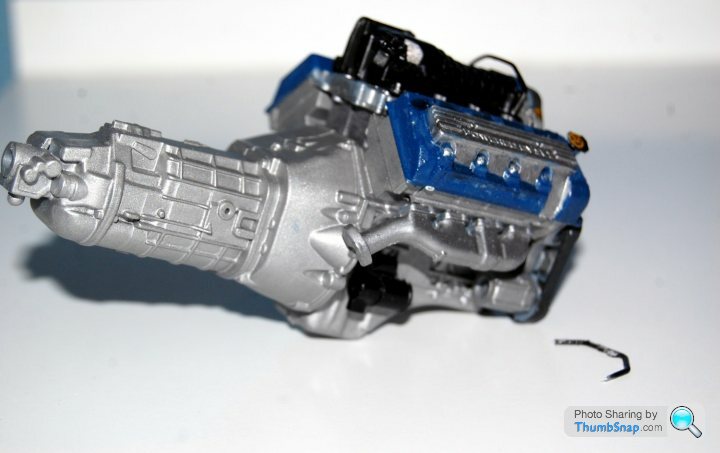
The exhausts. All in one piece and spray painted with Humbrol silver 11 and also painted with Tamiya titanium gold.
About ready to put the pieces together.
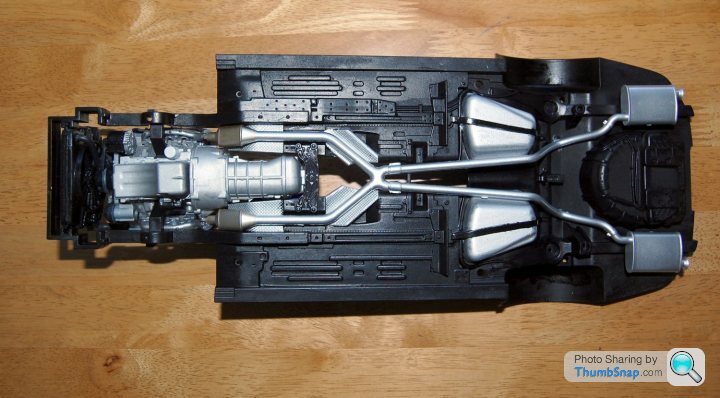
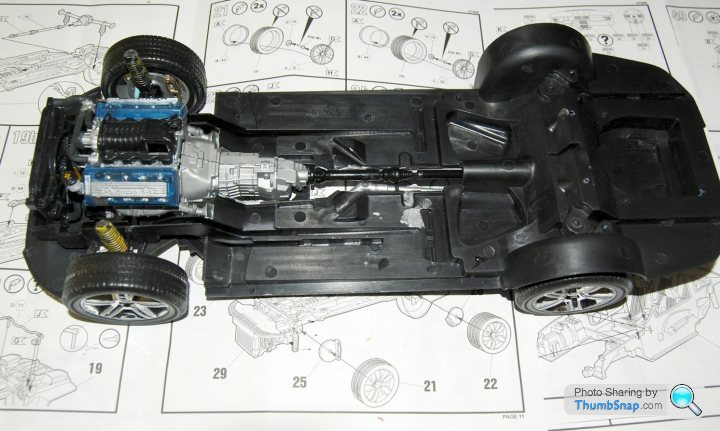
Engine and exhausts in place. Not without difficulty. I had to trim the two locator pegs on the base of the silencers to ensure a good fit.
Edited by Langweilig on Tuesday 30th January 09:08

Engine in place, but not accurately. A little pressure on the radiator and everything clicked into place neatly.

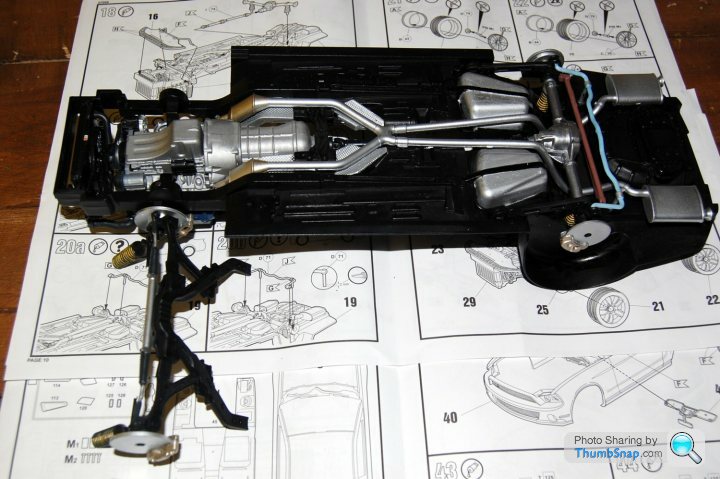
Next stage. The front and rear suspension. Brake lines, painted Humbrol gloss blue 47 acrylic. I painted the dampers with Humbrol gloss yellow acrylic. I think I thinned it down too much. But all for the better. Capillary action made it easier to paint them. The springs were painted with Humbrol gloss black 21, using the edge of a paint brush.
TIP - Bear in mind from this stage onwards that Revell paint notations can be inaccurate. Google images of the Shelby GT500 for a better picture of how you want the finished model to look.

Front suspension, spray painted with Humbrol satin back acrylic.
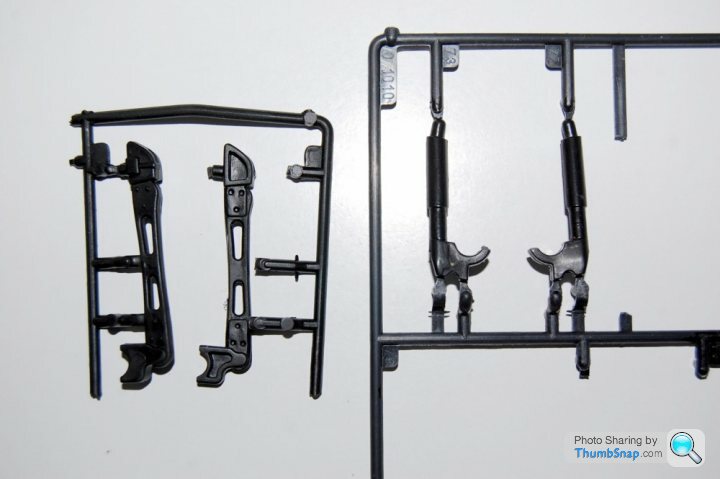
Rear suspension parts ready for spray-painting.
Edited by Langweilig on Tuesday 30th January 21:42
Edited by Langweilig on Wednesday 31st January 22:18
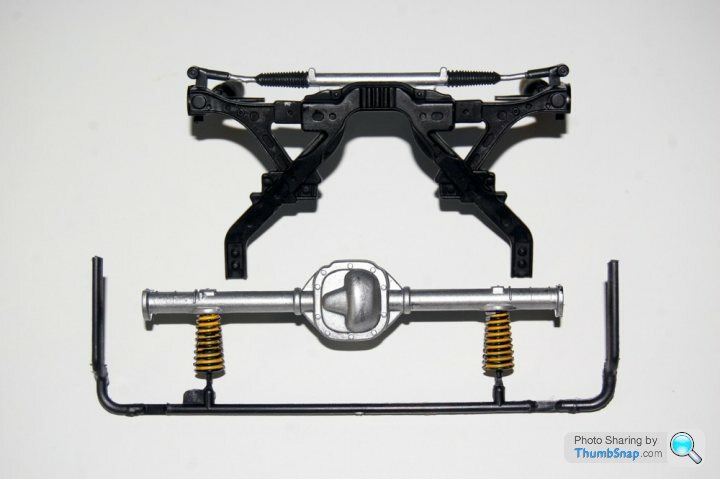
Front suspension with assembled dampers and rear axle assemblies. Like the rear axle, the track rod was painted Revell steel enamel. The steering is completely rigid. Given this kit's 1/12 scale, I think the steering should be turnable.
Drive shaft, painted Tamiya X1 gloss black. Back axle, shock absorbers and brake line assembled.
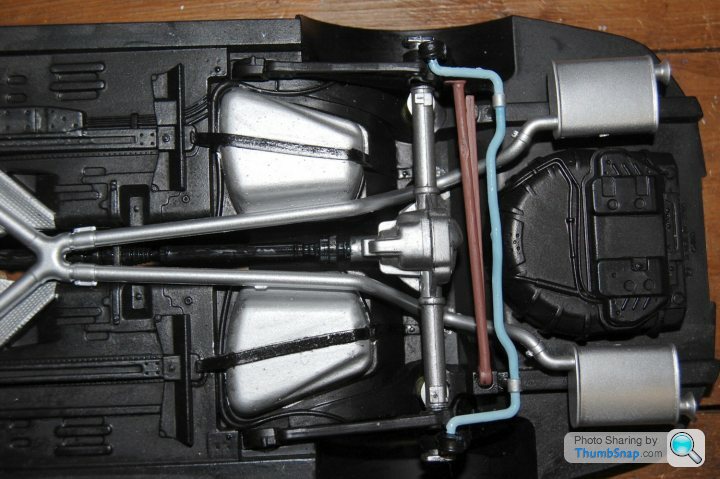
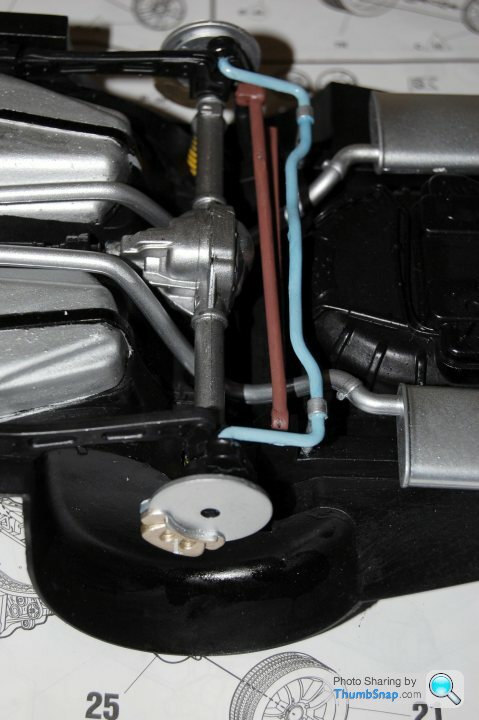
A close up view of the rear axle and assemblies.
Edited by Langweilig on Wednesday 31st January 12:38
Langweilig said:
AshVX220 said:
You said the brake line is the blue bit....isn't that the anti-roll bar? Brake lines are tiny by comparison.
I am I being really dumb and should revoke my account on here forthwith (quite possible).
No. It think's definitely one of the two brake lines. I can't see the Shelby GT500 having two anti-roll bars, front and back.I am I being really dumb and should revoke my account on here forthwith (quite possible).

dr_gn said:
Langweilig said:
AshVX220 said:
You said the brake line is the blue bit....isn't that the anti-roll bar? Brake lines are tiny by comparison.
I am I being really dumb and should revoke my account on here forthwith (quite possible).
No. It think's definitely one of the two brake lines. I can't see the Shelby GT500 having two anti-roll bars, front and back.I am I being really dumb and should revoke my account on here forthwith (quite possible).

The brake discs. For a 1/12 scale kit, they're poorly detailed. If it had been a Tamiya kit, for example there would be more holes in the discs. I suppose if you wanted to, you could accurately drill them out. Anyway, I used Humbrol 11 silver acrylic spray and also Tamiya titanium gold.
Ready to fix the front suspension in place.
Rear discs in place. They're notched on the insides so they only fit one way.
Edited by Langweilig on Wednesday 31st January 23:28

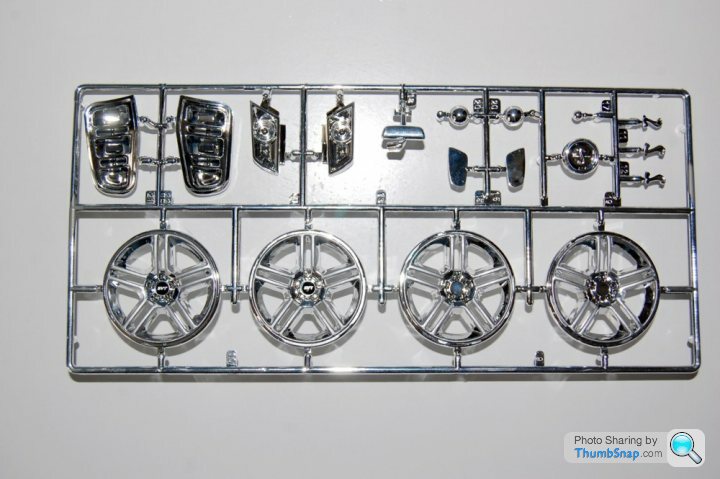
The fun part. Putting the rims and vinyl tyres together. I painted the insides with Humbrol aluminium acrylic spray.
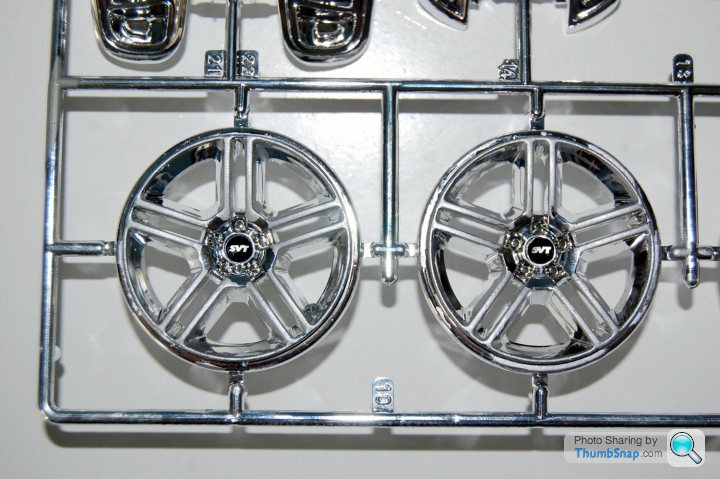
Applying the Supra Ventricular Tachycardia decals. Nah! Only kidding. Special Vehicle Team decals to the rim centres. This was a bit of a pain. I used the end of a cocktail stick to nudge them into place. Decal Soft was used. In spite of that, one of them folded up. But I managed to retrieve enough of it. I added some black satin paint to the rim centre.
Two done. Now, I'll scrape off the plating on the backs of the rims, ready to cement them.

One of the rims in place and not without difficulty. When you assemble them, the rim edges won't sit flush with the tyre walls. Take a pair of tweezers and gently lift the tyre walls over the edges of the rims. You'll find you'll need to do this front and back.
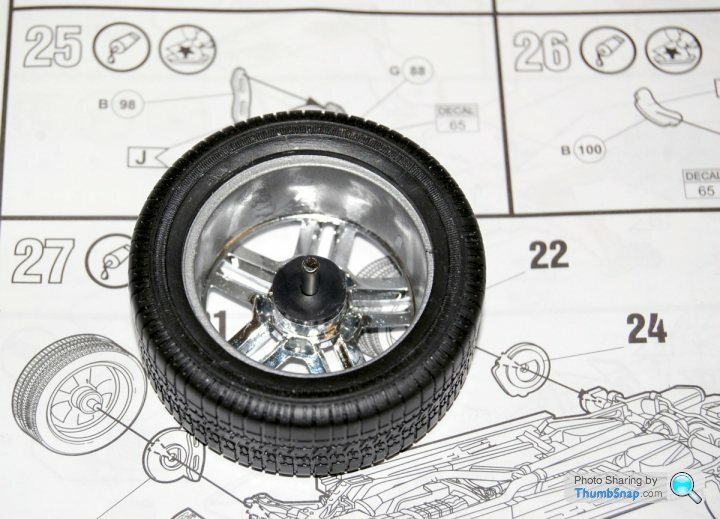
How the backs of the wheels should look. Scrape off the plating in the centre to allow you to cement that retainer in place. Metal pins hold the wheels in place. The kit has six metal parts found in a very small bag.

Gassing Station | Scale Models | Top of Page | What's New | My Stuff