BMW 635CSi Restomod
Discussion
ferret50 said:
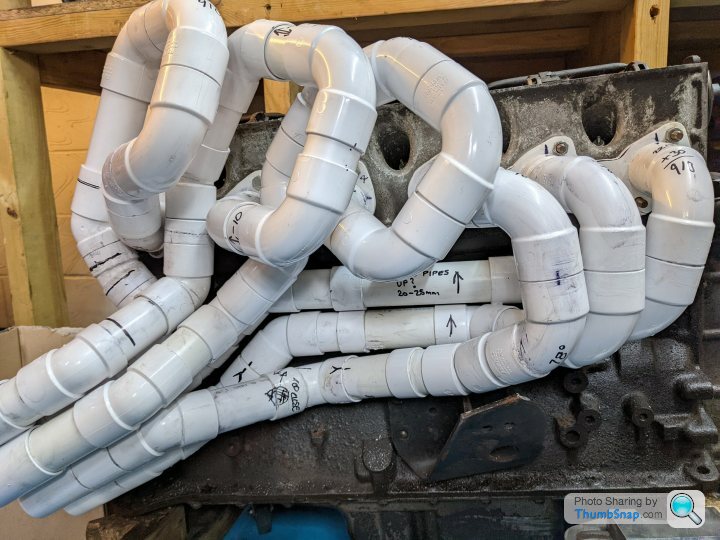
Plastic: https://www.youtube.com/watch?v=o5LVtPDGabcWood: https://www.youtube.com/watch?v=C1ij9r_frd8
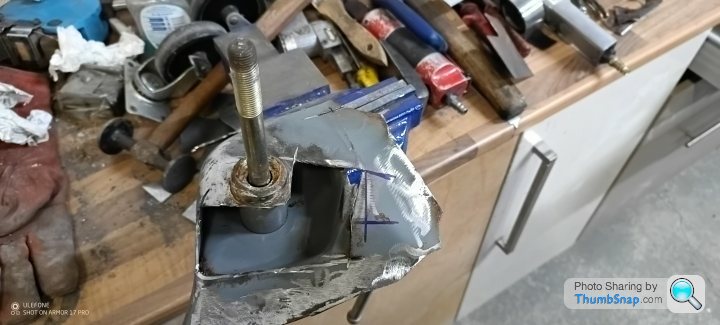
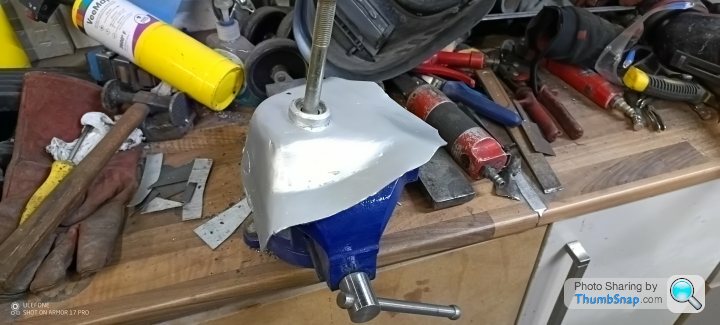
So.......once the driver side inner and outer sills were all buttoned up the next phase was to repair the floor. I had bought replacement footwells which dealt with most of the rust but there was still repairs to do where the floor meets the bulkhead and also there was a section between front and rear footwells that needed to be fabricated. On top of this I have decided to have a side exit exhaust and in order to make a bit more room for a silencer under where the rear seat would be I decided to raise the floor in that area by slicing along the transmission tunnel and lifting the floor, this in turn necessitated the fabrication of an infill panel. In order to keep the factory look I rolled beads in the panels I made to line up with the beads in the existing panels.
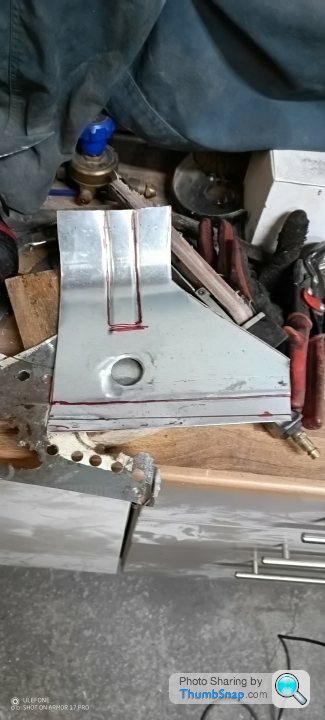
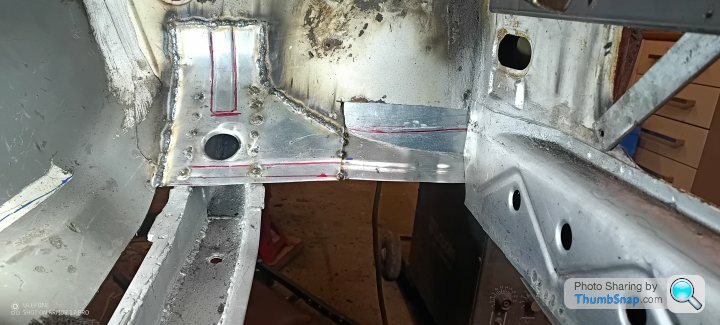
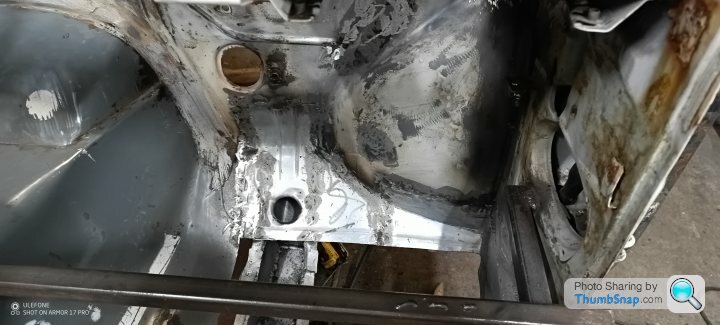
Sorry forgot to get any more photos on the front footwells being fitted
 [url]
[url]
 |https://thumbsnap.com/HYJn78tJ[/url]
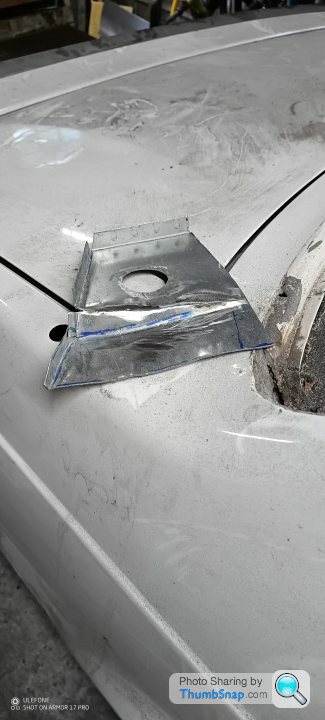
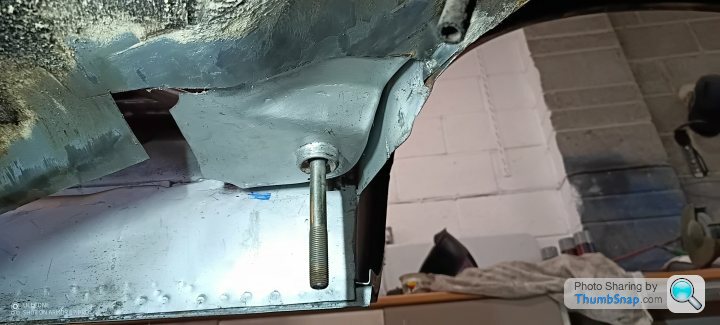
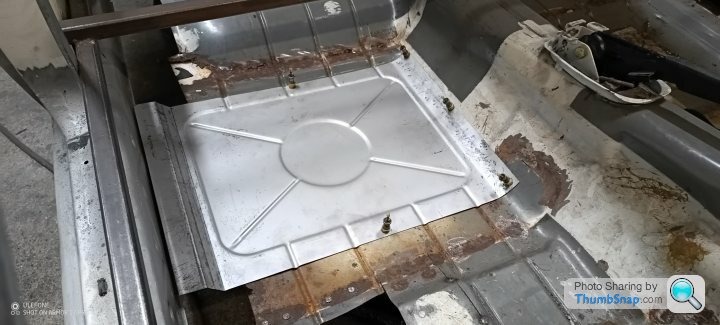
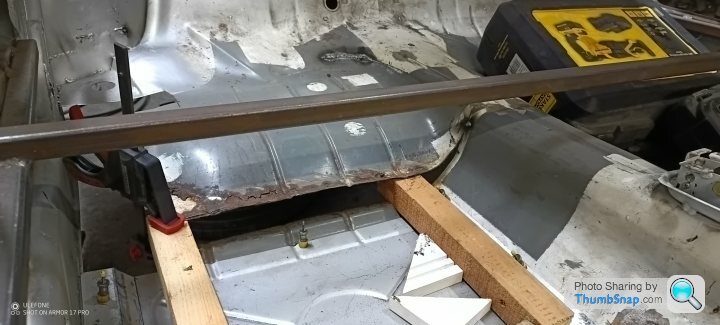
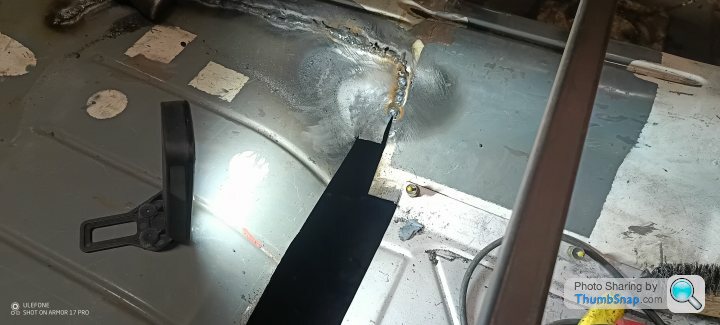
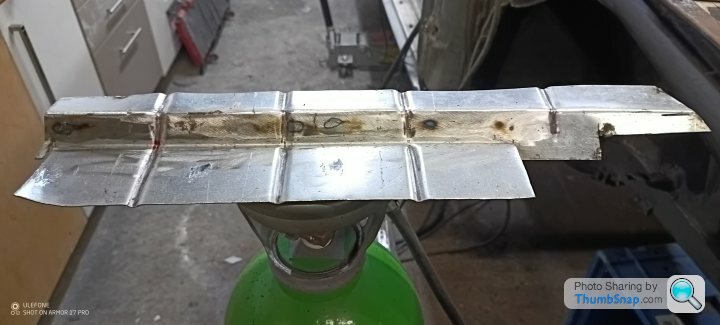
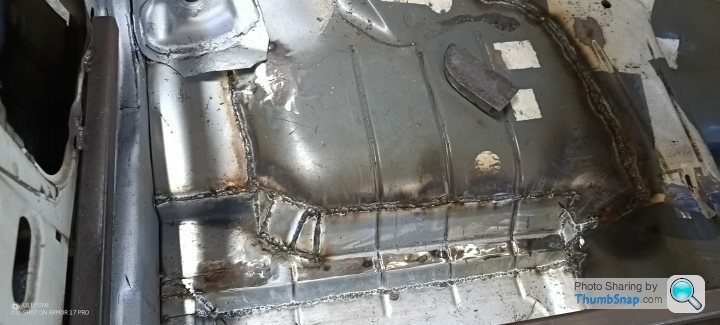
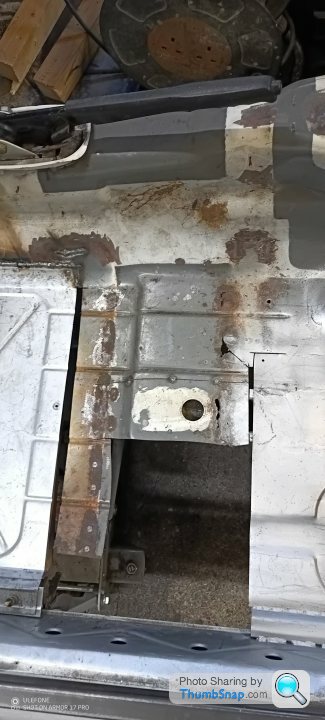
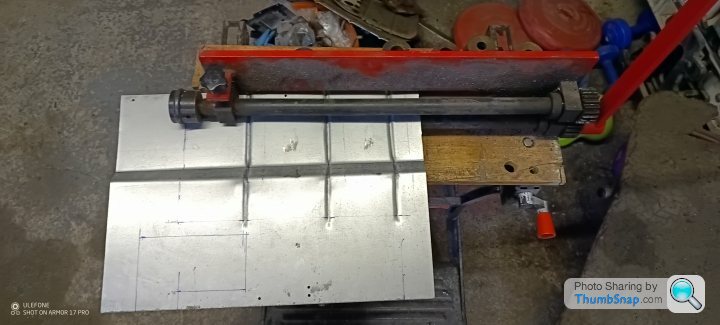
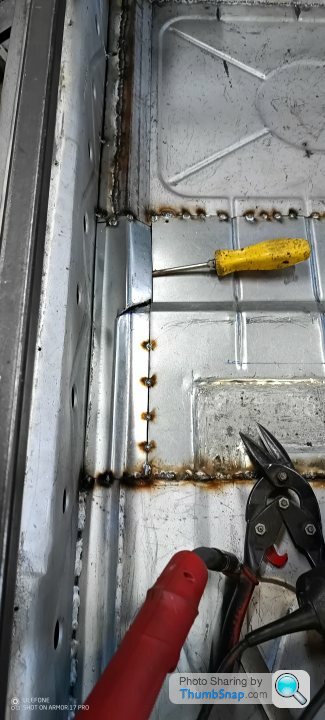
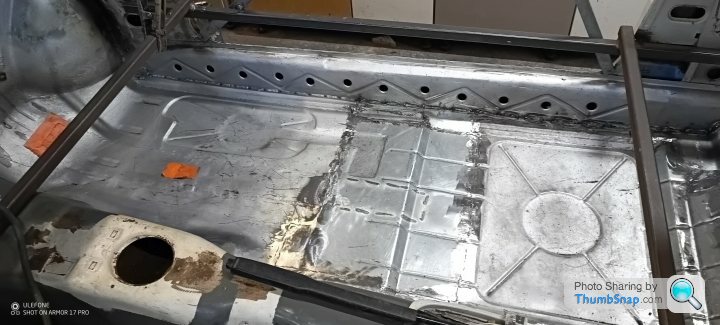
I also added an extra strengthening plate from the subframe mount down to where the subframe brace bolts tho the rear floor to stop the floor from flexing due to loading from the subframe.
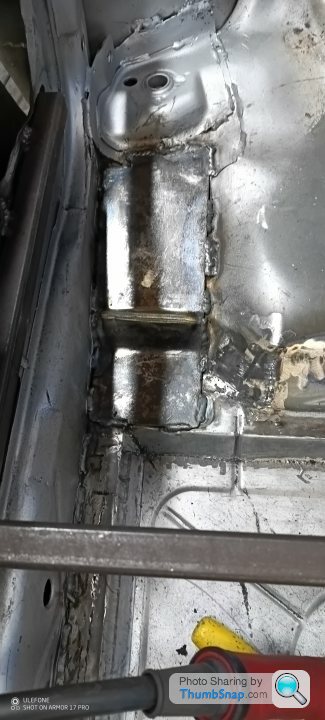
Before moving on the the other side of the car I need to clean all the welds up underneath and weld up any pin holes.


Sorry forgot to get any more photos on the front footwells being fitted
 [url]
[url] |https://thumbsnap.com/HYJn78tJ[/url]


I also added an extra strengthening plate from the subframe mount down to where the subframe brace bolts tho the rear floor to stop the floor from flexing due to loading from the subframe.

Before moving on the the other side of the car I need to clean all the welds up underneath and weld up any pin holes.
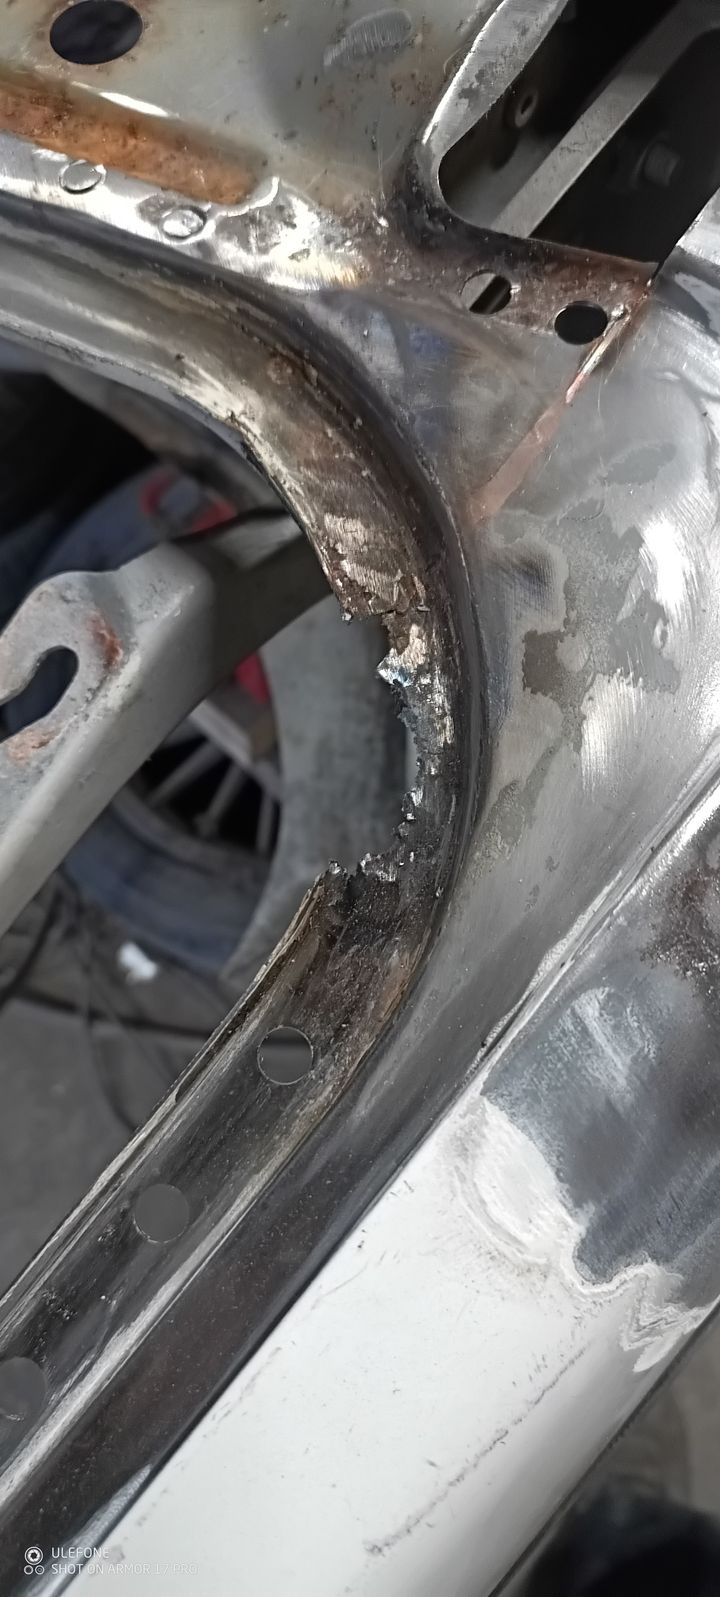
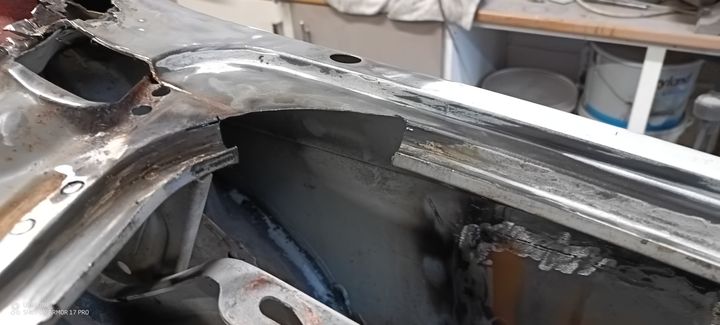
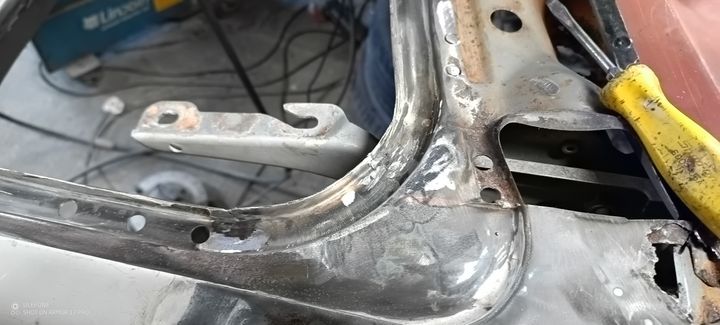
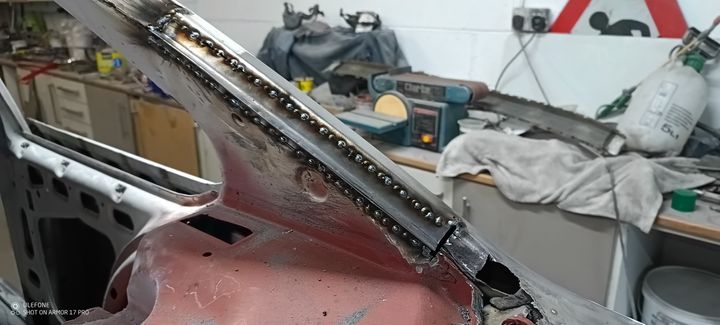
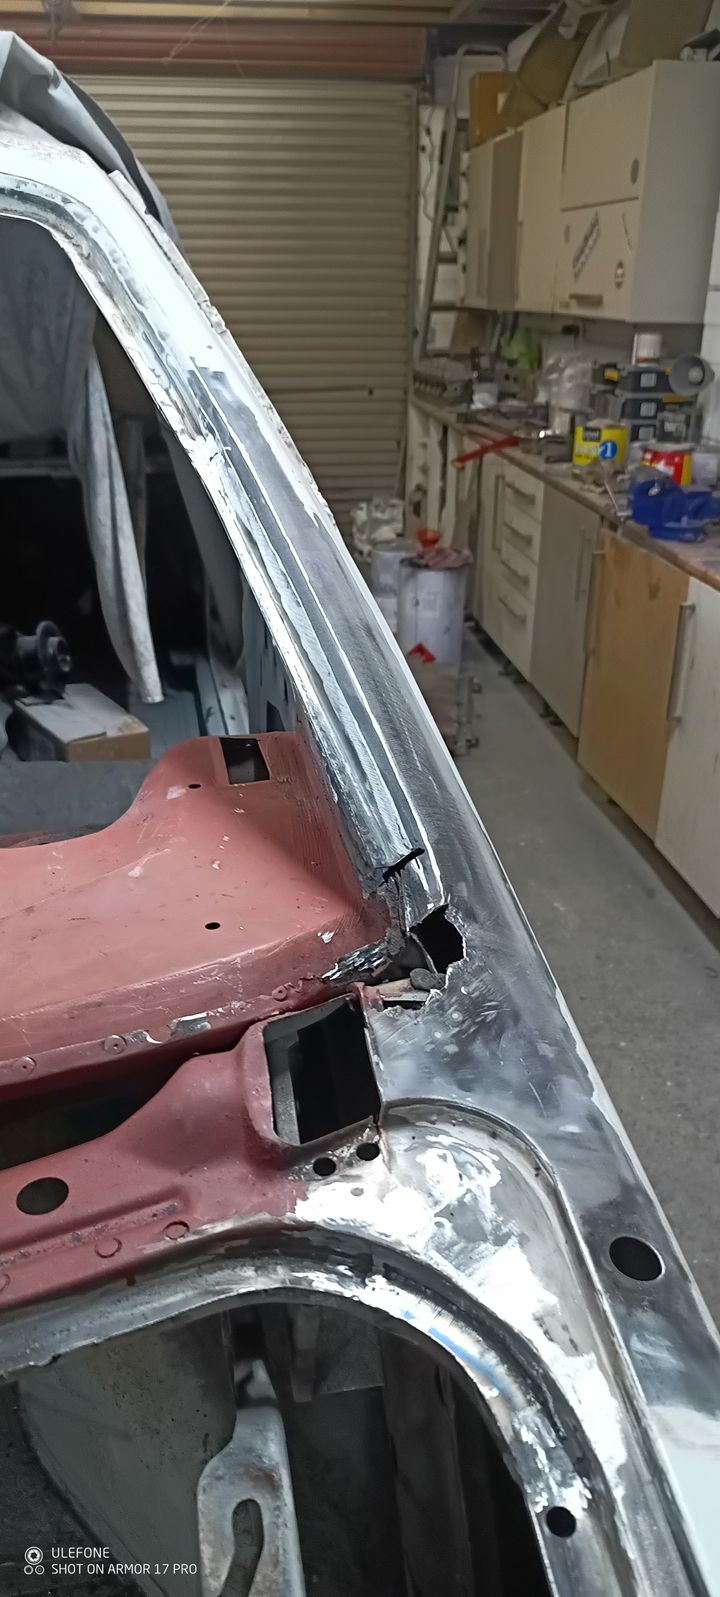
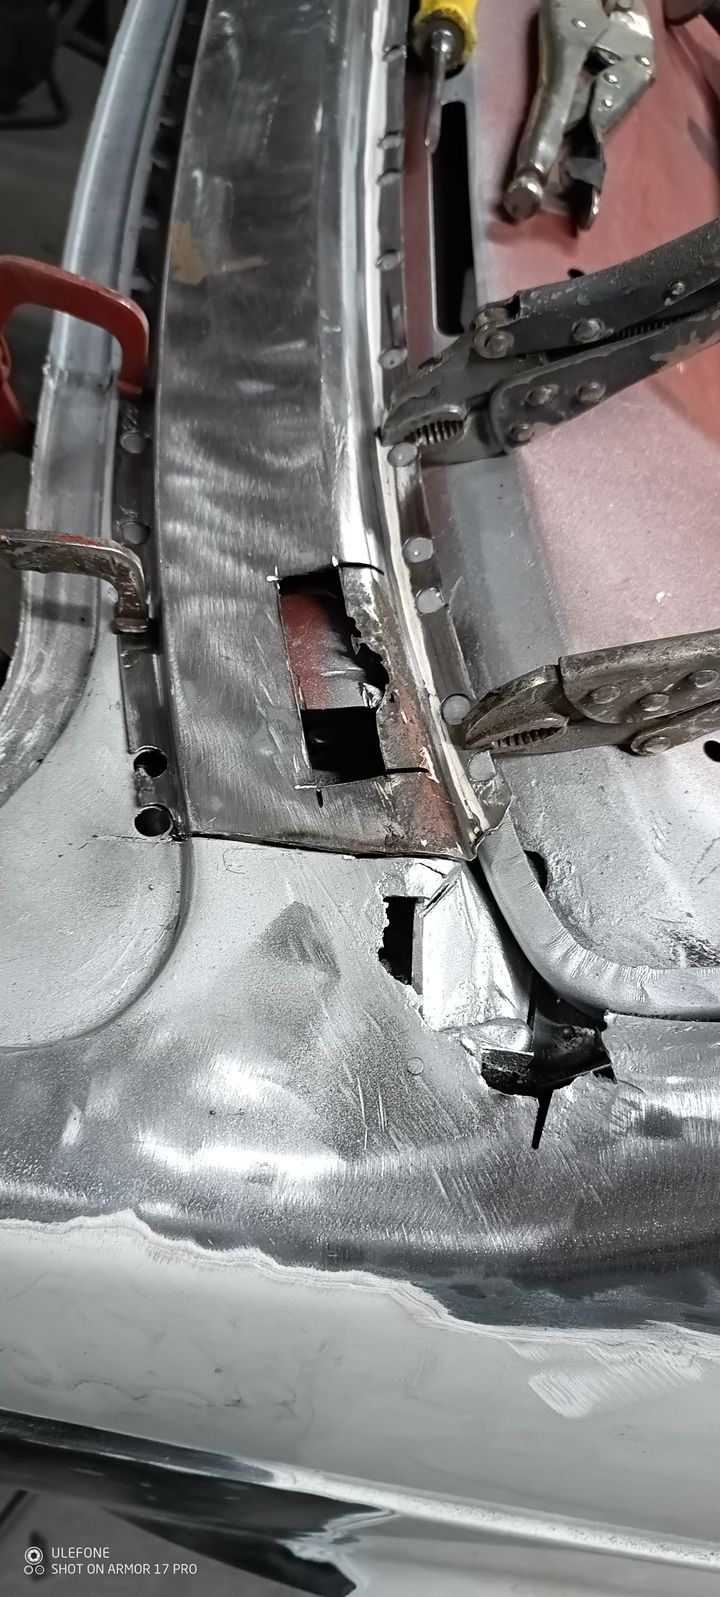
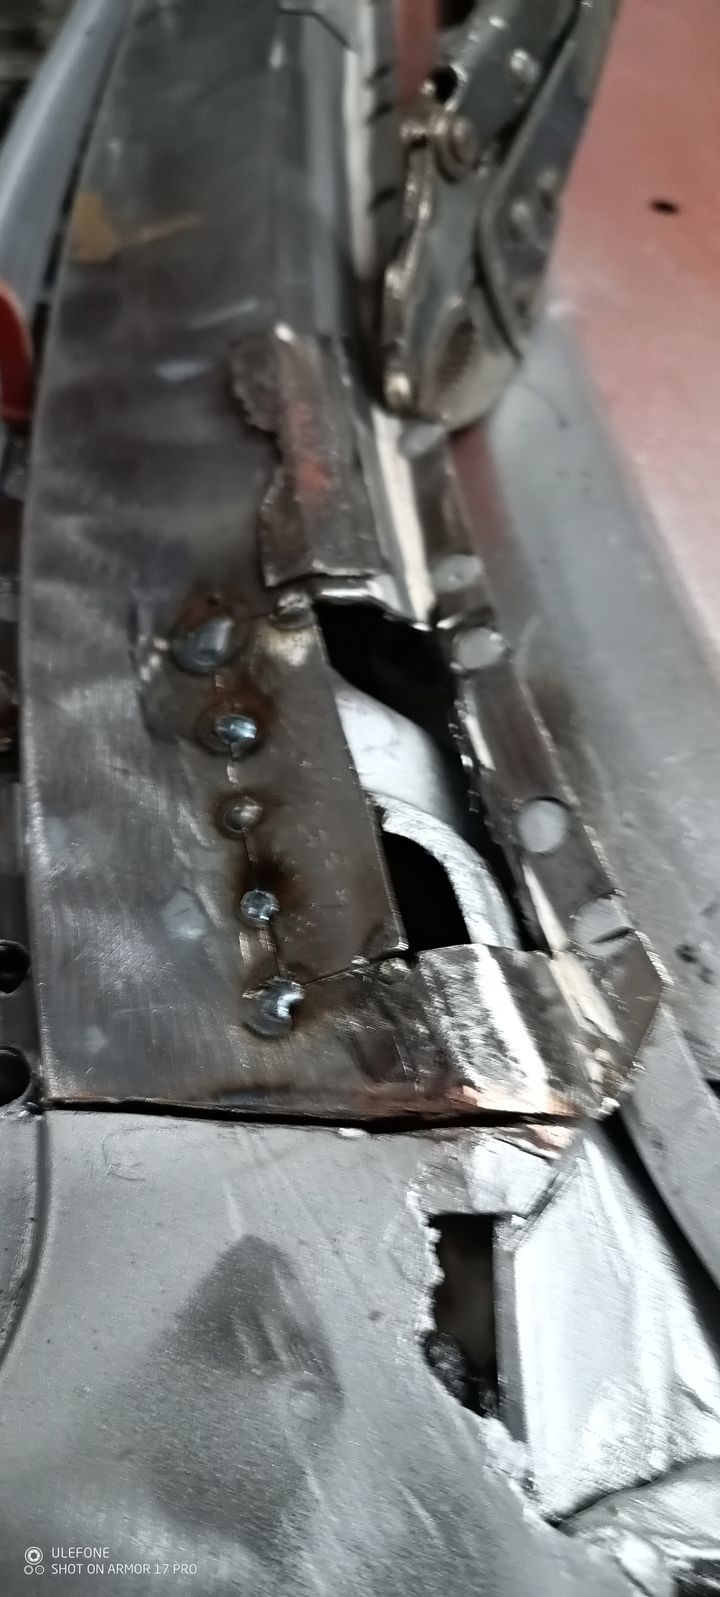
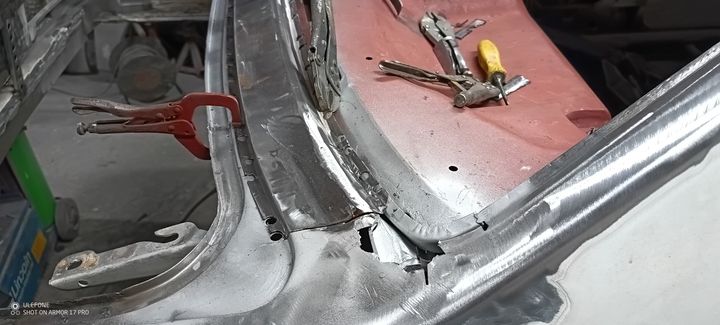
Once the floor and inner and outer sills were done I worked my way round the front of the car starting at the front left A post the first section I came to was the most complex repairs I've ever had to do because there were so many panels all coming together in one area and they were all rotten so I just had to keep cutting back until there was no rust left. I took care to remove the rusty sections carefully so I could use them as templates for the repair sections.
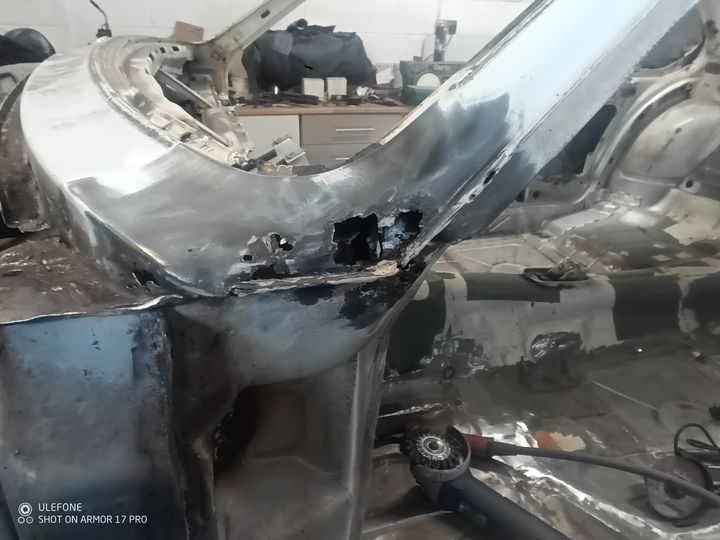
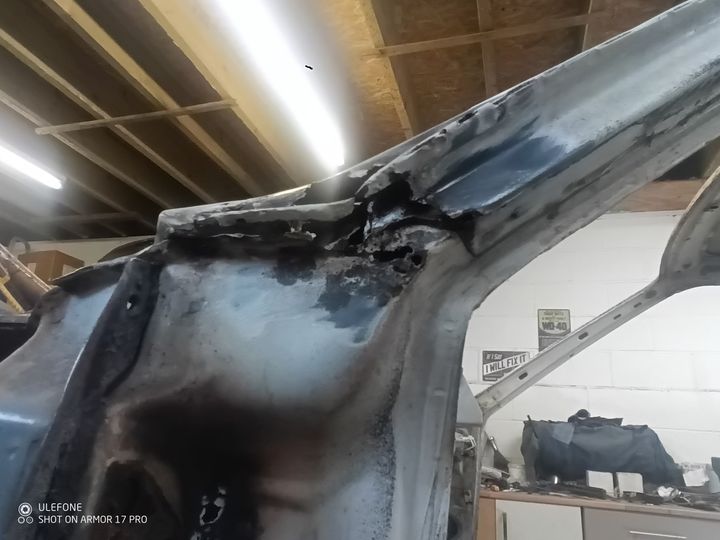
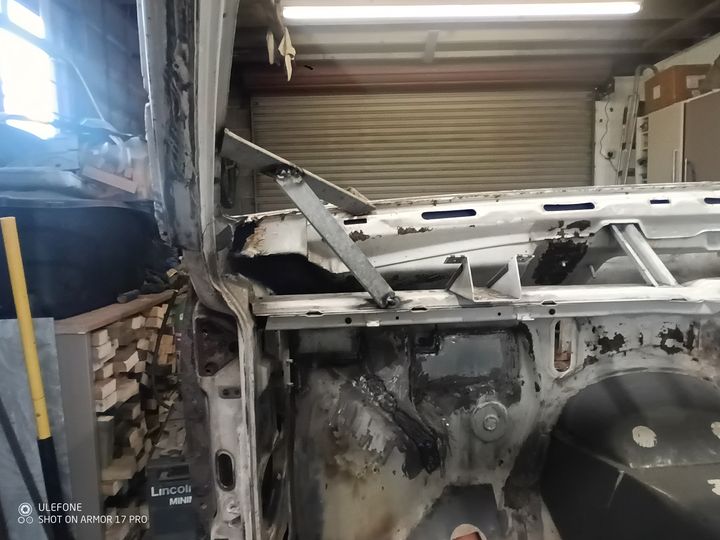
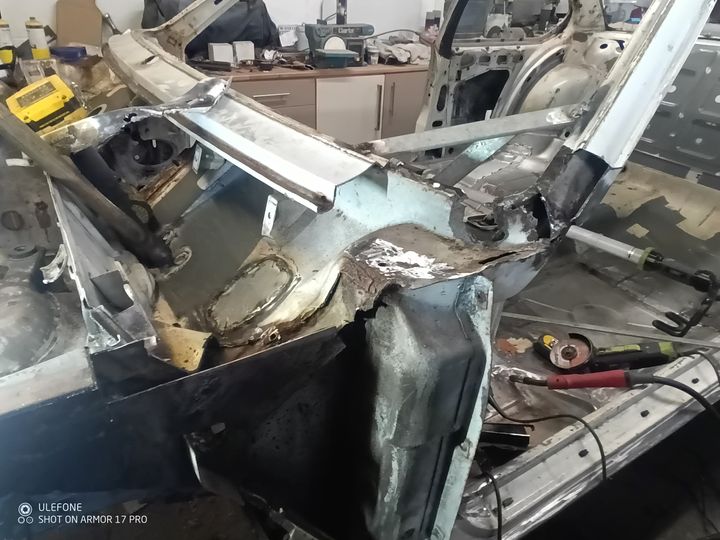

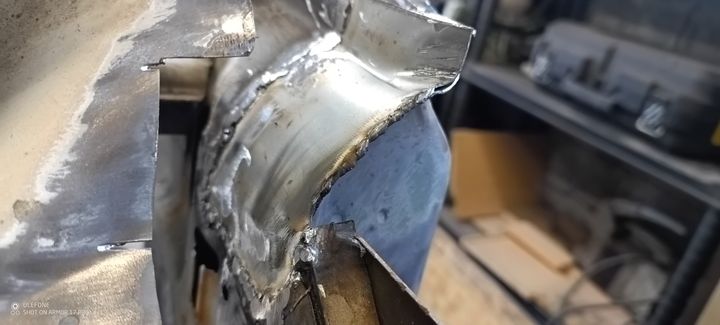
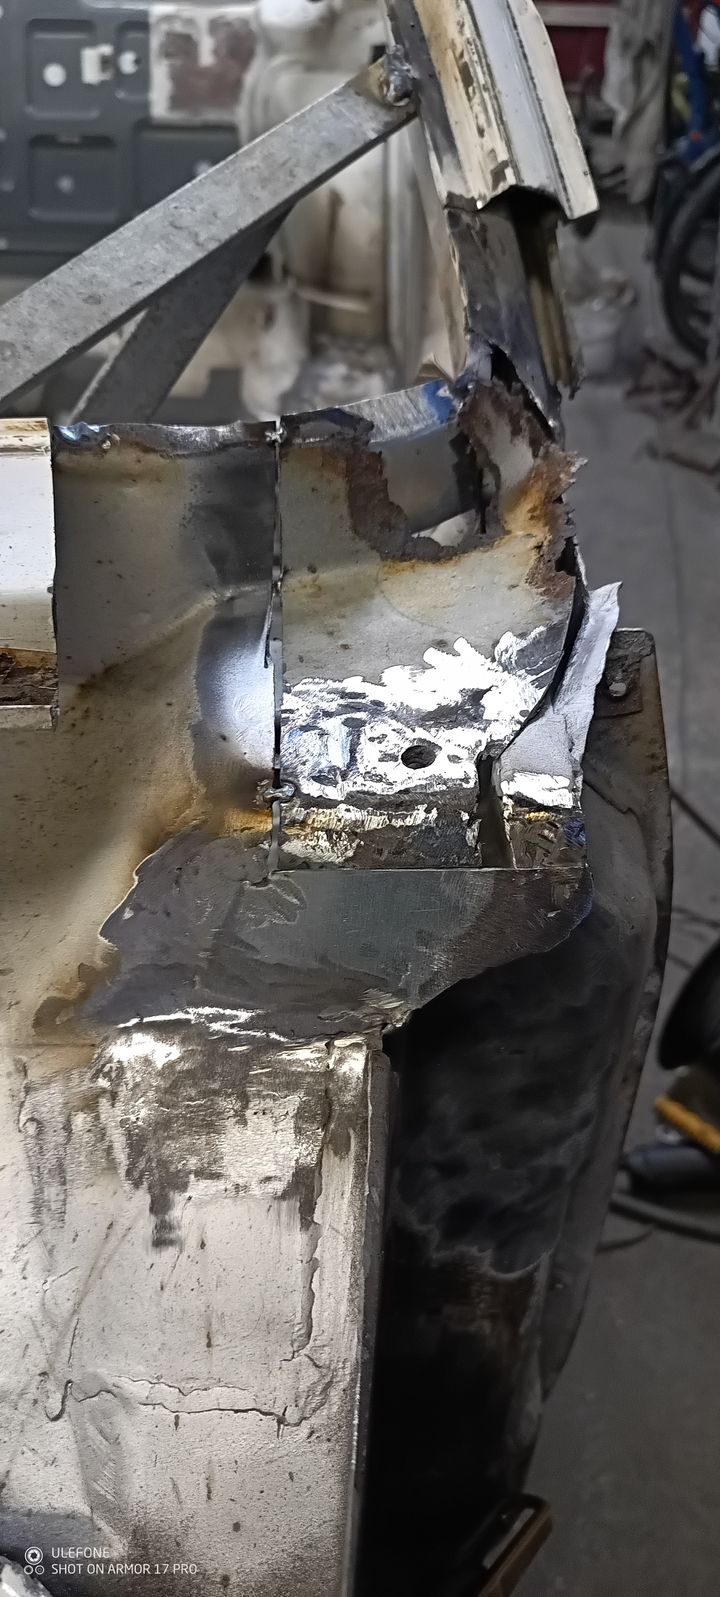
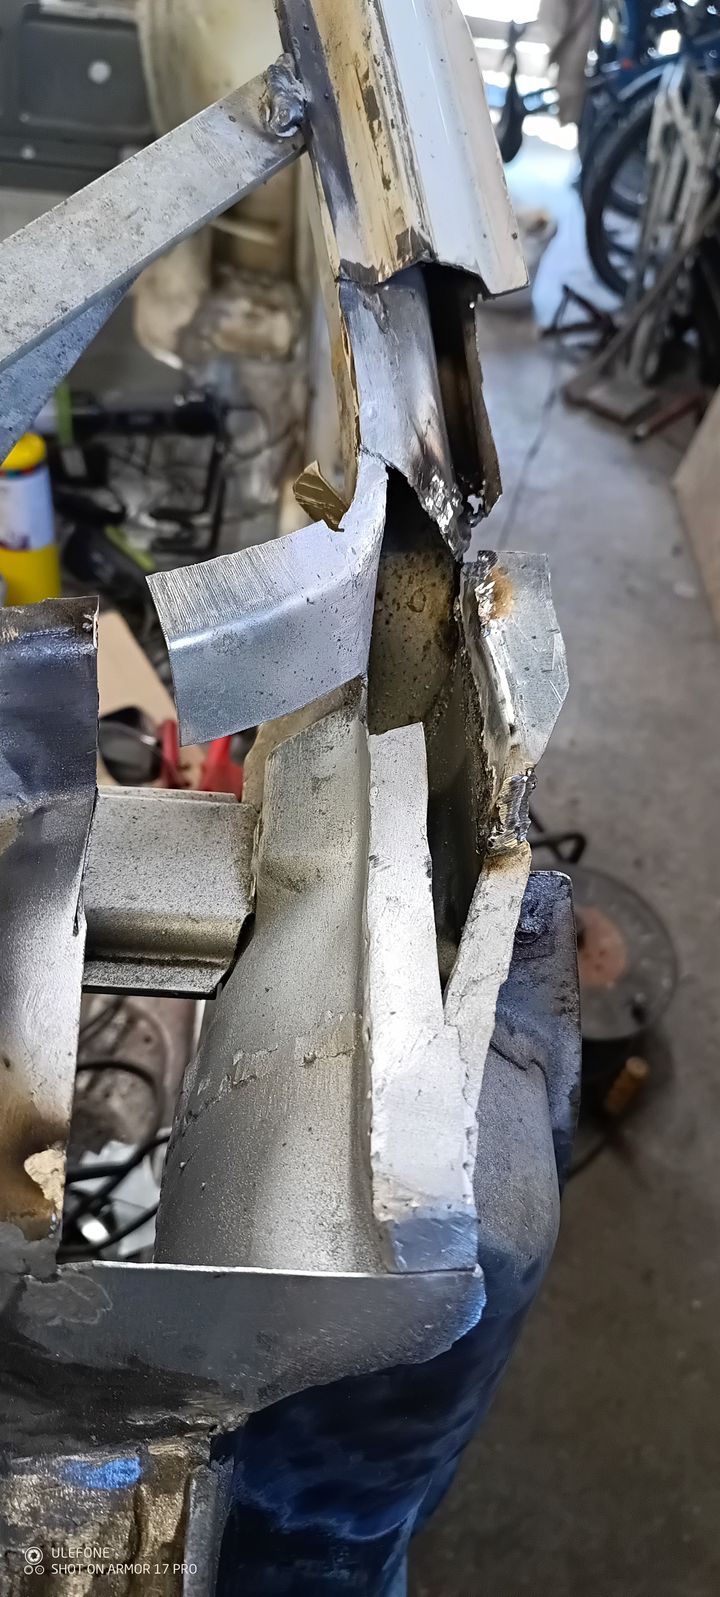
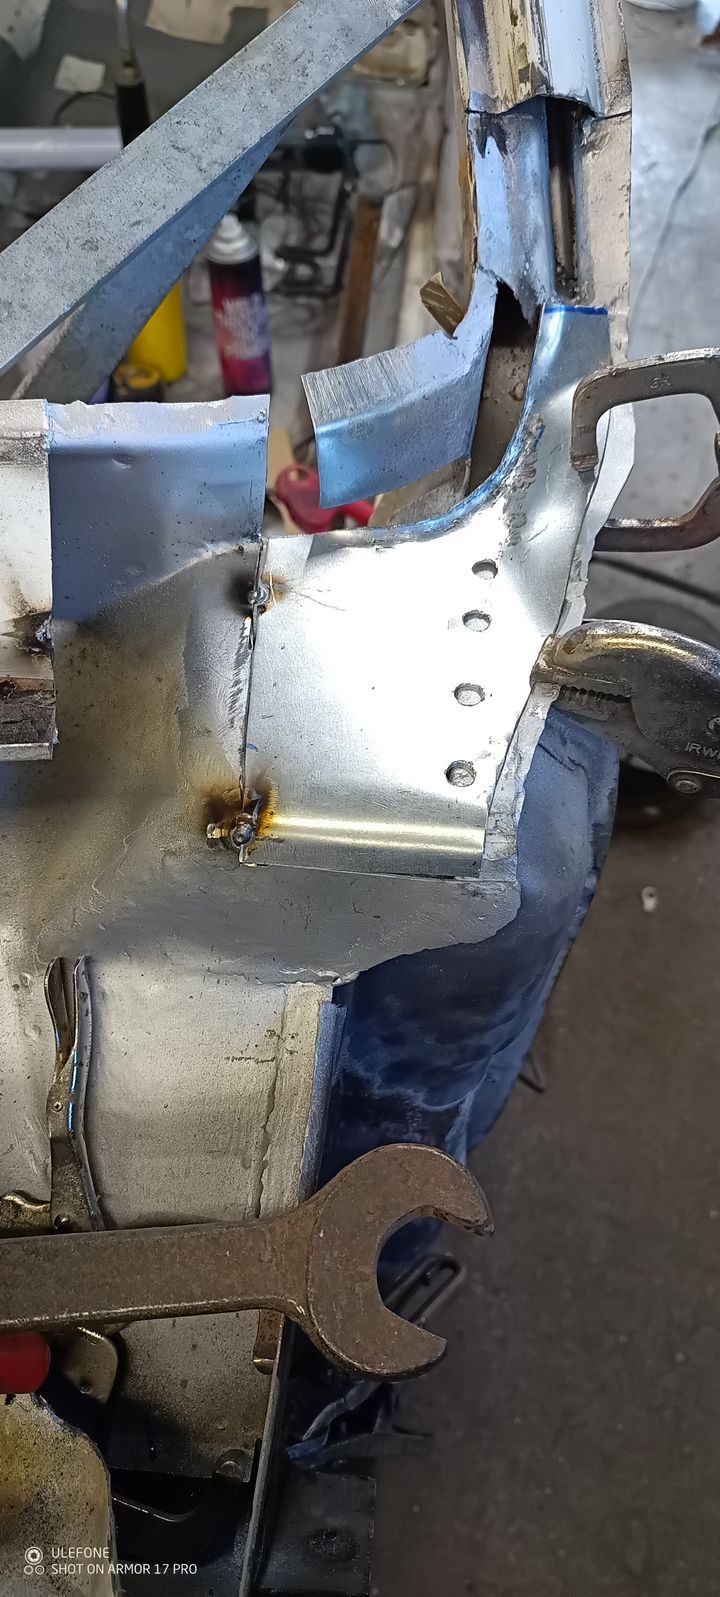
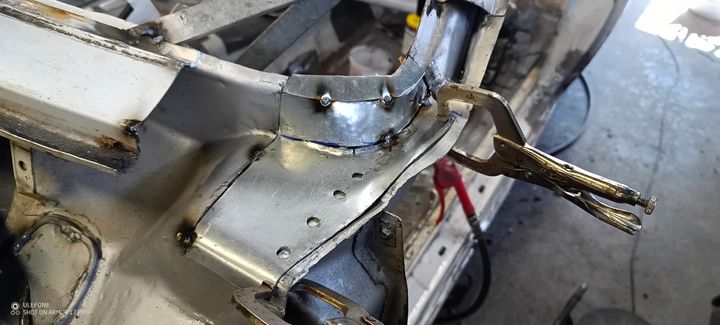
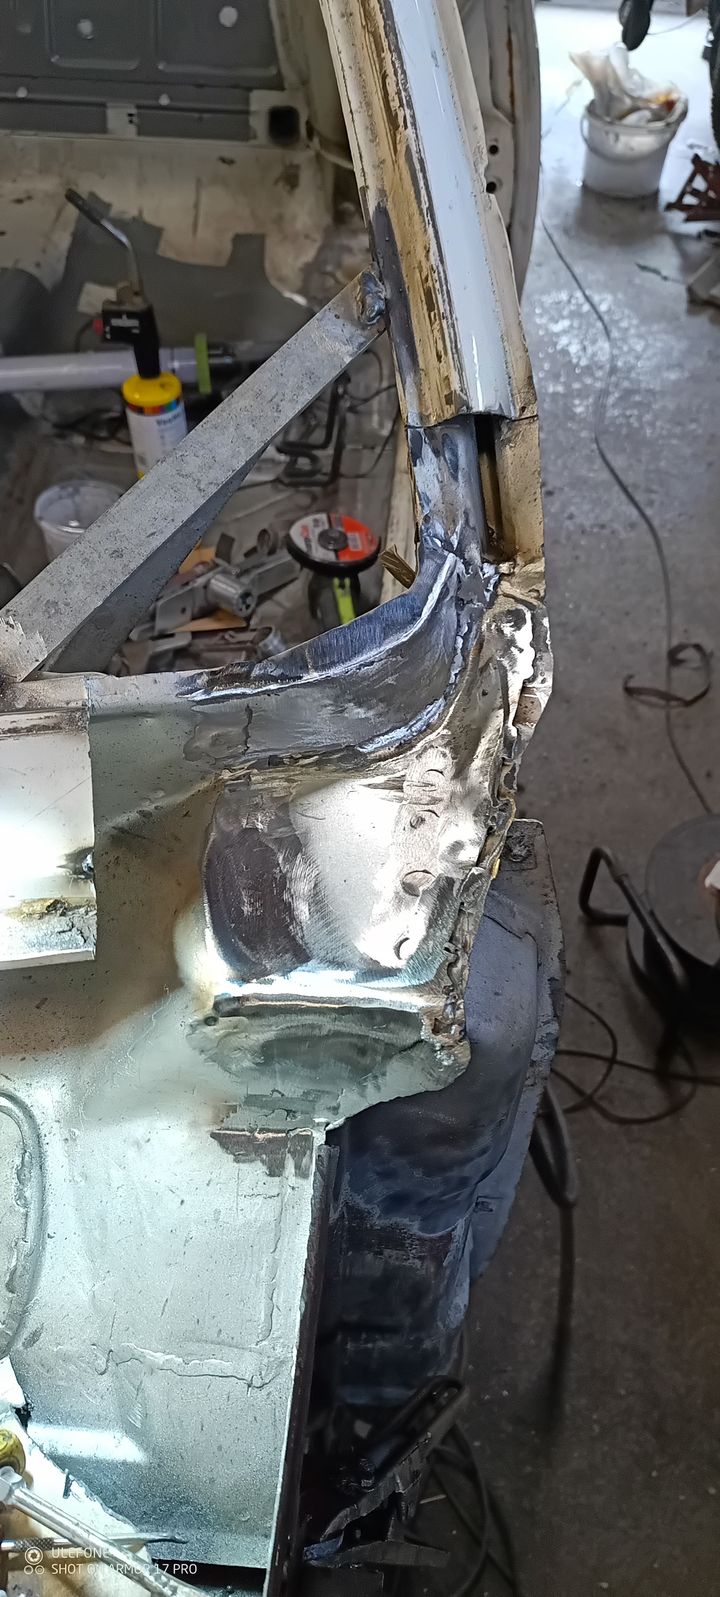
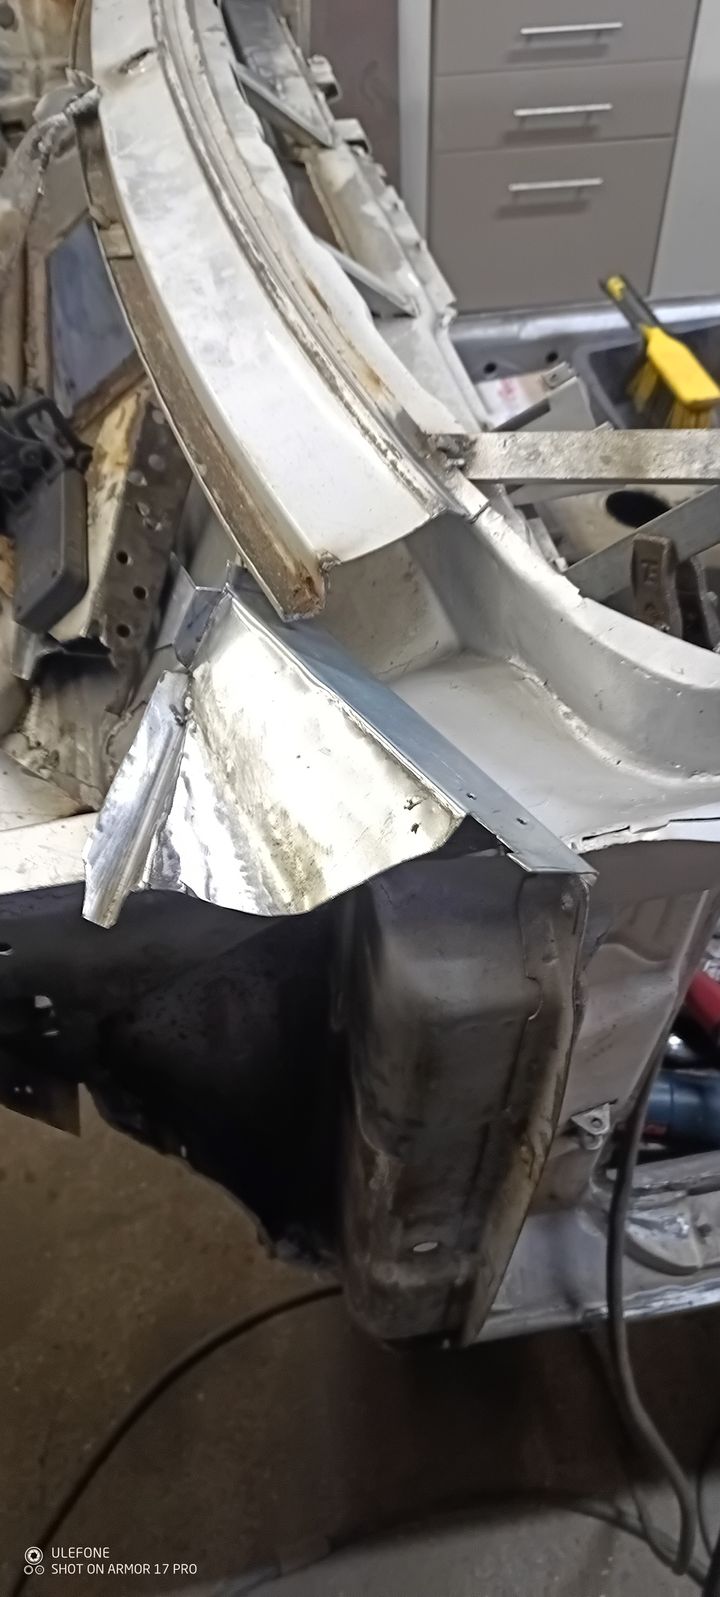
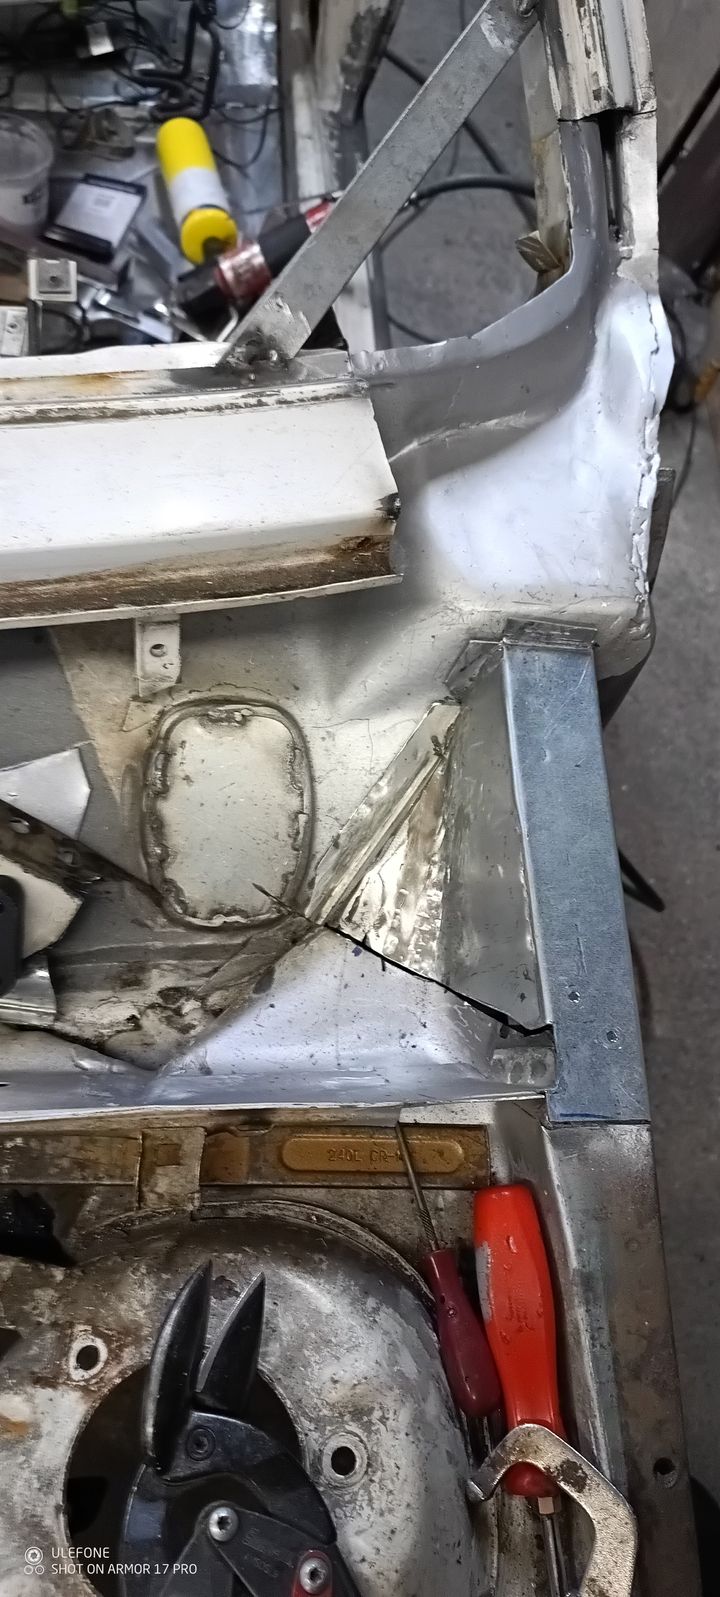
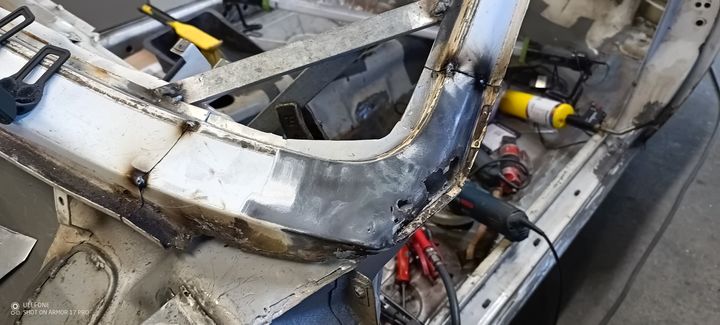
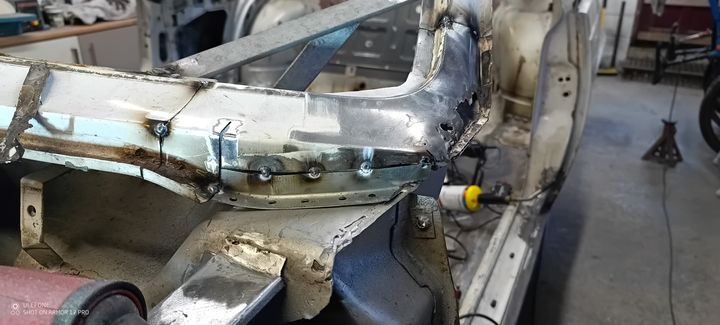
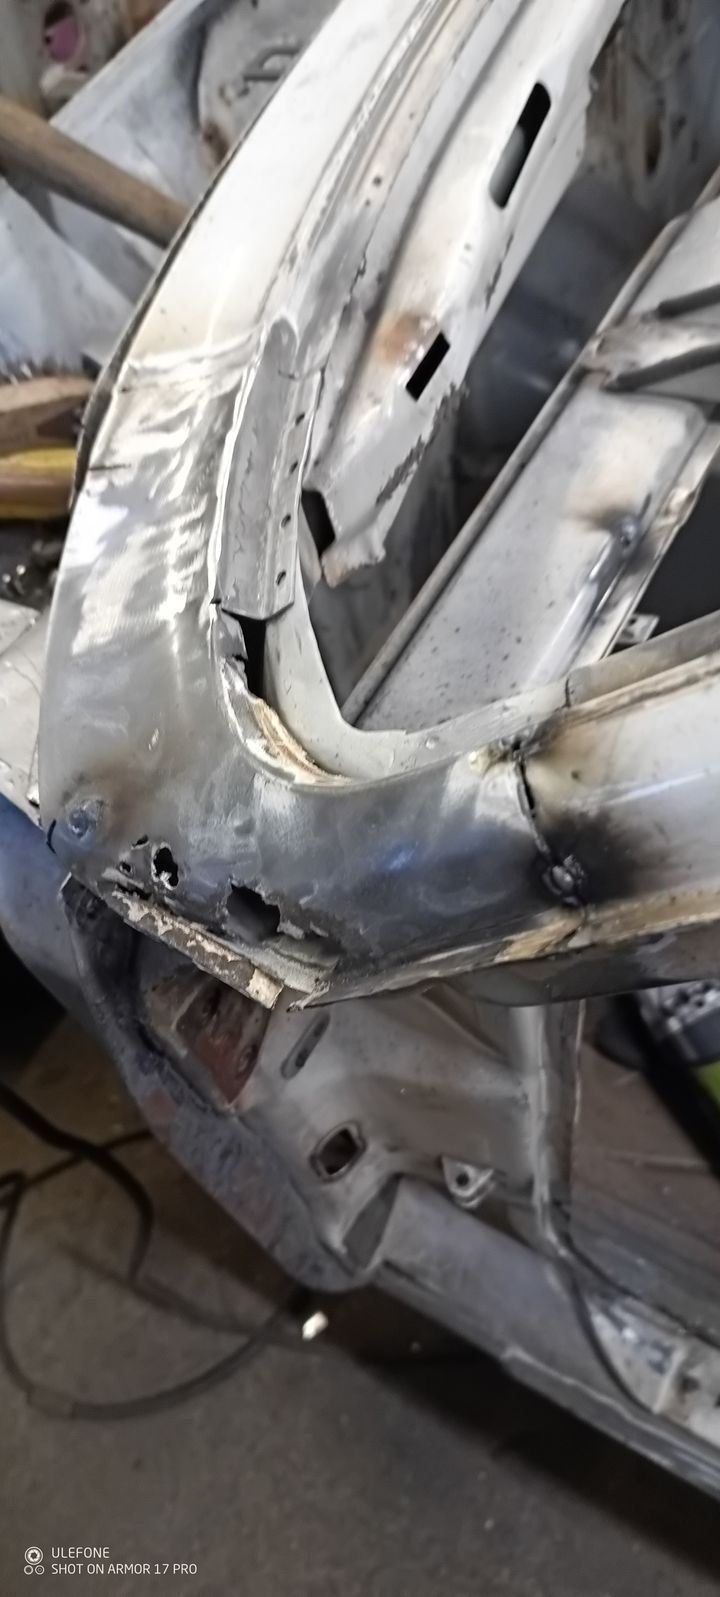
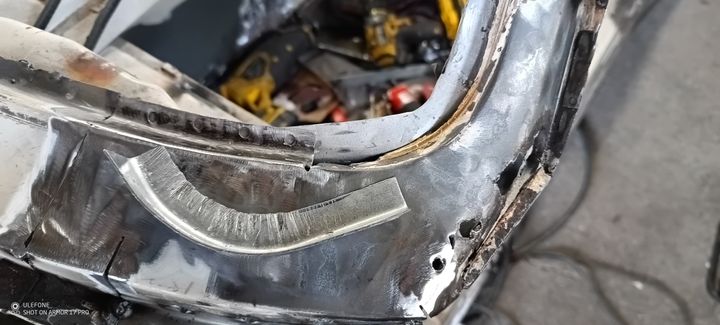
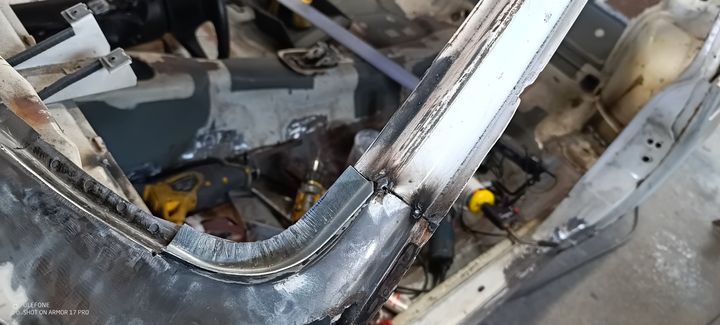
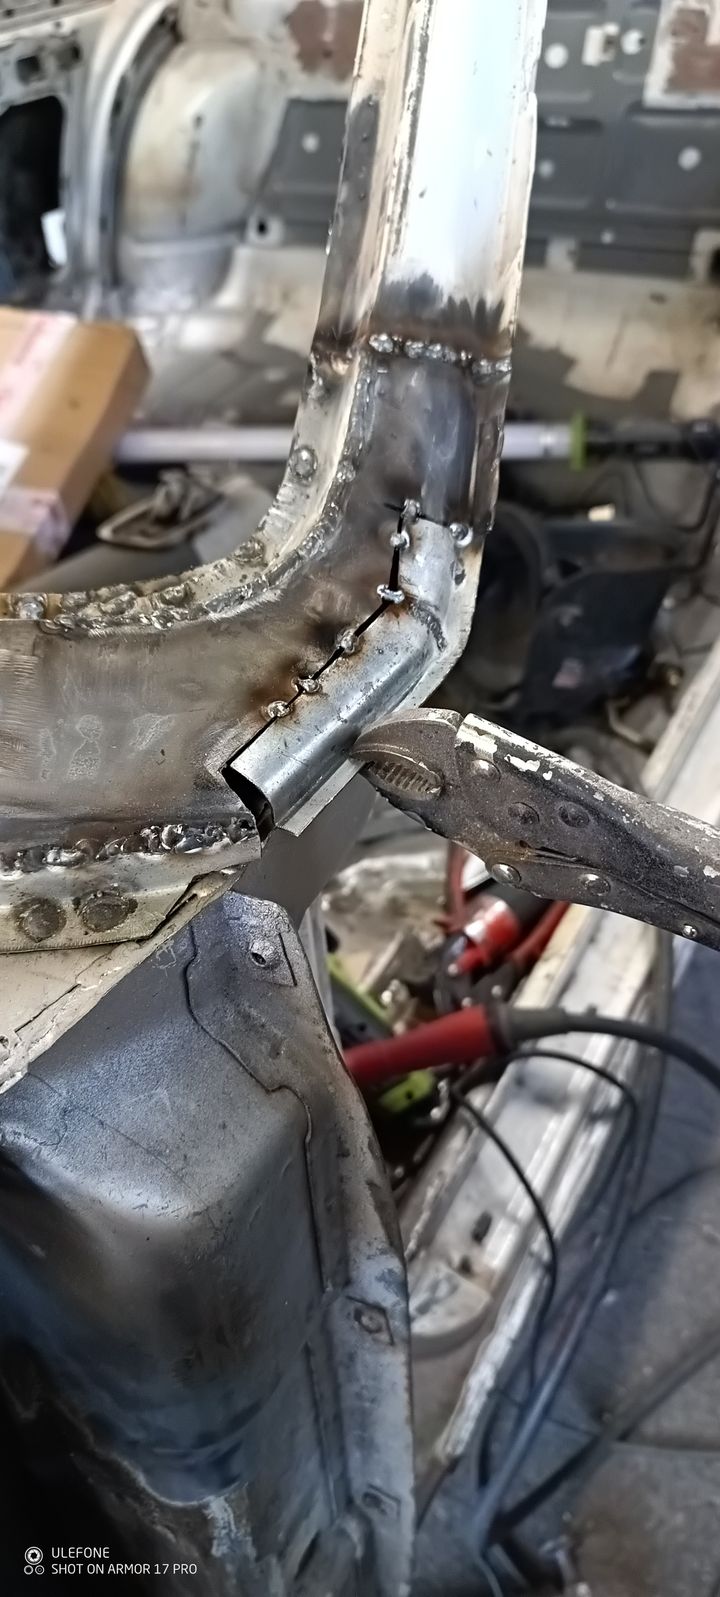
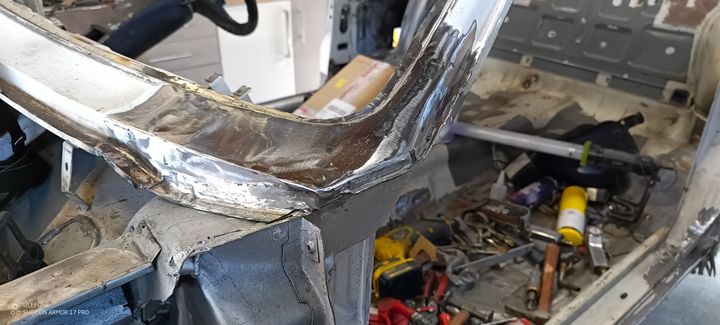
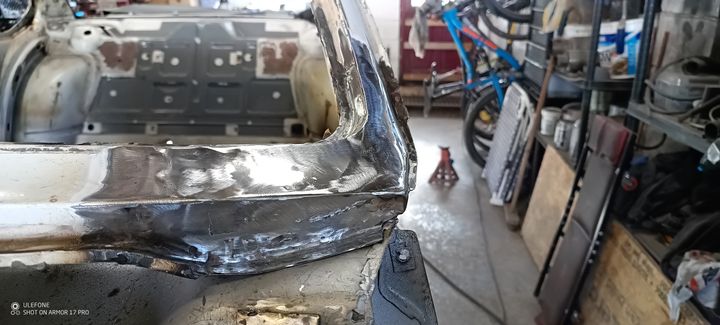
Yes, more rust repairs
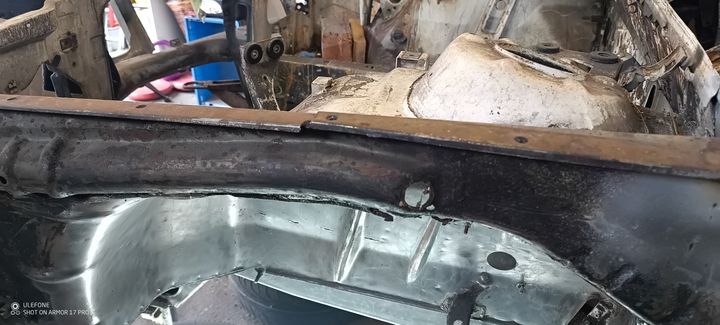
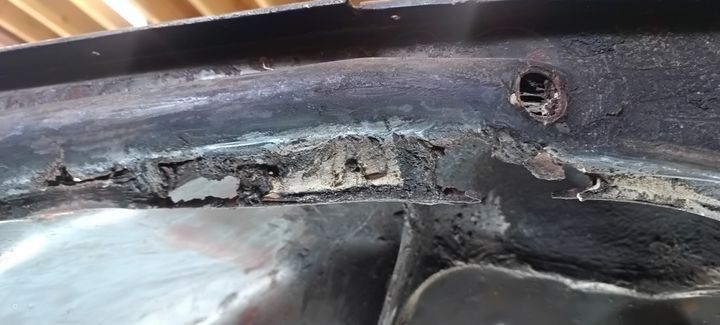
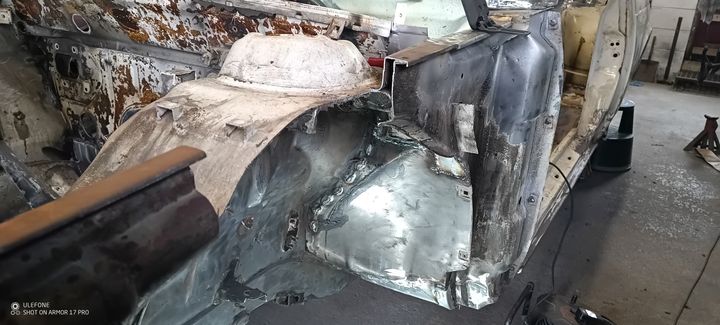
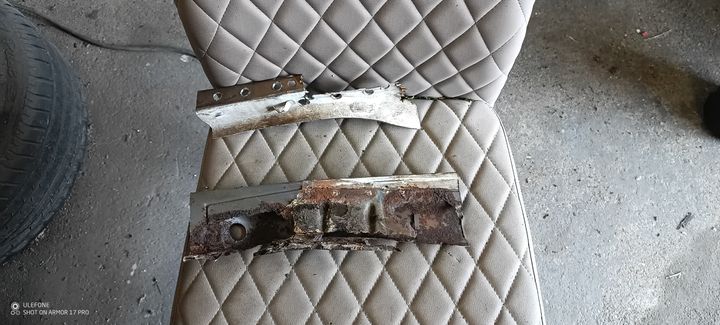
Didn't get anymore pics of this repair, needless to say all the rotten was cut out and new metal welded in.
I'm really not sure why the nose of the car ha been repaired previously by simply racking metal over the top of the holes and then the whole nose had to be covered in filler. Surely it's much easier to let in a piece of metal then minimum filling is required? Bizarre!
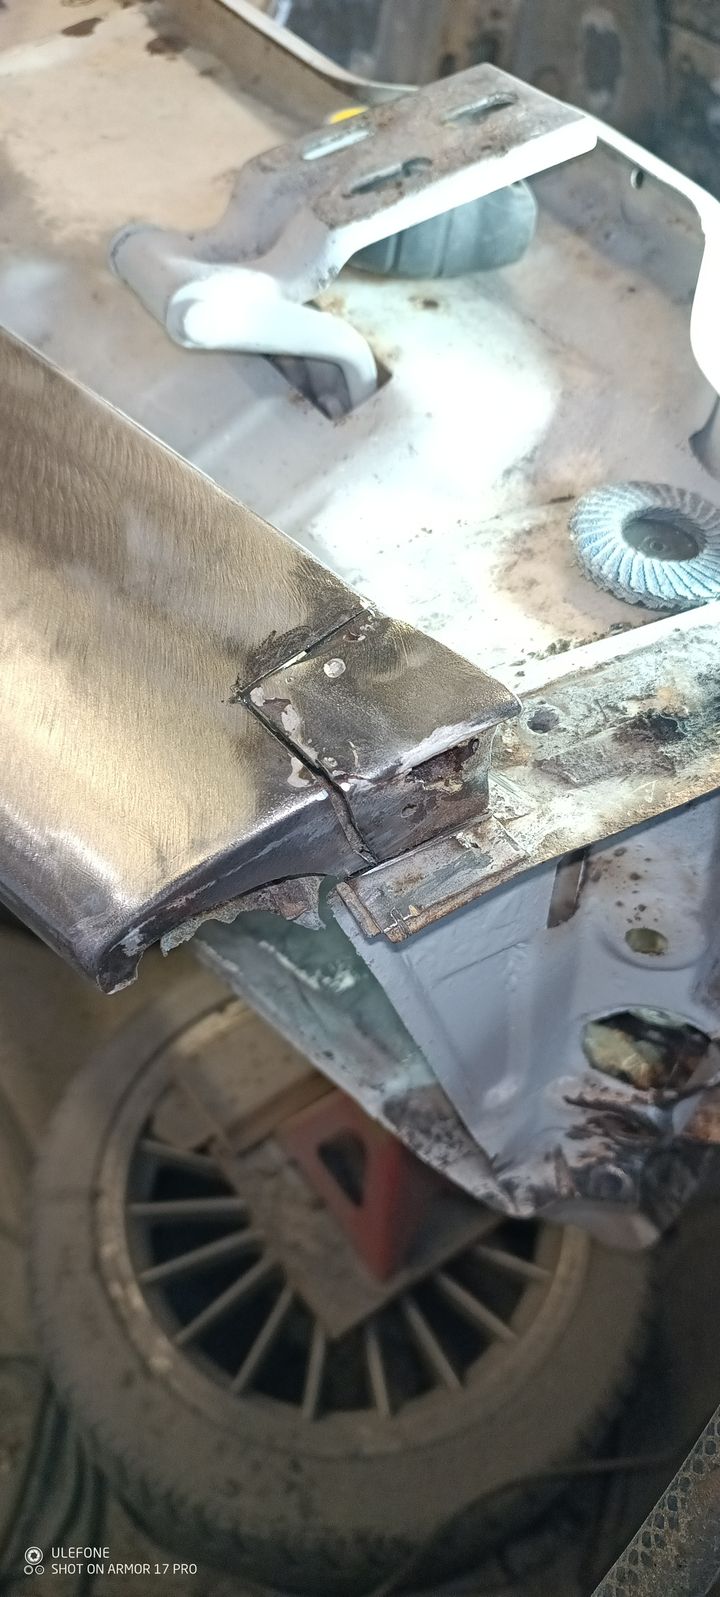
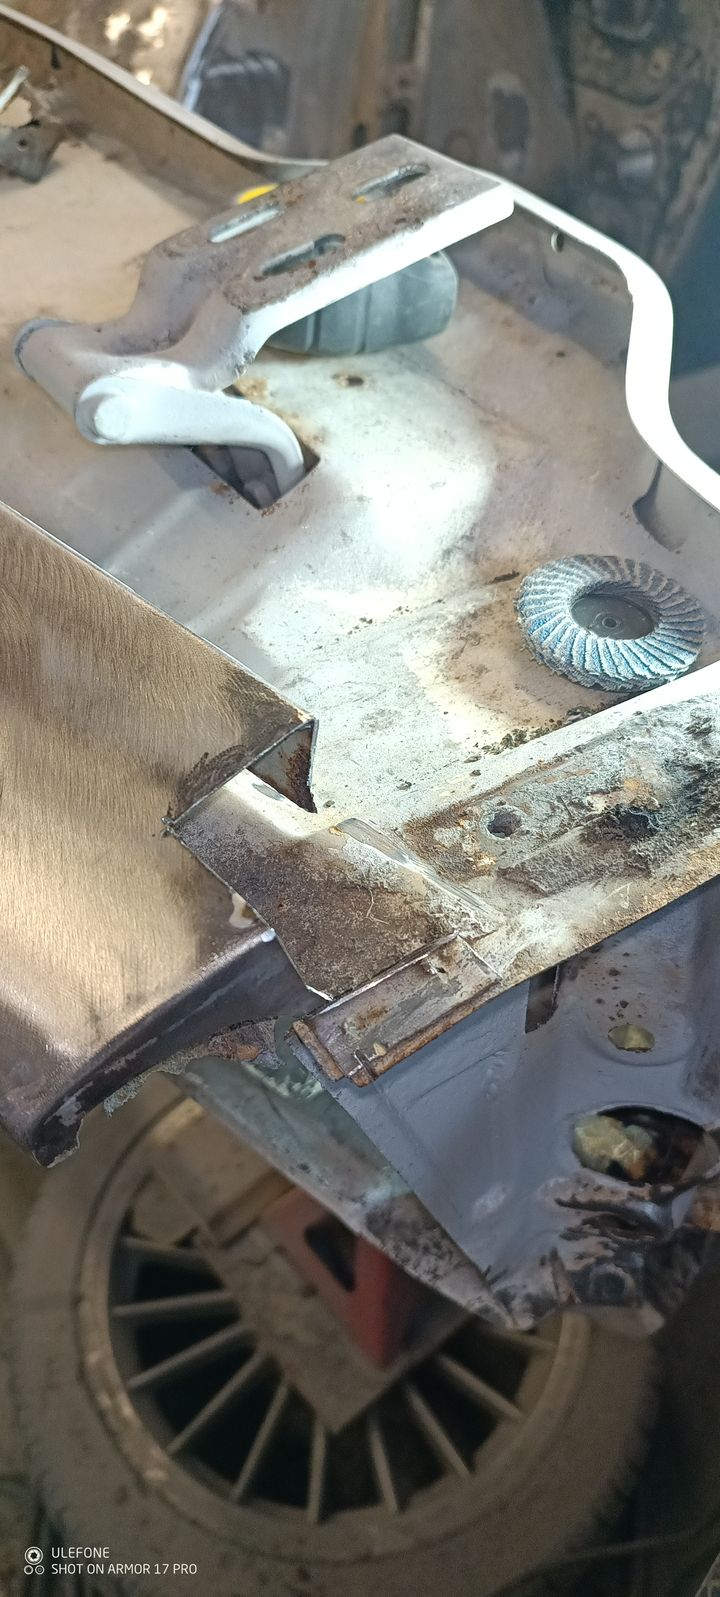
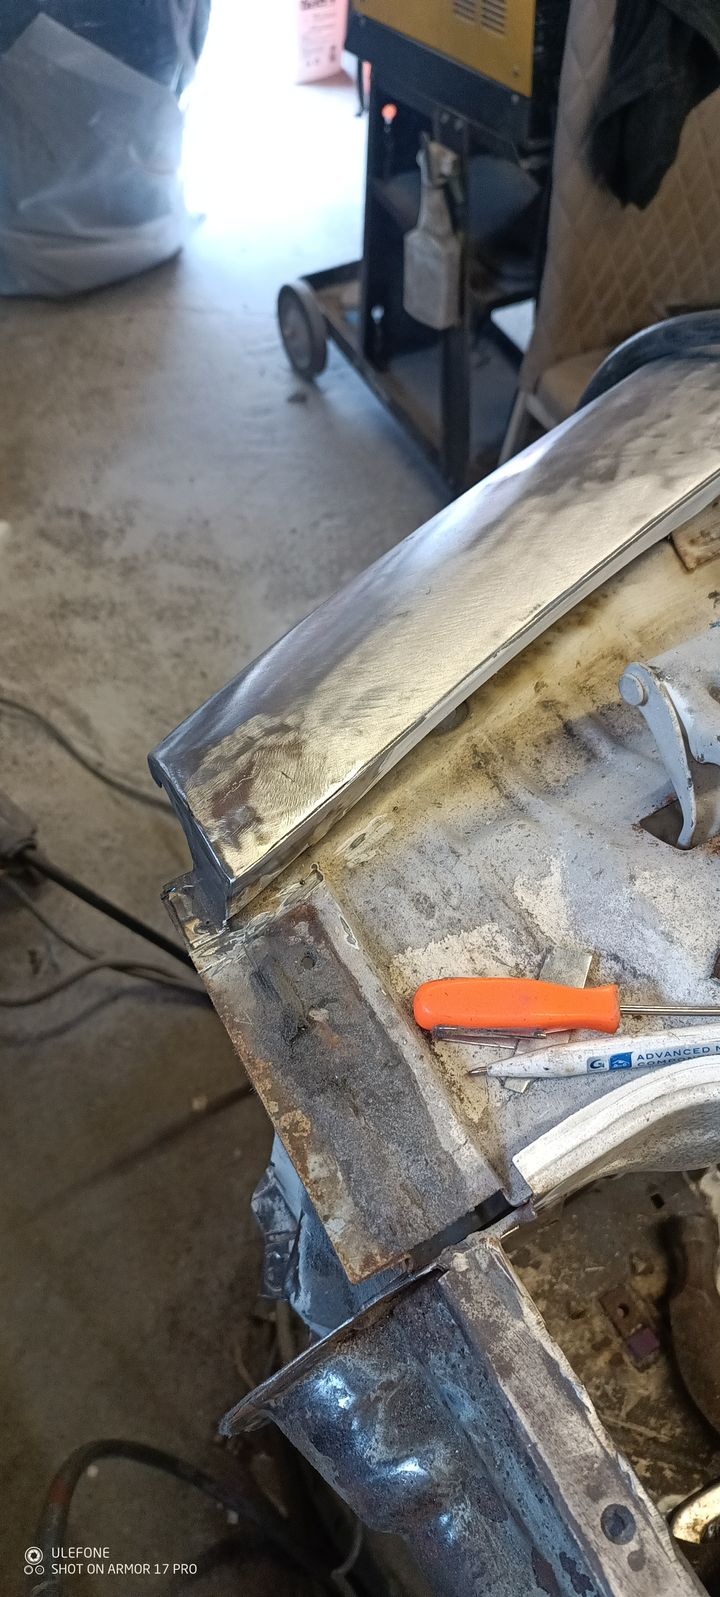
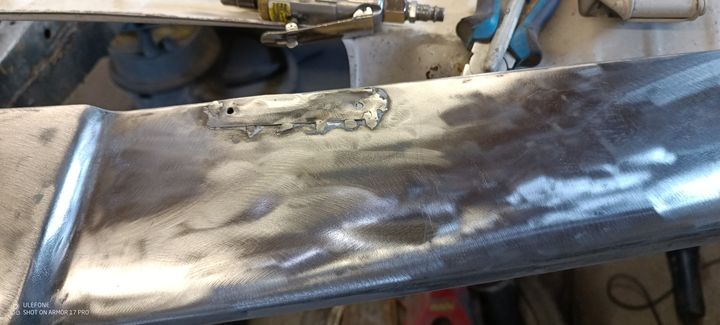
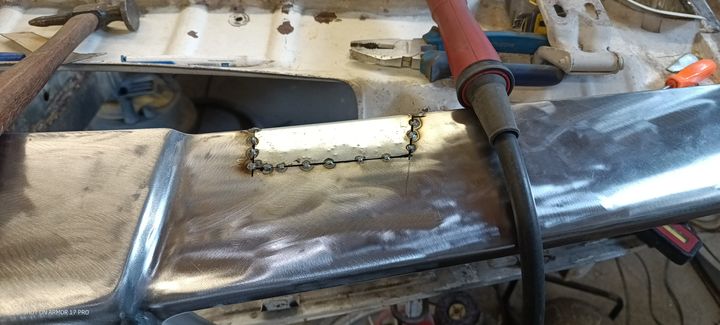
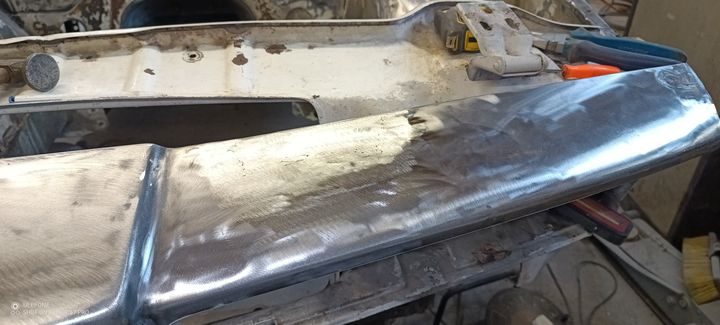
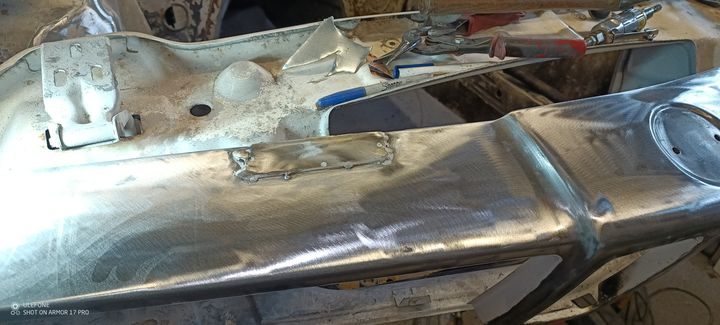
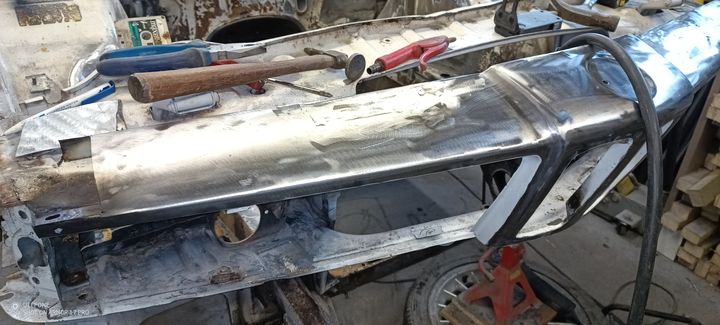
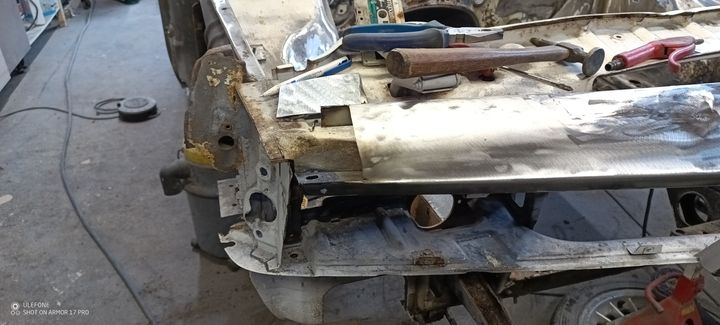
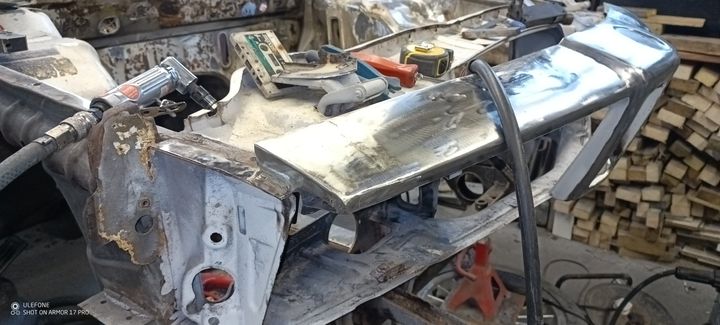
Edited by gazzol on Friday 23 August 10:51
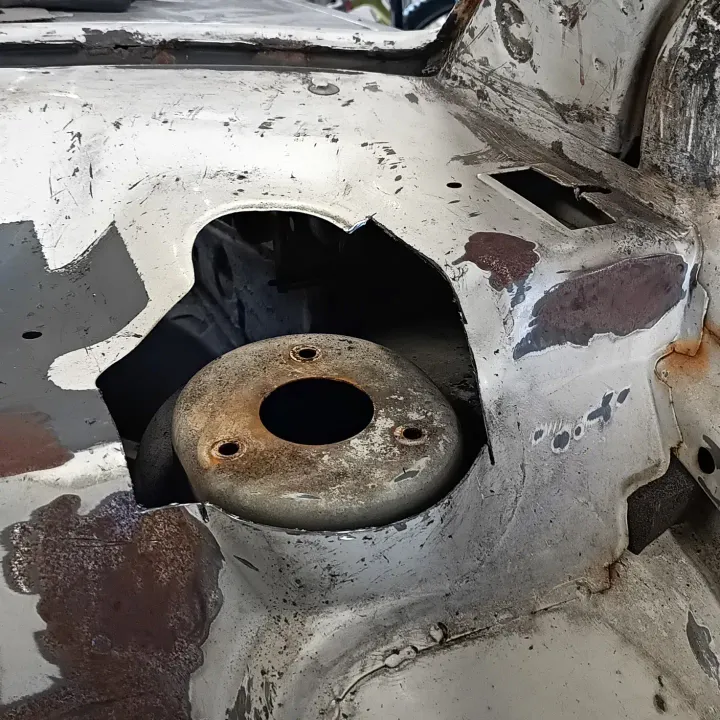
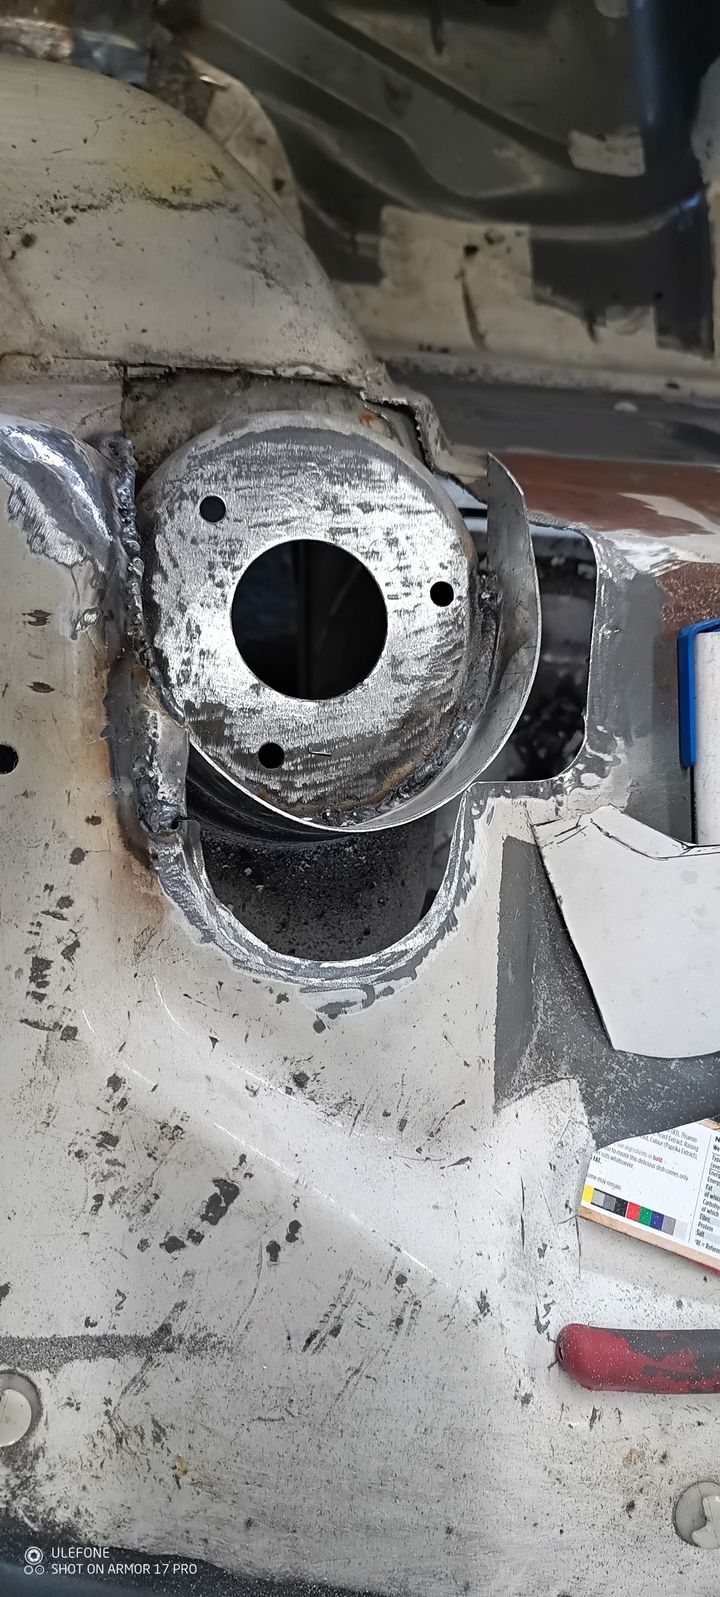
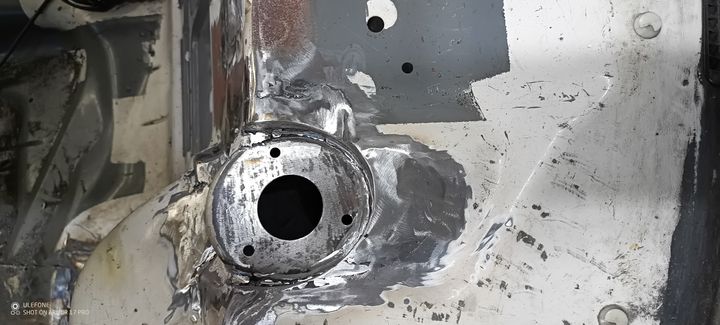
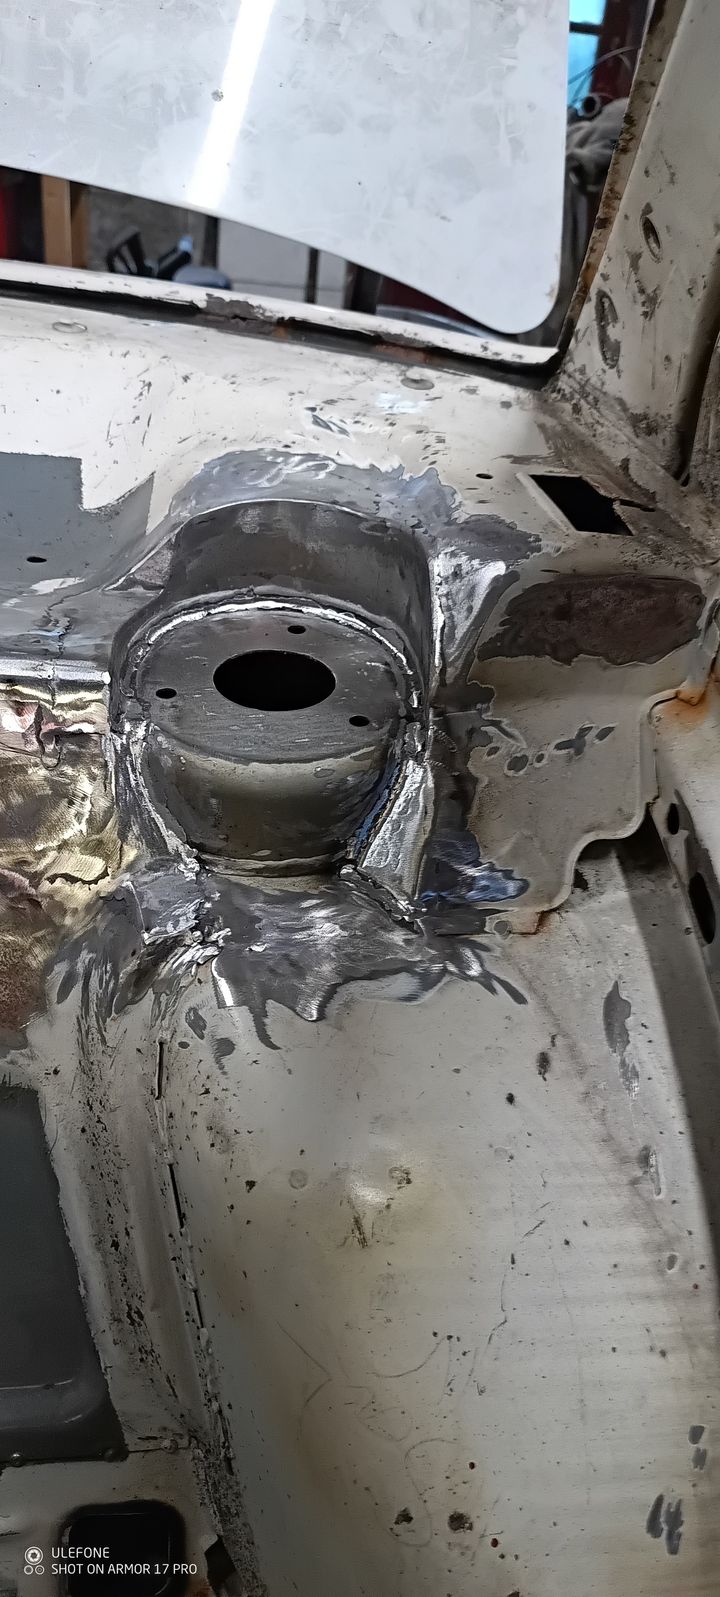
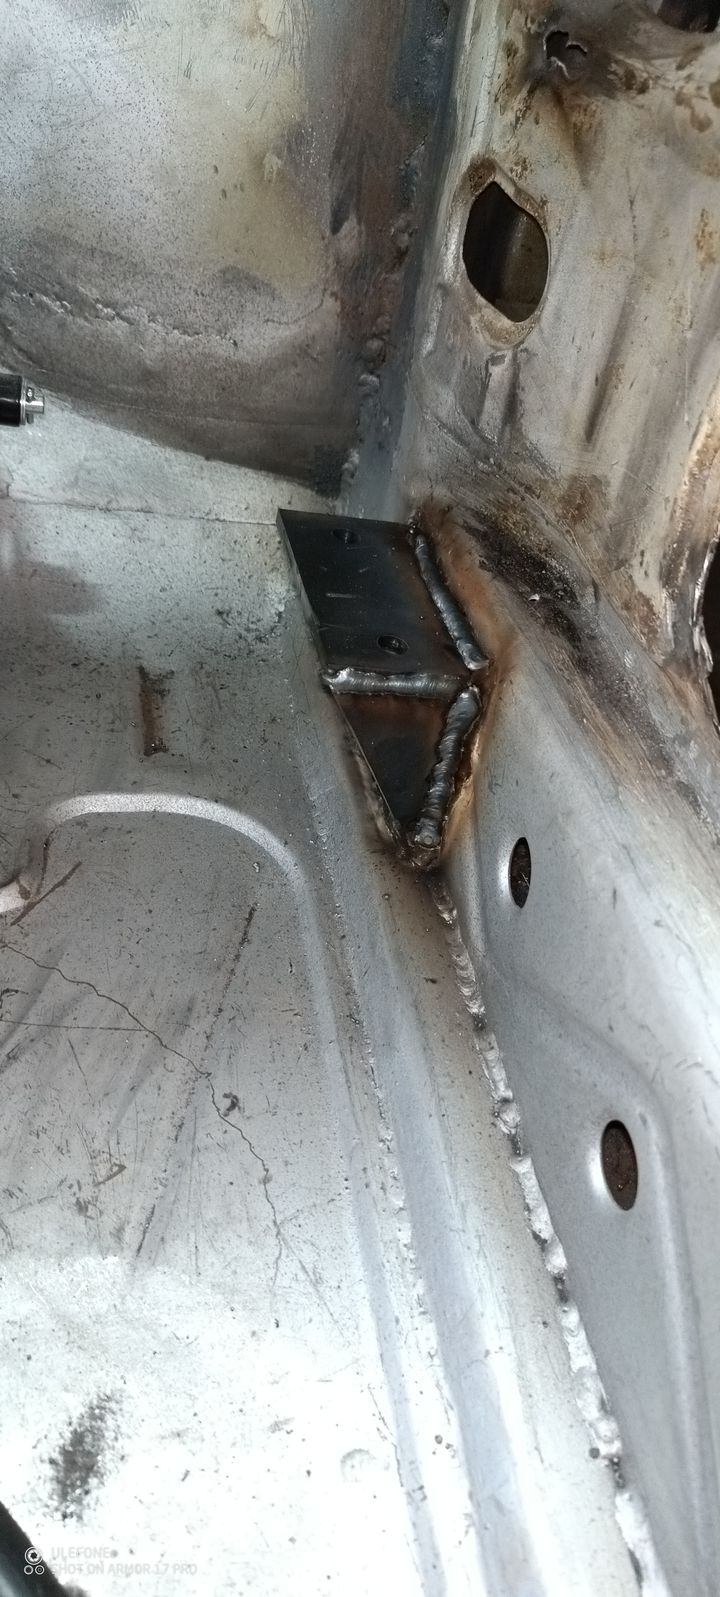
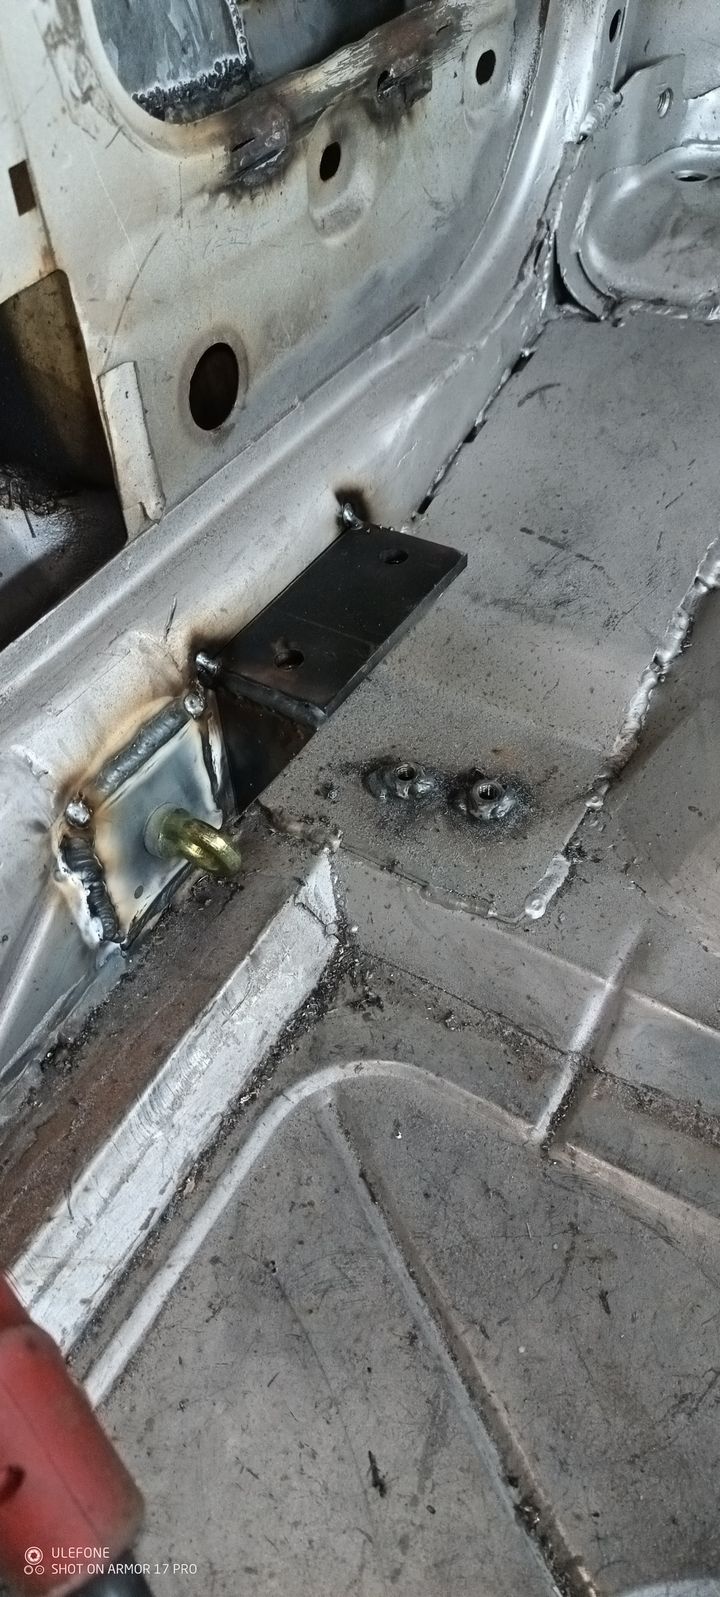
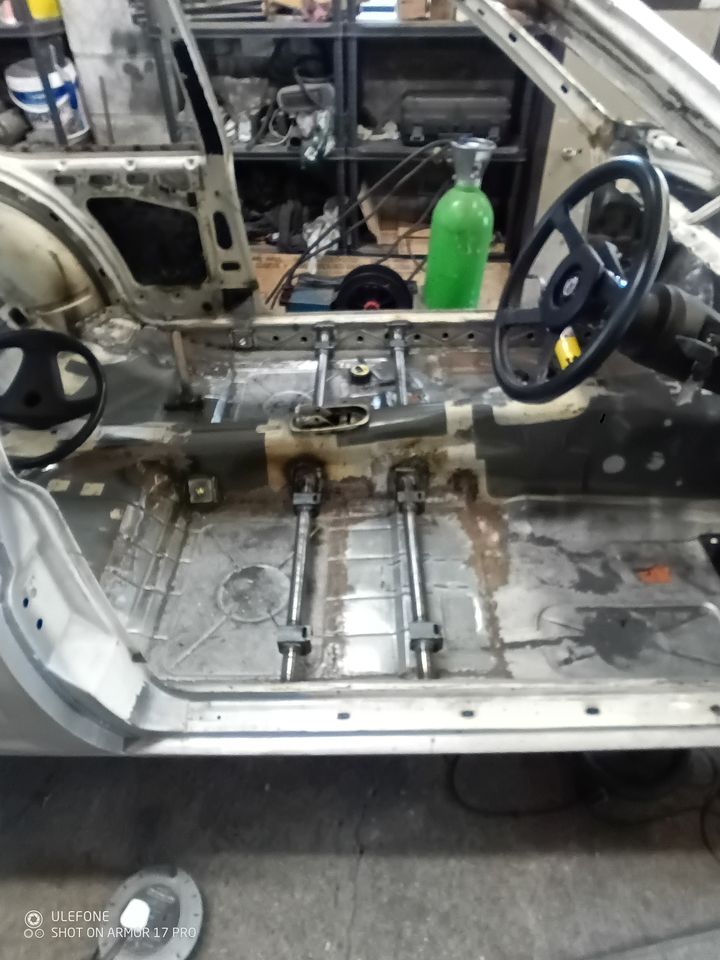
I got tired of doing rust repairs so I decided to do something different for a while. I wanted the rear strut towers to be inside the cabin so that the roll cage could mount directly to them to help with rigidity so I cut the rear shelf) bulkhead and then boxed them in. After that I fabricated the roll cage mounts and then welded in the FIA compliant seat mounts after working out where they needed to be because I'm going to be using an adjustable bias pedal box.
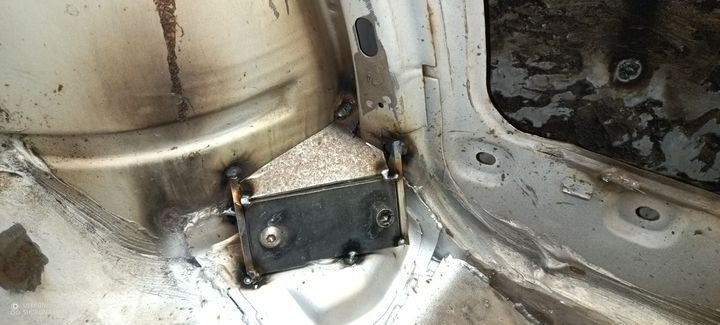
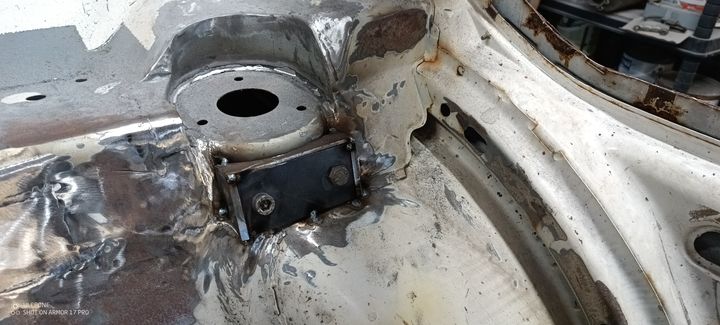
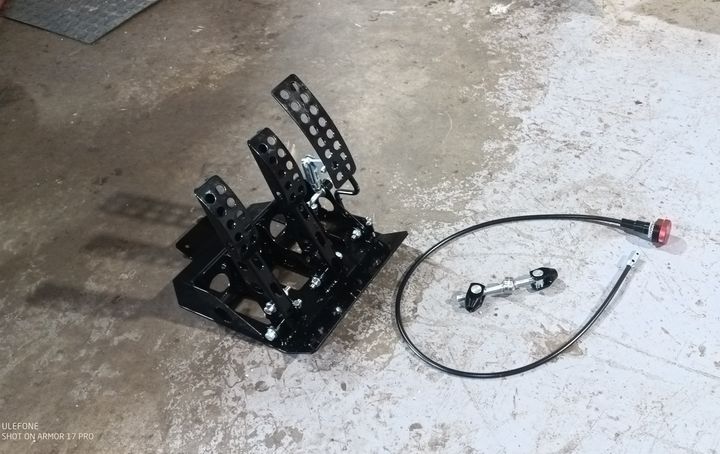
Here's the pedal box I'll be using, fitting it means that the pedals will be 12cm further back than they were originally so the seat will need to be 12cm further back too
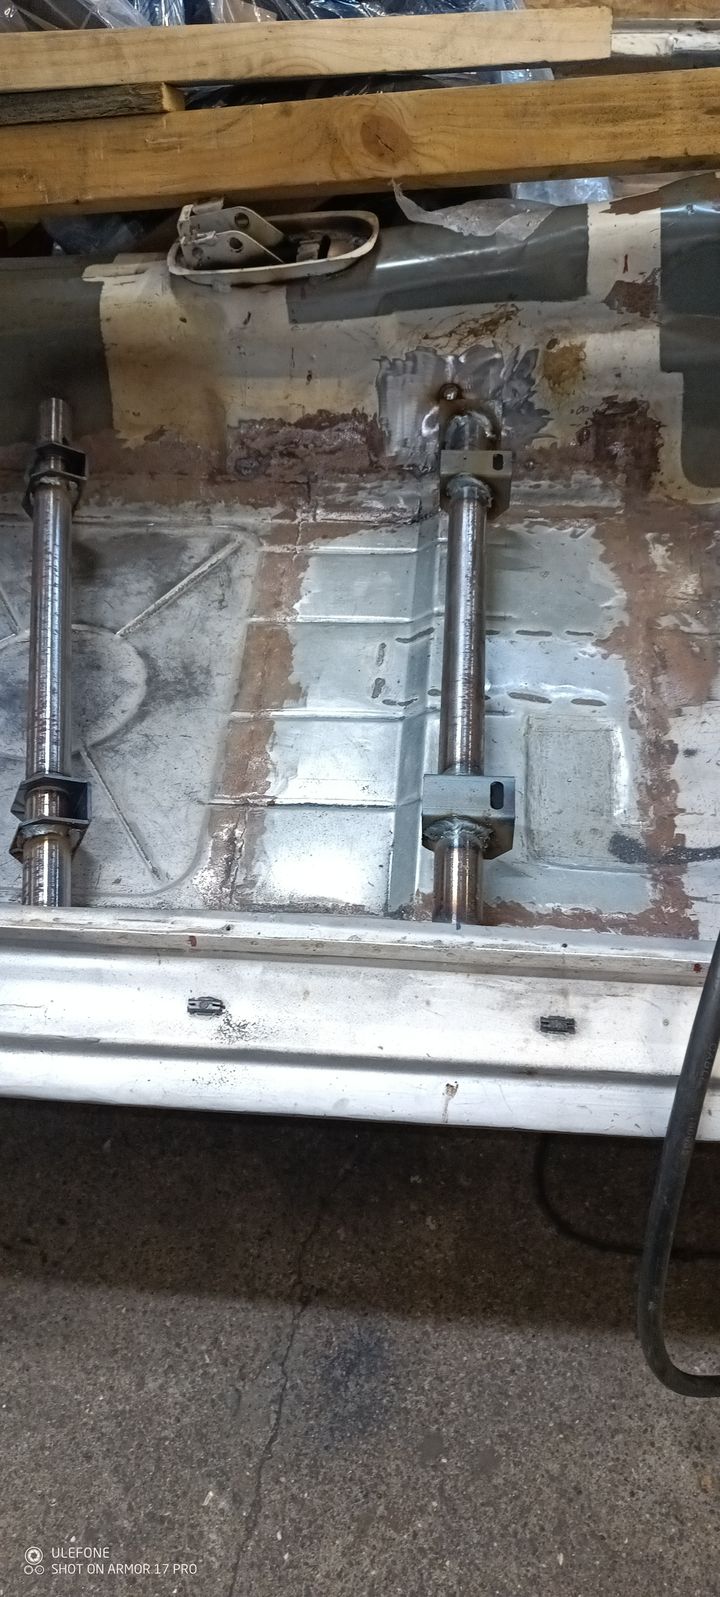
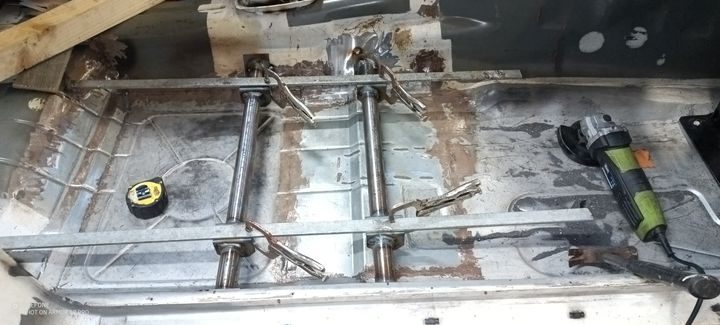
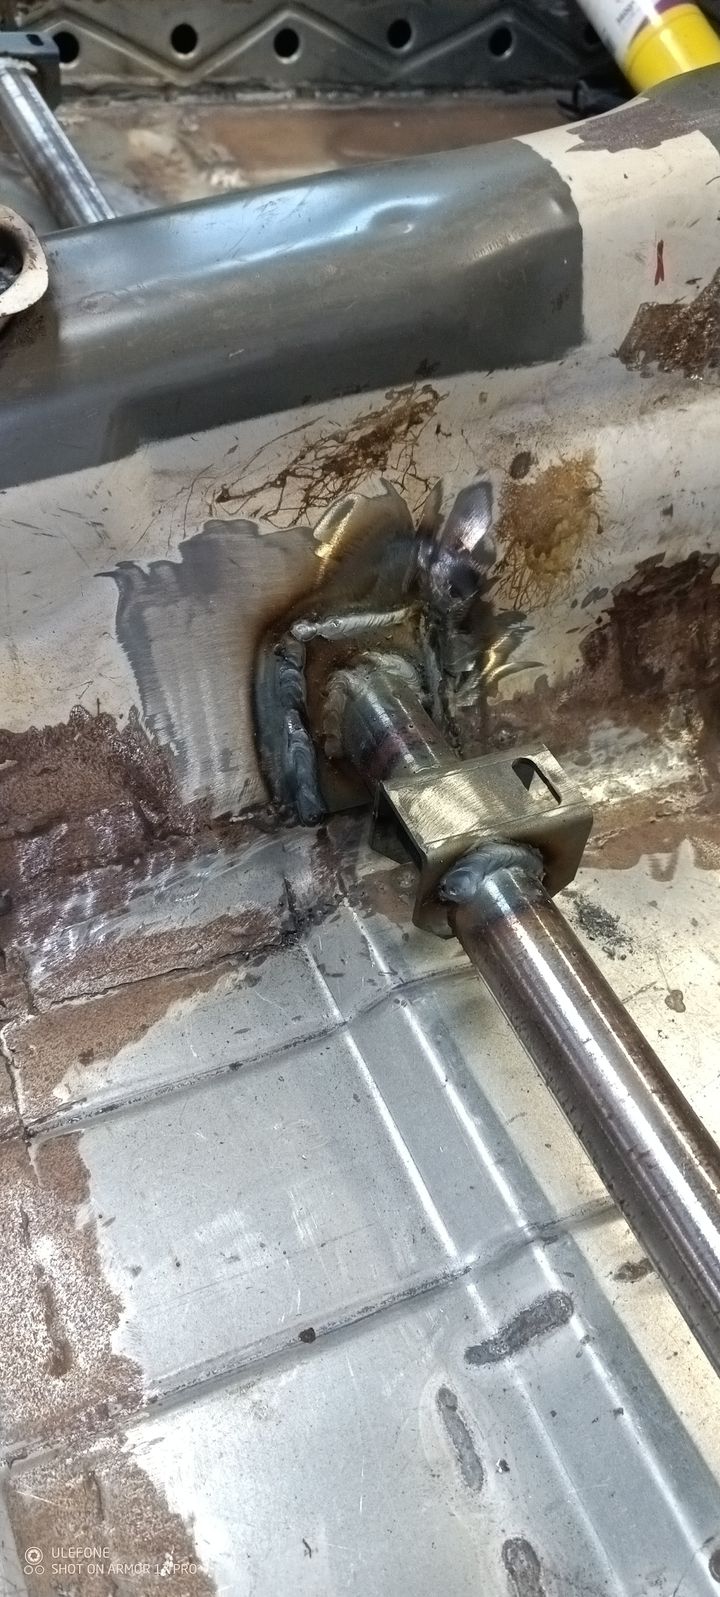
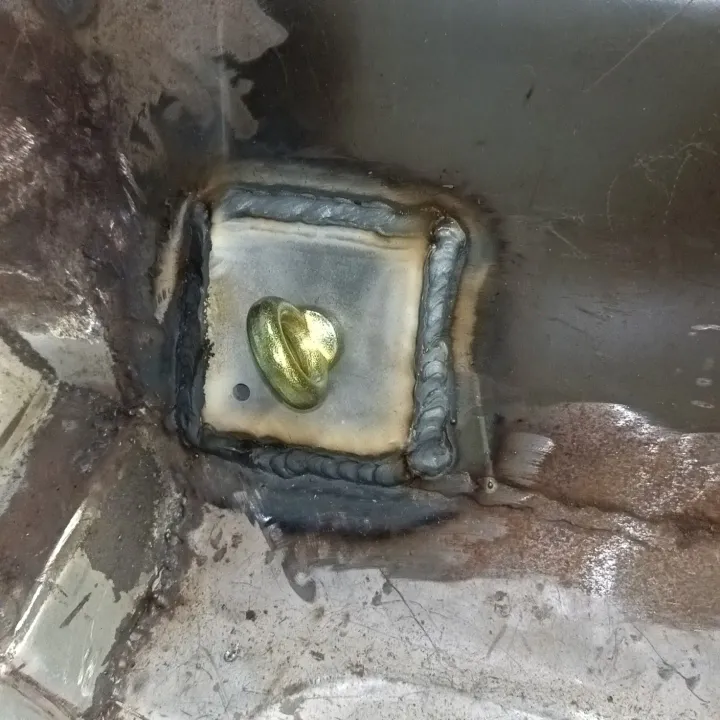
While I was at it I also welded in some new harness mounts as the old seatbelt mounts on the inner sills went south when the new inner sills were fabricated
Here's the pedal box I'll be using, fitting it means that the pedals will be 12cm further back than they were originally so the seat will need to be 12cm further back too
While I was at it I also welded in some new harness mounts as the old seatbelt mounts on the inner sills went south when the new inner sills were fabricated
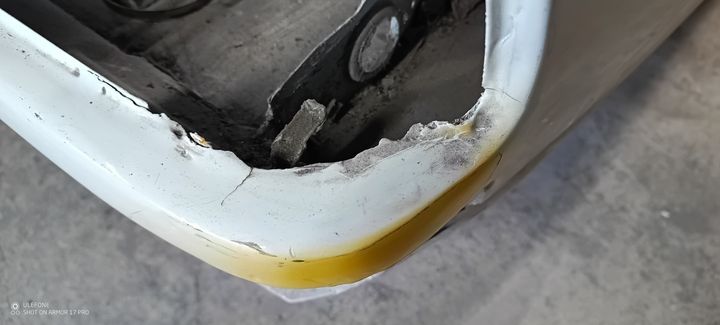
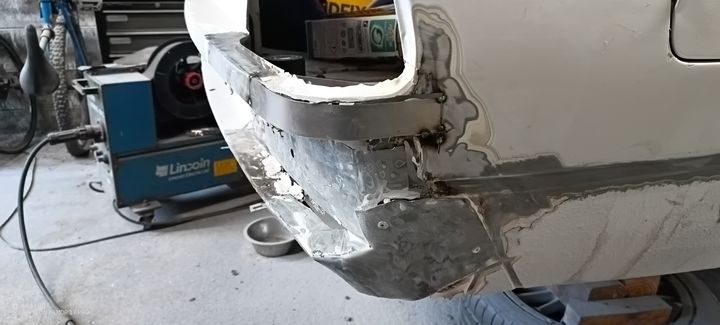
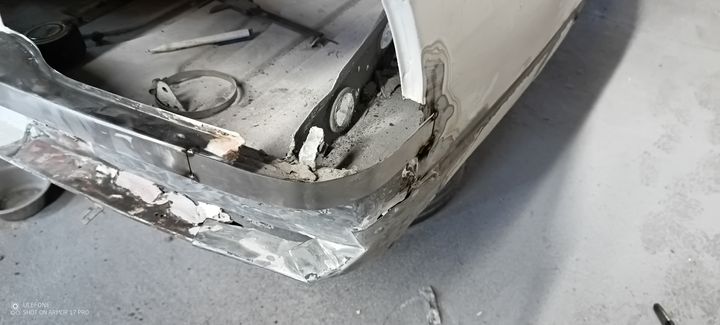
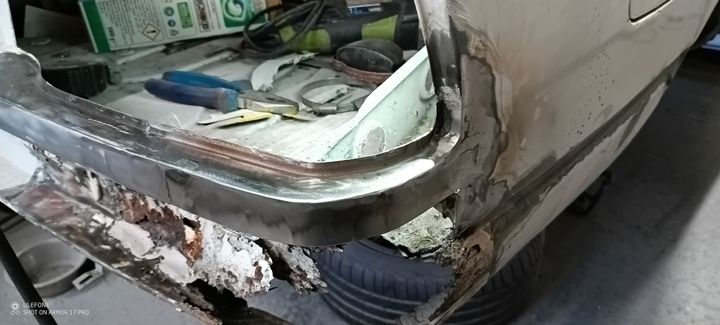
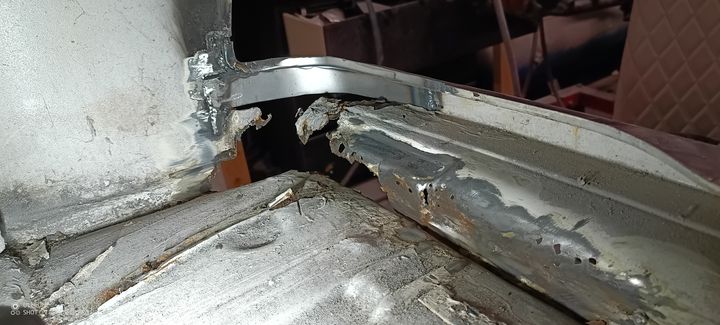
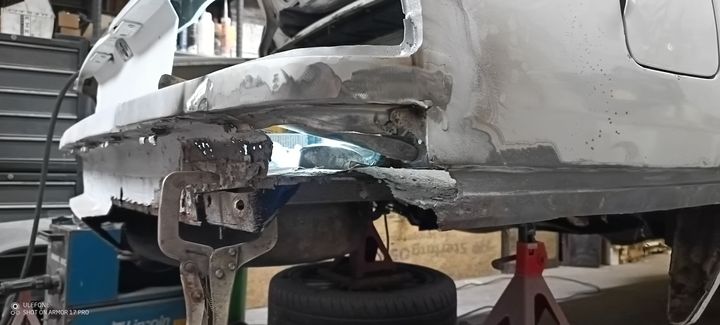
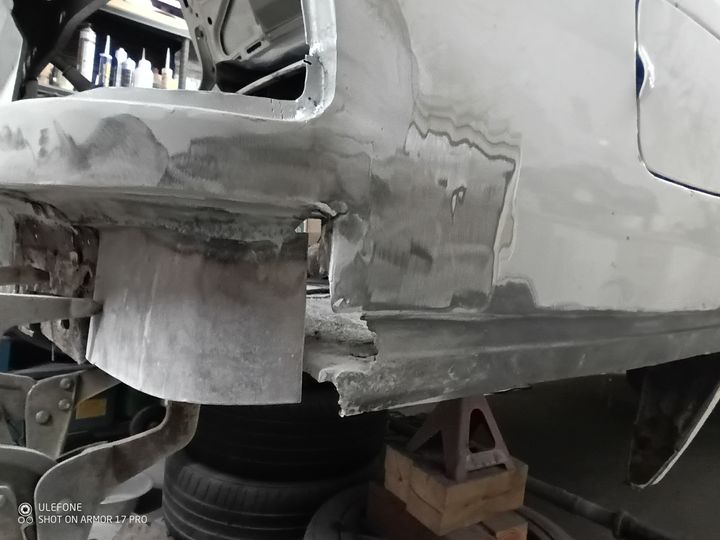
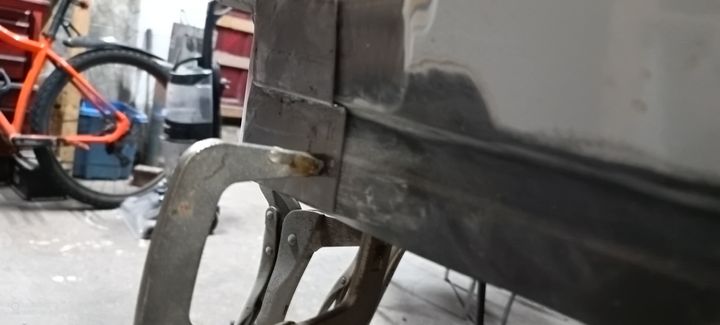
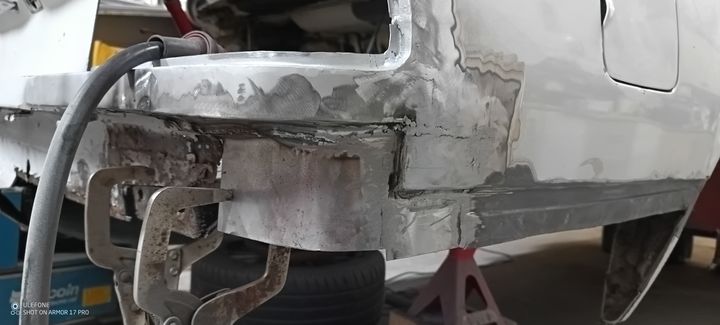
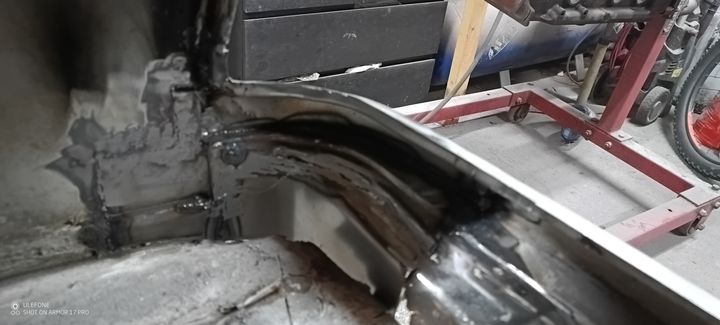
More rust repair. It is a common theme with this car to find bodge repairs with metal either tacked or pop riveted on and then covered with body filler and unfortunately the rear of the car had the worst of it.
[url][img]https://forums-images.pistonheads.com/85136/202410042636112?
resize=720[/img]|https://forums-images.pistonheads.com/85136/202410042636112[/url]
I had to be careful and only cut out and then replace a small section at a time in order not to lose the overall shape of the panel.
[url][img]https://forums-images.pistonheads.com/85136/202410042636112?
resize=720[/img]|https://forums-images.pistonheads.com/85136/202410042636112[/url]
I had to be careful and only cut out and then replace a small section at a time in order not to lose the overall shape of the panel.
Edited by gazzol on Friday 4th October 07:30
Edited by gazzol on Friday 4th October 07:54
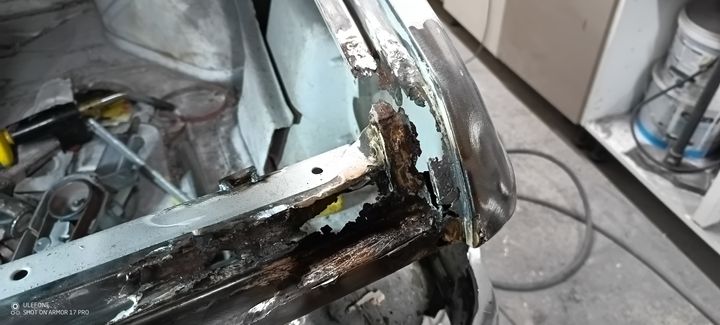
Removed all the body filler from the boot gutter and this is what lay underneath
This is what the tacked on bodgery was covering up
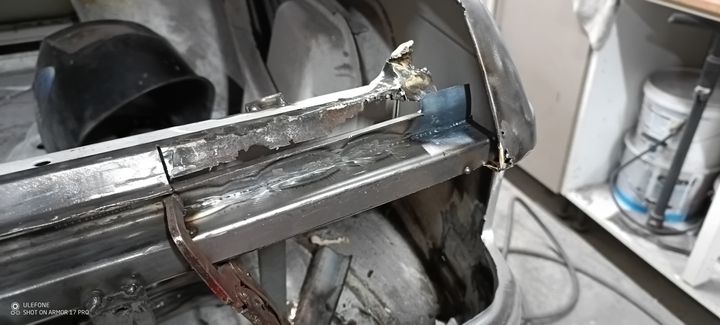
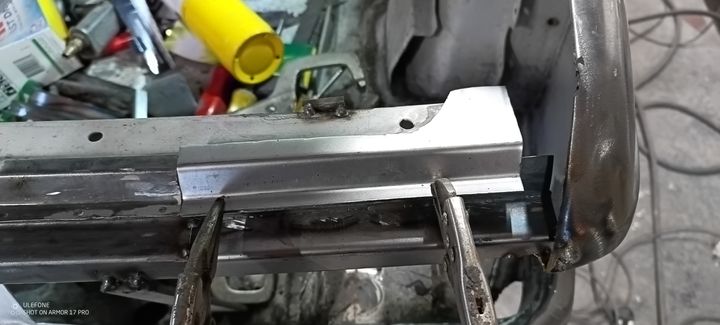
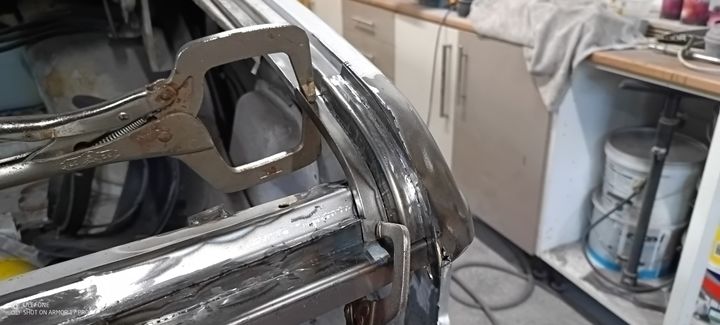
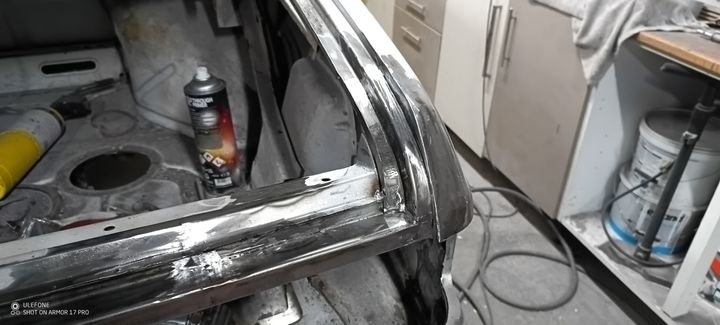
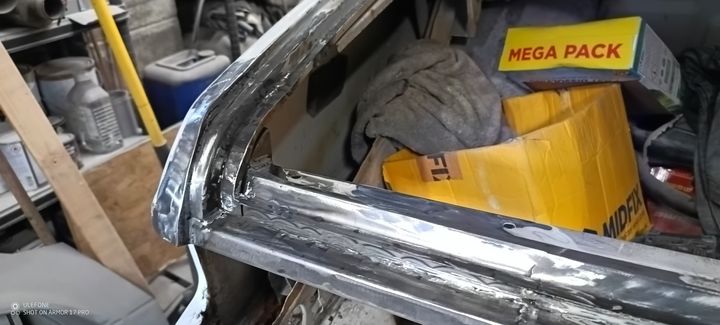
Started off by making a repair section for the gutter, this is made of three separate pieces welded together but I couldn't fit it yet because the metal behind it needed replacing.
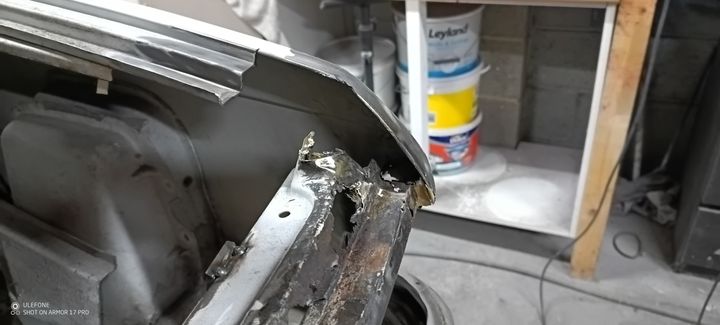
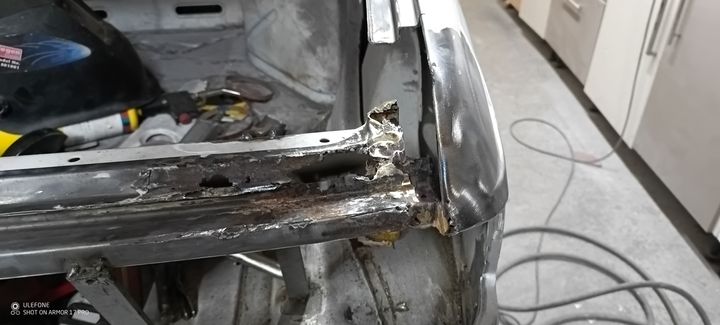
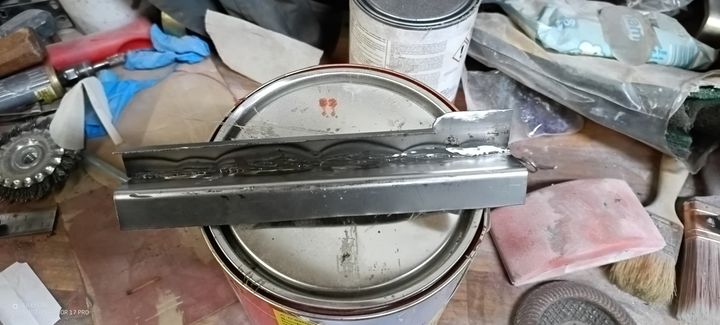
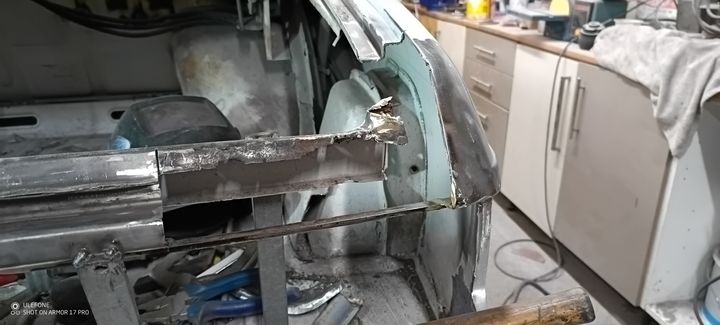
The other side had even more corrosion.
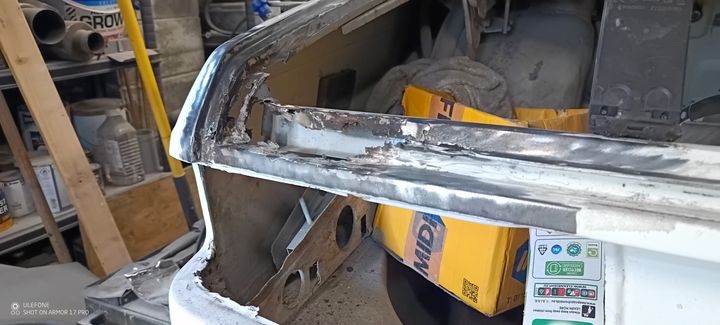
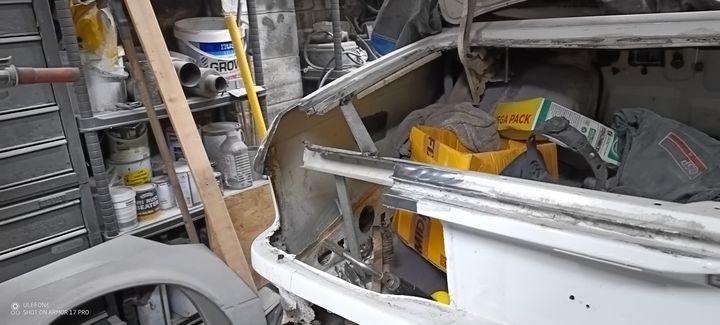
This is what the tacked on bodgery was covering up
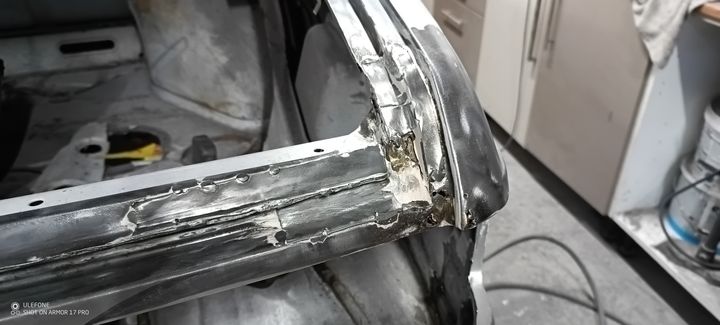
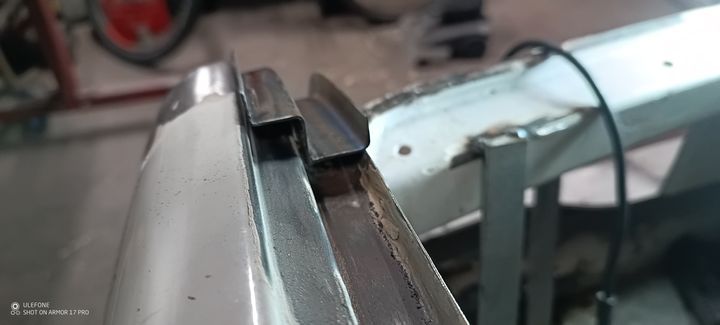
Started off by making a repair section for the gutter, this is made of three separate pieces welded together but I couldn't fit it yet because the metal behind it needed replacing.
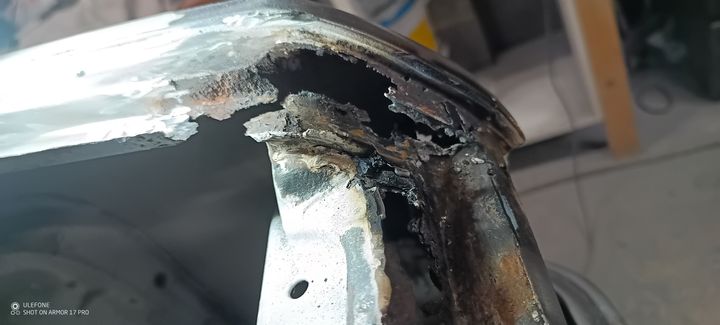
The other side had even more corrosion.
Next repair (sometimes it feels like I'll be welding this car forever) I had to do below the left side light aperture.
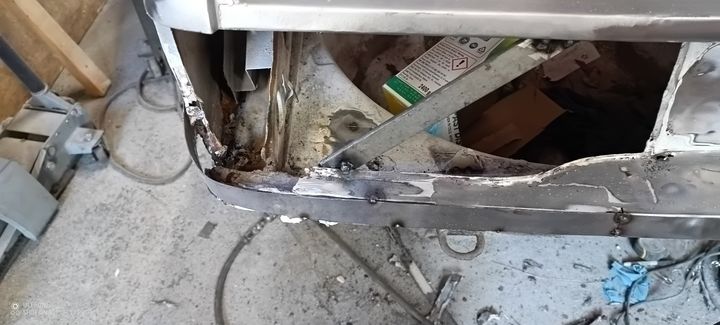
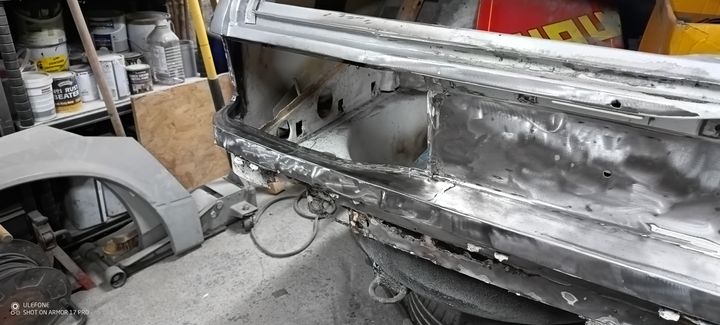
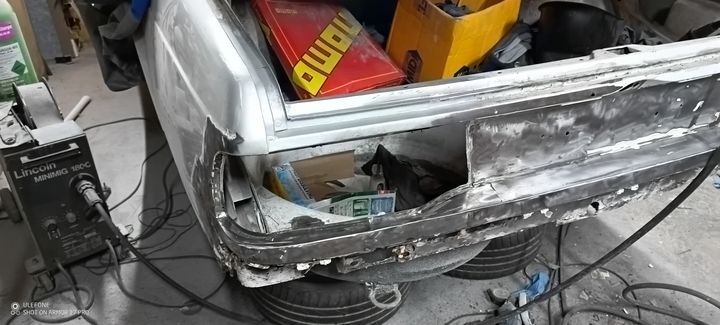
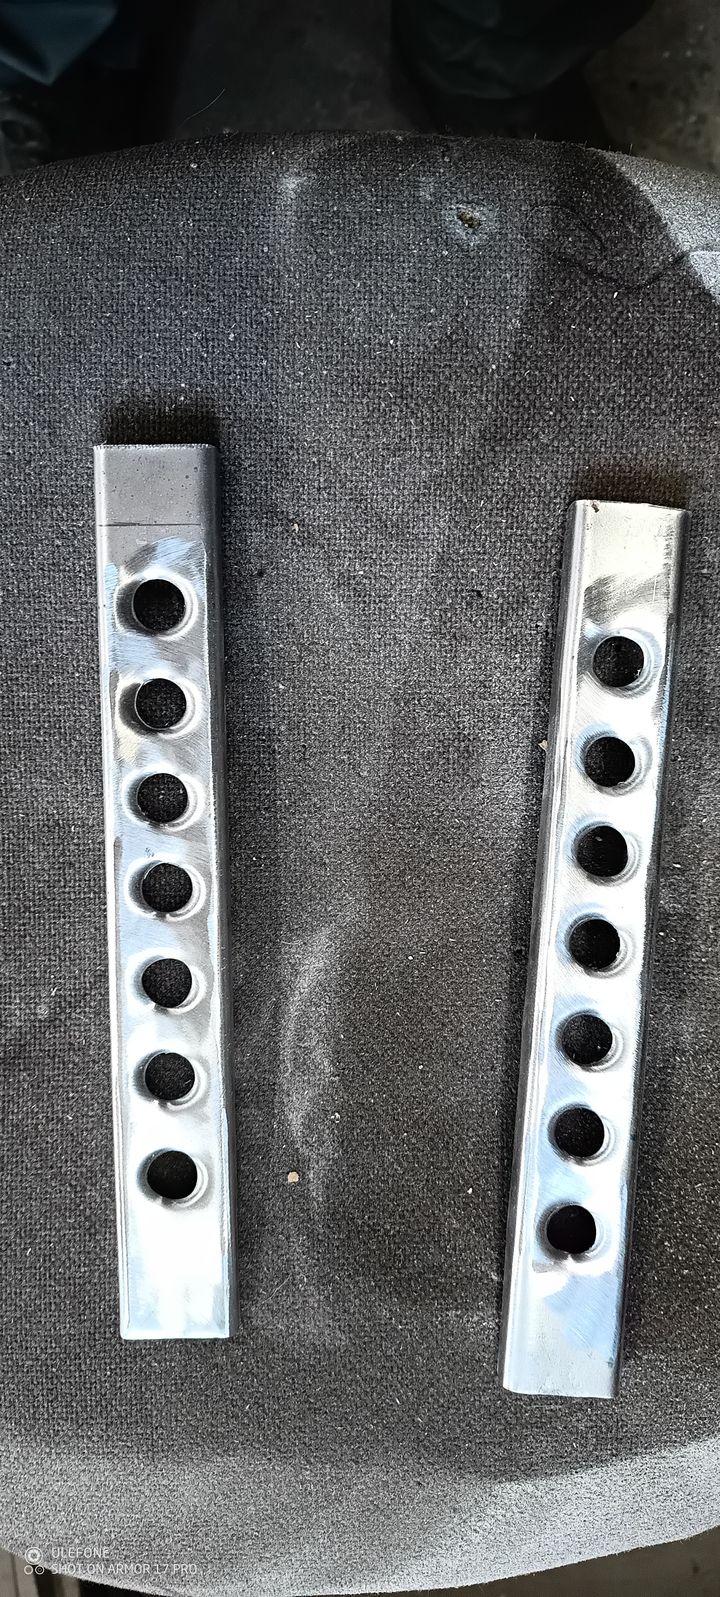
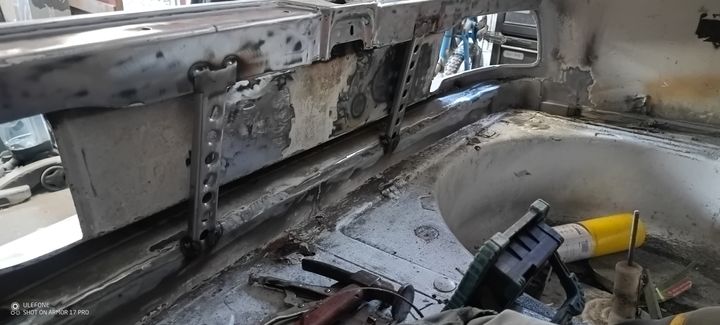
I had to make some braces to support the rear panel because the original ones were welded together boot floor and that's getting cut out, more on that when I finish the resto part and begin the mod of the restomod.
Old boot floor
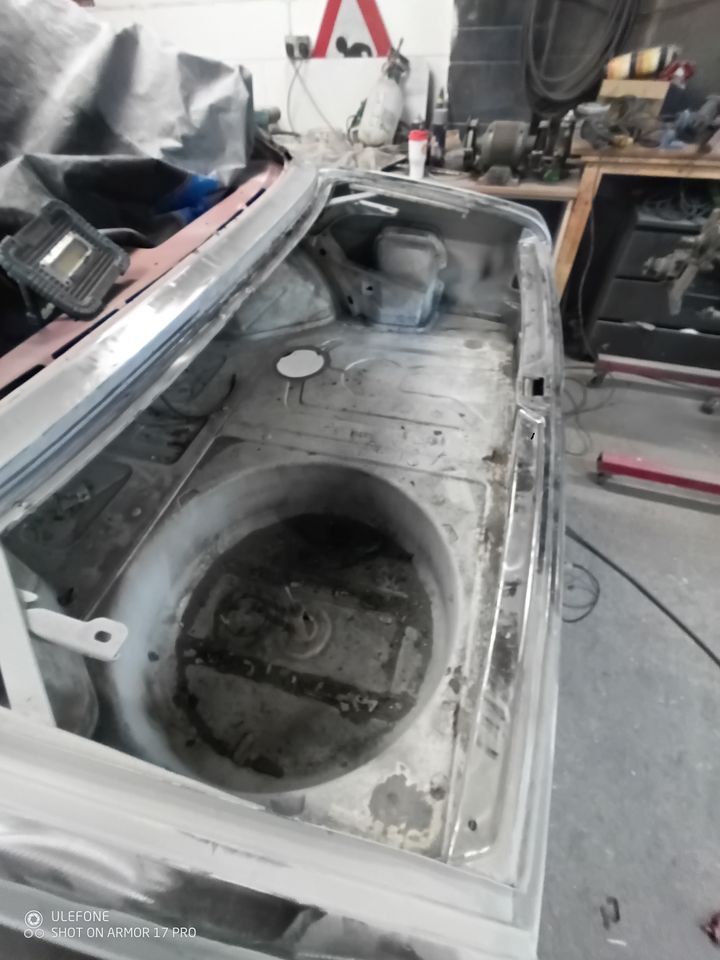
No boot floor
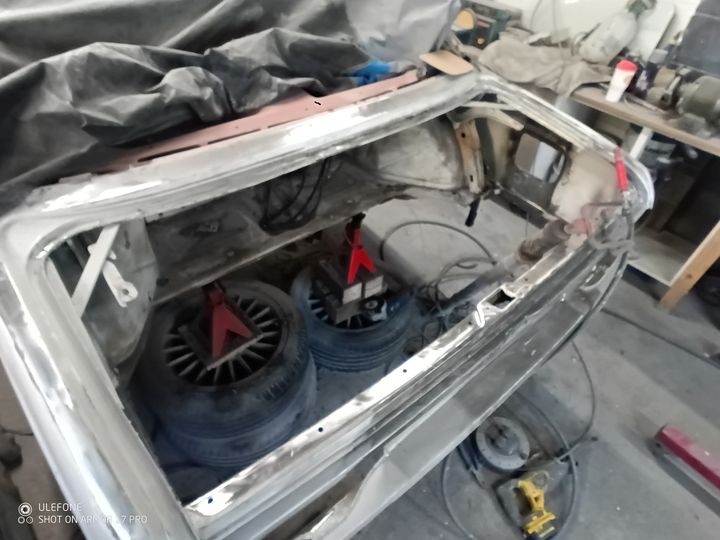
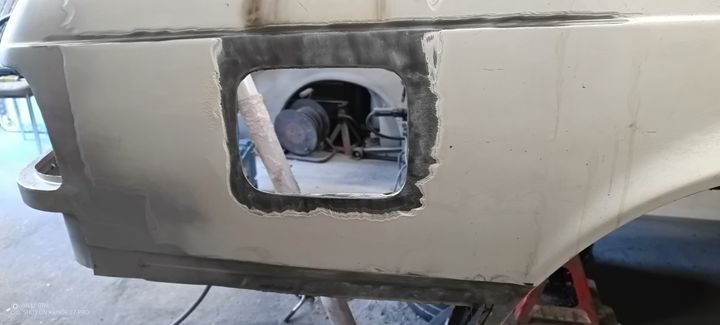
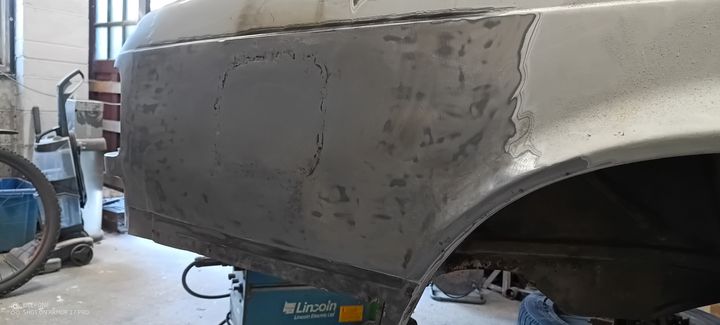
Old fuel filler was going too
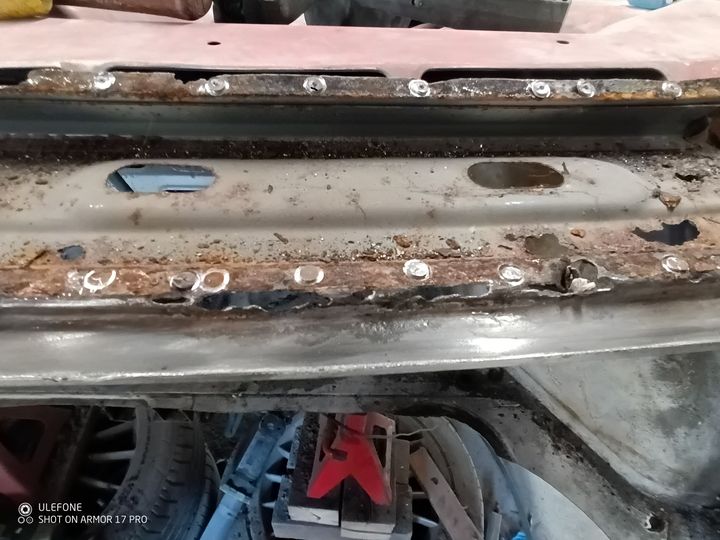
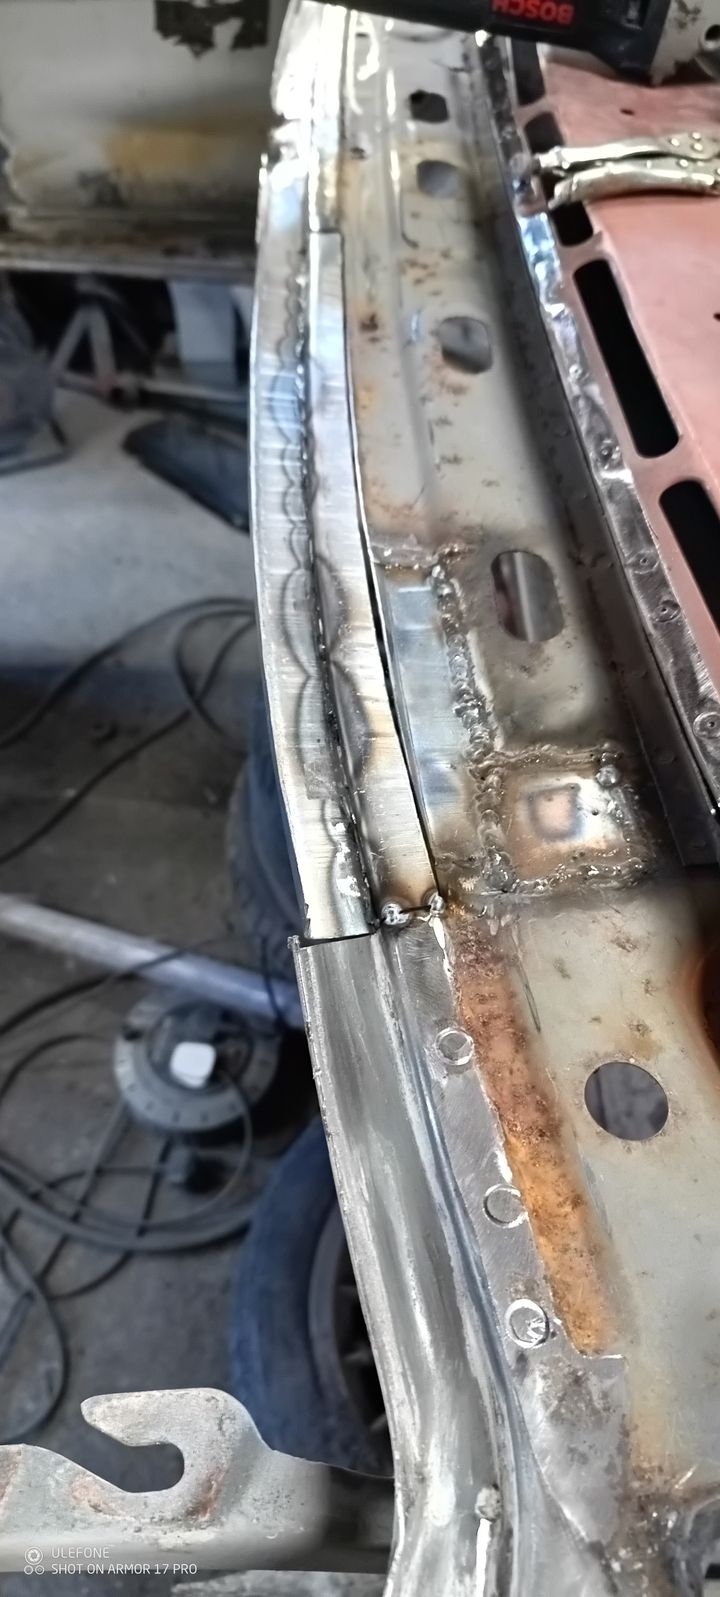
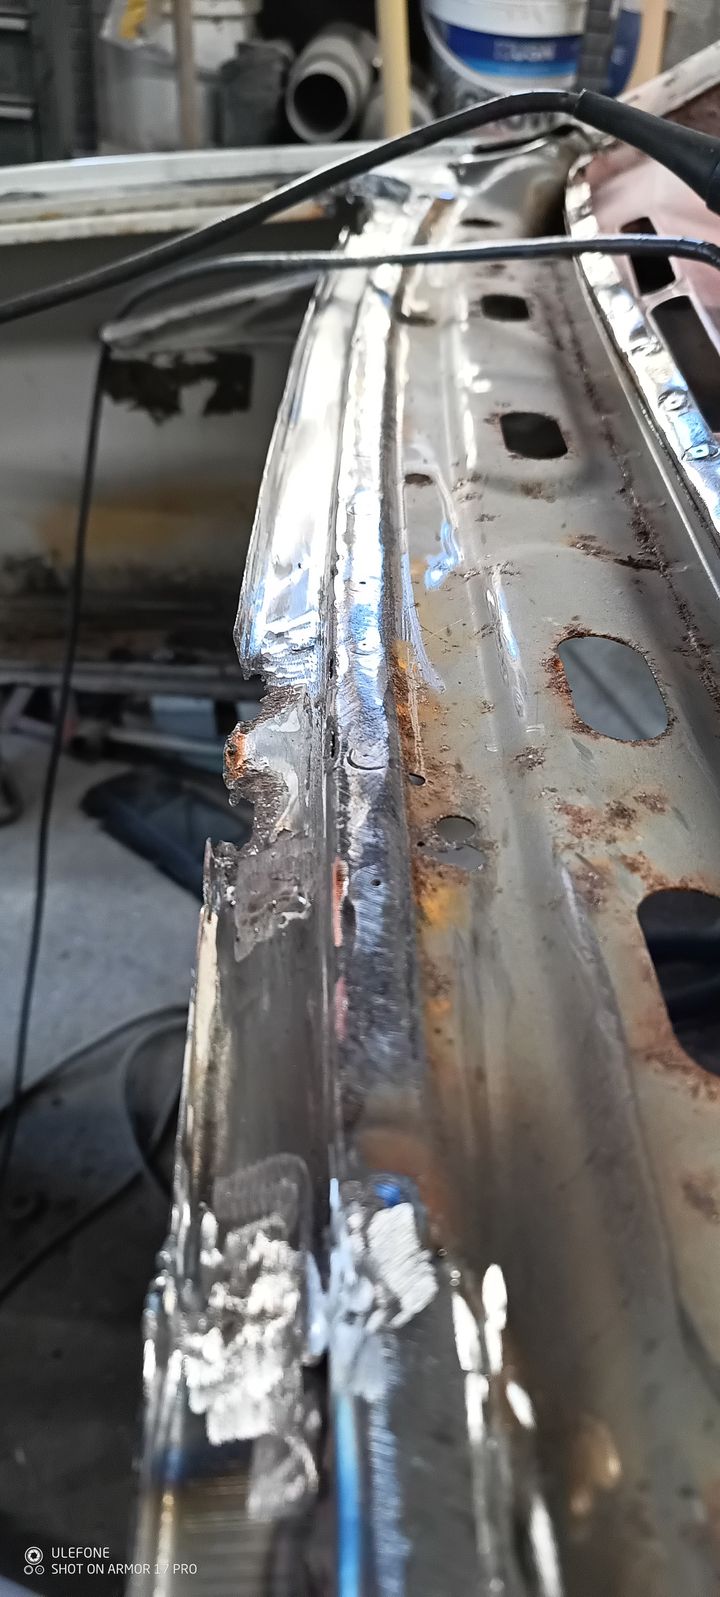
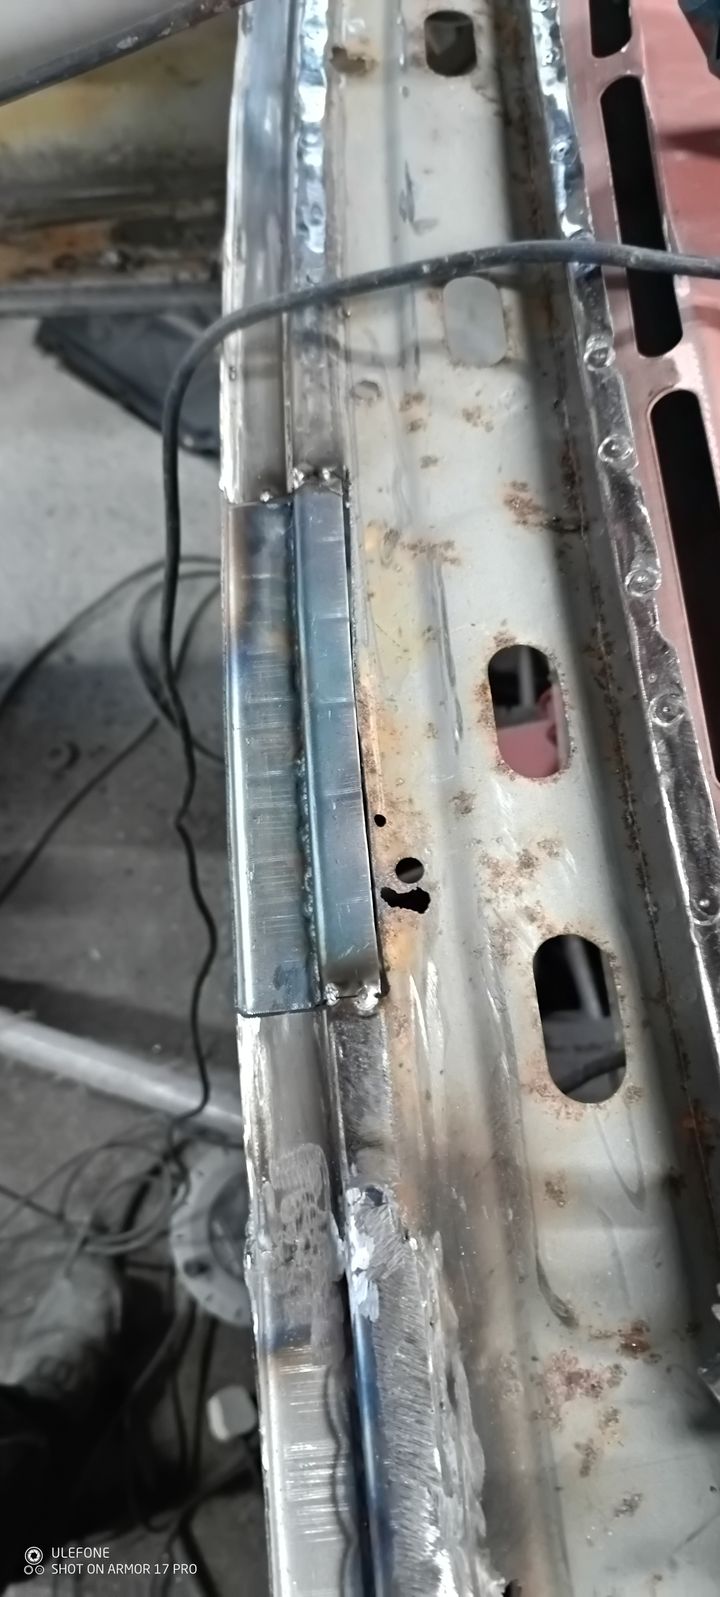
The next bit was a whole weekend of work which was unexpected but I wasn't surprised about considering the rest of the car. I noticed that the boot rain gutter wasn't very flat (more body filler) so I attacked it with a wire.wheel on the grinder and found a load more holes.
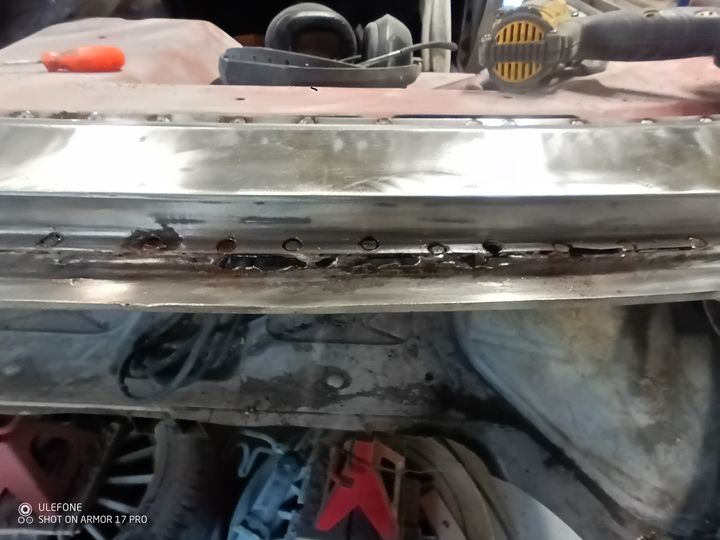
So...in for a penny etc I decided to remove the panel under the rear screen so I could see the extent of the problem.
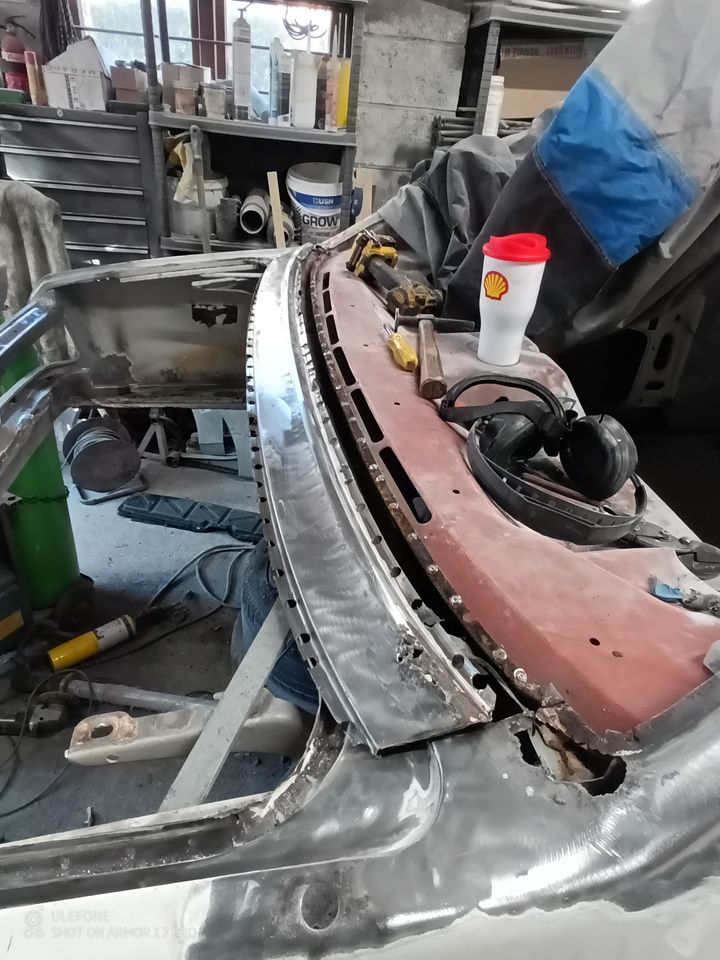
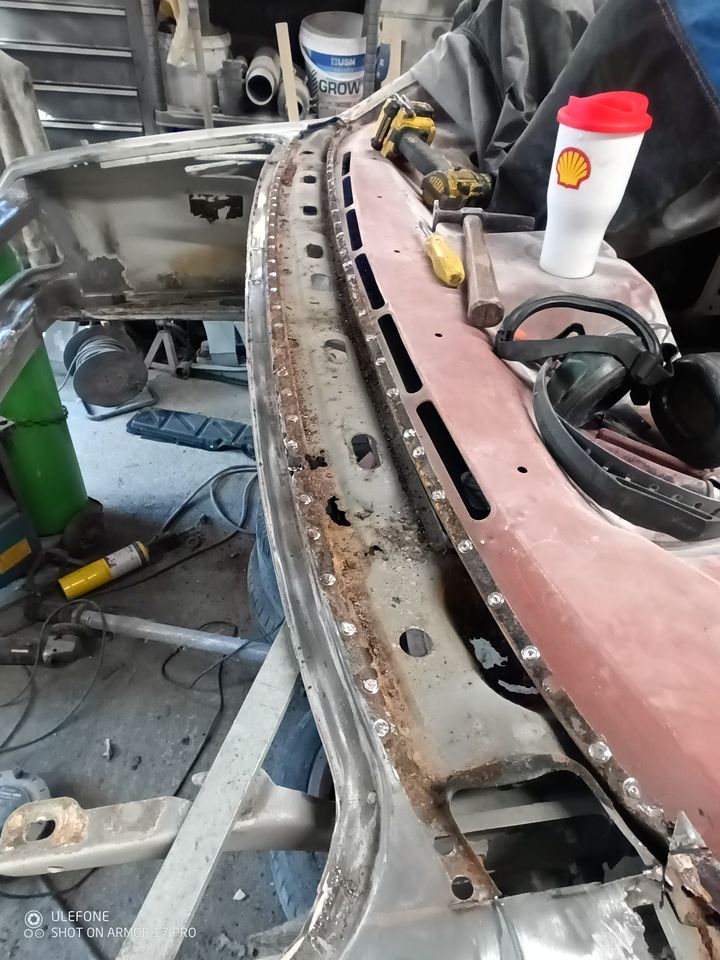
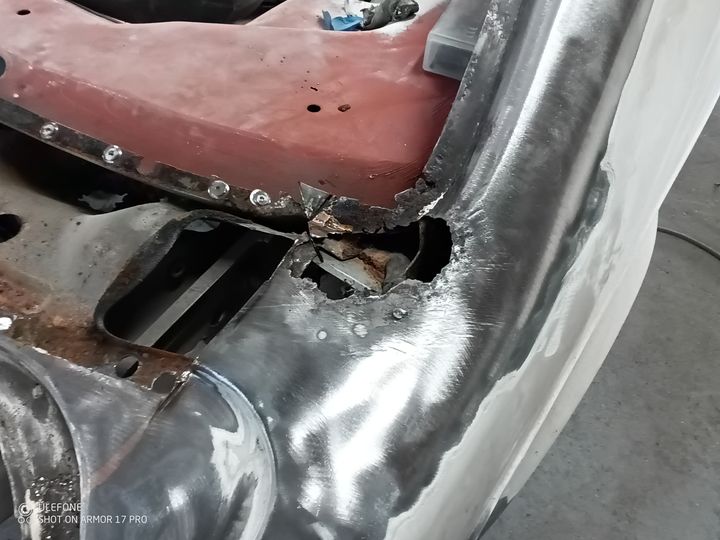
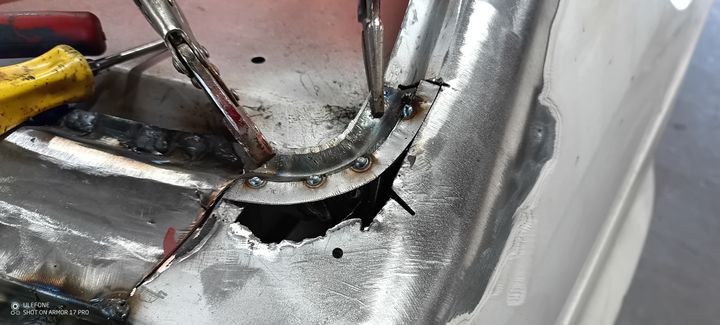
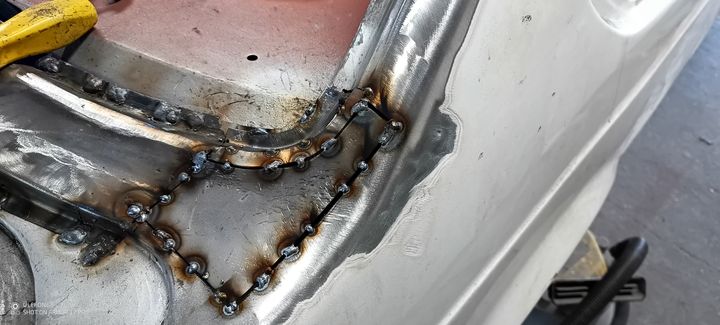
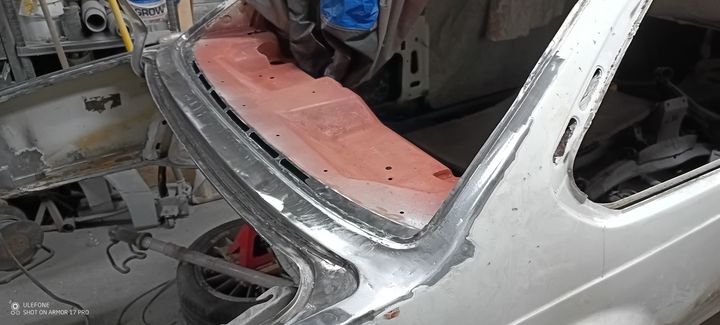
I had to make some braces to support the rear panel because the original ones were welded together boot floor and that's getting cut out, more on that when I finish the resto part and begin the mod of the restomod.
Old boot floor
No boot floor
Old fuel filler was going too
The next bit was a whole weekend of work which was unexpected but I wasn't surprised about considering the rest of the car. I noticed that the boot rain gutter wasn't very flat (more body filler) so I attacked it with a wire.wheel on the grinder and found a load more holes.
So...in for a penny etc I decided to remove the panel under the rear screen so I could see the extent of the problem.
Superferret said:
Impressive work, I admire your skills and perseverance! I'm eager to see what you have planned for the end result, it's a cool car to start with. Best of luck!
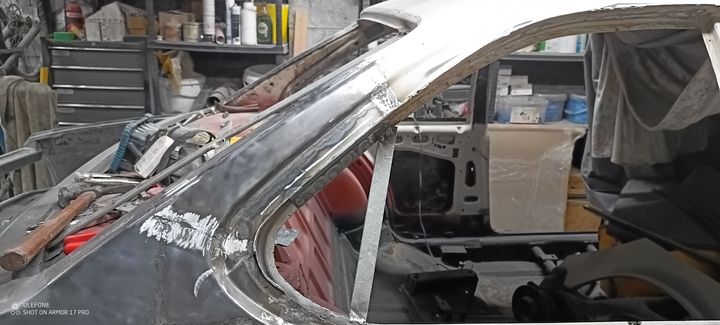
Thanks, tbh I'm really tired of the rust repairs, it's been a year now and it's quite depressing when you think there's not much to do and then you find some more but at this point as much as I can't be arsed with it I certainly don't want to cut corners. On a positive note once the shell is finished with cavity paint and cavity wax it should never need welding again.The next areas of concern were the C pillars. The pillars have what appear to be air vents which are not normally visible because they are masked by a piece of trim, these are actually sunroof drains and they had rotted.....of course they did ;-)
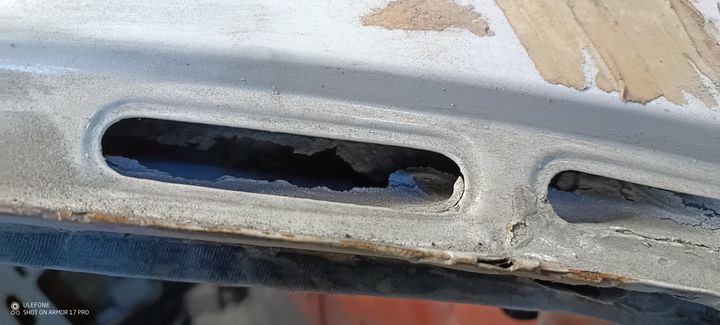
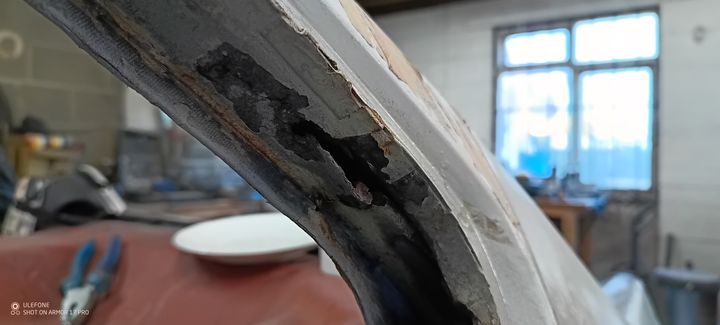
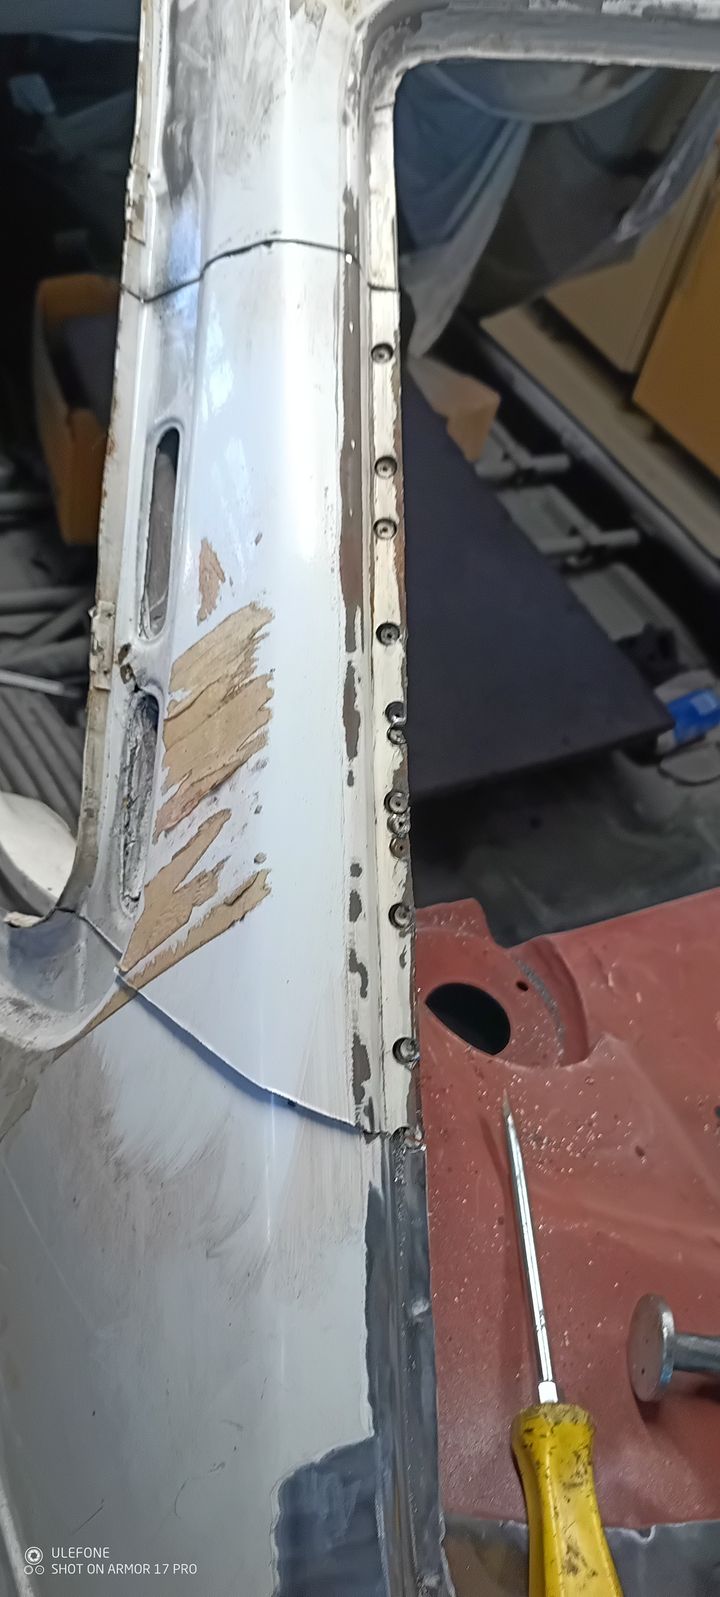
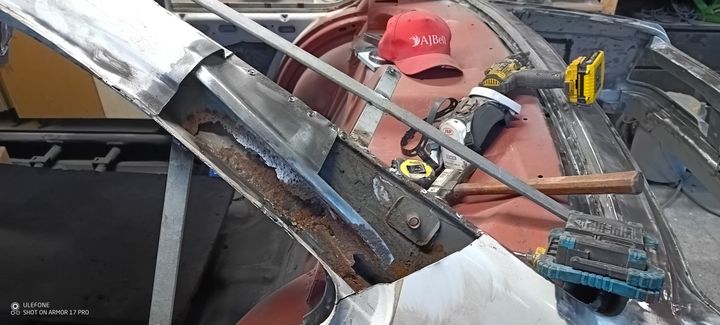
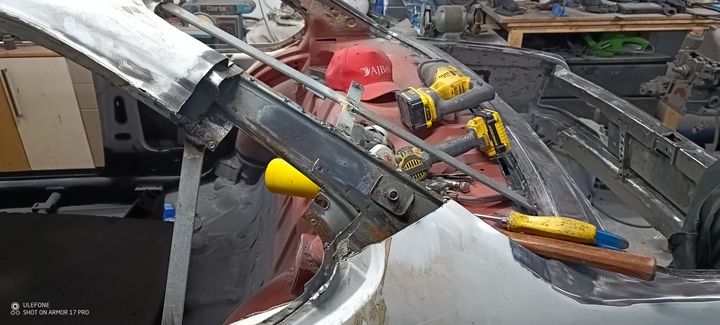
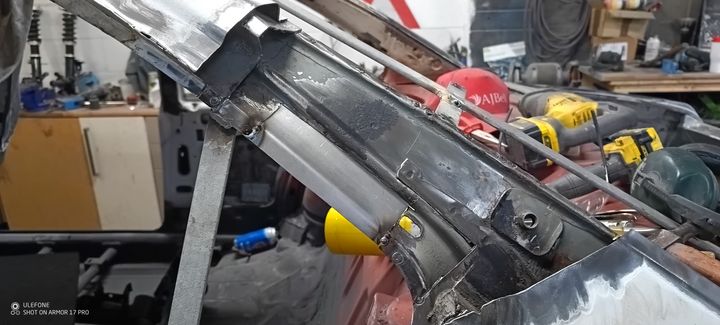
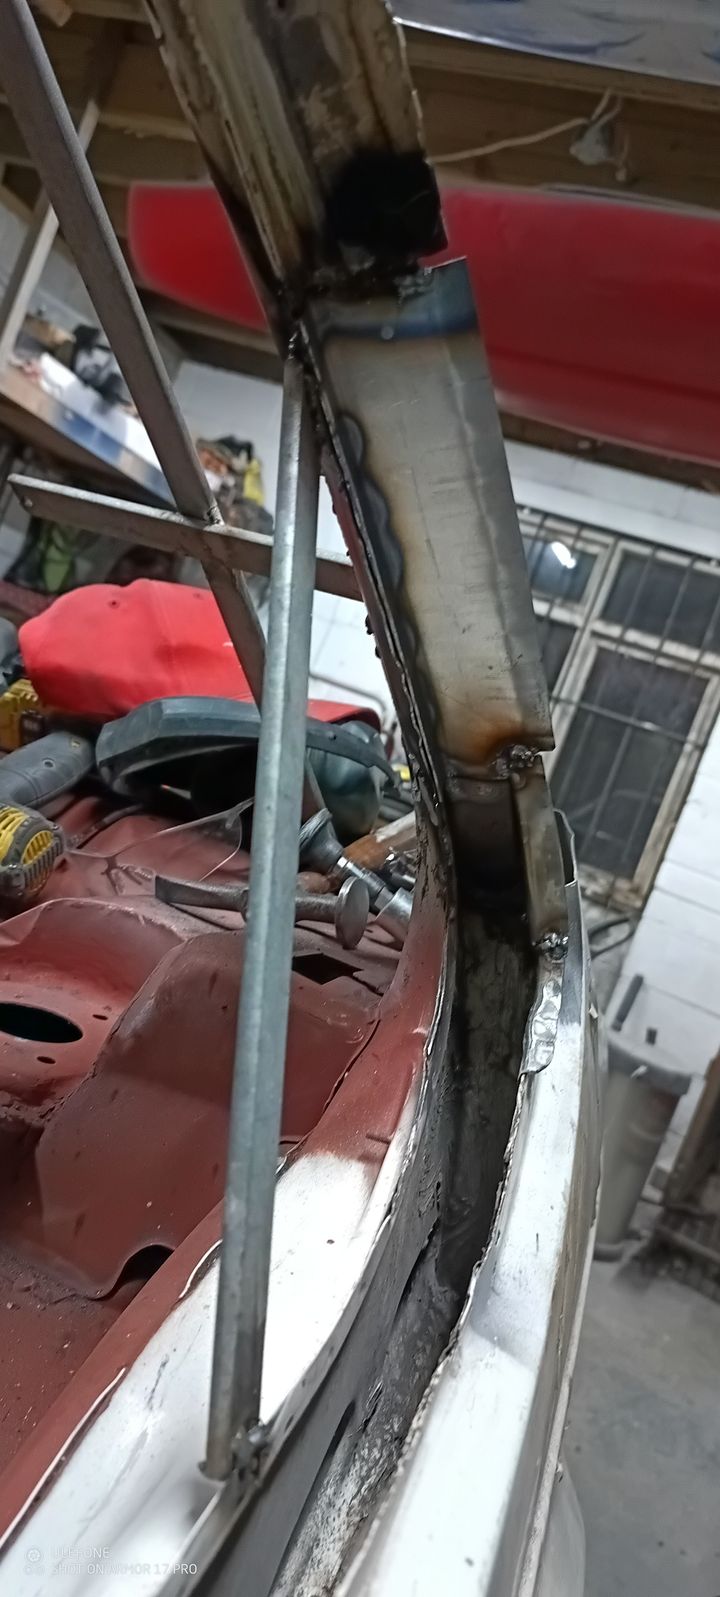
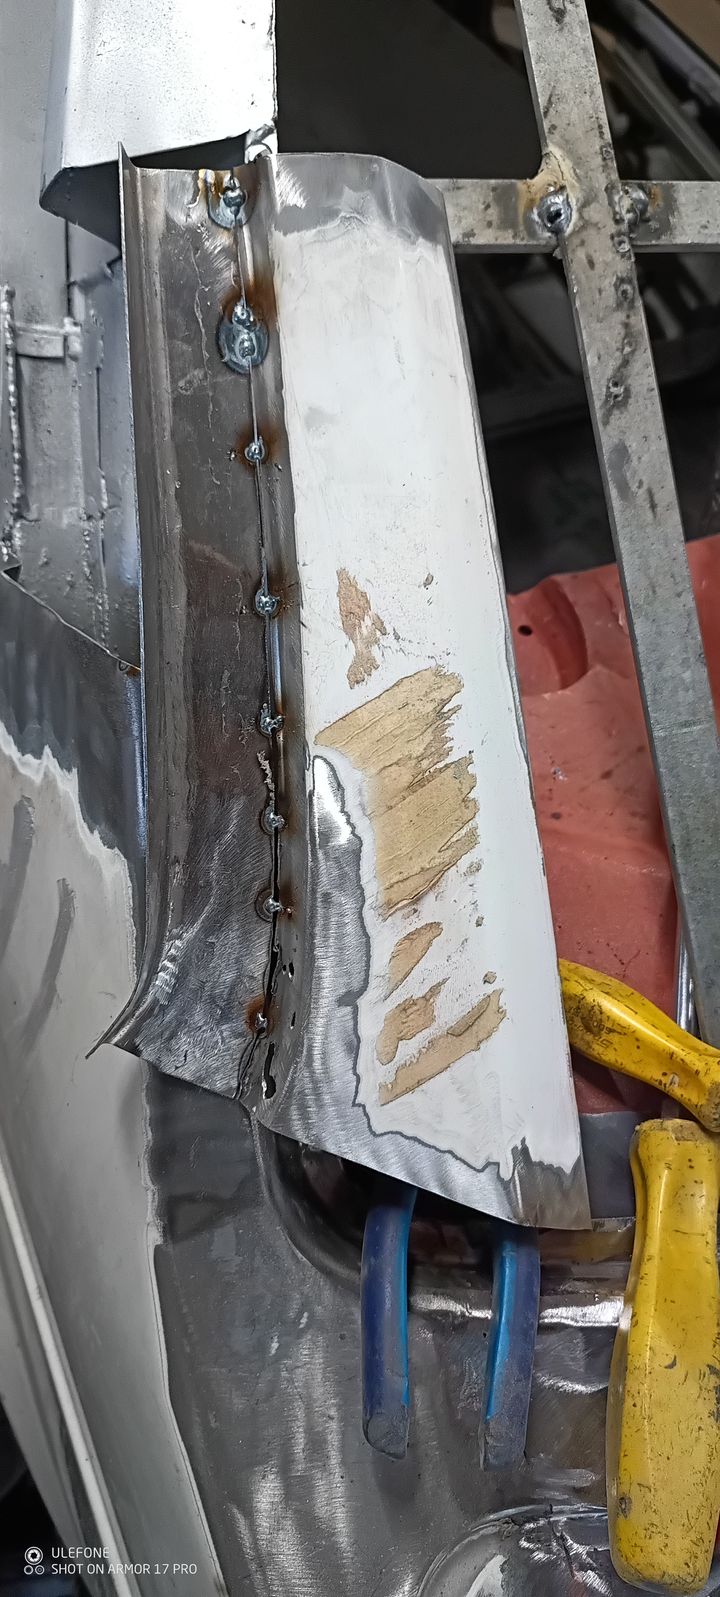
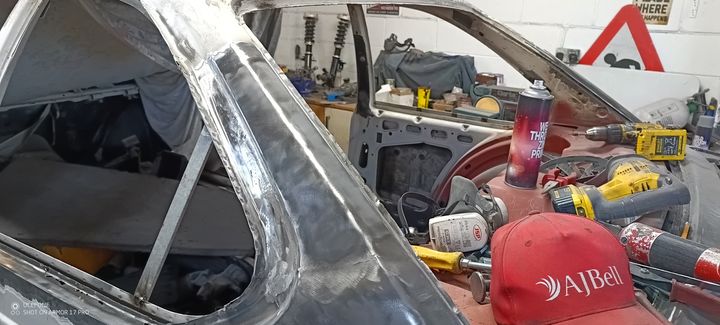
I didn't bother trying to replicate the holes that were there originally because the sunroof will be deleted so there's no need for drains.
The right side pillar was slightly worse .
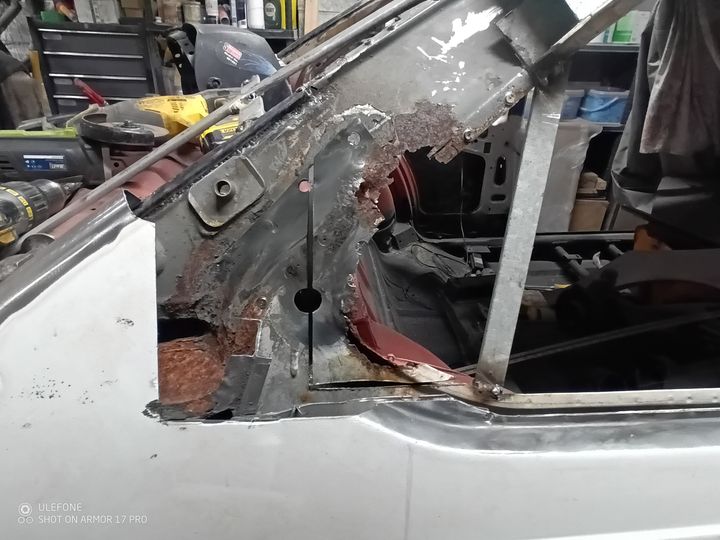
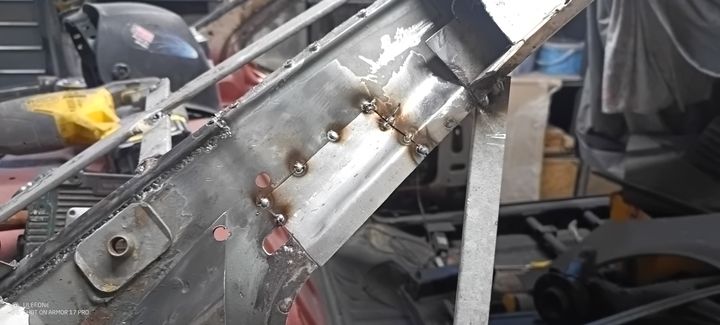
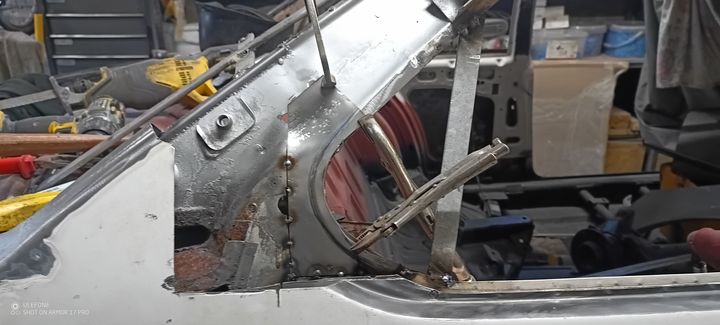
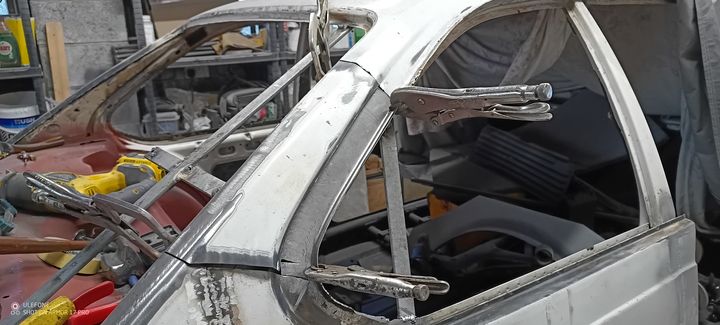
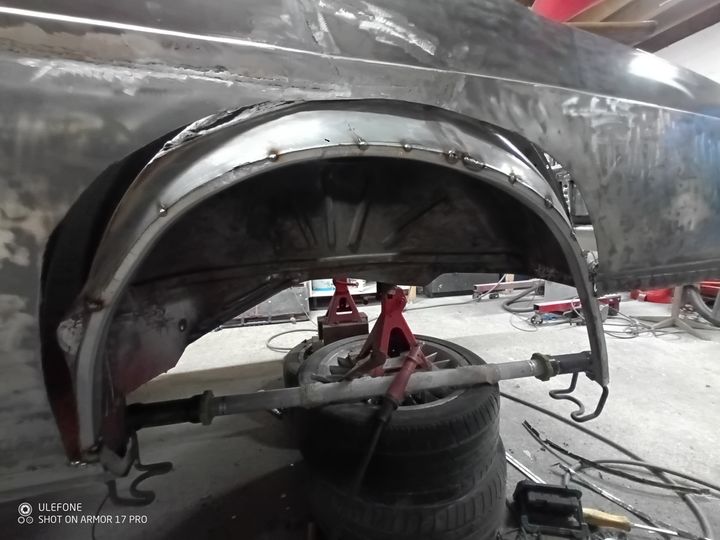
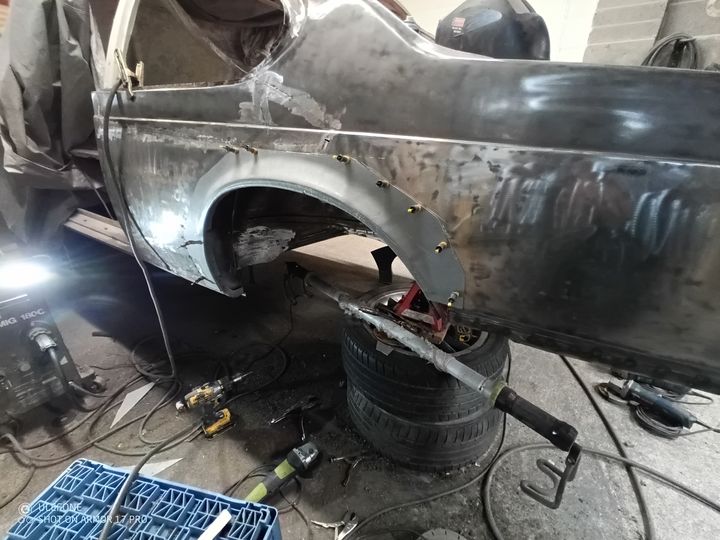
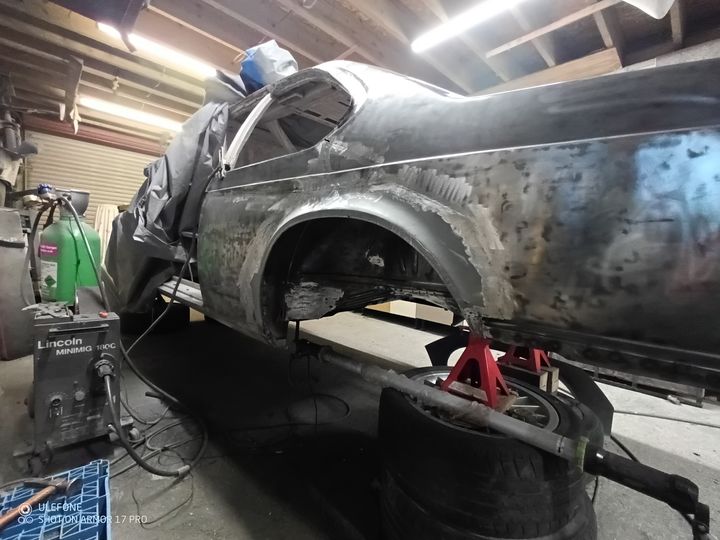
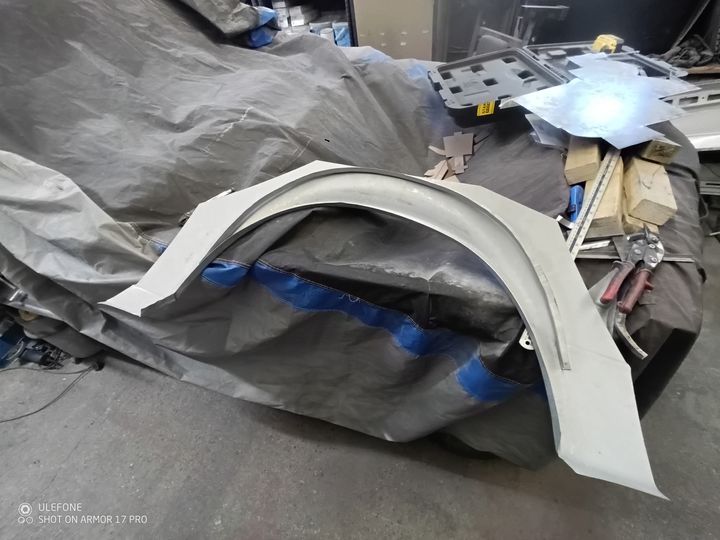
Next up I replaced the rear wheel arches. There was only a small amount of rust in the arches but I didn't know what was lurking beneath the surface and I didn't want to chance it having come this far with everything else.
When I bought the repair panels I didn't realise that they are designed to go over the top of the original panel which means they are a slightly different profile. This meant that they didn't fit to the original tub so I had to make a lip for the tub to fit the new panel and then weld it to the tub.
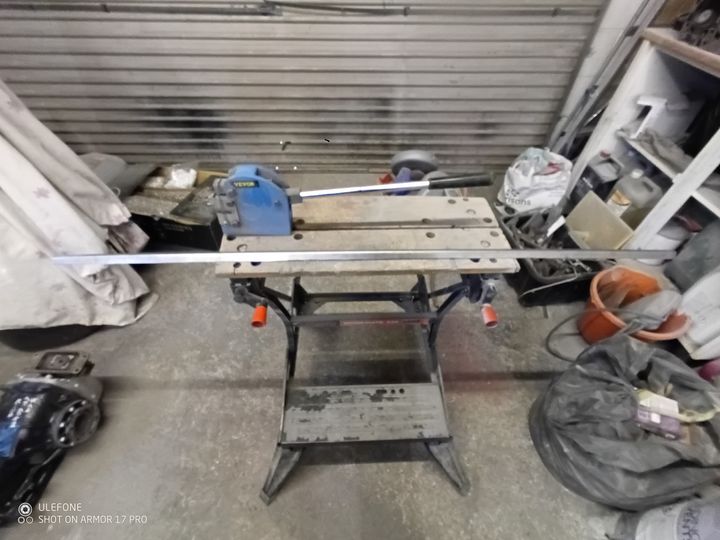
This is an L section that's going to be bent to fit the wheel tub by the little machine behind it which in this case is a stretcher I also have a shrinker
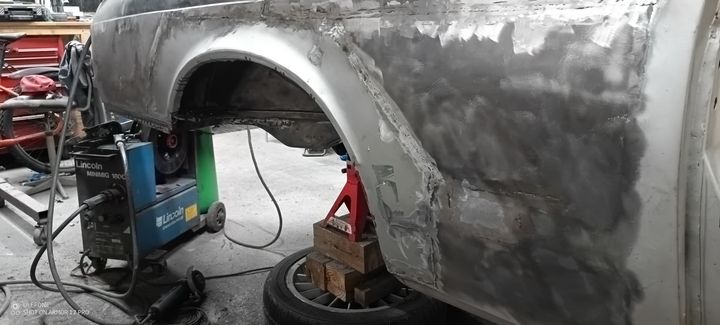
And that is FINALLY that, no more rust repairs. The panels that I bought were two outer sills two wheel arch panels and four floor pan repair panels, on top of that It's taken 12 months and I've used just over an 8x4 sheet of steel, so that's 32 square feet of sheet metal !!!
I didn't bother trying to replicate the holes that were there originally because the sunroof will be deleted so there's no need for drains.
The right side pillar was slightly worse .
Next up I replaced the rear wheel arches. There was only a small amount of rust in the arches but I didn't know what was lurking beneath the surface and I didn't want to chance it having come this far with everything else.
When I bought the repair panels I didn't realise that they are designed to go over the top of the original panel which means they are a slightly different profile. This meant that they didn't fit to the original tub so I had to make a lip for the tub to fit the new panel and then weld it to the tub.
This is an L section that's going to be bent to fit the wheel tub by the little machine behind it which in this case is a stretcher I also have a shrinker
And that is FINALLY that, no more rust repairs. The panels that I bought were two outer sills two wheel arch panels and four floor pan repair panels, on top of that It's taken 12 months and I've used just over an 8x4 sheet of steel, so that's 32 square feet of sheet metal !!!
Edited by gazzol on Sunday 17th November 11:38
Gassing Station | Readers' Cars | Top of Page | What's New | My Stuff


