My Cerbera repair/engine rebuild etc.
Discussion


mrniceguy351 said:
I have felt your pain with every challenge. You truly are a STAR for having overcome them all.
Can't believe that it was last April that I was helping to empty your Beer Fridge.
Mine is still under rebuild stage (and a broken right thumb has curtailed those activities) but Your Project is my guiding light to persist.
Thanks for taking all this down and posting on Vid


Paul J (from Luxembourg)
Mr Cerbera said:
Oh Simon,
I have felt your pain with every challenge. You truly are a STAR for having overcome them all.
Can't believe that it was last April that I was helping to empty your Beer Fridge.
Mine is still under rebuild stage (and a broken right thumb has curtailed those activities) but Your Project is my guiding light to persist.
Thanks for taking all this down and posting on Vid
Paul J (from Luxembourg)
Thanks Paul! Yeah time flies. I took it for a lap of the block the other day (when it stopped raining) and it ran awfully. I have some new coils on the way that will hopefully solve my issues. The coils in it are still the ones that had intermittent misfires when still mounted in the valley, which stopped when I relocated them. I'm thinking (hoping) they have finally died.I have felt your pain with every challenge. You truly are a STAR for having overcome them all.
Can't believe that it was last April that I was helping to empty your Beer Fridge.
Mine is still under rebuild stage (and a broken right thumb has curtailed those activities) but Your Project is my guiding light to persist.
Thanks for taking all this down and posting on Vid
Paul J (from Luxembourg)
mrniceguy351 said:
Mr Cerbera said:
Oh Simon,
I have felt your pain with every challenge. You truly are a STAR for having overcome them all.
Can't believe that it was last April that I was helping to empty your Beer Fridge.
Mine is still under rebuild stage (and a broken right thumb has curtailed those activities) but Your Project is my guiding light to persist.
Thanks for taking all this down and posting on Vid
Paul J (from Luxembourg)
Thanks Paul! Yeah time flies. I took it for a lap of the block the other day (when it stopped raining) and it ran awfully. I have some new coils on the way that will hopefully solve my issues. The coils in it are still the ones that had intermittent misfires when still mounted in the valley, which stopped when I relocated them. I'm thinking (hoping) they have finally died.I have felt your pain with every challenge. You truly are a STAR for having overcome them all.
Can't believe that it was last April that I was helping to empty your Beer Fridge.
Mine is still under rebuild stage (and a broken right thumb has curtailed those activities) but Your Project is my guiding light to persist.
Thanks for taking all this down and posting on Vid
Paul J (from Luxembourg)
Byker28i said:
There are some new, uprated coils I had fitted a couple years pre covid that seem to be much better at avoiding breaking down all the time, or misbehaving when wet. I've had no issues since those were fitted.
I was actually thinking of fitting LS coils but for once I figured I would do things the easy way!Where do you source the uprated coils?
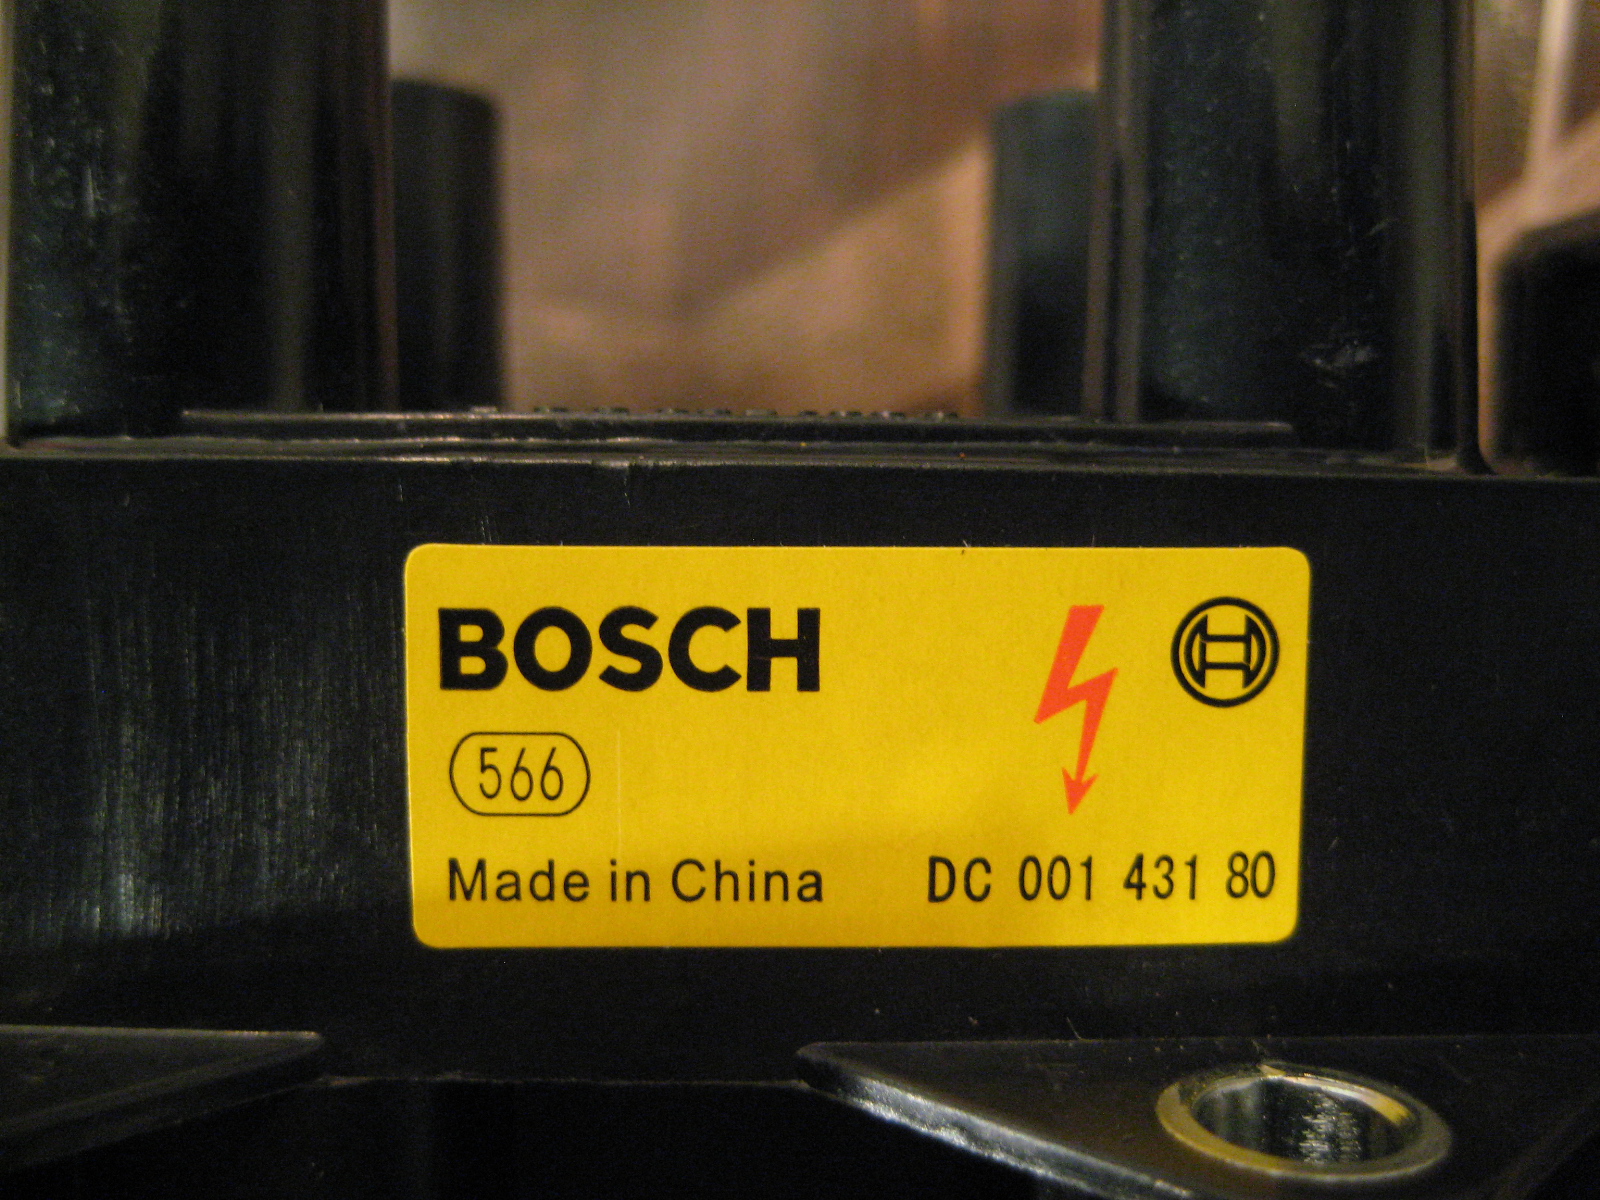
Because I do everything on the cheap, I tried fitting generics for a few years
That cost me a couple of track days, so some years ago I did the right thing and fitted genuine Bosch (although still marked made in China)
I did the hottest track day ever at the Ring in July a couple of years ago, which destroyed my starter motor, but the coils were just fine
That cost me a couple of track days, so some years ago I did the right thing and fitted genuine Bosch (although still marked made in China)
I did the hottest track day ever at the Ring in July a couple of years ago, which destroyed my starter motor, but the coils were just fine
The very idea of the Coils being mounted in the Valley does my (little) engineer's mind in.
I wanted to mount them outside it, but worried about the extended length of the cables having some negative effect on the timing.
My eventual plan was to graft a panel onto the underside of the bonnet, just above their normal resting place.
As usual, inertia stopped me progressing.
Anyone have any ideas of length affecting timing (as Simon has his mounted on the interrior front, left wing) ?
mrniceguy351 said:
Byker28i said:
There are some new, uprated coils I had fitted a couple years pre covid that seem to be much better at avoiding breaking down all the time, or misbehaving when wet. I've had no issues since those were fitted.
I was actually thinking of fitting LS coils but for once I figured I would do things the easy way!Where do you source the uprated coils?

Racetech have the NGK/Bosch ones. £99 + vat
https://racetechdirect.co.uk/electrical/tvr-igniti...
Motorclan about the same
https://motaclan.com/product/ignition-coil-ajp-v8-...
TVR Power slightly cheaper for the Bosch £96 +vat
https://www.powersperformance.co.uk/store/slug/ajp...
Edited by Byker28i on Wednesday 3rd July 16:56
Well done with the build & the vids. Great series.
It looked like your throttle angles were way too low. They were reading about 13% at idle. They should be 15% fully closed and about 19% at idle. That's possibly why the adaptives were trying to add so much fuel. And don't be too quick to bin the MBE. It works fine when the engines in balance and set up correctly. Good luck.
It looked like your throttle angles were way too low. They were reading about 13% at idle. They should be 15% fully closed and about 19% at idle. That's possibly why the adaptives were trying to add so much fuel. And don't be too quick to bin the MBE. It works fine when the engines in balance and set up correctly. Good luck.
mrniceguy351 said:
I have found the problem
Hi Simon,You probably know already
BUT
Just in case not, Julian of Kits and Classics is the man to go to for Throttle Pots.
All the Best,
PJ
Byker28i said:
mrniceguy351 said:
Byker28i said:
There are some new, uprated coils I had fitted a couple years pre covid that seem to be much better at avoiding breaking down all the time, or misbehaving when wet. I've had no issues since those were fitted.
I was actually thinking of fitting LS coils but for once I figured I would do things the easy way!Where do you source the uprated coils?
Racetech have the NGK/Bosch ones. £99 + vat
https://racetechdirect.co.uk/electrical/tvr-igniti...
Motorclan about the same
https://motaclan.com/product/ignition-coil-ajp-v8-...
TVR Power slightly cheaper for the Bosch £96 +vat
https://www.powersperformance.co.uk/store/slug/ajp...
Edited by Byker28i on Wednesday 3rd July 16:56
Oh dear, that's bell housing off again then. Having done this conversion myself that was quite painful to watch  . I hope you can re-seat the slave.
I was paranoid about pushing the slave piston out too far. I kept the original master cylinder but adjusted the pedal so that it couldn't be pushed too far (just undo the lock nut and wind it in). That can result in the pedal resting position being quite low, so I added a threaded collar to the end of the pedal bolt. I also installed (velcro'd ) a metal plate to the carpet behind, because the pedal bolt had punched a hole in the carpet which got caught up on the collar.
I hope you get it sorted, my tilton has been fine so far, I have a very low biting point to avoid clutch finger damage, and it's pretty stiff with the oem master, but progressive enough.
I also re-used the existing hydraulic feed (with the 90 degree elbow on the end), adding another 90 degree adapter so that it comes up about 6" above the bell housing, turns 180 and connects to the tilton hose.
Looking forward to the next instalment when you've got your enthusiasm back. It will be worth it in the end
. I hope you can re-seat the slave.I was paranoid about pushing the slave piston out too far. I kept the original master cylinder but adjusted the pedal so that it couldn't be pushed too far (just undo the lock nut and wind it in). That can result in the pedal resting position being quite low, so I added a threaded collar to the end of the pedal bolt. I also installed (velcro'd
) a metal plate to the carpet behind, because the pedal bolt had punched a hole in the carpet which got caught up on the collar.I hope you get it sorted, my tilton has been fine so far, I have a very low biting point to avoid clutch finger damage, and it's pretty stiff with the oem master, but progressive enough.
I also re-used the existing hydraulic feed (with the 90 degree elbow on the end), adding another 90 degree adapter so that it comes up about 6" above the bell housing, turns 180 and connects to the tilton hose.
Looking forward to the next instalment when you've got your enthusiasm back. It will be worth it in the end
Edited by FarmyardPants on Tuesday 20th August 16:23
FarmyardPants said:
Oh dear, that's bell housing off again then. Having done this conversion myself that was quite painful to watch . I hope you can re-seat the slave.
I was paranoid about pushing the slave piston out too far. I kept the original master cylinder but adjusted the pedal so that it couldn't be pushed too far (just undo the lock nut and wind it in). That can result in the pedal resting position being quite low, so I added a threaded collar to the end of the pedal bolt. I also installed (velcro'd) a metal plate to the carpet behind, because the pedal bolt had punched a hole in the carpet which got caught up on the collar.
I hope you get it sorted, my tilton has been fine so far, I have a very low biting point to avoid clutch finger damage, and it's pretty stiff with the oem master, but progressive enough.
I also re-used the existing hydraulic feed (with the 90 degree elbow on the end), adding another 90 degree adapter so that it comes up about 6" above the bell housing, turns 180 and connects to the tilton hose.
Looking forward to the next instalment when you've got your enthusiasm back. It will be worth it in the end
Yeah I'm dreading taking the bellhousing off in the car. Having the slave "re-seat" would be gold!. I hope you can re-seat the slave.I was paranoid about pushing the slave piston out too far. I kept the original master cylinder but adjusted the pedal so that it couldn't be pushed too far (just undo the lock nut and wind it in). That can result in the pedal resting position being quite low, so I added a threaded collar to the end of the pedal bolt. I also installed (velcro'd
) a metal plate to the carpet behind, because the pedal bolt had punched a hole in the carpet which got caught up on the collar.I hope you get it sorted, my tilton has been fine so far, I have a very low biting point to avoid clutch finger damage, and it's pretty stiff with the oem master, but progressive enough.
I also re-used the existing hydraulic feed (with the 90 degree elbow on the end), adding another 90 degree adapter so that it comes up about 6" above the bell housing, turns 180 and connects to the tilton hose.
Looking forward to the next instalment when you've got your enthusiasm back. It will be worth it in the end
Edited by FarmyardPants on Tuesday 20th August 16:23

Gassing Station | Cerbera | Top of Page | What's New | My Stuff