One topic, many questions...
Discussion


notaping said:
Andea7,
There should be connectors further along the loom.
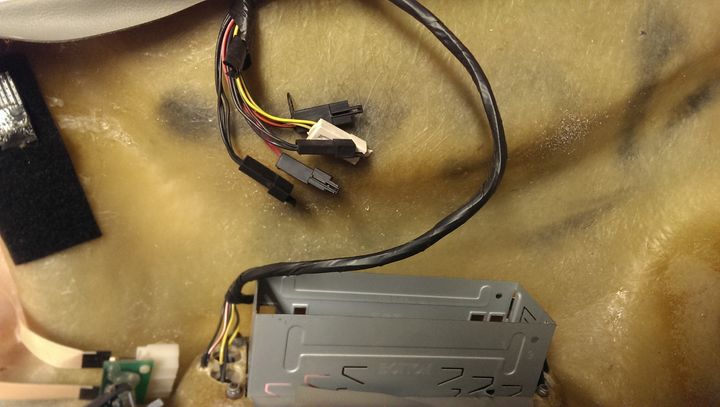
If you can't find them - I'd be more inclined to cut the wires and add new connectors when you've removed the console. I wouldn't damage the fibreglass since that's the only support the switches have.
Thanks a lot.There should be connectors further along the loom.
If you can't find them - I'd be more inclined to cut the wires and add new connectors when you've removed the console. I wouldn't damage the fibreglass since that's the only support the switches have.
Seems that my right t and left switches looms started separate but join together in one bigger loom after 20 centimeters or so.....not like the one in your picture!
I'll try to check all the loom to find any connector again but isn't easy...
About fiberglass: I worked a lot with composites in the past and I really don't think that cut that section could be bring any problems cause, in this case, the switch joins the two parts of the "C" you made once cutted and acts as a structural reinforcement

Hi!
Some update waiting for the gearbox....
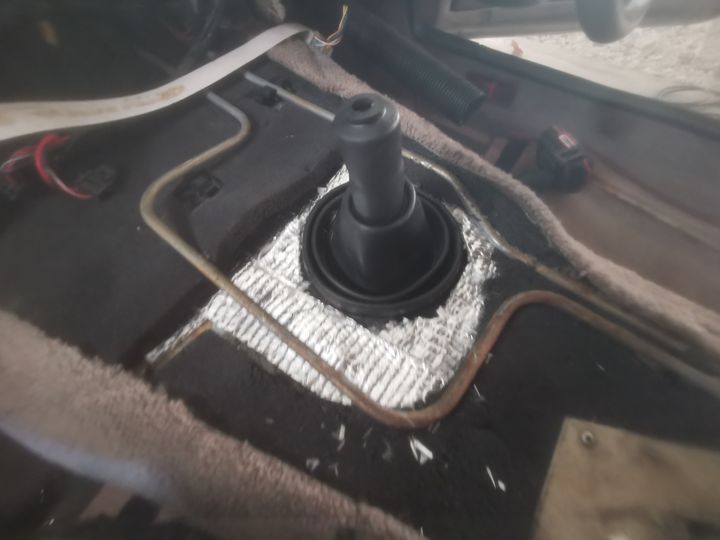
New rubber gaitor
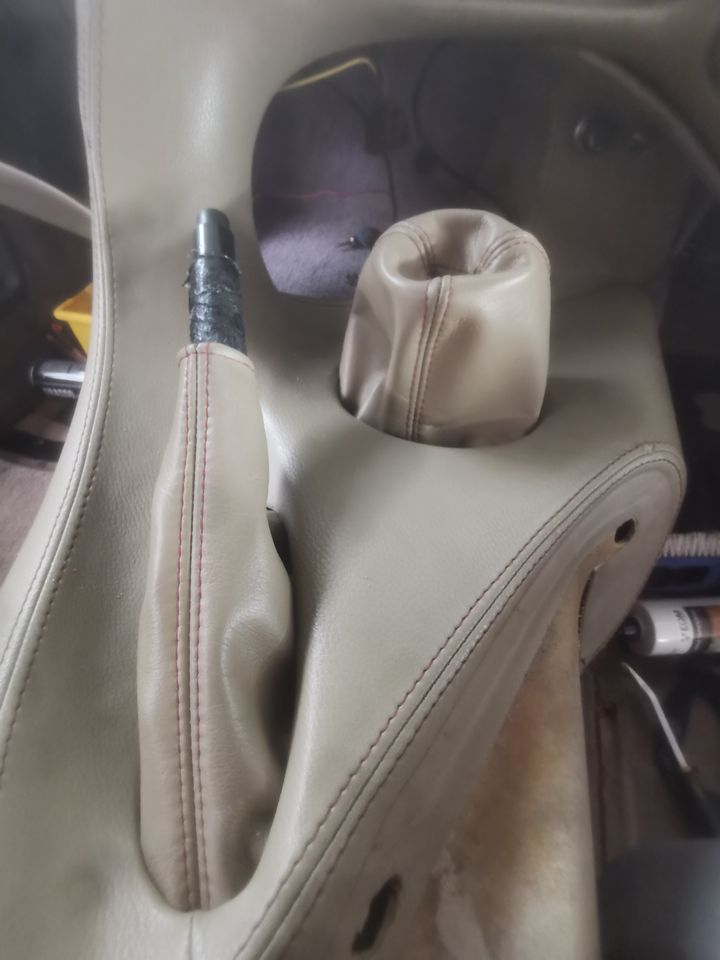
New hanbrake and gearbox gaitors.
Made using the rear of seats cushion for a perfect leather march
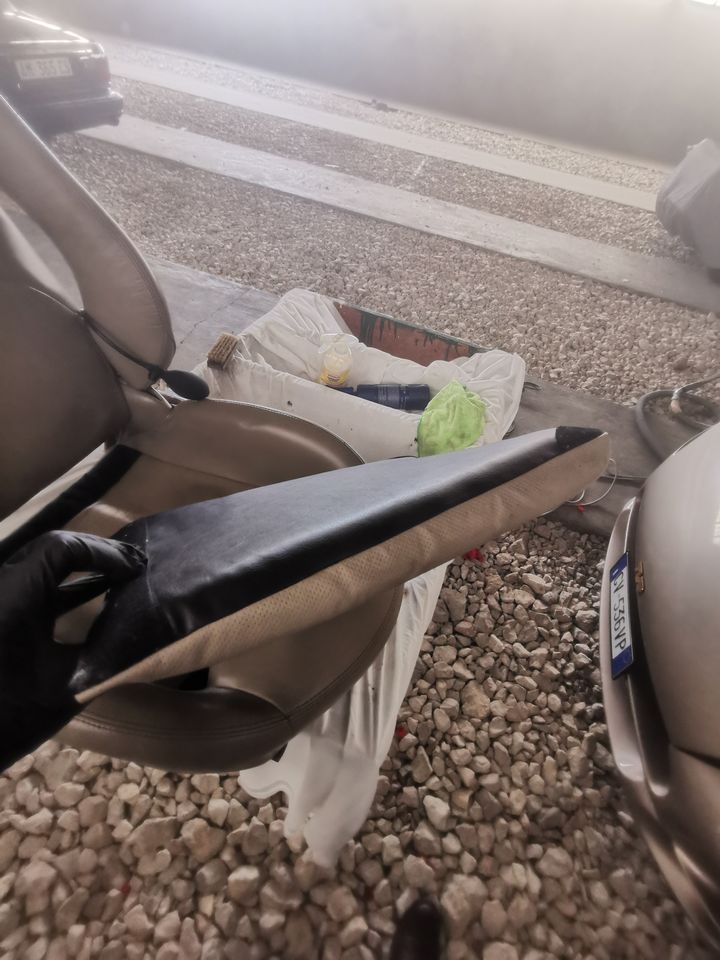
Here the new black back of the cushion (which are re foaming now)
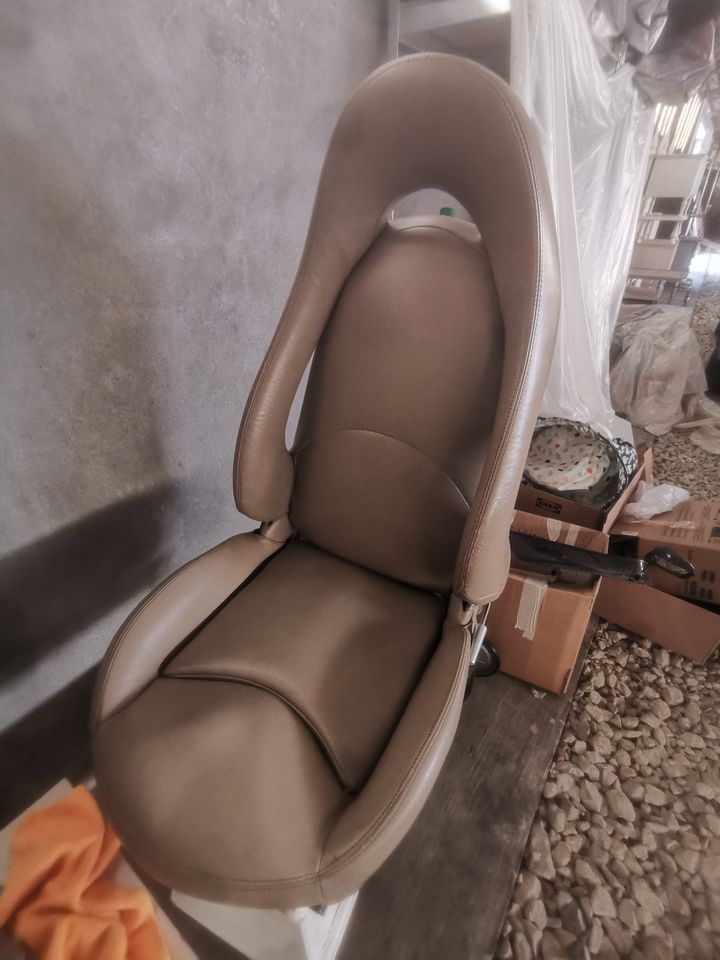
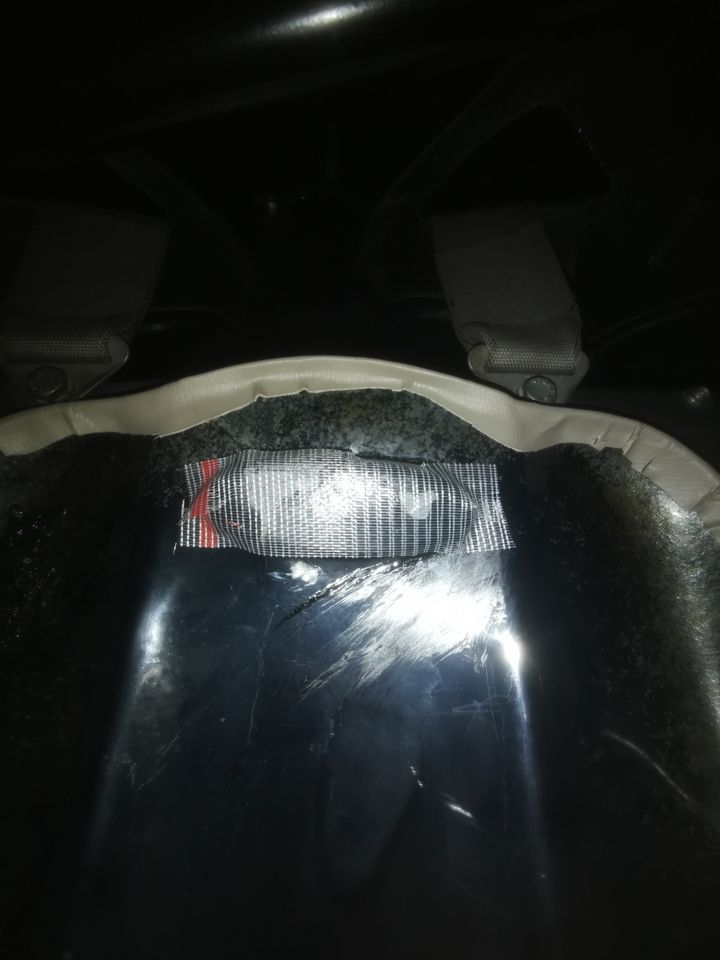
Seats now clean and repaired where possible (for example I re glued the lumbar support and repair some rear shed broken point
Hear you soon for others stuff...
Some update waiting for the gearbox....
New rubber gaitor
New hanbrake and gearbox gaitors.
Made using the rear of seats cushion for a perfect leather march
Here the new black back of the cushion (which are re foaming now)
Seats now clean and repaired where possible (for example I re glued the lumbar support and repair some rear shed broken point
Hear you soon for others stuff...
Edited by Andrea7 on Friday 22 November 20:16
Andrea7 said:
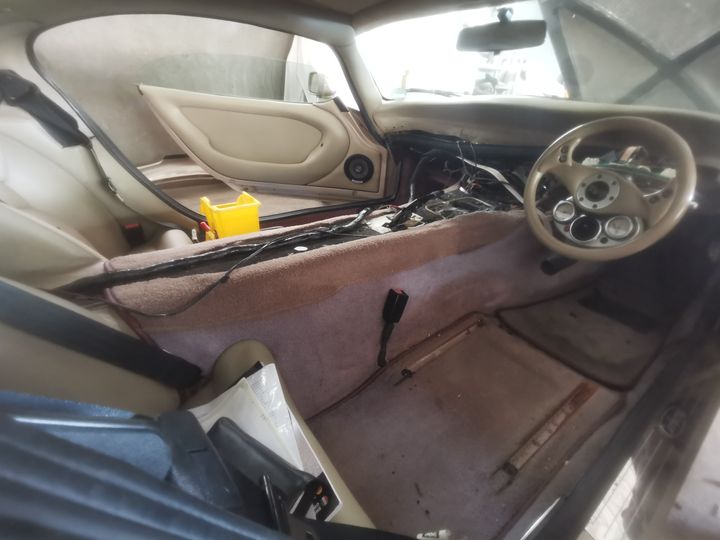
I also discovered that the rotary switch under the steering column it's a momentary switch for the wipers.
I adapted an aluminium knob from a potenziometer which looks good with the others alu bits
WTF? Really?I adapted an aluminium knob from a potenziometer which looks good with the others alu bits
Well done for discovering in 12 weeks (or thereabouts) something I had no idea about after 12 years
Is that in the drivers handbook?
ukkid35 said:
Andrea7 said:
I also discovered that the rotary switch under the steering column it's a momentary switch for the wipers.
I adapted an aluminium knob from a potenziometer which looks good with the others alu bits
WTF? Really?I adapted an aluminium knob from a potenziometer which looks good with the others alu bits
Well done for discovering in 12 weeks (or thereabouts) something I had no idea about after 12 years
Is that in the drivers handbook?
I know for sure that TVR fitted to the steering column shroud a wiper delay potentiometer but not sure mine it is too.
I found only this but seems slightly different:
https://motaclan.com/product/potentiometer-wiper-d...
I have to do some tests when I'll reconnect the battety.
ukkid35 said:
Andrea7 said:
I also discovered that the rotary switch under the steering column it's a momentary switch for the wipers.
I adapted an aluminium knob from a potenziometer which looks good with the others alu bits
WTF? Really?I adapted an aluminium knob from a potenziometer which looks good with the others alu bits
Well done for discovering in 12 weeks (or thereabouts) something I had no idea about after 12 years
Is that in the drivers handbook?
Byker28i said:
ukkid35 said:
Andrea7 said:
I also discovered that the rotary switch under the steering column it's a momentary switch for the wipers.
I adapted an aluminium knob from a potenziometer which looks good with the others alu bits
WTF? Really?I adapted an aluminium knob from a potenziometer which looks good with the others alu bits
Well done for discovering in 12 weeks (or thereabouts) something I had no idea about after 12 years
Is that in the drivers handbook?
Andrea7 said:
Hi all.
A little update....
After some work here the result.
Meanwhile I'm cleaning, repairing, updating everything I can....
Here you soon....
Hey AndreaA little update....
After some work here the result.
Meanwhile I'm cleaning, repairing, updating everything I can....
Here you soon....
How difficult were the seats to get out and what was the best way of doing that?
Need to remove mine as the adjustment handle is bust and the seats need adjusting!
Thanks
Alex
Easiest part of the work.
BUT:
-Spray nuts with WD40 several times before
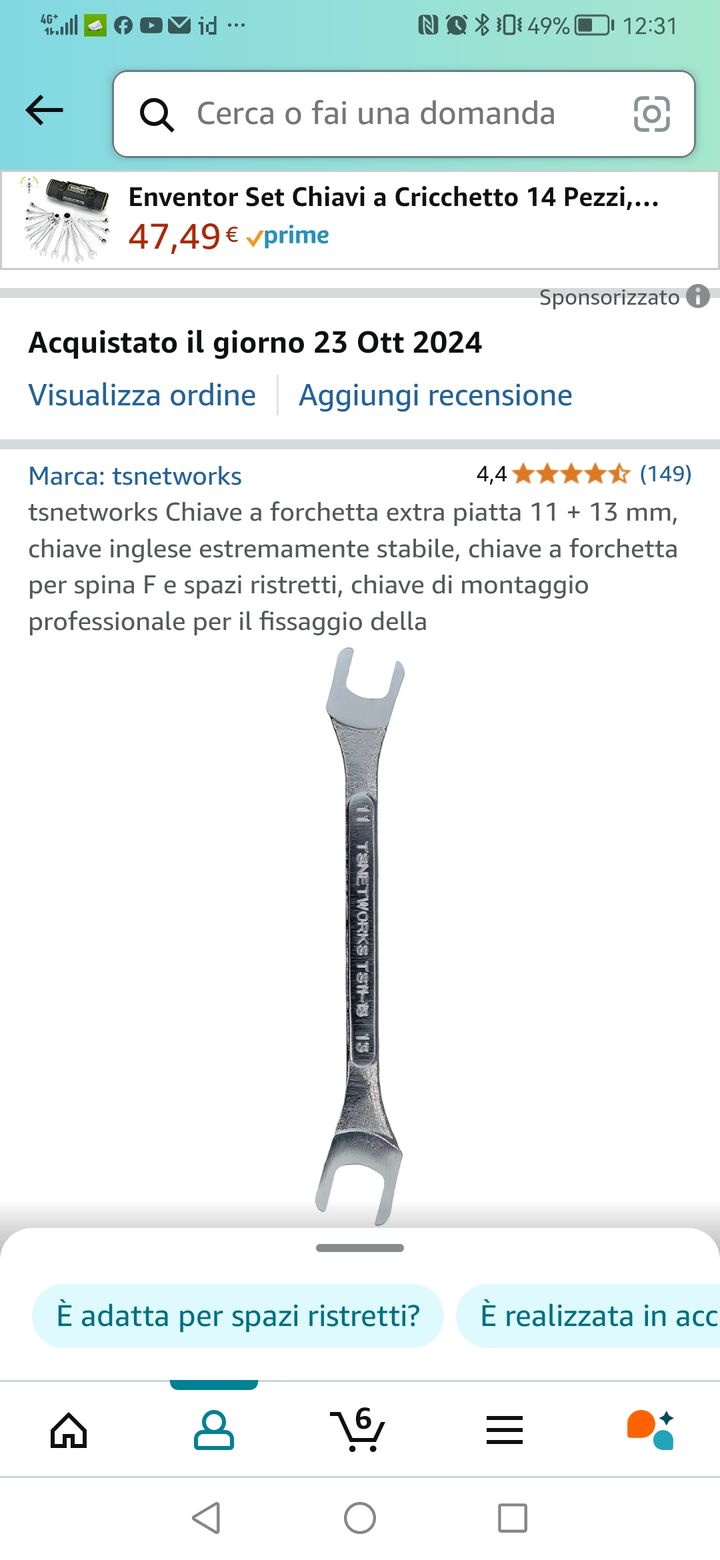
-Buy a 13" special spanner like this that could fit inside seats rail to lock bolts:
Some bolts maybe could be stuck and/or bend.
In the worst case you could use the flex to cut it.
I replaced old bolt and nut with new steel ones
BUT:
-Spray nuts with WD40 several times before
-Buy a 13" special spanner like this that could fit inside seats rail to lock bolts:
Some bolts maybe could be stuck and/or bend.
In the worst case you could use the flex to cut it.
I replaced old bolt and nut with new steel ones
Edited by Andrea7 on Friday 29th November 11:34
Andrea7 said:
-Buy a 13" special spanner like this that could fit inside seats rail to lock bolts:
Thanks Andrea - that skinny spanner looks perfect as I was wondering how to stop the bolts from spinning in the seat rails 
Amazon UK have similar from tsnetworks (the wonders of Google image search) so will order one of those

Edited by Juddder on Friday 29th November 16:05
The way I stop the bolts spinning is to use fully threaded bolts and fixed them with one nut on the rear and two nuts on the front.
This does three things:
1. Holds the bolts in place while they are fixed from below making fitting a simple one-man job.
2. Lifts the seats up away from the carpet nap so the runners actually work.
3. Tilts the seats back slightly which is a better position in my humble opinion.
I also fit a 50mm penny / repair washer between the carpet and the locking nuts.
ETA: I've done this on the cars that the seats are fitted to the GRP tub (S and Wedge). The T-cars have the seats fitted to the chassis - for this I used spacers as there is better access to the fixing bolts in the runners. I don't know how the Cerb seats (either type) are fitted to the car.
Edited by mk1fan on Friday 29th November 17:39
Gassing Station | Cerbera | Top of Page | What's New | My Stuff