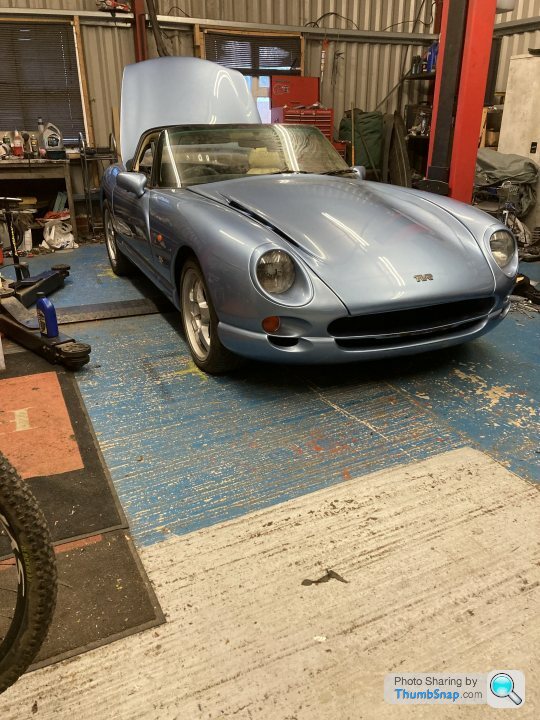
Another body off thread.
Discussion


phazed said:
Well done Alun!
A proud moment.......very happy for you.
Thanks Peter. A proud moment.......very happy for you.
It felt more like building a race car with 3 weeks to go before the start of the season in so many ways. Time of year for one.
I thought as it took me one week to separate body it would take two to rebuild it and I’m not far off as I couldn’t work both Mondays these last two weeks.
But I also did repairs and a day cleaning off corrosion which was mighty on the engine. Ruined it really as it just looks old now but chassis is solid and I will protect it and use the car galore I hope.
I’ll keep it clean but all that show car lark. I’m done with that. Still a work in progress as I should get shocks and interior done next

Classic Chim said:
Somethings always on my mind.
I’m an ok builder with data. I’m not the most clued up mechanic by a long stroke.
Question if I may.
Fuel regulator.
Does the small hose that comes off this vent to air or connect to something.
Thanks for all the advice
Mine attaches to the rear of the alloy lump to which my stepper motor used to be screwed in (if you see what I mean).I’m an ok builder with data. I’m not the most clued up mechanic by a long stroke.
Question if I may.
Fuel regulator.
Does the small hose that comes off this vent to air or connect to something.
Thanks for all the advice
There's a brass plug where my stepper used to be.
Paul Goldstar said:
Nice work Alun.
Thanks Paul. I feel honoured to have joined the ( practical ) BODY OFF group of owners who have done this job.
As with everything I could have done a lot more but this last year made me look at what was really necessary rather than what would only really amounted to a few more shiny bolts.
I have a word of warning regarding replacement modern bolts. Beware they are quality. 8 years ago I replaced all the suspension and steering bolts at the front as a kit.
All of those bolts were corroded though I’d used lots of copper slip and losing there coating, furring.
All the originals on the front from years ago are all intact with no corrosion down the shanks and never appear seized when loosening them.
The rears are exactly the same. I will find a photo sometime.
So not all things are pretty but they are sound and will last longer is my belief.
I’ll know when I’ve added another 20,000 miles

lancepar said:

On my Chim' the small pipe from the pressure regulator to the stepper housing needed a tee in it and extra pipe to connect it to the Megasquirt ECU throught the bulkhead, Does your ignition system need the same? Any lengths of small pipe left over?

I’m pretty sure it goes as Qbee says as I’ve not got a T piece.
I’ll check with Powers MBE guru guys at Powers to be sure so thanks for that info.
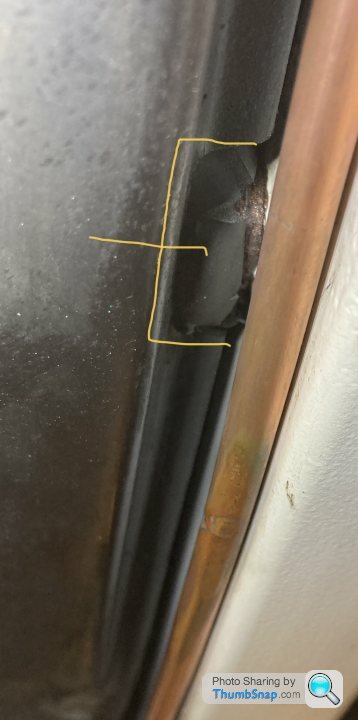
One part of the rebuild I never looked forward to was fitting seat belt anchor bolts through the body to chassis. How to seal a gaping hole.
Following from another Tve builders idea I made some rubber sections /gaskets to seal them from the inside first as detailed a few days ago in this thread.
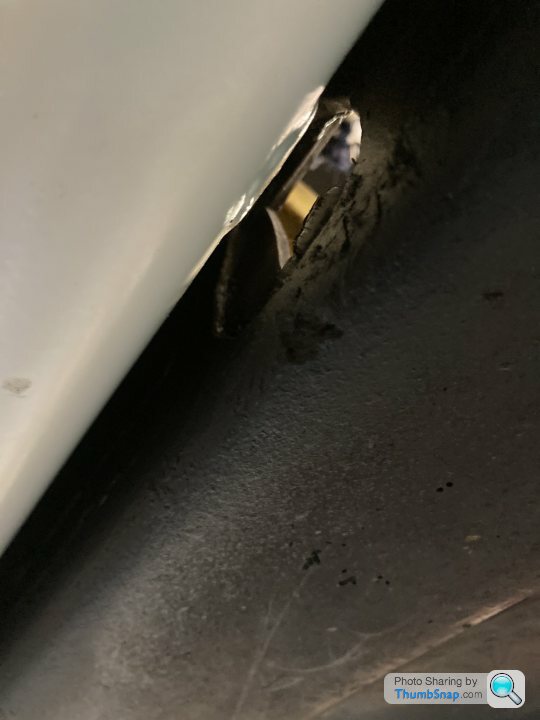
So having cut square holes slightly larger than bolts then adding bush and seat belt arm tightening them up the bush pushes through and bulges the rubber around them nicely. Remember the bolt is pulled until bush is tight against chassis, you can see copper grease where it sits. I wiped this grease away then set about using a thin nozzle to pump mastic up and around this rubber and body.
As you can see from one picture here the opening is large. My rubber pad mastic from inside the car gives a decent surface to now finish off sealing in and around that hole.
I might aswell seal in the bolt as let it rust so it’s a matter of cutting off mastic in future if and when you get in there. Slightly Heath Robinson but mastic gone off then cut correctly would come off in one large lump mostly. Easier than rusted in bolts.
That’s my plan and I hope it stops water ingress mostly.
Following from another Tve builders idea I made some rubber sections /gaskets to seal them from the inside first as detailed a few days ago in this thread.
So having cut square holes slightly larger than bolts then adding bush and seat belt arm tightening them up the bush pushes through and bulges the rubber around them nicely. Remember the bolt is pulled until bush is tight against chassis, you can see copper grease where it sits. I wiped this grease away then set about using a thin nozzle to pump mastic up and around this rubber and body.
As you can see from one picture here the opening is large. My rubber pad mastic from inside the car gives a decent surface to now finish off sealing in and around that hole.
I might aswell seal in the bolt as let it rust so it’s a matter of cutting off mastic in future if and when you get in there. Slightly Heath Robinson but mastic gone off then cut correctly would come off in one large lump mostly. Easier than rusted in bolts.
That’s my plan and I hope it stops water ingress mostly.
TVRSJW said:
Fantastic job ! Alun ! Glad it’s ready to use !
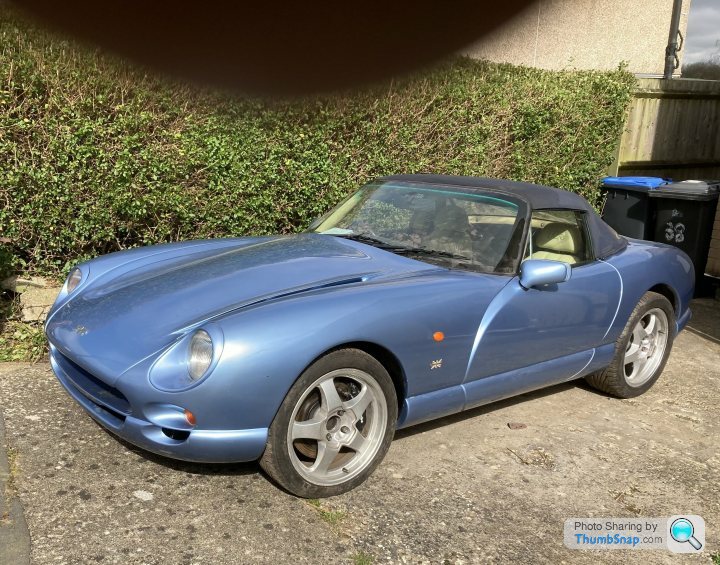
Thanks and yes close now. Need geo setting and headlight reflectors which I have tucked away and a couple of front tyres for MOT and hopefully she starts a new chapter. Car is awaiting trailer which should mean I bring it home tomorrow now and not a moment too soon.
Thanks gents. Good man Dave. That’s a bit of inspiration right there
That will be great that. When we met your car was still a dream in a way and no engine and mine well I’m just surprised we didn’t fall out of it
Both cars have taken a fair leap forwards.
Alan with your own space it’s great fun. I’d buy another tomorrow If I had a decent space.
It’s really basic in so many ways.
I only made one tool for manifold bolts and the rest is just quality spanners etc.
It says something that I left a few jobs until last.
Steering arm (wrong ) connect it to rack early on as its a nightmare when you have put Y piece in etc first. I can not get the arm on both ends of the splines without first loosening rack bolts and pushing it forwards which is not so simple all connected up!
Handbrake cable and lever. Almost the last thing I did I was dreading it so much.
Obviously connected to calipers and tracked to gearbox area while body was off so easy and infact I’d cleaned out threads in chassis first and connected up handbrake no problem. 20mins later all adjusted up using feel!
My handbrake works on the principle 3 clicks and it’s binding, 4th and its gripping the wheels but requires probably 25 ft of arm torque to pull it upto to forth click so i replicates it’s old feel and it’s perfect as I held it at a steep angle on tilt trailer no problem.
In fact using my vac pump I appear to have no air in my brakes as they are working too though This all needs checking once I have engine running. So a few bleed and leak checks to do once I fit clutch pipe hose and try and run her up.
That’s the acid test afterall.
She’s home though and what a relief. My son gave me a huge hug so somethings gone right lol

Boys we know it makes sense.
Two things
Firstly mechanics are hard hard men.
Secondly the epoxy paint is Quality.
It’s rock hard and as Chimp on Gas used to mention, it seems bonded in such a way as to be connected to the steel.
Sadly the painter was a bit blind but only on wishbones which are old anyway. I have 1/2 litre of paint left over so some final touch up here and there but the chassis looks mint underneath.
I dropped an open ended spanner 19mm clean off the rigger rail from 4 ft high with a very loud donk. Crapped myself then could not even find an imprint mark. It just bounced off.
It’s not like paint at all.
I think It should last really well.
I know this because if you don’t tap out every hole this paint has entered you will not get a bolt to enter it. Belt the bolt with a hammer to break the paint lock won’t work either.
On the smaller threads The paint will withstand the turning go tight and strip threads before you get through it.
Even with new quality taps this was a proper cutting operation.
I couldn’t believe how tight even the taps were. You could hear them cutting so 1/4 turn in 1/2 turn out or tap would bind and likely break as they were so tight.
Pure strength of the paint.
Another basic example was the handbrake handle bolts which I’d screwed into chassis before painting, I had those in a vice and wire brush for minutes to break the paint down! I almost gave in and looked for new bolts.
Amazing stuff.
Edited by Classic Chim on Monday 29th March 15:32
Gassing Station | Chimaera | Top of Page | What's New | My Stuff