Pro Street Style MGB GT
Discussion


Thanks Turn7....I think...
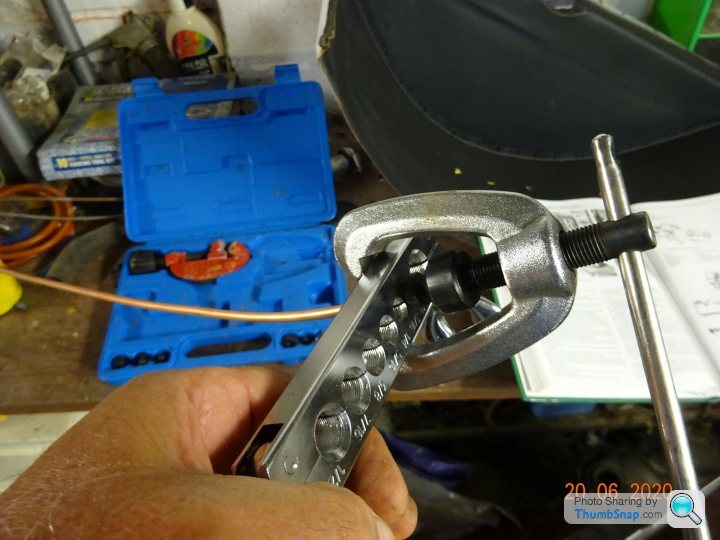
Needless to say the front brakes are also proving to be a saga. Remember that I am using a Midget front cross member with disc brake front hubs....I knew that I had a pair of stainless front flexi pipes which should connect to the hubs. Well they are nearly a pair, one has the correct banjo end fitting, the other has the straight fitting for Mk1 Sprite drum brakes.....Although it does fit, the angle is wrong. No problem, I need some more fittings, I will get a banjo to suit. Fortunately our local motor factors were open and I shouted across the 2m gap what I was trying to do and showed a fitting with the thread that I wanted. The assistant went "round the back" and finally returned with 4 male fittings...."Its all we've got, they are imperial and no-body wants them now...." "so you can take them"...which was a good, if partial, result! I've now ordered the missing(hopefully) parts from a Sprite specialist.
Of course one of the difficulties with this sort of project is that when you go to buy some parts, they go to the computer and say "what car is it for?"..".Its an MGBGT,.... with a Jaguar engine....and autogearbox....and XJ-S rear suspension......with MG Midget front suspension......"Ohhhh....what's the registration?......"
Edited by Flying Phil on Friday 19th June 19:27

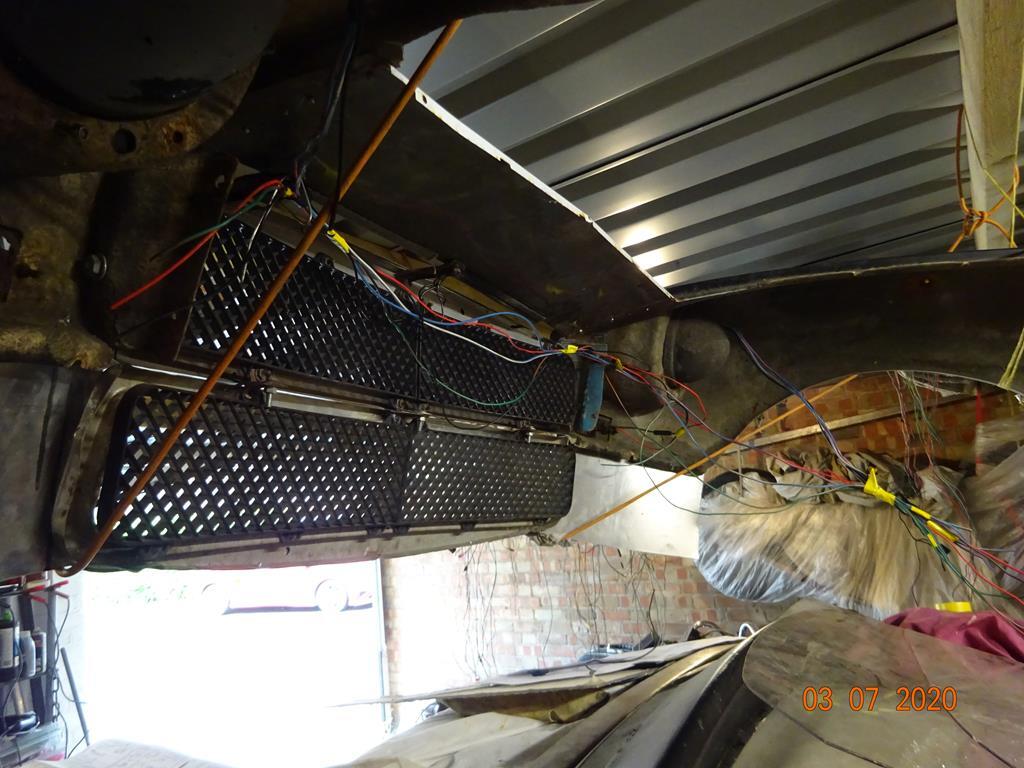
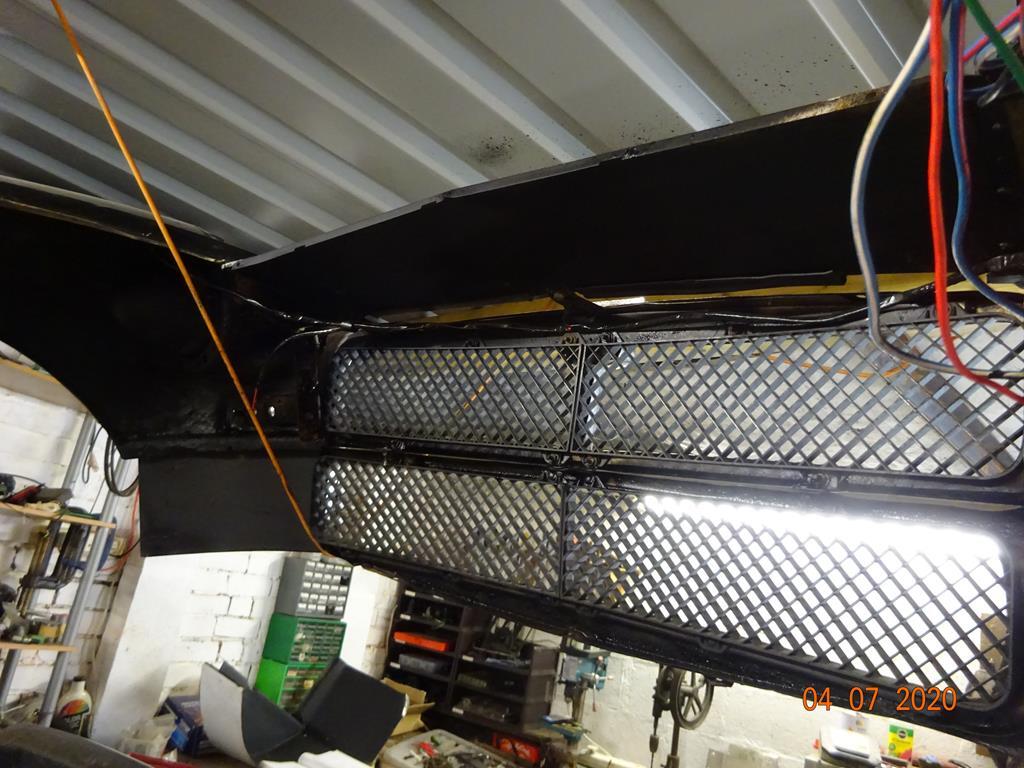
Good point e600 but as the feed pipes also come in from the top there will always be fluid above the bleed valve....also the "T" is where Jaguar placed it on the XJ-S. I did consider replacing the T with a four way and putting a bleed above but then thought it would get in the way of the aluminium sheetwork.

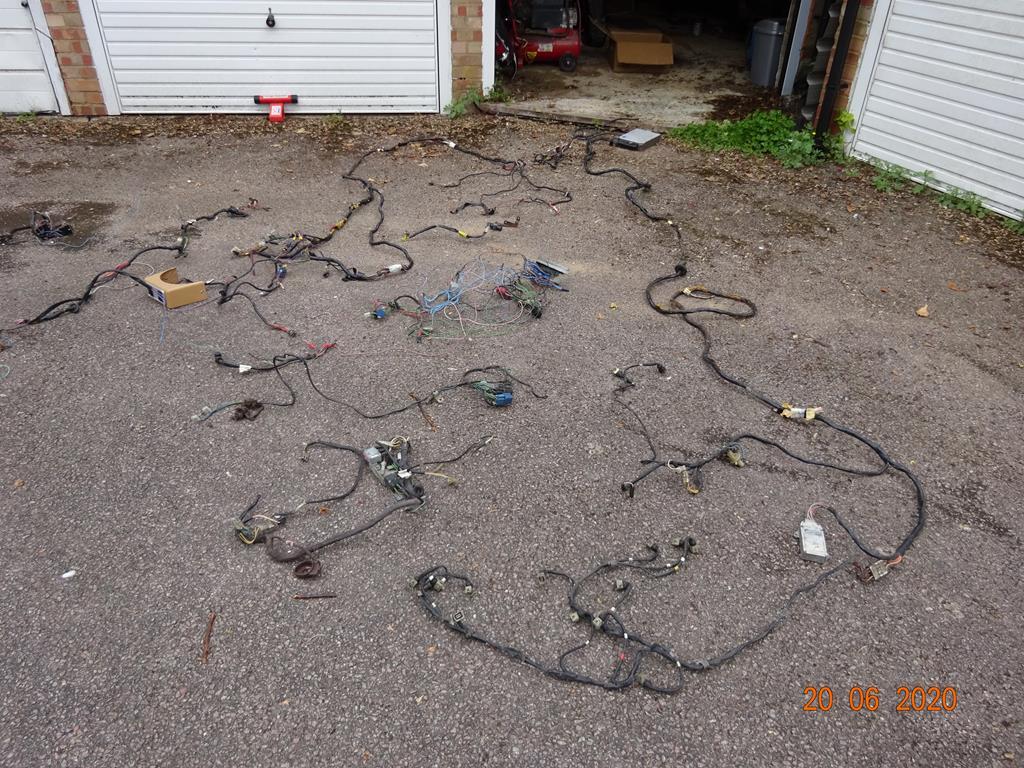
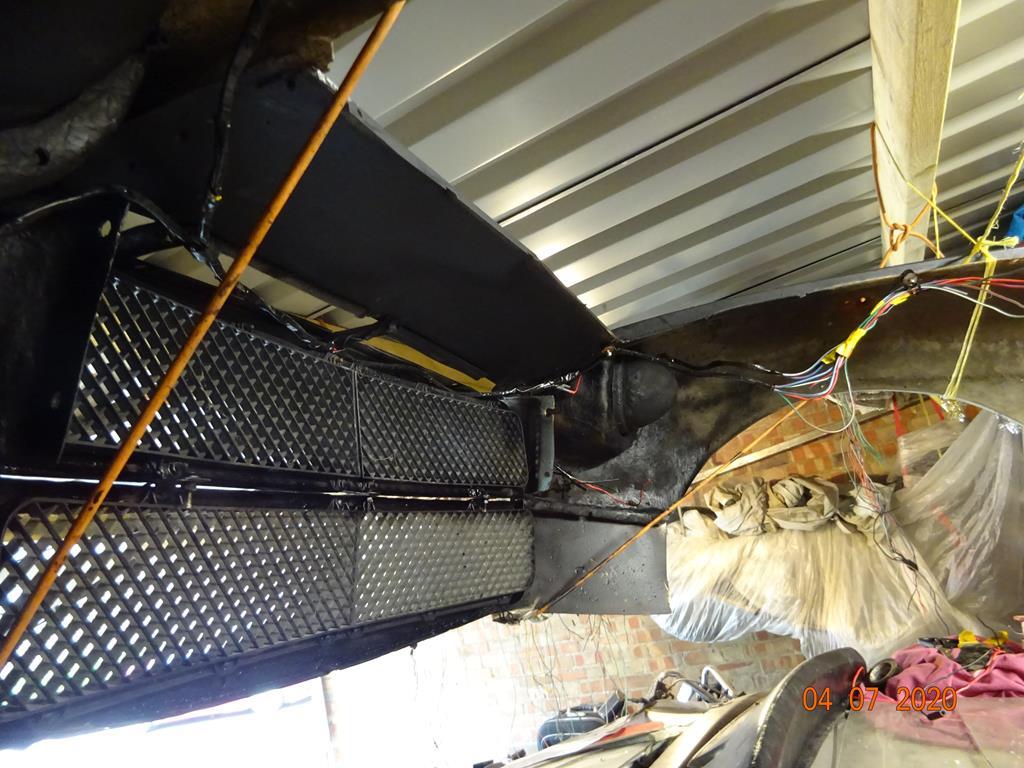
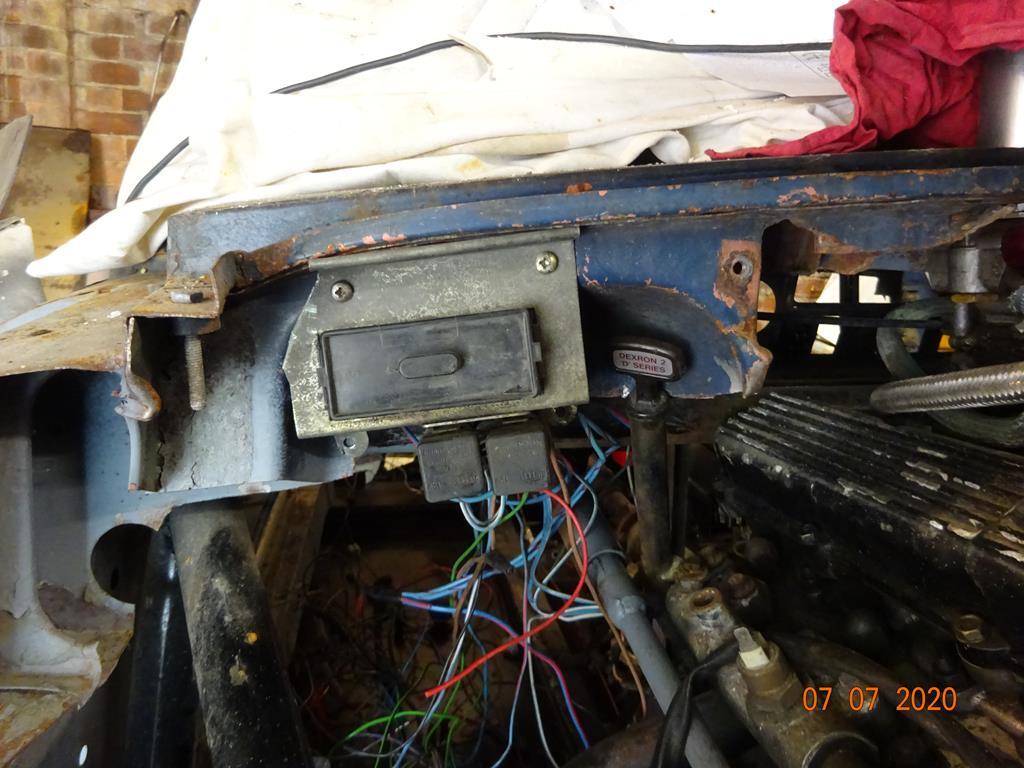
As the pipework is nearly finished the next job is to do some wiring....and I just love electrics...NOT! However I do have the loom from the donor XJ-S and so I thought that I could reuse some parts, of course it is not quite as simple as I had cut the loom to get it out...So I laid it out to see what was there.
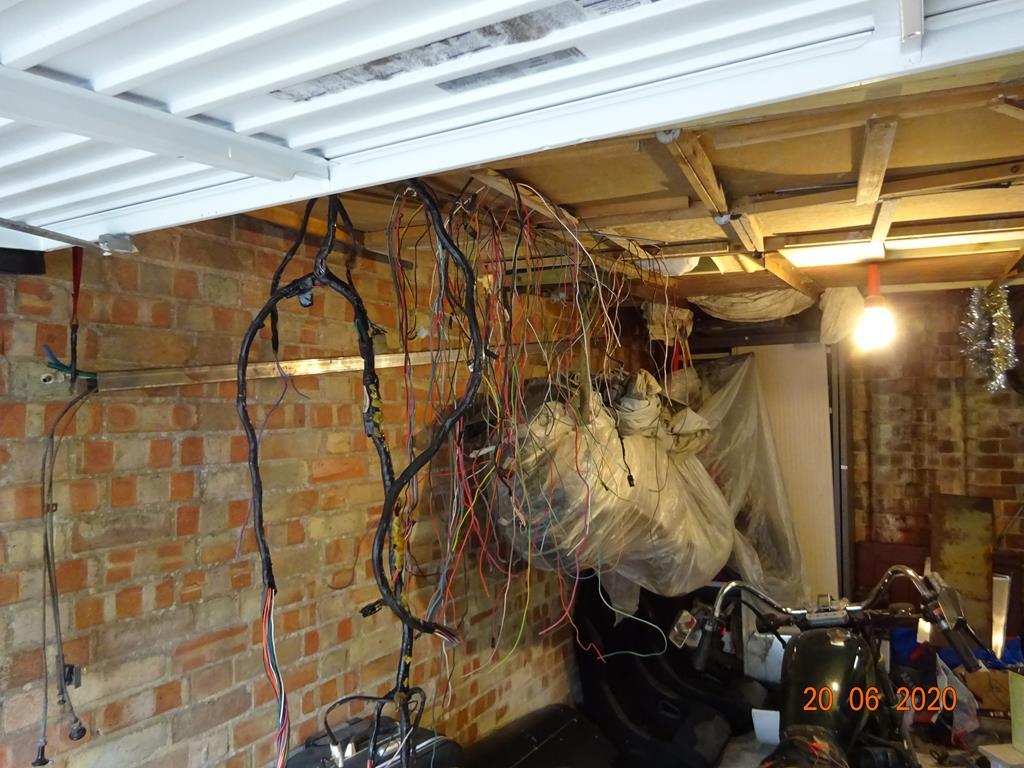

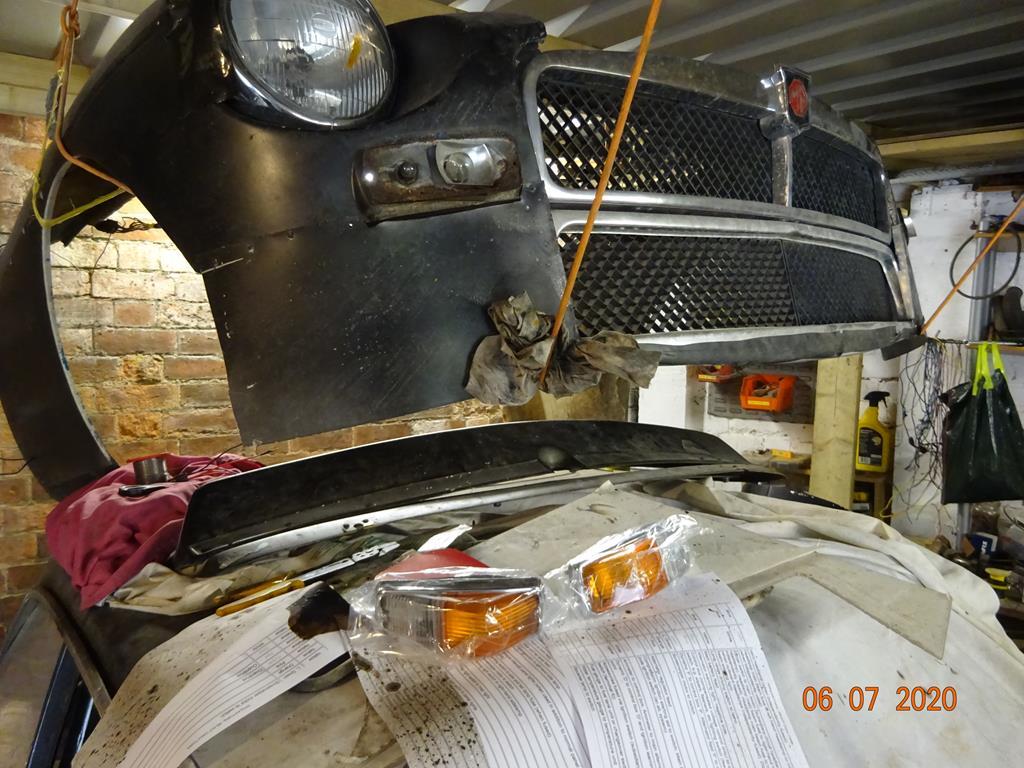
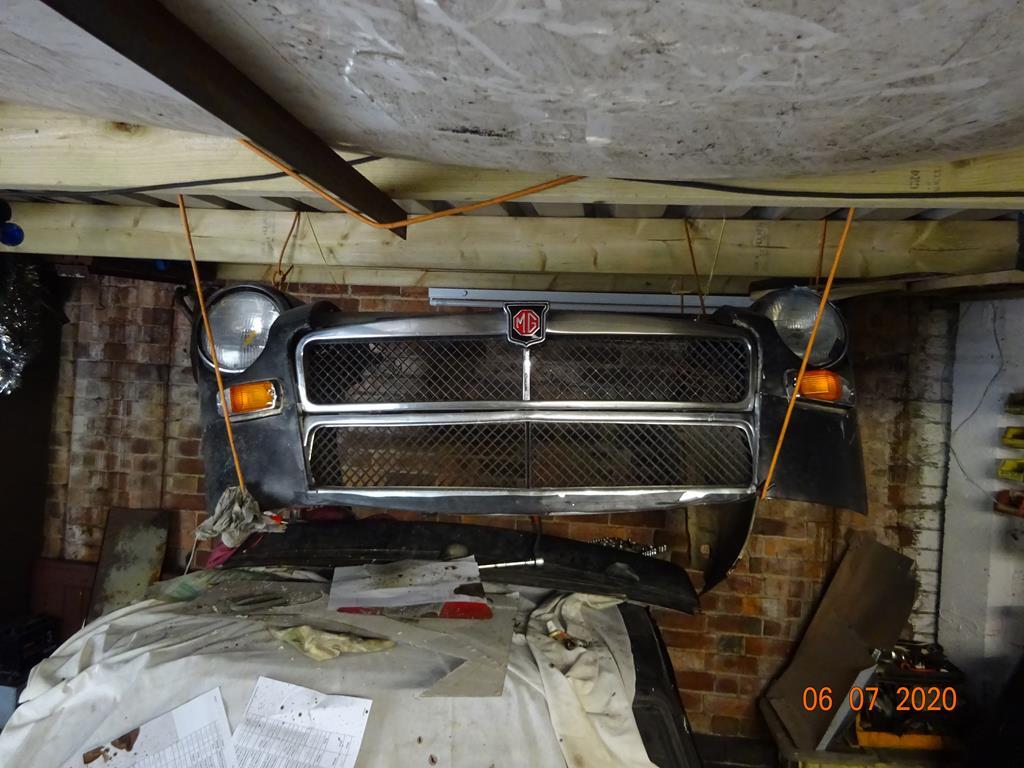
I've got quite a few working lights at the front now! Despite losing an earth connection, stripping a bit of the loom to find it, then discovering - eventually that, despite it looking and feeling connected - it wasn't....
Then I found a fuse box with the headlamp relays so I will try to use that as well. It still needs to be tidied up.
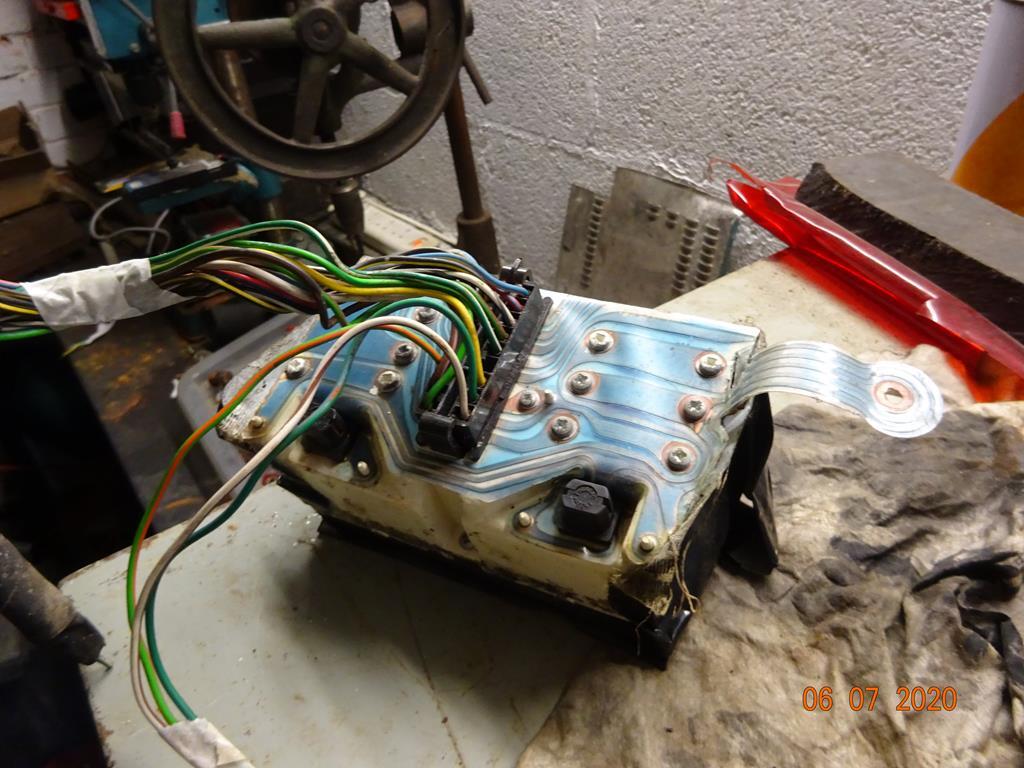
I also had an investigation of my XJ-S instruments (last seen in 2016!) and they now have internal lights and a bit of action.
Then I found a fuse box with the headlamp relays so I will try to use that as well. It still needs to be tidied up.
I also had an investigation of my XJ-S instruments (last seen in 2016!) and they now have internal lights and a bit of action.
Thanks Turn7
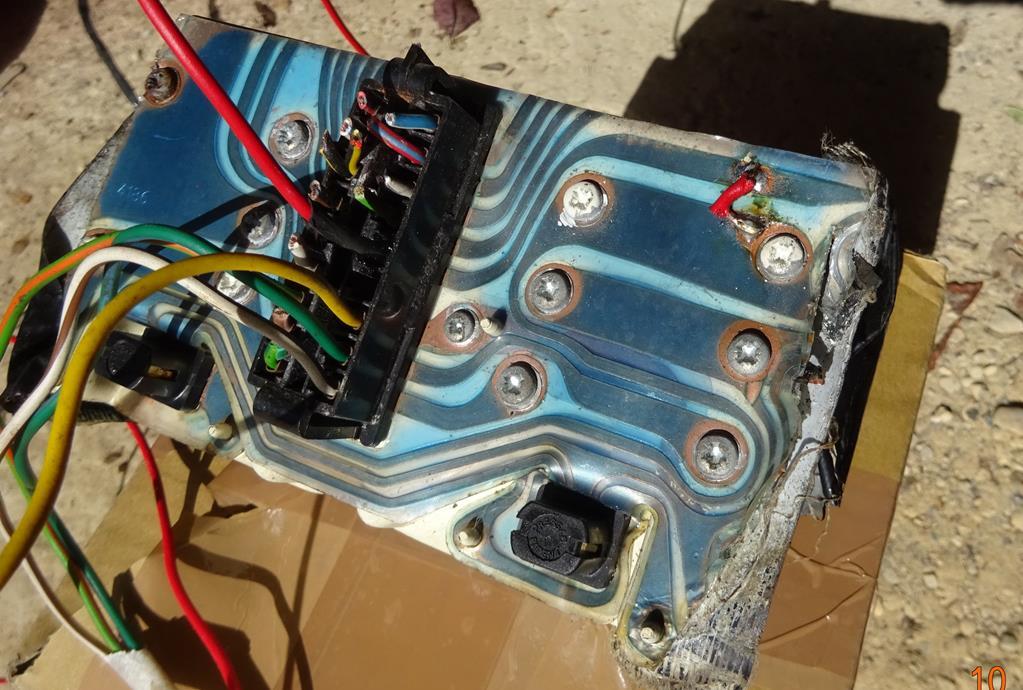
I experimented on a scrap bit of circuit foil and then tried it on the real thing. it is a bit untidy, but is connected and should prove reliable.
The new red wire in the terminal block goes into a strip which is bridged via the short red wire to the copper strip which goes to all four gauges.
I experimented on a scrap bit of circuit foil and then tried it on the real thing. it is a bit untidy, but is connected and should prove reliable.
The new red wire in the terminal block goes into a strip which is bridged via the short red wire to the copper strip which goes to all four gauges.
I've now added two more wires to the block and three more bridging wires, so the four instruments are all live, together with the panel lights. The next job is to find and connect the oil pressure and water temperature sensors on the engine. I have also got a working radiator fan...steady progress.

Gassing Station | MG | Top of Page | What's New | My Stuff