Mini 40 Restoration and Engine Rebuild
Discussion


I've just direct swapped my tidy 1993 Tahiti for my sister's rusty 125000 mile 40 as she wanted a simpler mini as the resto was beyond her current skill/time level (it is beyond mine too in fairness but I like a challenge!). All this is running parallel to a major house refurb also!
Basically, having stripped the car down, what's needed is a full new front end, doors and rear valance. All parts here and a MIG welder that I need to learn to use!
Following that, it's a full rebuild for the engine. I've got the Vizard book and the mini performance manual and also a bit of reading here has led me to the following spec ideas for a road car - please comment, I need advise!
1293 or 1330?
Piper 270i cam
Decent pistons (minispares mega?)
Grind/polish/balance crankshaft
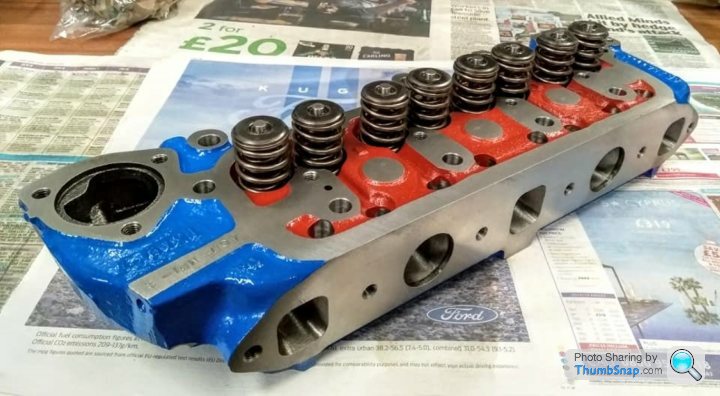
Work on the head in accordance with Vizard manual(possible DIY with compressor and die grinder?)
Intake system (not sure of possiblilites with MPI other than K&N filter in drilled airbox as Vizard - larger throttle body or whether stuck with the existing TB/intake manifolds?)
LCB and 1 3/4" exhaust with cat bypass pipe all stainless.
I'm an engine novice, only having been down as far as the cylinder head before but as an engineer (albeit a "civil") who has always worked on my cars I'm confident that with guidance and a methodical aproach that I can achieve a good result. Stuff I can't do is being sent to the local machining place I've been recommended ie crankshaft and block work, head skim.
You'll see my garage is pretty decent with a resin floor and painted walls, but obviously it's not dedicated to this build. The Vizard manual makes a strong case for cleanliness which I can understand totally and whilst my garage can be made clean it's no hospital! Will this be suitable with a stainless topped bench or engine stand?
I'll try and do a resto thread like a couple of the others here recently.
For the meantime, here's a couple of pics to start it off:
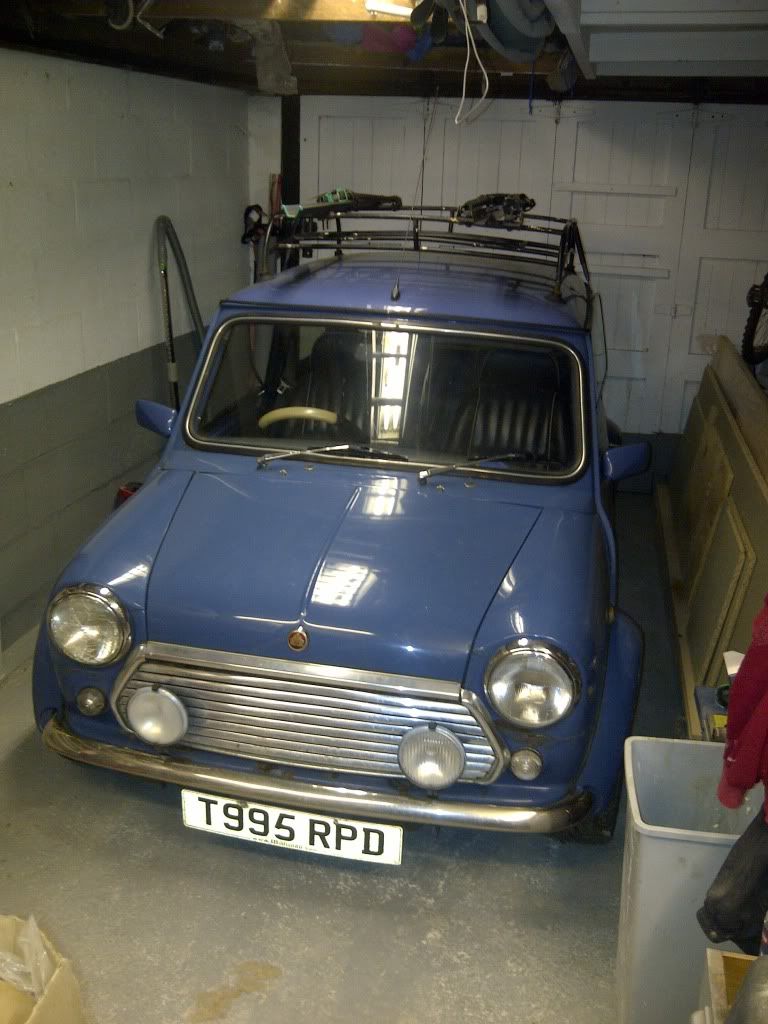
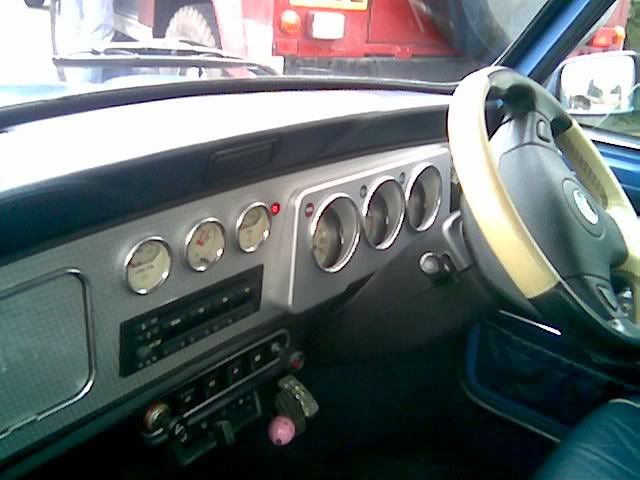
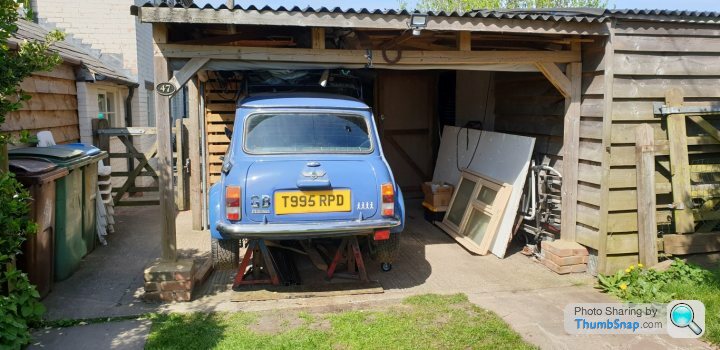
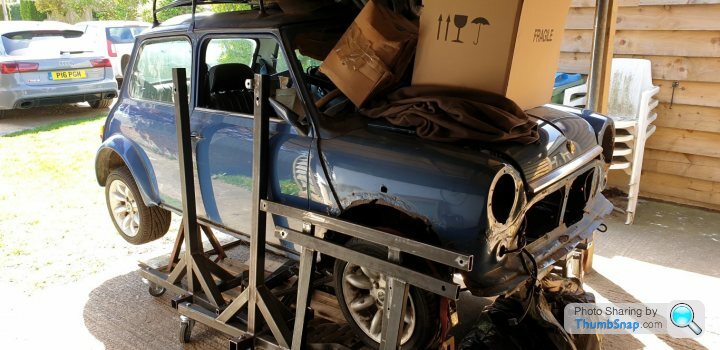
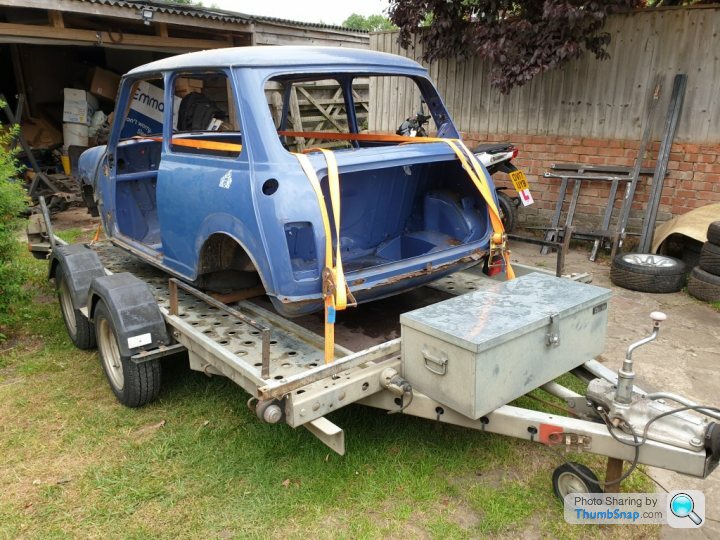
This is how it started
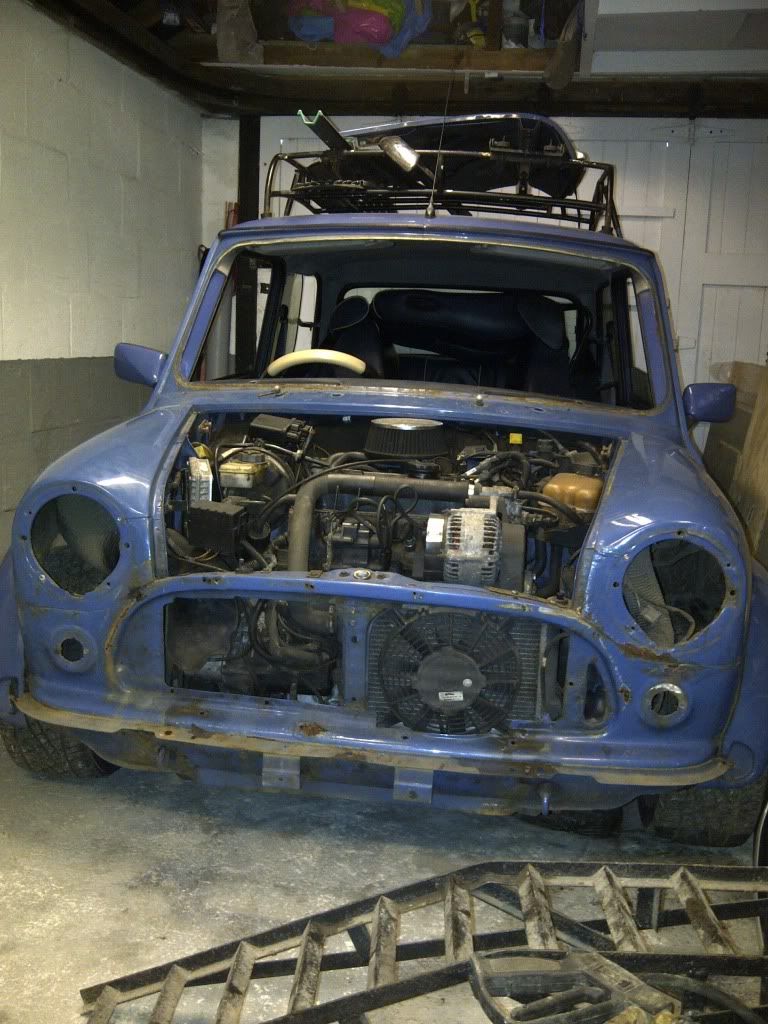
Starting stripping down

This has seen better days!
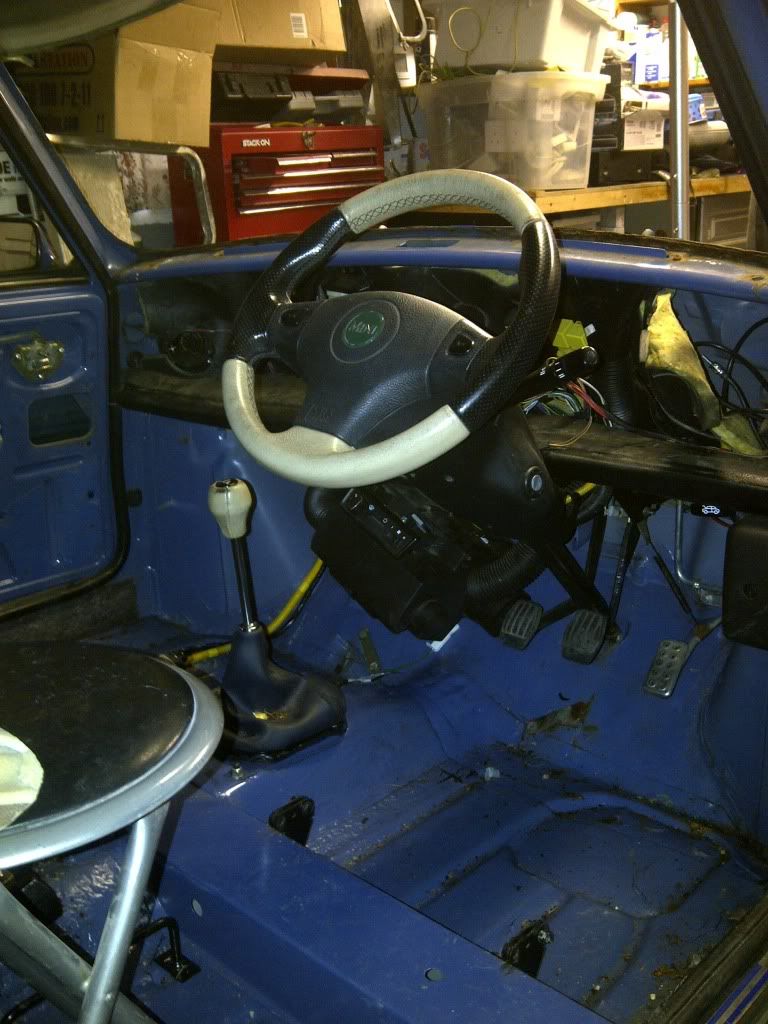
Interior - Floor is sound, luckily!

Dried the carpets out in the house over Christmas, my wife is over the moon!
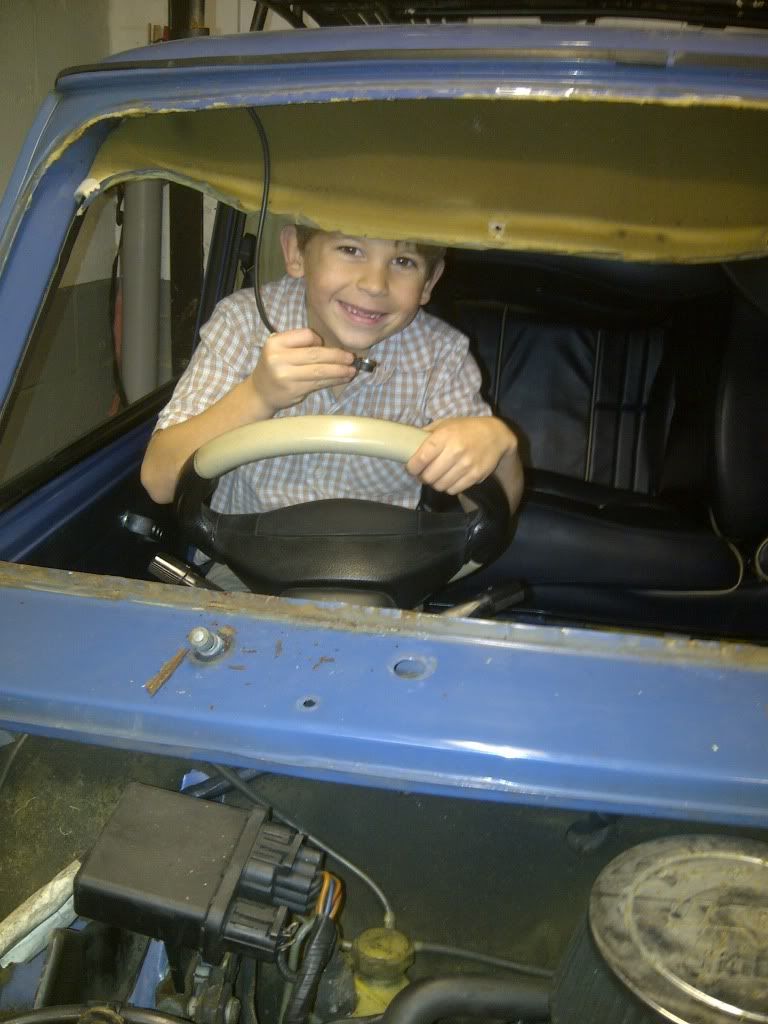
My able assistant - he loves this project, hoping to have him welding soon!
That's it for now, any advice and comments welcome!
Basically, having stripped the car down, what's needed is a full new front end, doors and rear valance. All parts here and a MIG welder that I need to learn to use!
Following that, it's a full rebuild for the engine. I've got the Vizard book and the mini performance manual and also a bit of reading here has led me to the following spec ideas for a road car - please comment, I need advise!
1293 or 1330?
Piper 270i cam
Decent pistons (minispares mega?)
Grind/polish/balance crankshaft
Work on the head in accordance with Vizard manual(possible DIY with compressor and die grinder?)
Intake system (not sure of possiblilites with MPI other than K&N filter in drilled airbox as Vizard - larger throttle body or whether stuck with the existing TB/intake manifolds?)
LCB and 1 3/4" exhaust with cat bypass pipe all stainless.
I'm an engine novice, only having been down as far as the cylinder head before but as an engineer (albeit a "civil") who has always worked on my cars I'm confident that with guidance and a methodical aproach that I can achieve a good result. Stuff I can't do is being sent to the local machining place I've been recommended ie crankshaft and block work, head skim.
You'll see my garage is pretty decent with a resin floor and painted walls, but obviously it's not dedicated to this build. The Vizard manual makes a strong case for cleanliness which I can understand totally and whilst my garage can be made clean it's no hospital! Will this be suitable with a stainless topped bench or engine stand?
I'll try and do a resto thread like a couple of the others here recently.
For the meantime, here's a couple of pics to start it off:
This is how it started
Starting stripping down
This has seen better days!
Interior - Floor is sound, luckily!
Dried the carpets out in the house over Christmas, my wife is over the moon!
My able assistant - he loves this project, hoping to have him welding soon!
That's it for now, any advice and comments welcome!
Edited by PGM on Friday 3rd February 11:40
Personally if I had the budget and time to do it.
A+ 1275cc carb, overbore +20thou 1293cc
Mega pistons
balanced crank
276 kent cam
fast road head/ stage three spec.. etcetra
1 3/4 " SS carb
1:5:1 roller rockers.
1 3/4" rolled tip stainless LCB playmini exhaust +cat bypass
Makes a good road car....
A+ 1275cc carb, overbore +20thou 1293cc
Mega pistons
balanced crank
276 kent cam
fast road head/ stage three spec.. etcetra
1 3/4 " SS carb
1:5:1 roller rockers.
1 3/4" rolled tip stainless LCB playmini exhaust +cat bypass
Makes a good road car....

Im just doing something similar. Just building a 1293 now. Dont go bigger than 1293 if that is your next possible rebore size. It seems like a good idea to jump up to 1380 for more CCs but consider the life of the engine and how many rebores it has left at 1293 and at 1380.
Im using Hepolite dished pistons, Kent 286, Benross ported head with all the usual mods, centre main strap, rebuilt standard gearbox etc.
Some hints from my experience.
If the engine parts are going to stand for any length of time before building them, make sure you oil them and wrap up in VCI paper or at least oiled newspaper and some kind of covers like old shirts. They rust very quickly and your nicely polished crank journals will soon go pitted and black.
If youre not going for massive power, just use AE Hepolite Pistons rather than going for expensive forged ones.
Same goes for the rest of the build. Spend what you can on getting good quality parts all round rather than going for highest performance stuff and compromising on other areas. Like building an absolute snorter of an engine then putting it back on an old, used standard gearbox.
Assembling the A series is simple enough, but yes you must keep the environment as clean as possible. Ive got an engine stand but Ive got a Honda K20a VTEC on there now which seems to have taken permanent residence so the A series is being built on the work bench. I just make sure its properly covered when its left and give it a good wipe down then oil every time I start work. Before assembling anything check it for dirt 3 times. Have a tin of brake and clutch cleaner to hand and give components a squirt and wipe down before assembly. Also, clean/wire brush/ grind away from the engine build area.
Id also recommend watching some videos on Youtube. Haynes manuals are as mystifying as ever and other books don’t go into the little details which can ruin your day. Such as putting the piston/ conrod in and not covering up the big end studs with tape. The stud then contacts with the big end journal putting a dent into it.
Also, id do some careful costing and set a budget. Check out exactly what you need and do a spreadsheet. I didn’t do this and went into it with the view that mini parts are cheap so it wont cost much.
Some rough costs Ive built up so far (rough as Ive been doing this for 2 years on and off now so my mind is hazy)
Cylinder head work - £400
Block/ Crank machine work - £250
Bearings - £60
Pistons+rings - £300
Gasket Set - £15
Misc Engine fixings/ studs/ bolts etc - £30
Gearbox Rebuild - £250
Timing chain - £6.50
Replacement parts (Timing cover, conversions case etc) - £65
So would it be cheaper buying a good second hand engine from a known source?
Next thing to look at is the specialist tools youre going to need.
Apart from the usual spanners, sockets, hammers etc you’re going to need some decent measuring gear if you plan on doing a good job.
Micrometers
Dial Indicator (Cam Timing)
Depth Gauge
Plasti Gauge
Vernier Callipers
Bore Gauge
Pipette and measuring cylinder (working out combustion chamber size.
Then for the rebuild
Ideally an engine stand
Piston ring compressor
Flywheel puller
Drifts for gearbox bearings
Valve spring compressor
Im sure there is more, but that gives you a basic idea.
Many thanks for those pointers, very useful and all makes perfect sense. I must admit I was thinking without budgets due to the relatively low parts prices but it's surprising how it all mounts up and I'd like to keep it on the right side cost wise.
I'd like to keep the original engine so numbers are all matching as it's a special editino and am leaning to the 1293 for the reasons you mention giving me more future options.
I'd like to keep the original engine so numbers are all matching as it's a special editino and am leaning to the 1293 for the reasons you mention giving me more future options.


Nice car, very rare here in Denmark, only seen one.
I will strongly advice you to fit a set of innerwings, when you are done.
Not only do they prevent mud & water to reach all the corners, so it rust again, but they also take a lot of the tyre noise, so the car gets more comfy to drive.
I will strongly advice you to fit a set of innerwings, when you are done.
Not only do they prevent mud & water to reach all the corners, so it rust again, but they also take a lot of the tyre noise, so the car gets more comfy to drive.
JC T ONE said:
Nice car, very rare here in Denmark, only seen one.
I will strongly advice you to fit a set of innerwings, when you are done.
Not only do they prevent mud & water to reach all the corners, so it rust again, but they also take a lot of the tyre noise, so the car gets more comfy to drive.
Thanks very much that is a good idea, do you mean steel ones or the plastic liners you can get - I had briefly looked at the plastic liners.I will strongly advice you to fit a set of innerwings, when you are done.
Not only do they prevent mud & water to reach all the corners, so it rust again, but they also take a lot of the tyre noise, so the car gets more comfy to drive.
PGM said:
Thanks very much that is a good idea, do you mean steel ones or the plastic liners you can get - I had briefly looked at the plastic liners.
Here in Denmark there is a company, that make them in Alloy, with rubber seals.These cost 70 pounds for a set (L+R) and they make them for all Mini types.
But in UK they have some in plastic, many years ago I bought a set called Camlo.
Another way to prevent rust, is to change the front screen rubber, back to the original type, so it sit in the recess, of the body, you dont get build up, of condensation under the rubber this way.
You can ofcourse fill the hollow space with window sealer (NO Silicone, as it makes the car rust VERY BADLY)
Edited by JC T ONE on Thursday 9th February 22:56
JC T ONE said:
Here in Denmark there is a company, that make them in Alloy, with rubber seals.
These cost 70 pounds for a set (L+R) and they make them for all Mini types.
But in UK they have some in plastic, many years ago I bought a set called Camlo.
Another way to prevent rust, is to change the front screen rubber, back to the original type, so it sit in the recess, of the body, you dont get build up, of condensation under the rubber this way.
You can ofcourse fill the hollow space with window sealer (NO Silicone, as it makes the car rust VERY BADLY)
Available from minisparesThese cost 70 pounds for a set (L+R) and they make them for all Mini types.
But in UK they have some in plastic, many years ago I bought a set called Camlo.
Another way to prevent rust, is to change the front screen rubber, back to the original type, so it sit in the recess, of the body, you dont get build up, of condensation under the rubber this way.
You can ofcourse fill the hollow space with window sealer (NO Silicone, as it makes the car rust VERY BADLY)
Edited by JC T ONE on Thursday 9th February 22:56
http://www.minispares.com/Product.aspx?ty=pb&p...
Or Dereks mini's
http://www.dereksminis.webeden.co.uk/#/for-sale/45...
Edited by R4NDY on Tuesday 14th February 00:45
Eb78 said:
Wow!
I’ve been reminiscing about my old cars and came across this. I was the 2nd owner of this car and sadly sold it on for a ‘family car’ I was wondering if you still have it and if your restoration is now complete?
Good to hear from you.I’ve been reminiscing about my old cars and came across this. I was the 2nd owner of this car and sadly sold it on for a ‘family car’ I was wondering if you still have it and if your restoration is now complete?
Yes we still have the car, restoration is ongoing as family life got in the way a bit over that time.
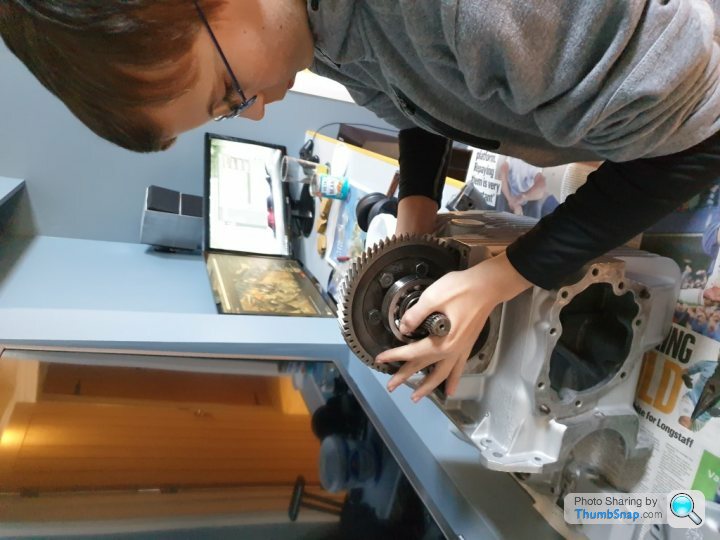
My son in the pictures has become very frustrated with the pace of this project so it's on fastrack now! He is now 16, has started a classic car restoration apprenticeship, he works for an Austin 7 specialist restoration company who do the whole car start to finish so our mini is over there as a bit of an after hours project. He's now got proper skills, technical backup and a workshop full of tools and equipment we can only dream of at home so the car's in the best place.
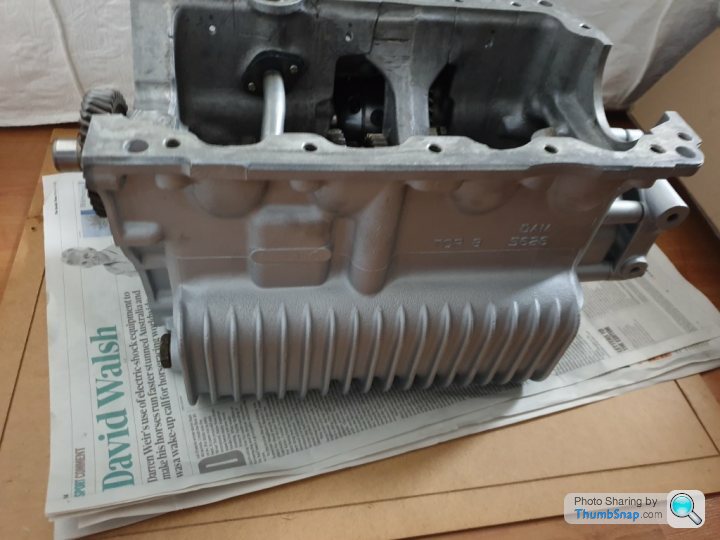
The engine and gearbox are pretty much complete now, just assembly and body stripped and just about to go to shotblast and etch prime. Then the bodywork starts.
Mechanical spec is as follows:
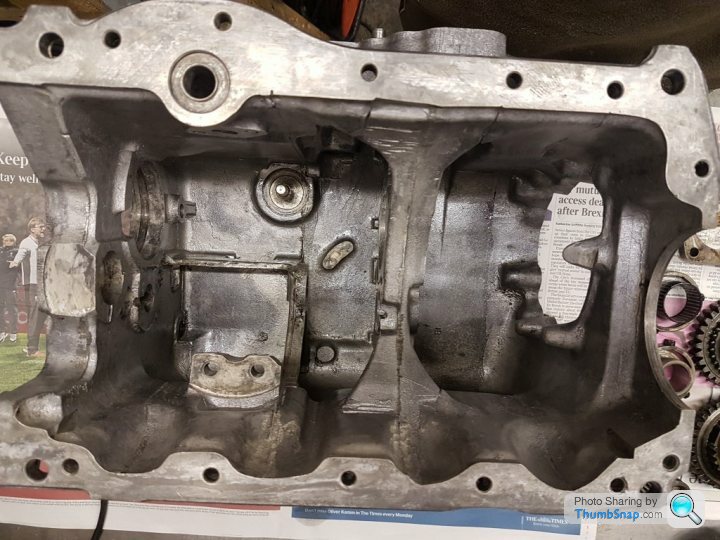
1330cc block with new cam bearings, fully cleaned and machined
Standard crank ground to +20
MED lightweight Clutch kit and ACDodd lightened, balanced and skimmed flywheel
Calver ST pistons
ARP conrod bolts
11 stud head
Duplex timing
Swiftune Mpi cam
MED 1.3 rockers
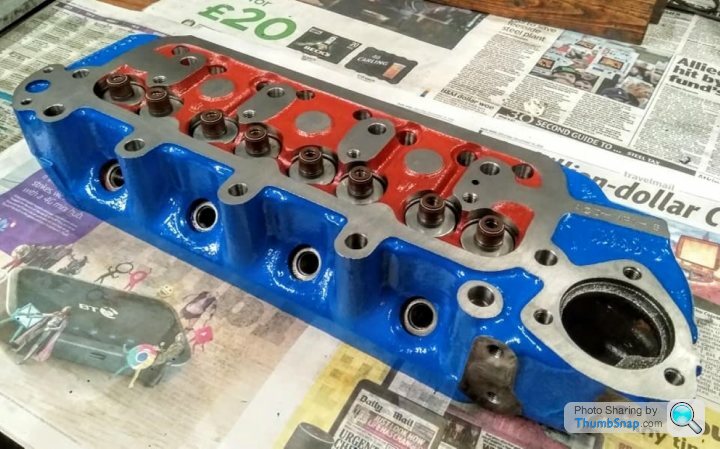
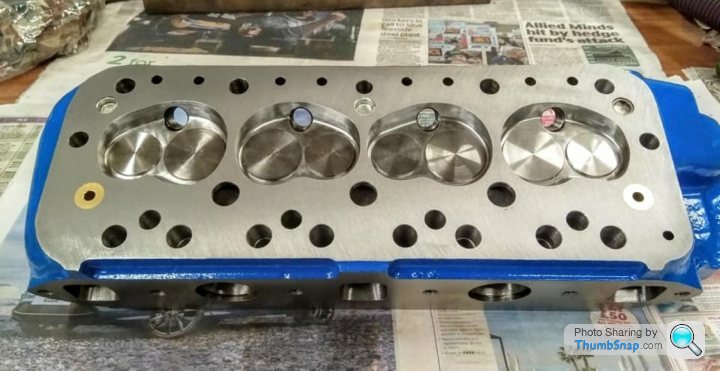
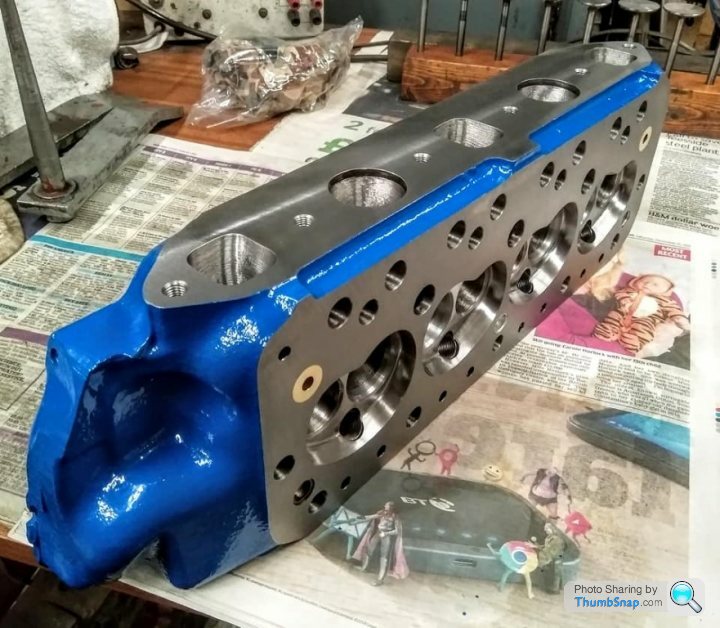
ACDodd cylinder head, larger valves, ported, bronze guides, new springs etc
Guessworks gearbox rebuild kit with central oil pickup, windage tray

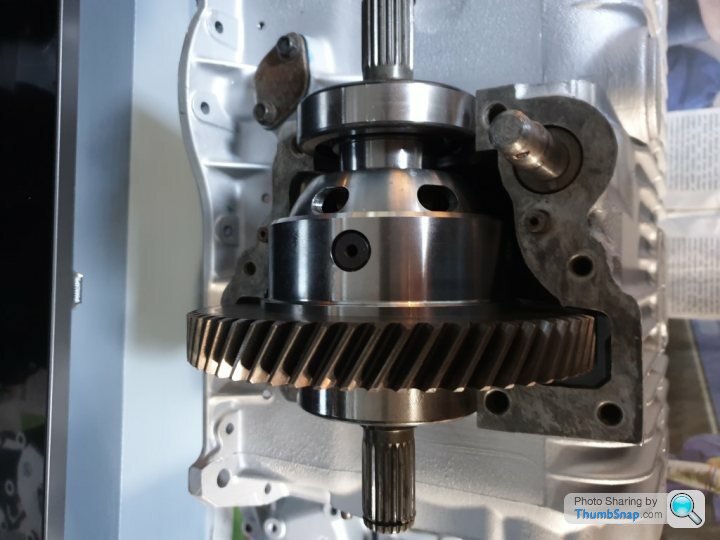
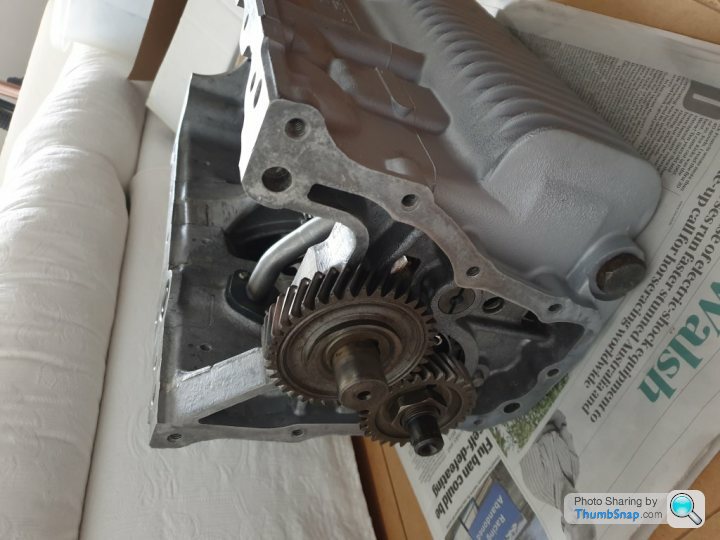
3.4 final drive
Minispares x-pin diff
Protech shocks
Reconditioned subframe parts
New fuel lines and brakelines
Plenty of bling
Plenty of other stuff not thought about yet/remembered!
Interior will be pretty much standard with upgrade stereo (all sympathetically hidden)
Optimise Automotive headlining, dash and pillar trims (not 100% sure which type yet but one of the nicer upgrade sets)
Here is the shell on moving day from home to the 7s workshop!
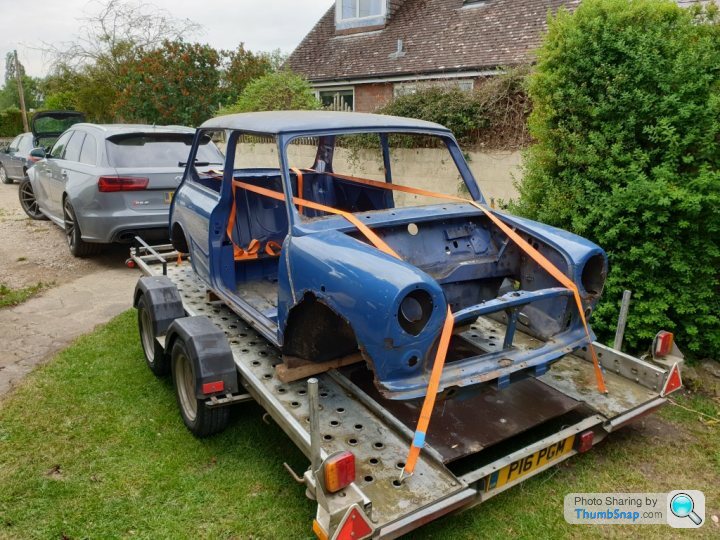
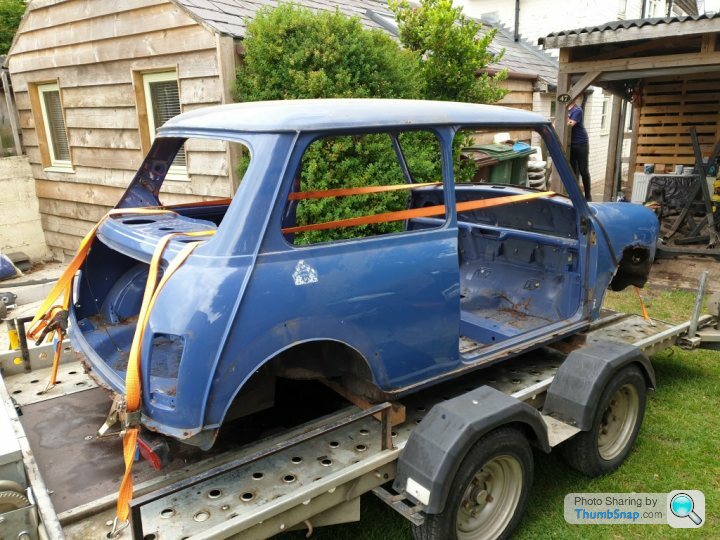
Cheers
Paul
Edited by PGM on Sunday 21st June 11:47
Edited by PGM on Sunday 21st June 11:49
Edited by PGM on Sunday 21st June 11:54
Gassing Station | Classic Minis | Top of Page | What's New | My Stuff